Search models, users, collections, and posts
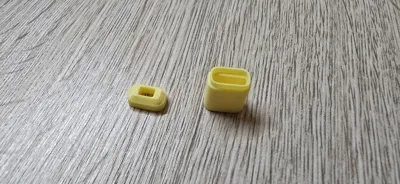
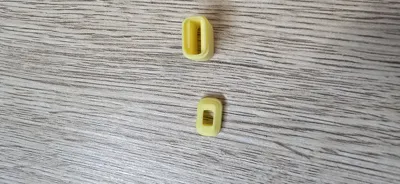
USB Type-C plug
IP Report


Print Profile(1)

0.12mm layer, 2 walls, 15% infill
Designer
17 min
1 plate
Open in Bambu Studio
Boost
36
74
2
2
99
48
Released
Description
Pay attention to the wall generation setting. For the proper slicing it must be set to arachne.
Left-right angled version: https://makerworld.com/en/models/1295359-usb-type-c-angled-plug-left-right#profileId-1326533
Up/down angled version: https://makerworld.com/en/models/1295369-angled-usb-type-c-plug-up-down#profileId-1326543
Assembly tips:
- put a wire through the cover part
- perform cable soldering
- plug the plug into the body part
- get the cover part as close to the body part as possible
- put PVA glue into the body part. Having a bit of extra glue in there is actually beneficial. When you connect two parts together the glue will be pressed deep into both parts and make connection more reliable
- connect two parts together and hold for 30 seconds
- done
P.S. feel free to request models in a different format.
Boost Me (for free)
License
This user content is licensed under a
Creative Commons Public Domain
Comment & Rating (2)