
StudioLock System
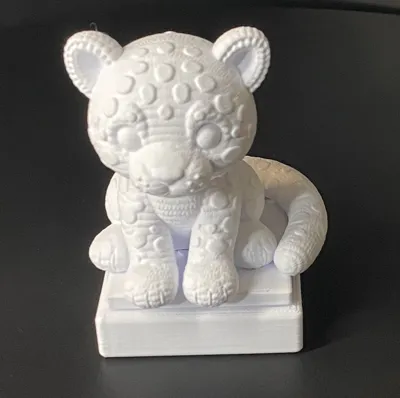
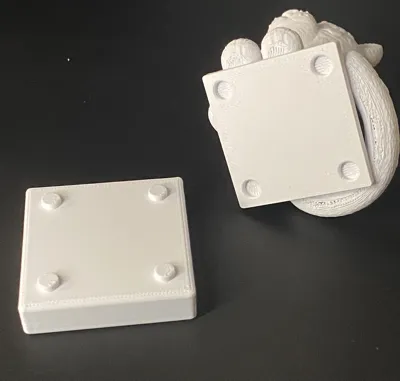
Print Profile(1)
Description
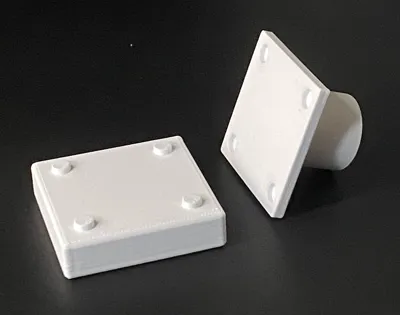
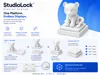
StudioLock™ Display System
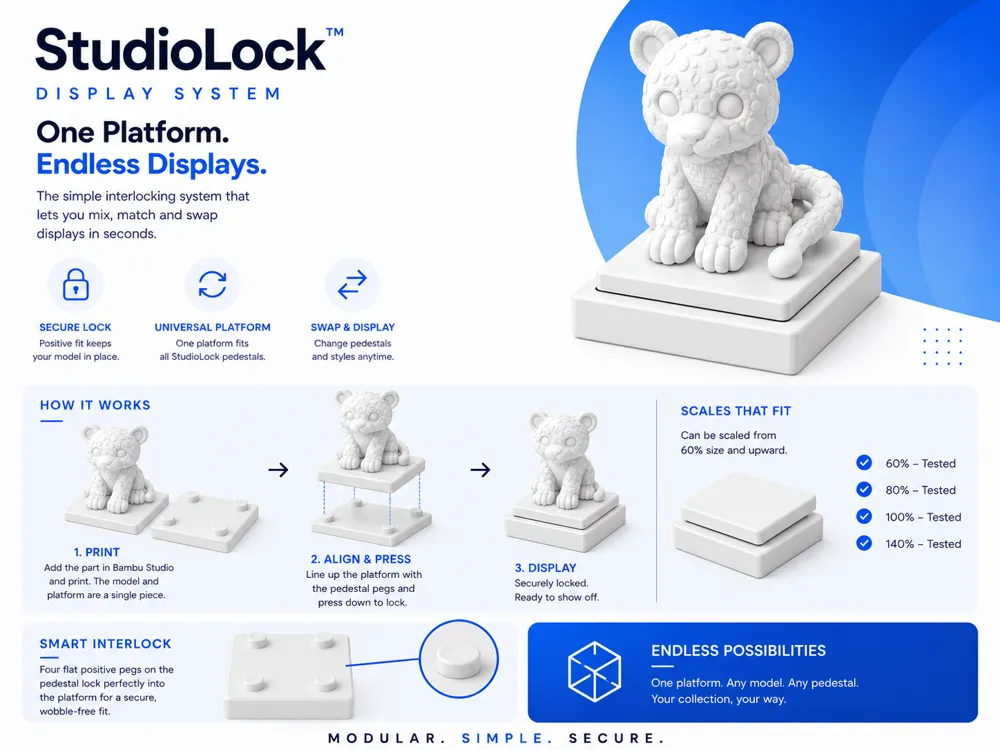
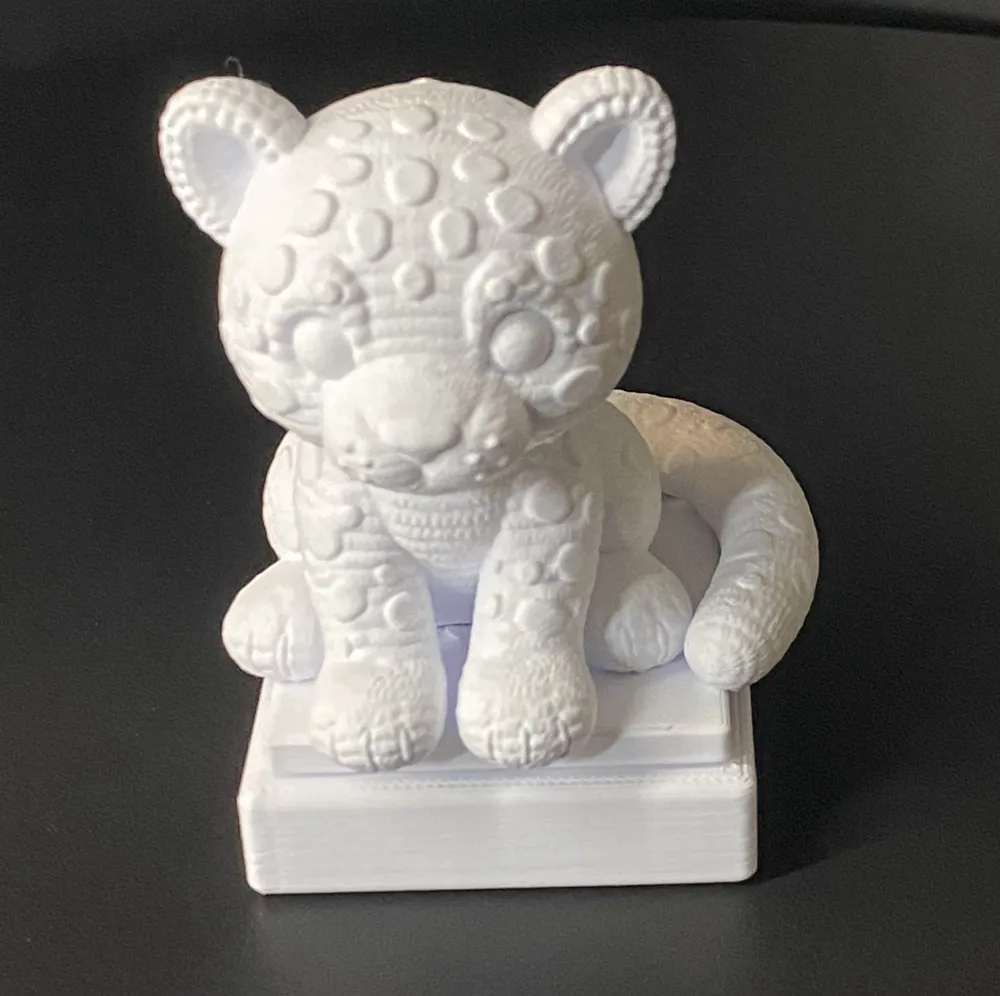
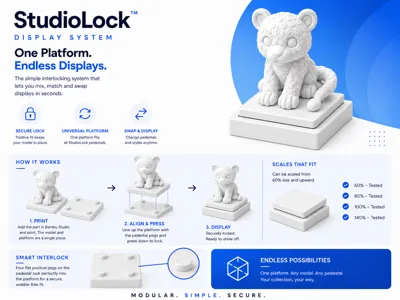
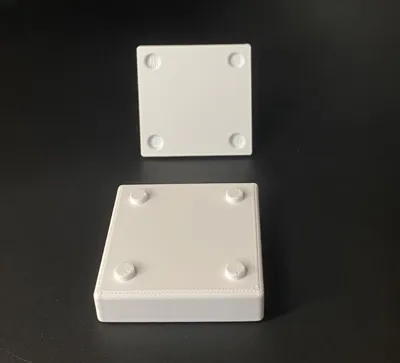
Give your 3D prints a professional display with StudioLock™, a simple modular platform and pedestal system designed for easy swapping between bases.
✔ Universal interlocking platform
✔ Positive-fit, wobble-free connection
✔ Mix and match pedestal styles
✔ Scalable design (tested from 60% to 140%)
How to use
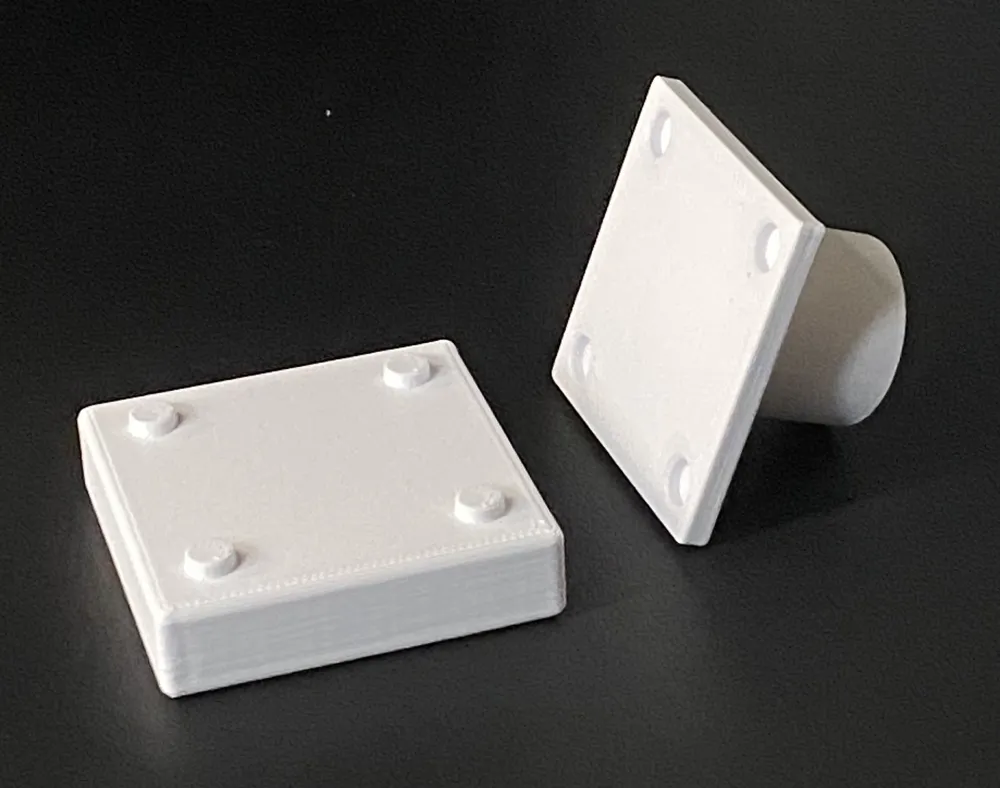
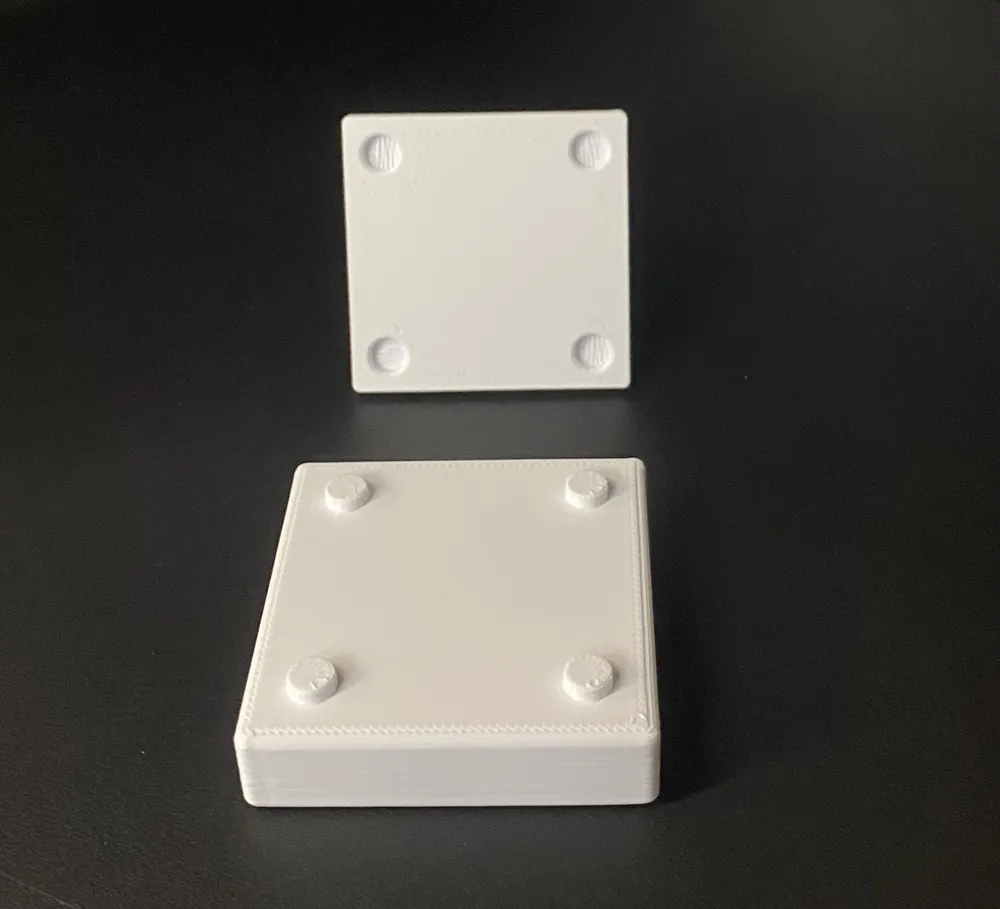
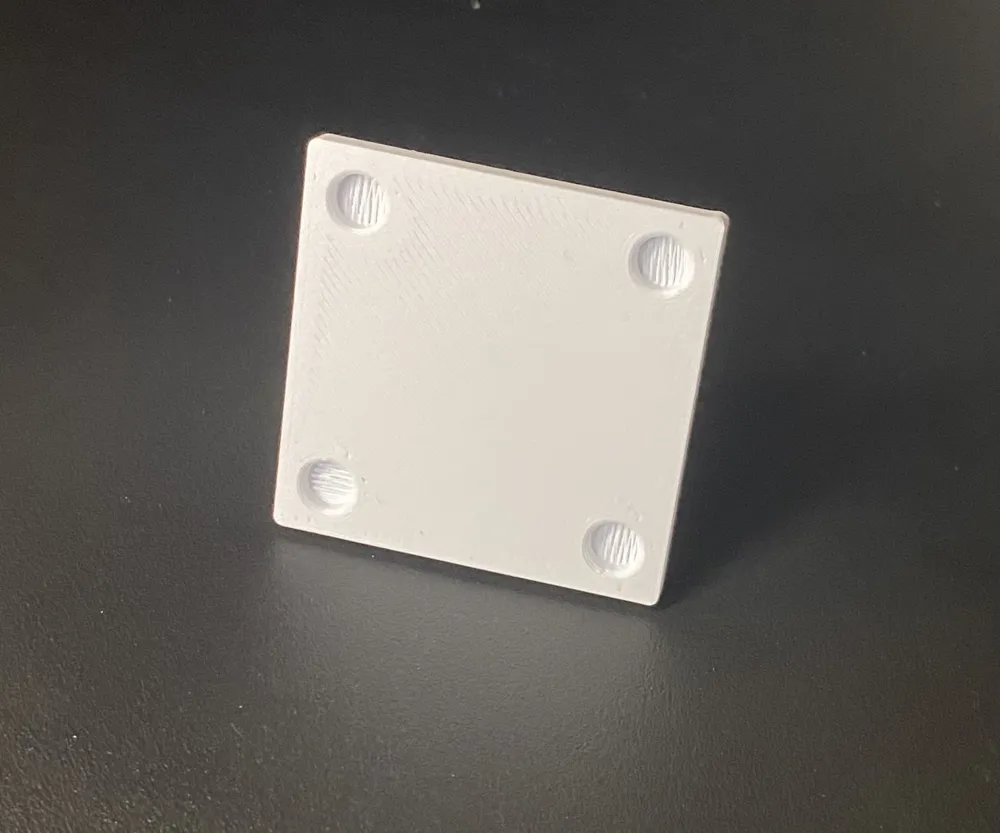
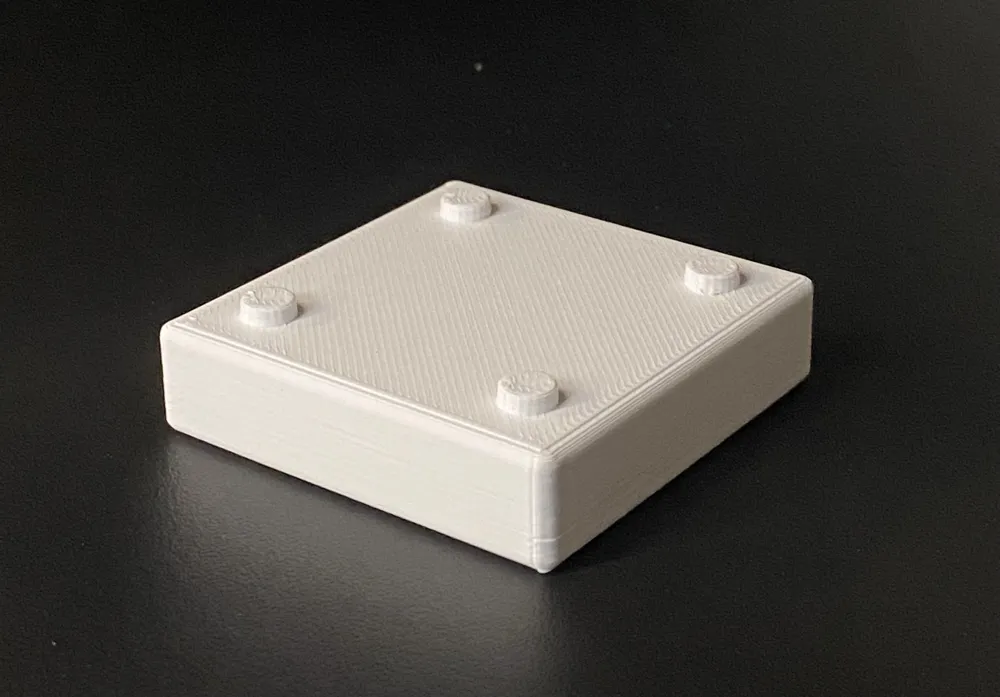
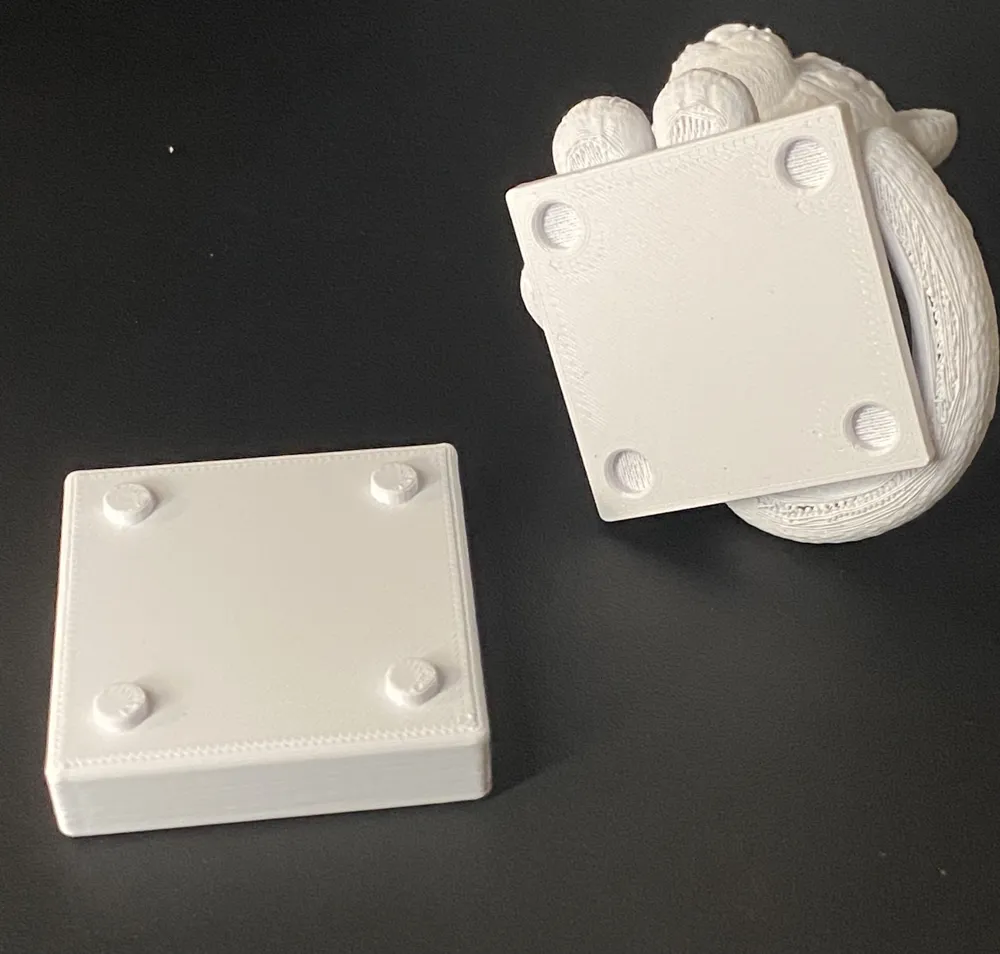
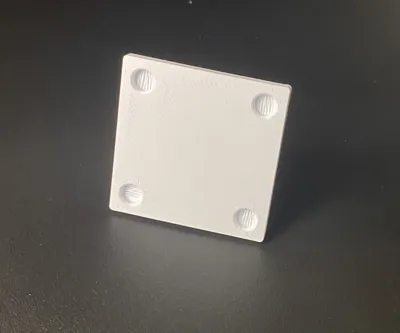
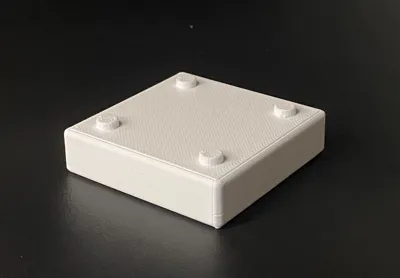
The download includes a platform and pedestal so you can see how the StudioLock™ system works. I’ve also included the platform and pedestal as STL files, so there’s no need to convert them yourself.
Step 1 – Add the Platform to Your Model
- Open your model in Bambu Studio.
- Right-click your model and select Center.
- Right-click the model again and choose Add Part → Load…
- Select the StudioLock Platform STL.
The platform will be imported as a part of your model, allowing it to print as a single piece.
Step 2 – Position the Platform
- In the object list on the left, select only the StudioLock Platform.
- Click Move.
- Set the Z position to 0 mm.
- While the platform is still selected, right-click → Center.
The platform will now sit directly beneath your model.
You can now fine-tune the final position by selecting the platform and using the Move tool ( or m on keyboard). I recommend slightly overlapping the platform into the base of your model. This creates a stronger bond and usually eliminates the need for supports beneath the model. Deselect the move tool and select your model which should now be joined to the platform. Half the platform may be under the build plate so click move (m) and pull up in the z direction and let go The model and platform are now flush to the build plate.
Step 3 – Print the Pedestal
Import the matching StudioLock Pedestal STL.
- For single-colour prints, you can print the model and pedestal on the same build plate.
- For multi-colour prints, it’s often easier to print the pedestal separately to reduce purge waste.
Important: Make sure the platform and pedestal are printed at the same scale (for example, both at 60%, 80%, 100%, or 140%) so they fit together correctly. If you need to check the dimensions, for reference the platform is 45.2mm for x & y (z=4mm) and the pedestal 50mm for x & y.
I’d love your feedback! Leave a comment with the pedestal styles you’d like to see next—round, hexagonal, trophy, themed, or something completely different. Your ideas will help shape future StudioLock releases!
Boost Me (for free)
If you are enjoying the models please reward the effort with a boost. More boosts give even me inspiration to create more models :)
License

You shall not share, sub-license, sell, rent, host, transfer, or distribute in any way the digital or 3D printed versions of this object, nor any other derivative work of this object in its digital or physical format (including - but not limited to - remixes of this object, and hosting on other digital platforms). The objects may not be used without permission in any way whatsoever in which you charge money, or collect fees.


Comment & Rating (4)