
Marco modular
Print Profile(1)
Description
Marco Modular
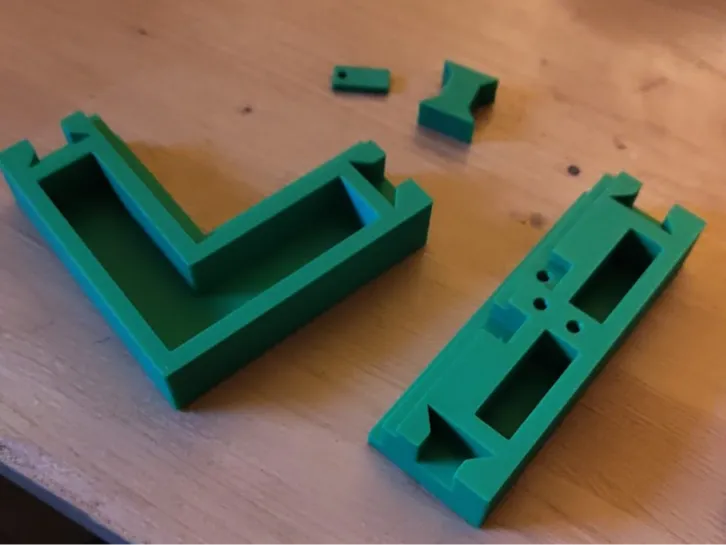
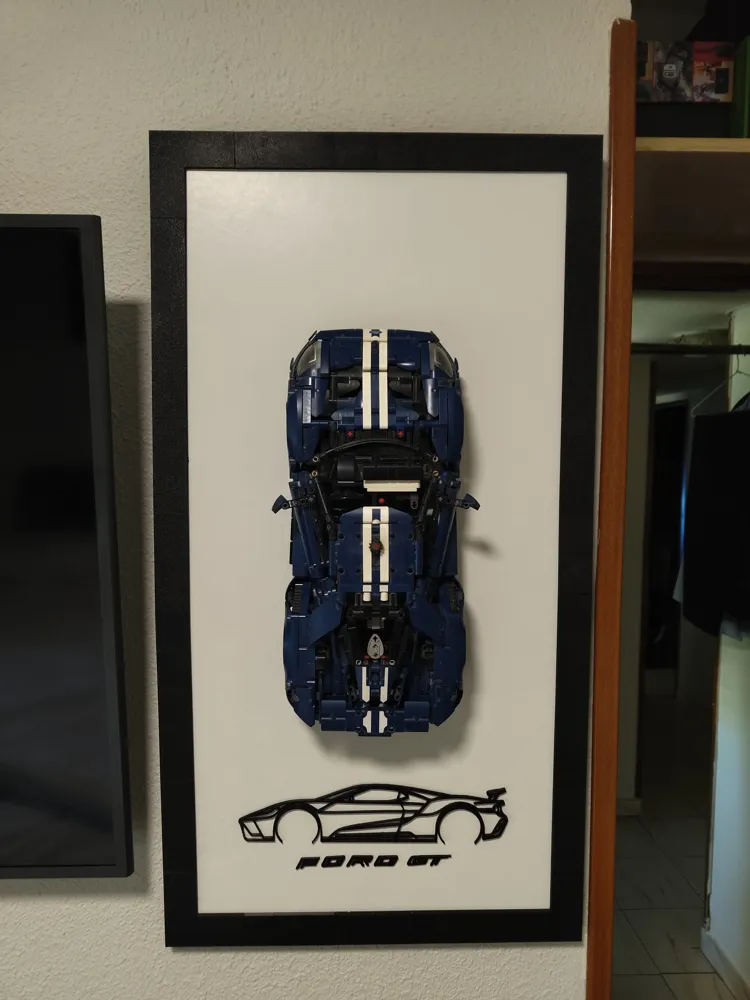
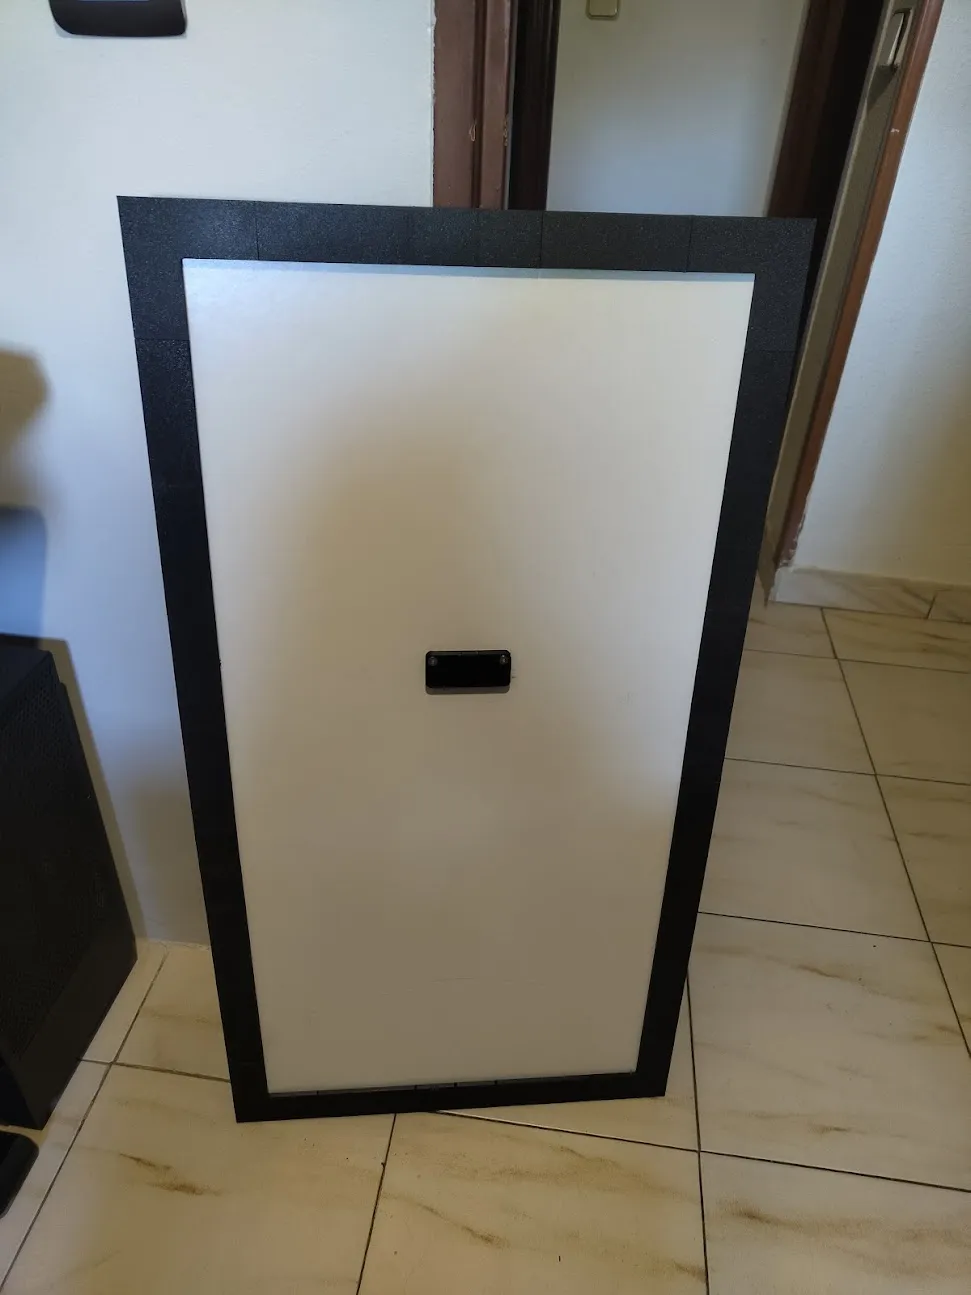
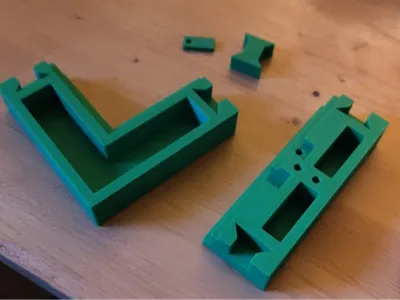
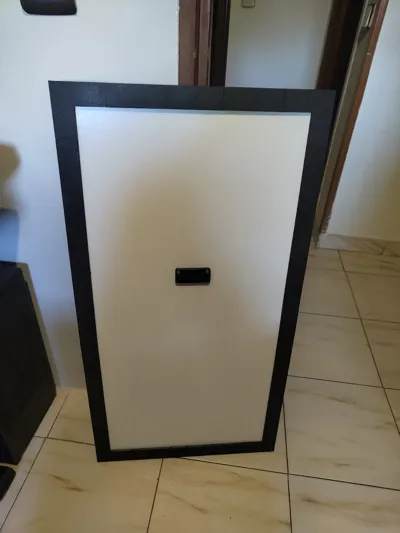
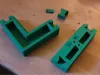
Marco Modular is a 3D printed frame system designed to create fully customized compositions.
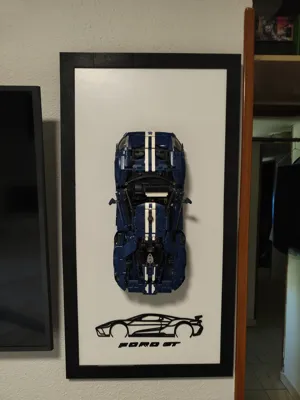
The example in the photos shows a Ford GT built with building blocks, but the frame is designed to fit almost any project you want to display.
Some usage ideas:
- 🚗 Block-built models.
- 🖨️ 3D Printed items.
- 📷 Photographs.
- 🎨 Prints and illustrations.
- ✨ Logos and silhouettes.
- 🏆 Collectibles.
- 🎁 Personalized gifts.
Its modular design allows frames of different sizes to be manufactured by reusing the same parts, facilitating the creation of new compositions without having to design a frame from scratch.
How did it come about?
The idea was born because I wanted to hang my block-built Ford GT on the wall in a more elegant way. I found an excellent wall mount and a decorative silhouette of the vehicle, but I wanted to integrate everything into a single composition.
Instead of hanging each piece separately, I decided to design a modular frame system that would allow me to create this setup and, at the same time, could be reused for many other projects.
I want to thank the authors of the following designs for their great work, as they served as inspiration for this composition:
- Ford GT wall mount:
https://makerworld.com/es/models/2648895-wall-mount-ford-gt-42154#profileId-2928161 - Ford GT Silhouette:
https://makerworld.com/es/models/925556-ford-gt-silhouette-wall-art#profileId-898654
The letters FORD GT were modeled in Fusion 360, referencing the original logo to integrate them into the composition. If the community is interested, I can also publish them as a standalone model.
Designed to evolve
Although this first version is intended for open compositions like the one shown in the photos, the design was made with future expansions in mind.
One of the ideas is to incorporate an MDF board along with a methacrylate sheet to protect the contents and turn the whole into a small display case.
This configuration has not yet been tested, so it is not part of the current assembly instructions. Nevertheless, the design was made with this possibility in mind, and I hope to be able to add it in future versions.
My intention is to continue expanding the project with new parts, accessories, and variants.
Example configurations
These are some reference configurations to facilitate the printing of the necessary parts.
| Frame size | L profiles | S profiles | Corners | Joints |
|---|---|---|---|---|
| 40 × 40 cm | 4 | 8 | 4 | 20 |
| 80 × 40 cm | 16 | 8 | 4 | 28 |
| 80 × 80 cm | 24 | 8 | 4 | 40 |
Example distribution for an 80 × 40 cm frame
800 mm side
- 1 corner
- 3 L profiles
- 2 S profiles
- 3 L profiles
- 1 corner
400 mm side
- 1 corner
- 1 L profile
- 2 S profiles
- 1 L profile
- 1 corner
These configurations serve only as a reference. Thanks to the modular system, it is possible to create many other sizes by combining the different profiles.
Material needed
In addition to the printed parts, the following material was used to assemble the prototype shown in the photos:
| Material | Quantity | Notes |
|---|---|---|
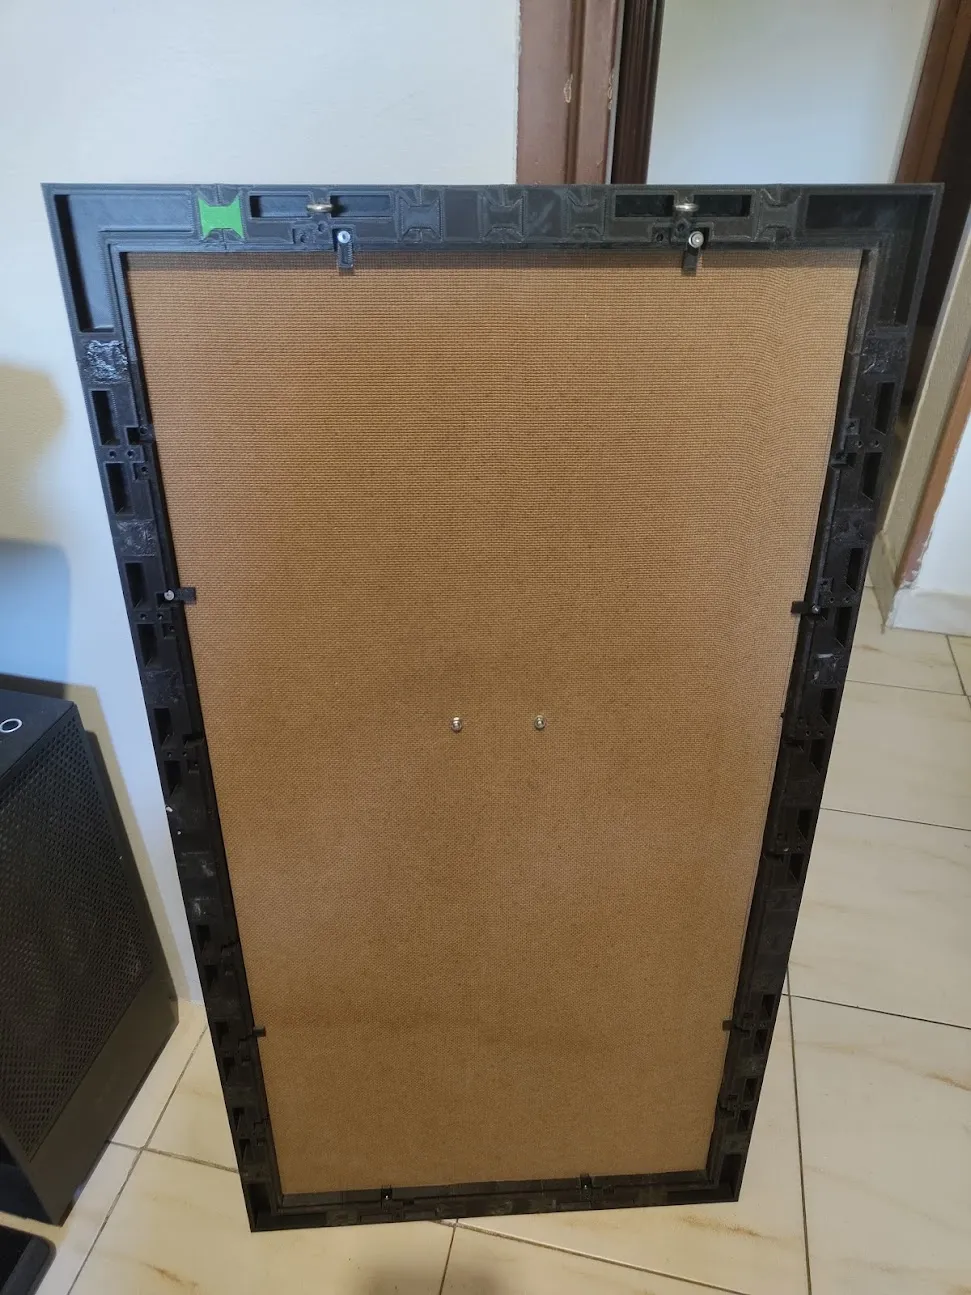
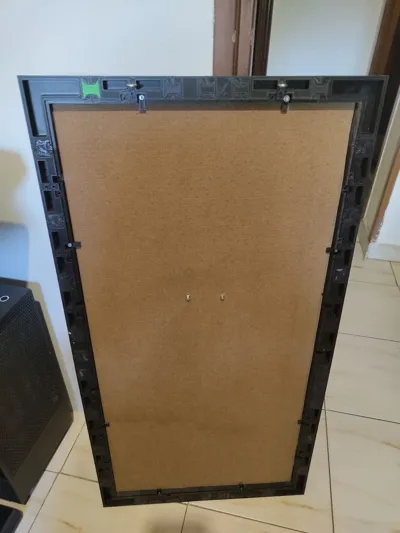
| M3 threaded inserts | 8 | Two per side. |
| M3 × 8 mm screws | 8 | Two per side. |
| MDF board | 1 | 800 × 400 × 3 mm (slightly trimmed to fit the frame). |
| Cyanoacrylate | Optional | Recommended for large frames or prints made with fast profiles (0.28 mm). |
| Eye screws (turnbuckles) M4 | 2 | Used to hang the frame on the wall. Do not require inserts. |
Important: The quantities indicated correspond only to the assembly of the 800 × 400 mm prototype shown in the photos. For other sizes, the amount of material will need to be adjusted.
Assembly notes
After assembling the first prototype, here are some aspects to consider.
📏 MDF board adjustment
The dimensions of the MDF board will depend on the chosen position within the frame.
In my case, I used the first available position and it was necessary to trim a few millimeters to get a correct fit.
Therefore, I recommend first assembling the frame and measuring the actual gap before cutting the final board.
And yes... precisely cutting MDF can become quite an entertaining task. 😅
🏷️ Fixing the silhouette and letters
Both the silhouette and the letters have been fixed to the MDF board using low-tack double-sided adhesive tape, typically used in crafts.
Although it is not particularly strong tape, it has been more than sufficient for this project, as the parts are very light and do not bear any stress.
If you prefer, you can also use other adhesives such as cyanoacrylate or stronger double-sided tape.
🖨️ Joint adjustment
During testing, I found differences depending on the print profile used.
With a fast profile of 0.28 mm, some joints had a slight looseness, so it was necessary to fix them with a small amount of cyanoacrylate.
With a 0.20 mm profile, the fit was considerably better and no adhesive was needed.
Even so, for large frames, I recommend applying a few drops of cyanoacrylate to the joints. It is not essential, but it provides greater rigidity to the assembly and helps prevent small movements over time.
If you have any suggestions or ideas to improve Marco Modular, I will be happy to read them.
And if you print one, I'd love to see the result!
License



Comment & Rating (0)