Lithophane LightBox


Print Profile(1)
Bill of Materials


Description
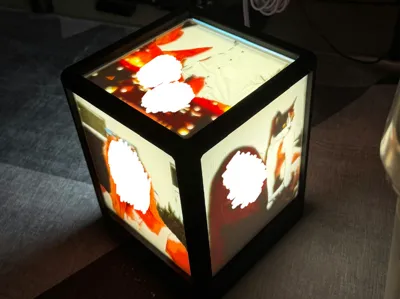
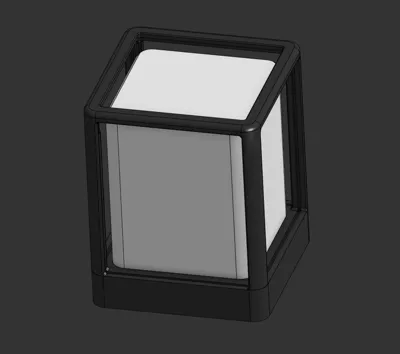
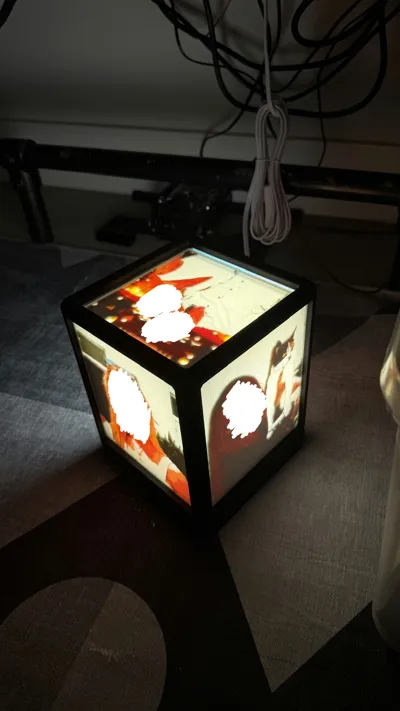
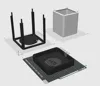
This is a lamp to display lithophanes in, with 4 sides and a top. Makes a great memento or family gift.
For professional quality results, print using 0.06mm layer height on 0.2mm nozzle. (This will take a ton of time, however)
When generating your lithophanes, the dimensions should be:
Sides:
- 150.2mm Wide
- 175.6mm Tall
- 2.6mm Margin
- 2.7mm Margin Thickness
Top:
- 151.0 x 151.0 mm
- 3.0mm Margin
- 2.5mm Margin Thickness
Directions:
- Design lithophanes first, can be in color or greyscale.
- Dealer's choice on what colors and part of the assembly to print first. (But print the shade in white for best light diffusion).
- Once all parts are printed, check fitment of everything. All lithophanes should slide into the top, fit into the slots in the base, and the screw-in mount should properly screws into the base. Clear support material from base and threaded-mount.
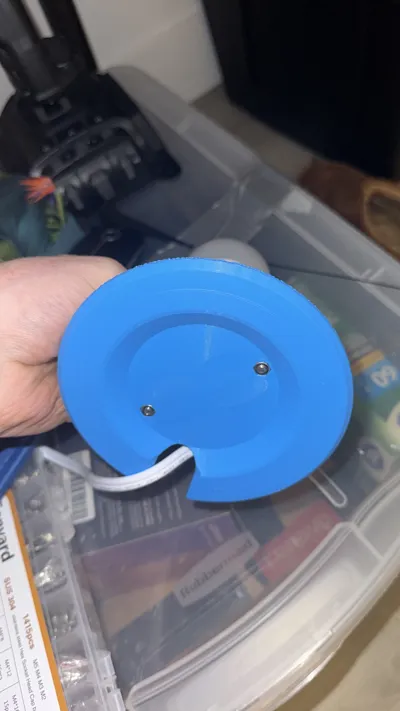
- Glue circular shade protrusions into the base. Put some glue on the protrusions, insert, and add more glue through the bottom holes for stronger joint.
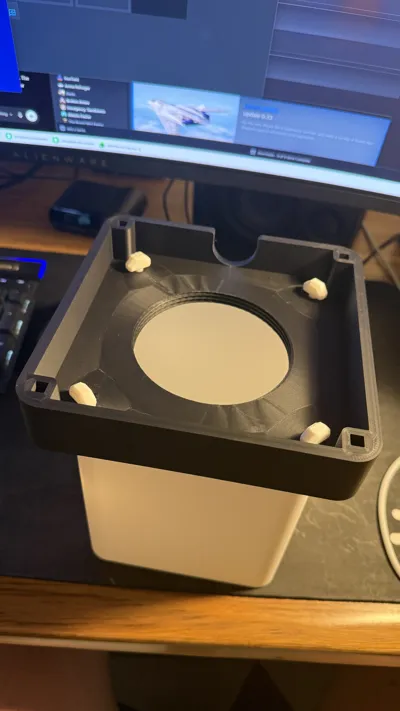
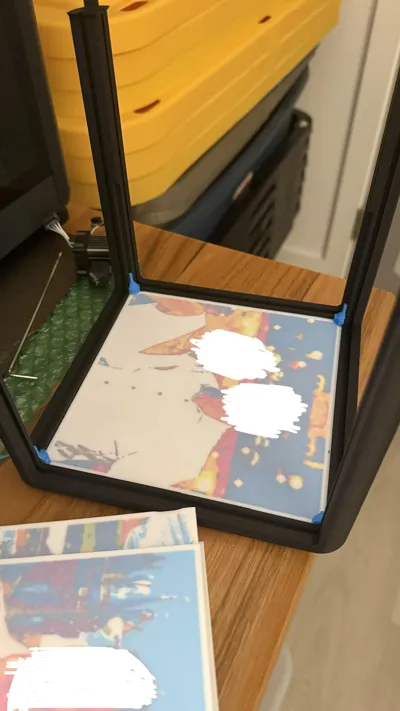
- Set smallest lithophane into the top (insert at an angle to get it to fit between the legs). Glue the 4 small fasteners to each corner of the lithophane so it will hold the lithophane panel to the top securely (Glue should touch the lithophane panel and inner part of legs). See picture for further direction on placement.
- Set lithophanes into each slots in the top
- Glue the protrusions of each leg into the square holes in the base, ensuring each lithophane is properly seated in its slots. Wait for everything to dry.
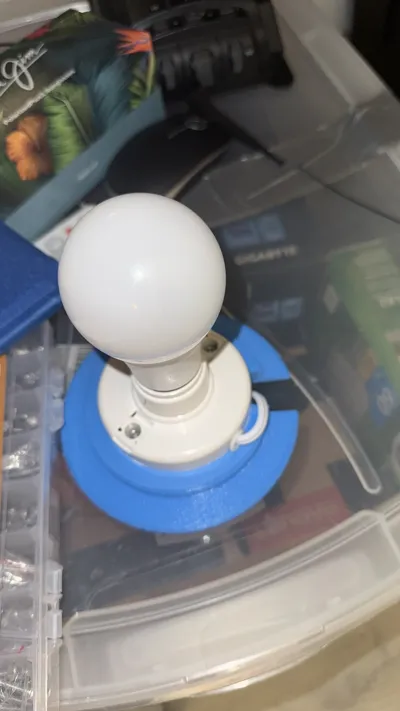
- Attach the lamp socket to the threaded mount with M4 screws and nuts.
- Once everything is dried, pull cord through half-circle cutout in the threads, and twist the mount into the base.
- Route the cord underneath through the hole in the back of the base and turn on your new lamp!
Light Bulb Socket Link:
License
You may create derivative works based on this object, provided that all such derivative works are published exclusively on the MakerWorld platform and include proper attribution to the original creator. You may not share, upload, host, distribute, or publish this object—or any derivative work of this object—on any other digital platform, marketplace, or distribution channel. Commercial use of this object and any derivative works is strictly prohibited. This includes, but is not limited to, selling, renting, sublicensing, or using the object in any context in which you receive monetary compensation or other financial benefits.
Comment & Rating (0)