
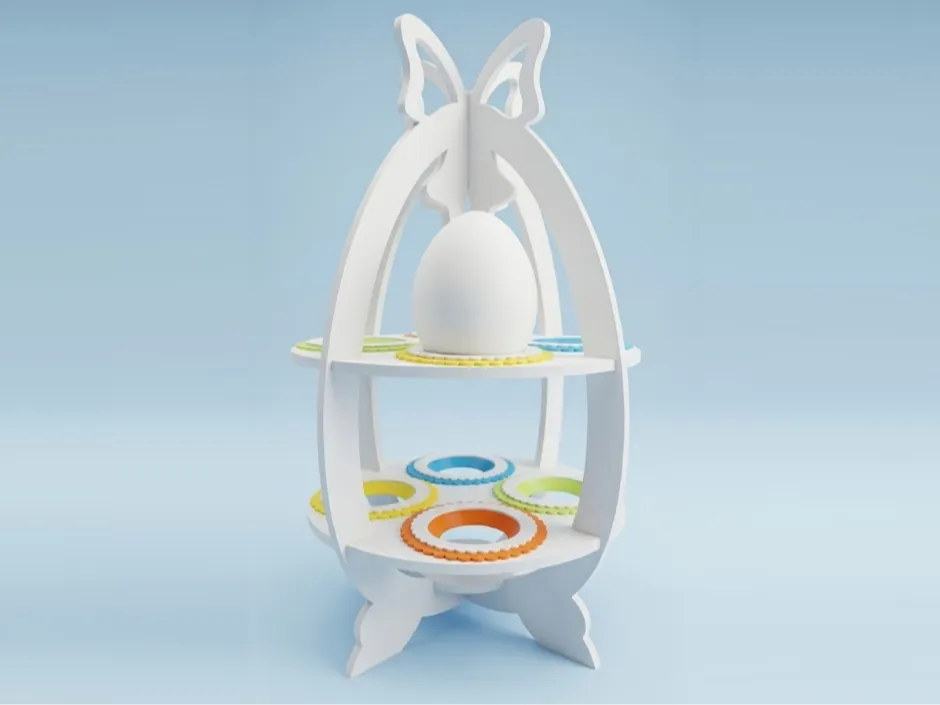
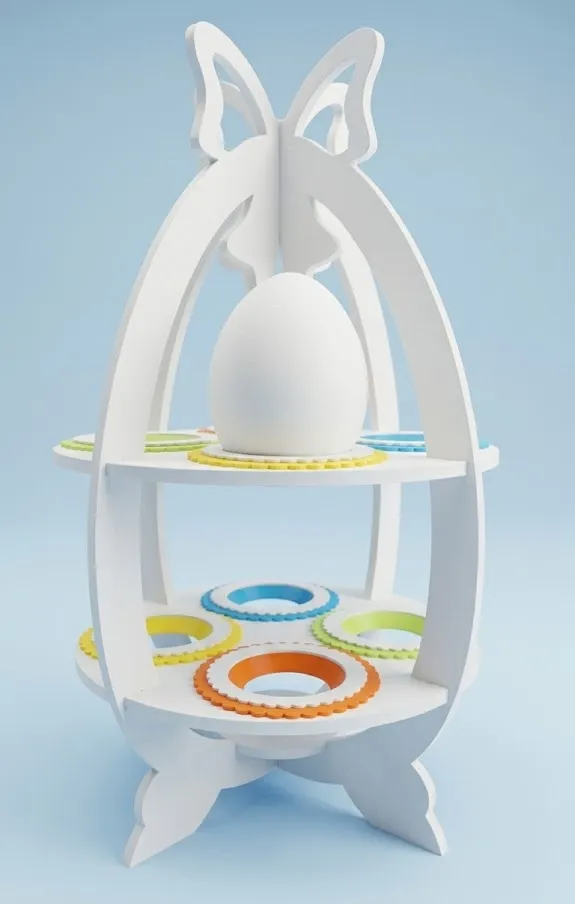
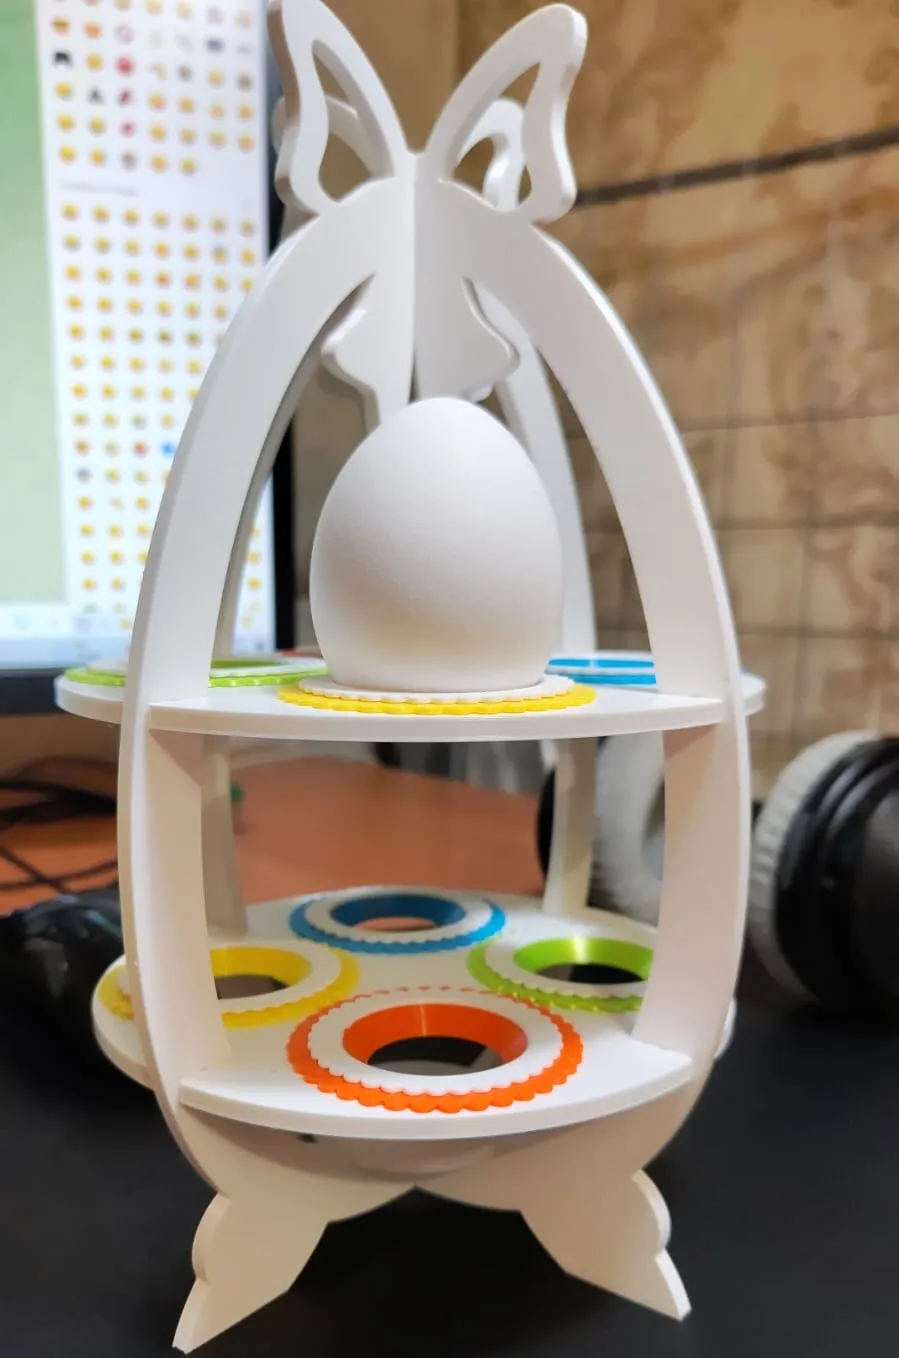
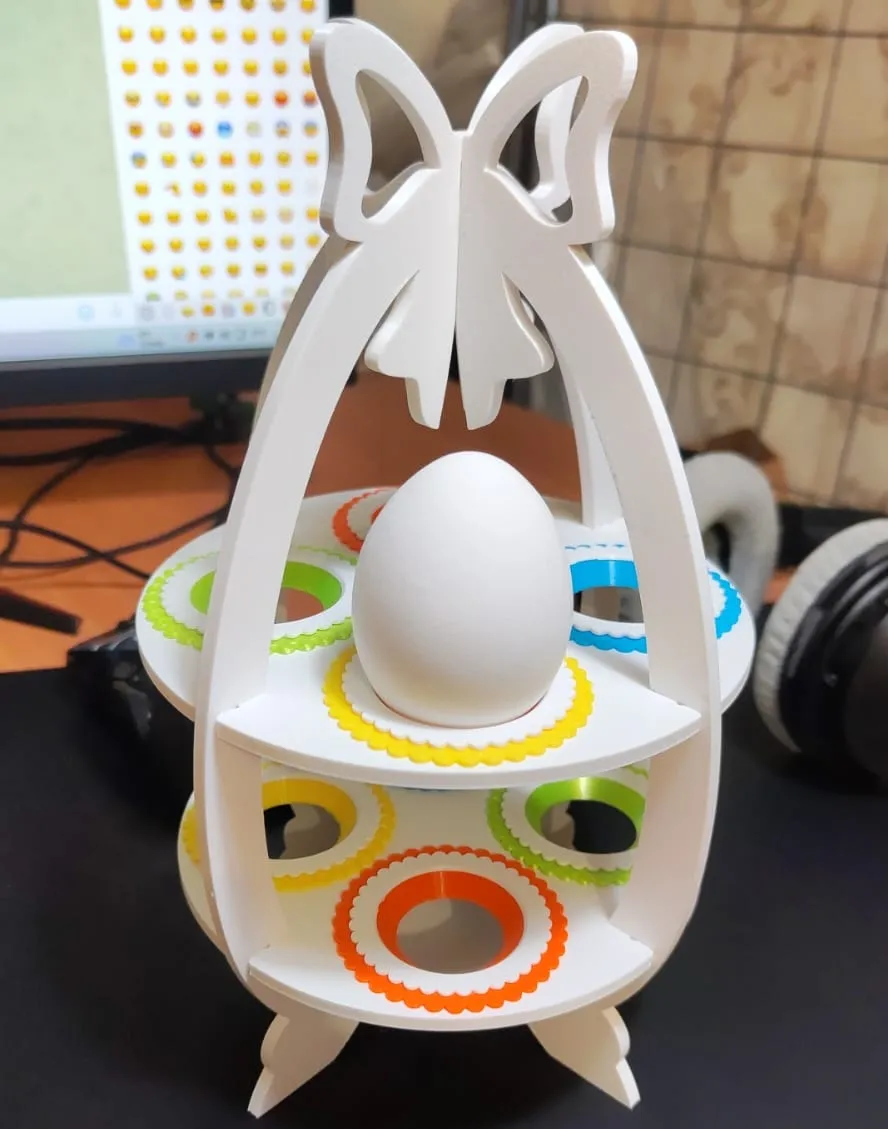
Easter egg's stand
Print Profile(0)
Description
Hey, everybody.
I know that Catholic Easter has been gone a long time ago.
In fact, I live where Orthodox believers predominate.
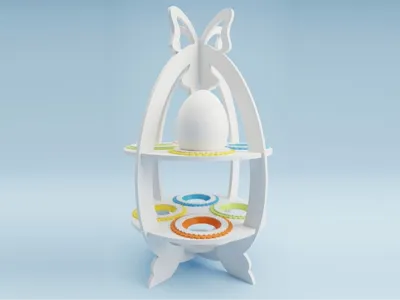
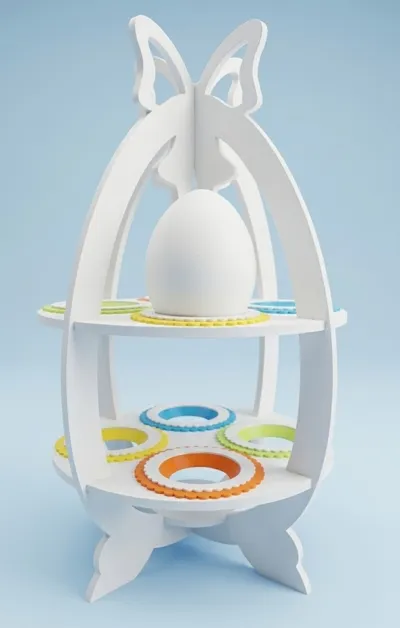
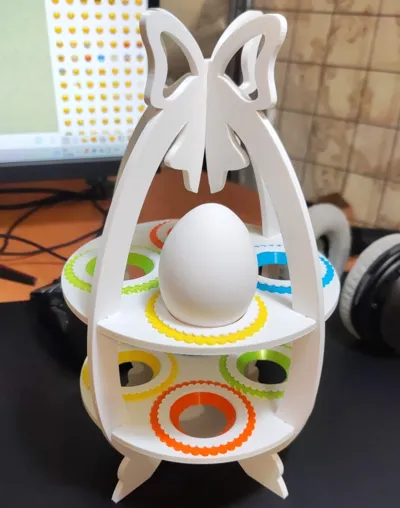
And at their request, this stand for eggs was created.
My name is Azamat. And I'm an atheist myself. But I respect any denomination and their festivities, especially if the latter unites people for such a bright reason.
Happy holiday to everyone. Accept this gift from me personally.
Now for the technical part.
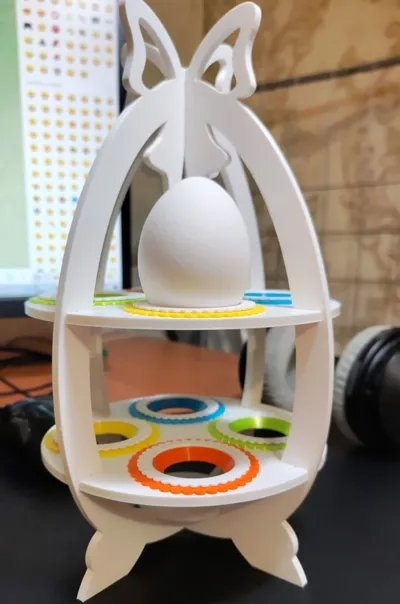
The stand is printed from Petg-hf (NEXTSHAPES).
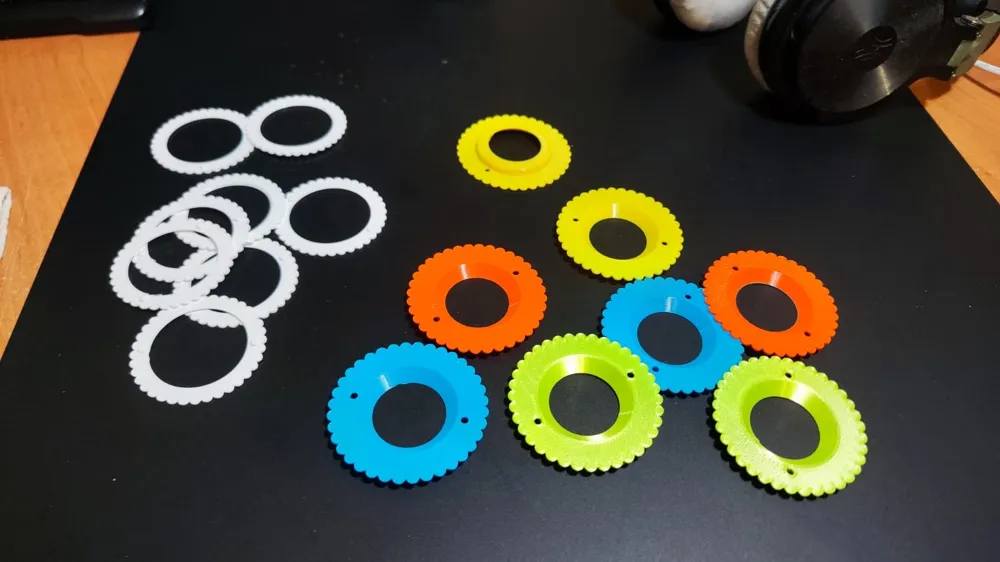
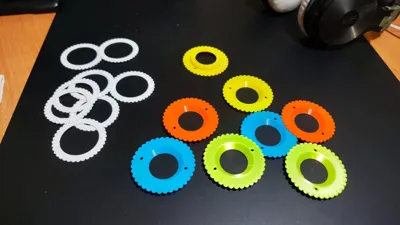
Because plates with holes for eggs, very tightly enter the seat in the oval-based, I am not sure to print fit PLA.
I actually have very little PLA printing experience, for some reason it seems to me that it is too hard to stretch and can burst.
To assemble the stand, you will need a skill.
First you need to insert the lower plate (143 mm), insert one groove in the return part to the stop (this is important!), It is before the stop, otherwise it will not be possible to install. Then move the other end of the plate on the second groin until he meets the return part on the plate.
At this point, the base model (oval) will expand slightly, PETG perfectly withstands such a test. I'm not sure about the PLA.
Rus:
Всем привет.
Я знаю что католическая пасха давно прошла.
На самом деле, я живу там, где преобладают православные верующие.
И по их просьбе была создана эта подставка для яиц.
Меня зовут Азамат. И я сам атеист. Но с уважением отношусь к любой конфессии и их празднествам, особенно если последнее объединяет людей по такому светлому поводу.
С праздником всех. Примите этот подарок от меня лично.
Теперь по технической части.
Подставка напечатана из Petg-hf (NEXTSHAPES).
т.к. пластины с отверстиями для яиц, очень туго входят в посадочное место в овальной основе, я не уверен для печати подойдет PLA.
У меня на самом деле очень мало опыта печати PLA, мне почему-то кажется что он слишком жесткий на растяжение и может лопнуть.
Для сборки подставки, потребуется сноровка.
Сначала нужно вставить нижнюю пластину (143мм), вставляем один паз в ответную часть до упора (это важно!), именно до упора, иначе инсталлировать не получится. Потом двигаем другой конец пластины по второму пазу, пока он не встретится с ответной частью на пластине.
В этот момент базовая модель (овал) будет немного расширяться, PETG отлично выдерживает такое испытание. А вот про PLА я не уверен.
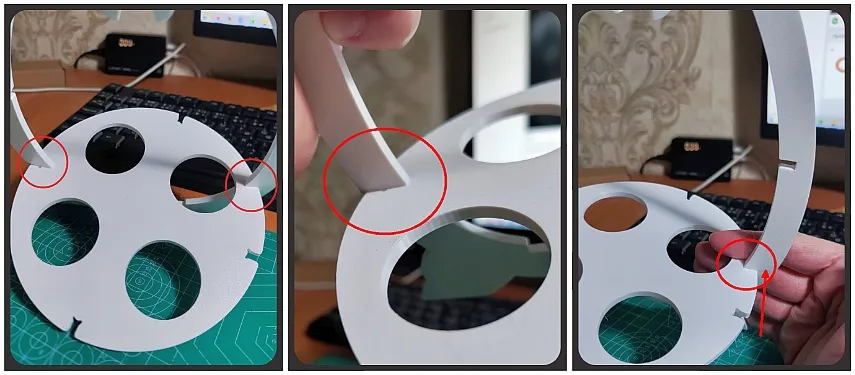
Subsequently, the second plate (148mm) is similarly installed.
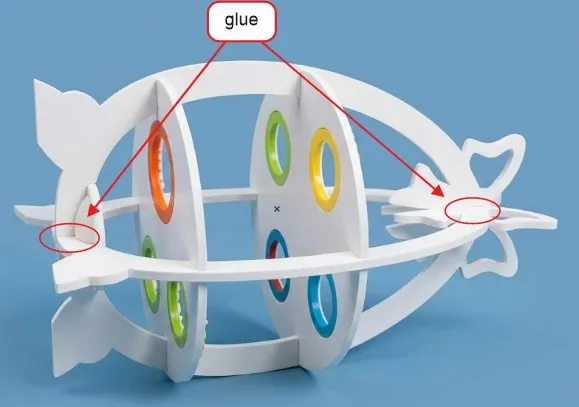
After that, the side parts are installed. It is better to glue them from above and below.
Also, it is better to glue the centering cross, which is located at the very bottom of the model. It does not allow the support legs to move to the sides.
With the rest, I hope you'll figure it out. Good luck with a happy Easter.
Rus:
Следом, аналогичным образом устанавливается вторая пластина (148мм).
После этого устанавливаются боковые части. Их лучше приклеить сверху и снизу.
Так же, лучше приклеить центрирующую крестовину, которая расположена в самом низу модели. Она не позволяет опорным ножкам разъезжаться в стороны.
С остальным, я надеюсь, вы разберётесь сами. Удачи вам и счастливой пасхи.
License

You shall not share, sub-license, sell, rent, host, transfer, or distribute in any way the digital or 3D printed versions of this object, nor any other derivative work of this object in its digital or physical format (including - but not limited to - remixes of this object, and hosting on other digital platforms). The objects may not be used without permission in any way whatsoever in which you charge money, or collect fees.


Comment & Rating (0)