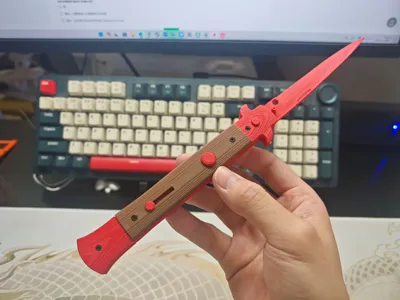
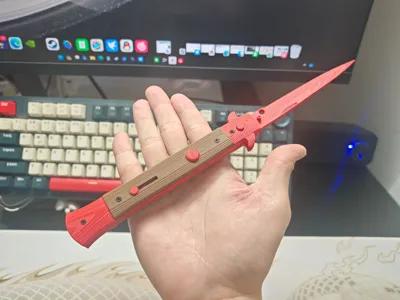
CS Dagger


Print Profile(1)

Description
Assembly Video
CS Dagger, 3D Printed Prop Assembly Process_bilibili_bilibili
Prepare super glue and magnets (magnet specification is 6x1.5) diameter 6 thickness 1.5
Step 1


Install the left handle's infill, then install the simulated button (it cannot be actually pressed)


Then turn it over and install one thick and one thin cylinder to the front and back The back is for fixing, then insert the prepared magnets into the remaining two holes and fix with super glue Note!!! The magnetic poles of the magnets must not be different, both magnets must have the same magnetic pole direction

Step 2

Install the two blade pieces together and insert magnets on both sides Note that no super glue is needed here as these two magnets will attract each other


Note that when retracting and extending the blade, it should be able to attract If it cannot attract, the magnetic poles are reversed You can change the magnets on both sides of the blade by flipping them

Then install the handle on the other side Be careful not to reverse the infill The narrower part goes in front


Insert the magnets This set of magnets needs to fit flush with the other side of the blade Please confirm proper installation before applying super glue
Next, remove the supports and assemble them together


Finally, install the black parts that simulate screws
License
You shall not share, sub-license, sell, rent, host, transfer, or distribute in any way the digital or 3D printed versions of this object, nor any other derivative work of this object in its digital or physical format (including - but not limited to - remixes of this object, and hosting on other digital platforms). The objects may not be used without permission in any way whatsoever in which you charge money, or collect fees.
Comment & Rating (7)