Mario Style Skeleton Pencil Holder


Print Profile(3)


Bill of Materials


Description
underground level 💀
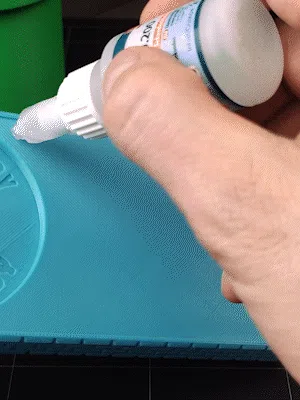
For printing, as before, no ASM/ACE is needed; each part is single-colored and printed separately. Assembly is simple; everything is assembled using glue 💧

Start with the skull, mustache, and hat 🥸

I made an alternative skull with a nose, and you can also glue on the sideburns and eyebrows.

The body has changed a bit; the arm is now holding a bottle.

👞👞 The boots have X and O markings, and the slots on the overalls also have corresponding markings.

The bottle consists of several parts. I used transparent PLA for the bottle itself, the solution inside is printed with green PLA that glows in the dark. During assembly, for the mushroom cork, align using the large hole to connect the two parts 🍄.

The inscription is the only part I printed with two colors, just one layer for each color. You can print it with white PLA and apply acrylic paint to the visible outline of the inscription.

🐸 The frog comes in two versions: whole and without eyes. The hole in the eyes matches the filament thickness, just insert a piece of filament, snip off the excess with wire cutters, and trim with a blade
(⚠️ be careful with the blade, you might think I'm holding the blade dangerously, but I have good motor skills and I've done this before, so I'm not overestimating my abilities ⚠️).
Just in case, there's a hole at the base of the frog for a 5x1mm cylindrical magnet 🧲.

🧱 Since the bricks are aqua-colored and Mario's overalls are blue, I decided to separate them with a dark gray mat so the colors don't blend. The mat is printed with the front side down, there is a characteristic mark in the center, and there is also a mark on the bush to align them precisely together. The bush is printed in gray so it doesn't blend with the mat.
Now the coin has a star; add the quantity to your taste 🌟🌟🌟.
The frogs will add a bit of a chill to the atmosphere 🐸 🐸 🐸.
🪙💀🪙🪙🪙🐸🪙
©Personal use only 💀
👉 Check My Patreon and Boosty 👈
Join my Telegram! ⭐💬
License
You shall not share, sub-license, sell, rent, host, transfer, or distribute in any way the digital or 3D printed versions of this object, nor any other derivative work of this object in its digital or physical format (including - but not limited to - remixes of this object, and hosting on other digital platforms). The objects may not be used without permission in any way whatsoever in which you charge money, or collect fees.
Comment & Rating (15)