Cyberbrick Telehandler


Print Profile(5)


Bill of Materials


Description
Welcome to my MakerWorld profile!
I design practical and easily printable models for daily life, home, garden & more.
All designs are tested and personally optimized by me. Happy printing!
CyberBrick Telehandler – Assembly Instructions
📺 Product Presentation:
👉 https://www.youtube.com/watch?v=AdjmoNLXzbA
🎥 Assembly Video (Step-by-Step):
👉 https://www.youtube.com/watch?v=msETlDrB-8Y
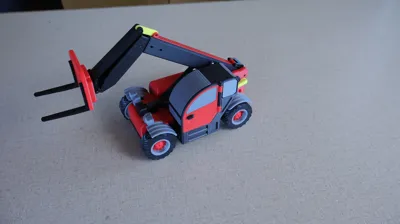
Overview
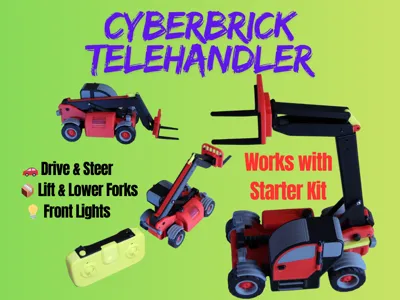
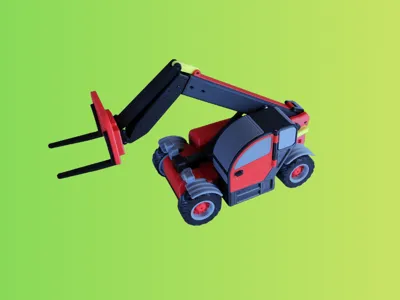
The CyberBrick Telehandler is a 3D printable model with drive and steering functions, a front light, and boom raising/lowering
- Designed for the CyberBrick Beginner Hardware Kit – ZK004, thus currently only with boom raising and lowering (Starter Set = 2 Servos)
- Differential and gearbox are the standard CyberBrick components from the set
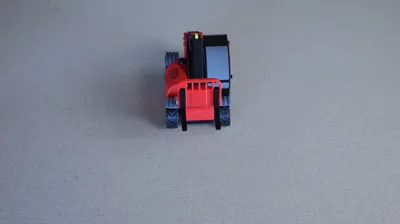
- The model features rear-wheel steering, like a real telehandler
- Connections are simply made with filament pieces – robust, easy to assemble and maintain
- This model forms the basis for extensions such as: extendable boom, fork tilt function or various attachments
Changelog
🔄 Update August 30, 2025
- The door has been adjusted so that it no longer accidentally presses the controller button
- The door is included separately in the Print Profile Update v1.1 and replaces the old version in all other profiles
- The new lifting spindle is now integrated into all print profiles
- A PDF assembly instruction has been uploaded and is now available online
🔄 Update August 26, 2025
- A new print profile called Tuning has been added
- It contains a revised version of the lifting spindle with a larger pitch
- The lifting spindle is now printed in two parts and assembled with a ring
- The servo horn is now used with two horns and cut after the first hole
Note: The new lifting spindle is only included in the Tuning print profile, not in the Standard profile
🔄 Update August 25, 2025
- The base plate has been revised so that the cockpit and screws fit correctly
- A new print profile with the adjusted base plate has been uploaded
- All existing print profiles now also include the new base plate
👉 For everyone who downloaded the model before August 24, 2025, 10:00 PM: Please use the new print profile or download the model again to get the corrected version
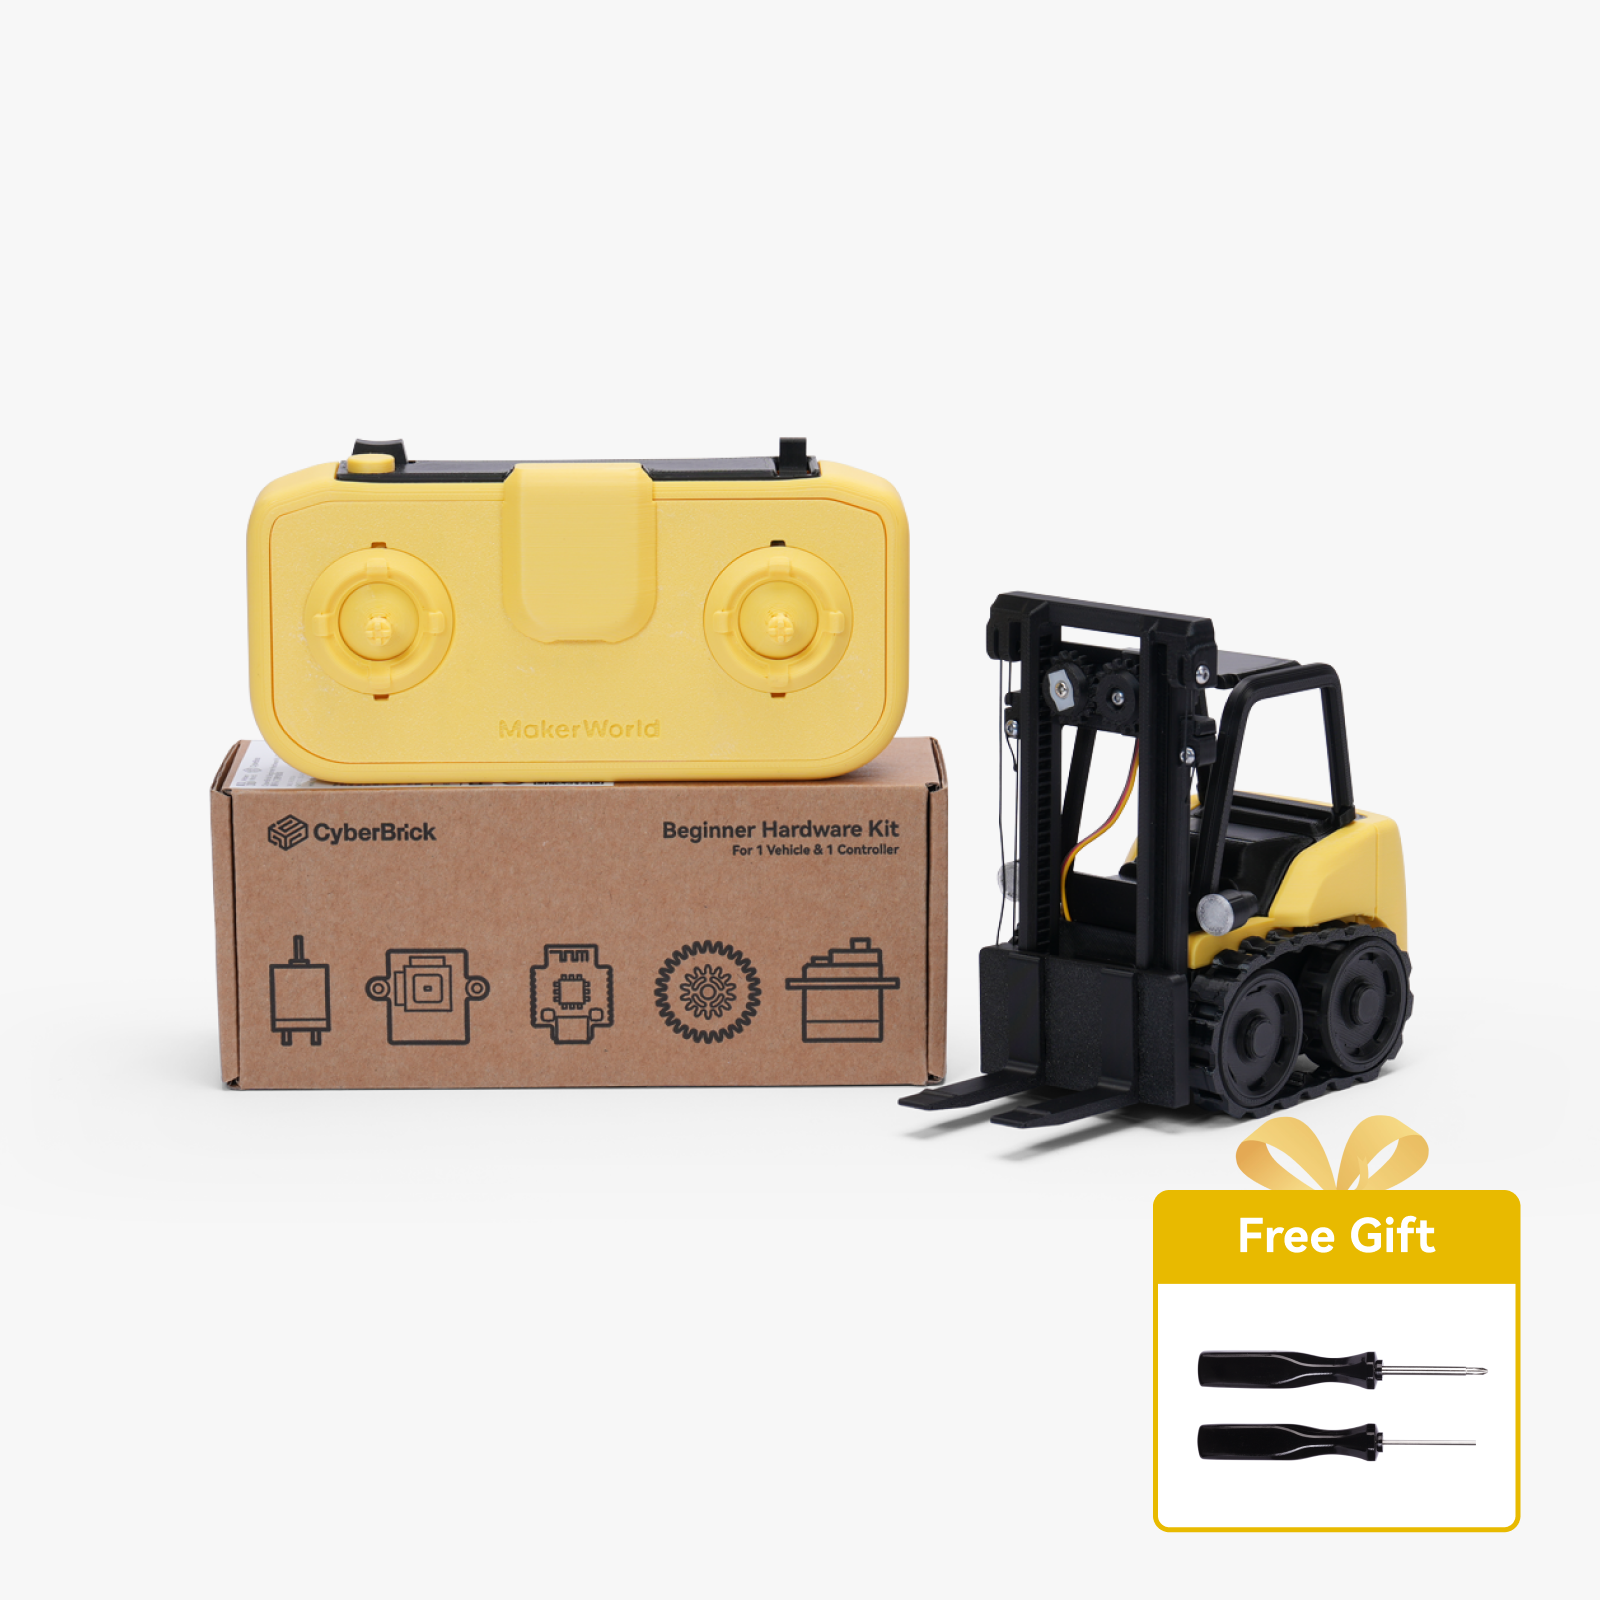
Required Hardware
- CyberBrick Beginner Hardware Kit – ZK004
- Standard CyberBrick Remote Control
- Battery (permanently installed in the model, see notes below)
Print Notes & Preparation
- Print test plate first: Check tolerances for clean fit
- Material recommendation:
- Steering knuckles: TPU 95A → flexible, yet stable
- Tires: as soft as possible (e.g. TPU 90A or softer). I printed all tires in TPU 90A
- Post-processing: Lightly deburr edges, especially on mating surfaces and drill holes
Assembly Notes
- Filament as connection: Secure joints/plug connections with short filament pieces
- Carefully remove support material so that all parts fit easily
- Fix boom: Via filament pin in multiple positions so that the fork remains horizontal
- Route cables neatly: Along edges, fix with a little superglue if necessary
- The screw on the steering servo must be slightly shortened so that everything fits correctly
- Gluing required:
- Windows
- Fenders
- Cable cover

Battery & Access
- Standard: Battery fixed in the model, access by tilting out the controller
- More convenient (recommended): With a separately available extension cable the battery can be completely removed without disassembling the model
- Purchase battery extension (adapter/extension cable)
- Attach battery cover with two magnets → faster and cleaner change
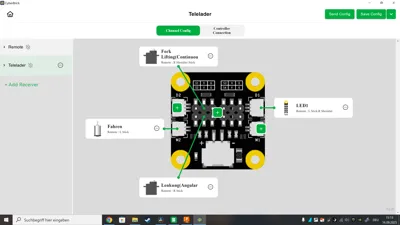
Electronics & Wiring
- Plug motor, servos, and front light directly into the controller
- Pay attention to polarity, plug direction, and cable routing
Control Assignment (Standard CyberBrick Remote Control)
- Left stick forward/backward → Drive
- Right stick left/right → Rear-wheel steering
- Right stick back → Raise/lower boom
- Left button → Front flashing light (approx 5 seconds)

(Assignment may vary depending on controller → adjust if necessary)
Functions (Starter Set)
- Drive
- Rear-wheel steering
- Front light
- Raise & lower boom (fork horizontally fixable via filament pin)
Extensions (in progress / planned)
- Extend and retract boom
- Tilt fork (Tilt)
- Different attachments (Hook, shovel, pallet fork etc)
First Commissioning (Quick Check)
- Mechanics free? Filament pins seated, nothing jammed
- Electronics OK? Plugs/polarity checked, cables laid stress-free
- Test: Drive, rear-wheel steering, boom, light
Tips & Troubleshooting
- Fork not horizontal? → Change filament pin position on boom
- Movement stiff? → Deburr edges, lubricate lightly if necessary
- Light flickers? → Check plug contacts
Have fun building!
If you like the project, feel free to follow me on MakerWorld
Feedback, photos, and suggestions are welcome and help with refinement
Assembly Video: https://www.youtube.com/watch?v=msETlDrB-8Y
💬 Do you have questions, feedback, or your own ideas?
I look forward to your message right here on MakerWorld!
👍 If you like the model, feel free to give it a like or save it for later.
👣 Follow me to not miss any new models – new designs are regularly coming!
📸 Show your print result! Upload a picture with the model or share it with the hashtag **#daeneprints**
Boost Me (for free)
💡 Do you want to support my work? Then click on "Boost this model" – this helps me implement new projects and publish even more useful models. Thank you! 🙌
Documentation (1)

License
You shall not share, sub-license, sell, rent, host, transfer, or distribute in any way the digital or 3D printed versions of this object, nor any other derivative work of this object in its digital or physical format (including - but not limited to - remixes of this object, and hosting on other digital platforms). The objects may not be used without permission in any way whatsoever in which you charge money, or collect fees.
Comment & Rating (121)