Stackable Screw Organizer (Modular)


Print Profile(2)

Description
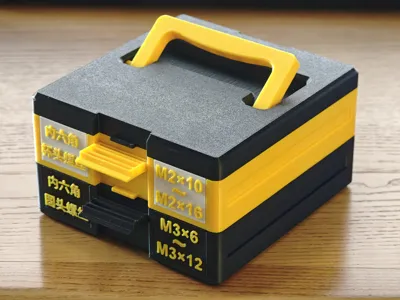
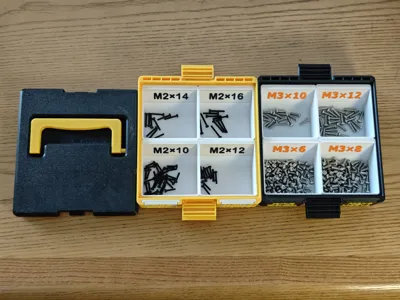
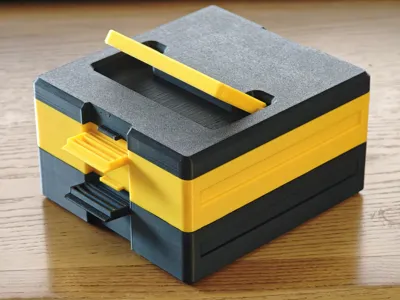
Recently, I bought various types of screws and hardware. For convenient storage, I designed this stackable storage box. The box can be freely stacked with additional layers.

The box consists of a box body and dividers. The external dimensions of the box are 138mm long, 128mm wide, and each layer is 33.8mm high.
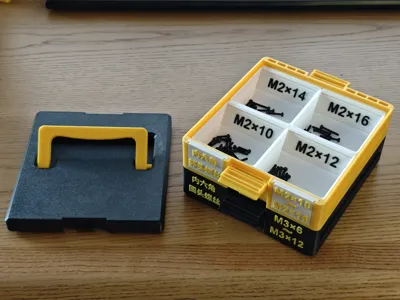
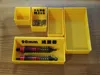
The internal storage dimensions of the box are 120.8×120.8×28mm. It can accommodate 4 dividers, each measuring 60×60×28.
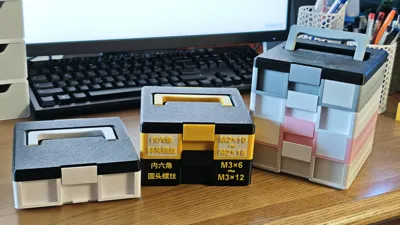
- Dividers can have information labels inserted.

- Everyone can edit the content of the information labels according to their needs

Since all supports for the model are self-designed, different filaments and filament settings may make supports difficult to remove. (The filaments I used are R3D PETG and JAYO PETG HF Matte)
Therefore, before printing the model, be sure to print a test body first!!!
If the red support part of the test body can be easily removed, it means the filament settings are suitable for printing, and you can confidently proceed with subsequent printing tasks.
If the support is difficult to remove and adheres too firmly, you can try lowering the nozzle temperature slightly.


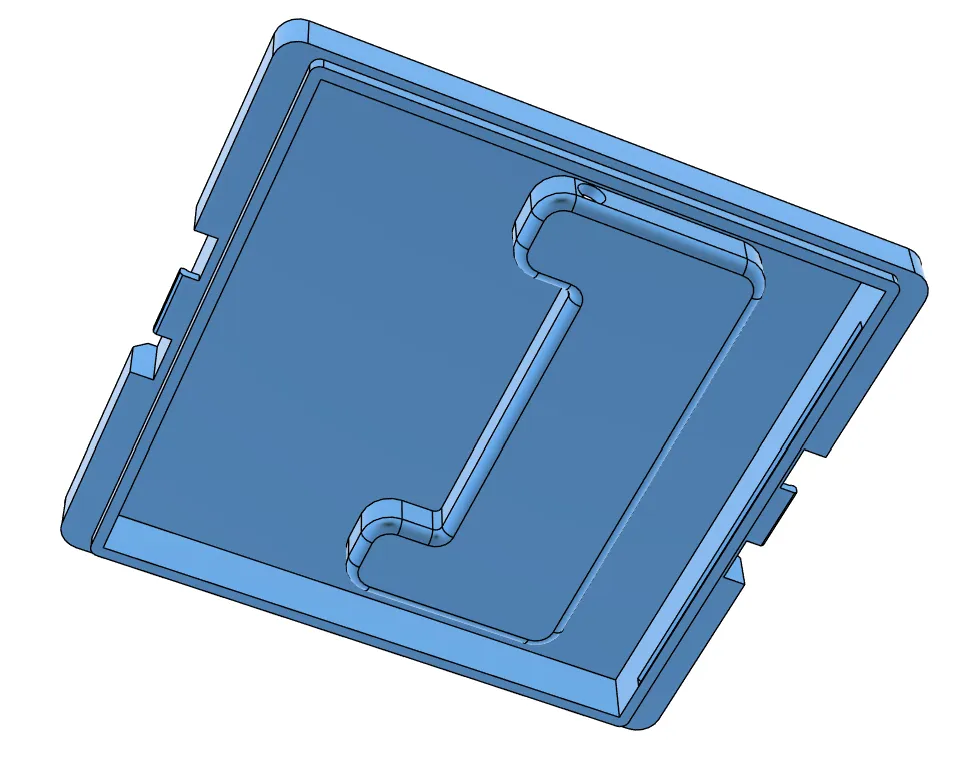
- Two types of top lids are provided in the print profile.

Style 1: The bottom surface is flat, so small items won't scatter when shaken inside the box. However, it uses slightly more filament for printing.

Style 2: The bottom surface is not flat, suitable for larger items inside the box; small items will scatter if placed inside. However, it uses slightly less filament for printing.
If you want to use this style of lid later and don't want small items to scatter inside the box, you can print the bottom plate of the top lid.


You can choose different styles of top lids according to your needs.
- Removing Style 1 top lid supports

- Removing Style 2 top lid supports


- Removing handle supports (red parts)


- Installing the handle. First, insert one end of the handle's shaft into the top lid's pivot hole, and push the handle all the way to the edge. Finally, with both hands, press firmly on the pivot on the other end of the handle until it clicks into place.


- Removing middle layer box supports (red parts)


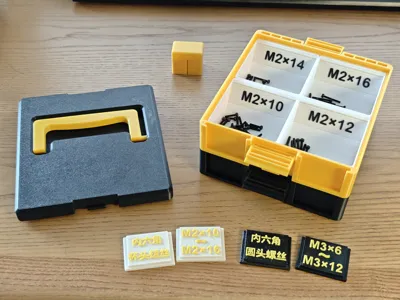
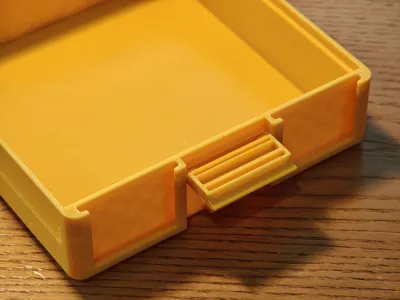
- Installing the box latch. It clicks into place when installed.

- Removing bottom layer box supports (red parts)

- Information labels can be inserted into the middle and bottom layer boxes.

- The text on the information labels can be edited as needed.

After all parts are assembled, you will get a compact stackable categorized storage box.


Boost Me (for free)
If you like this model, I hope to receive your boost. Your support is my motivation to continue creating. If you have any suggestions or ideas for optimization, please feel free to leave a comment in the comment section. I will listen carefully. Thank you!
License
You shall not share, sub-license, sell, rent, host, transfer, or distribute in any way the digital or 3D printed versions of this object, nor any other derivative work of this object in its digital or physical format (including - but not limited to - remixes of this object, and hosting on other digital platforms). The objects may not be used without permission in any way whatsoever in which you charge money, or collect fees.
Comment & Rating (9)