Vantage Insert


Print Profile(1)

Bill of Materials


Description
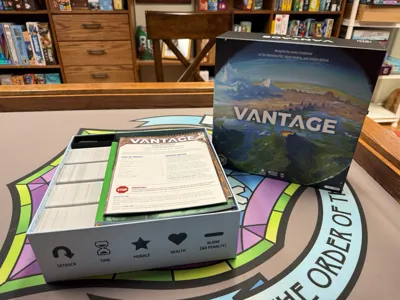
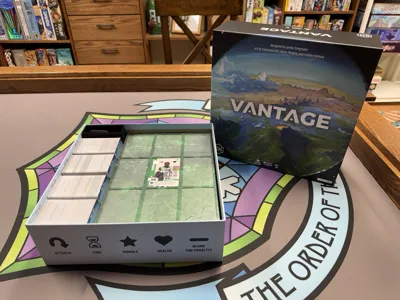
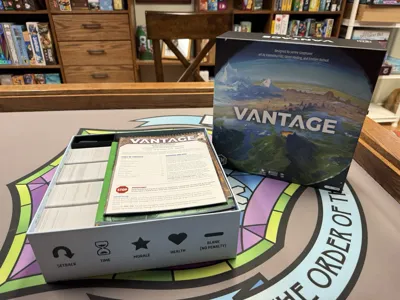
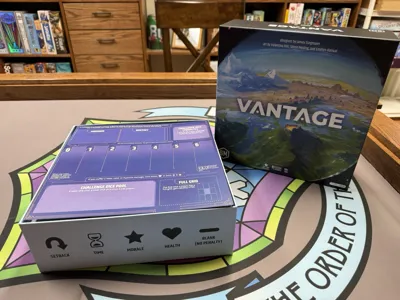
This is my insert for Vantage. My goal was to reduce the lid lift caused by the player boards as much as possible, to zero if I could. This insert does that. Any lid lift I see in my copy is due to the magnets that I did not sit properly in my boxes. This insert features magnetic lids for the component boxes, and full colour graphics on the lids. I made use of two AMS' when printing some of the lids. It is not strictly required, it could be done with less, but I wanted to go all out for this terrific game.
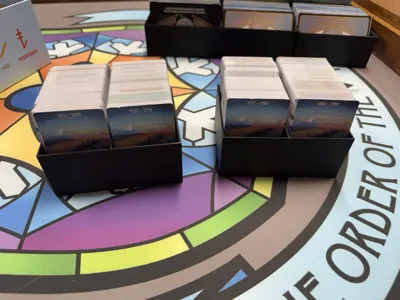
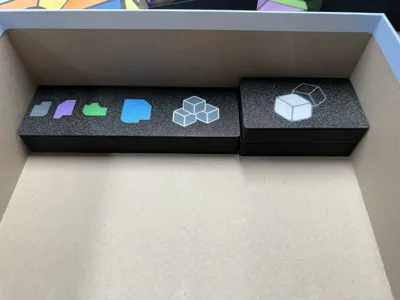
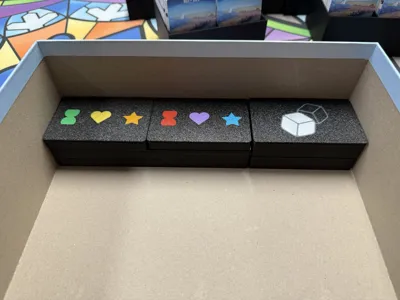
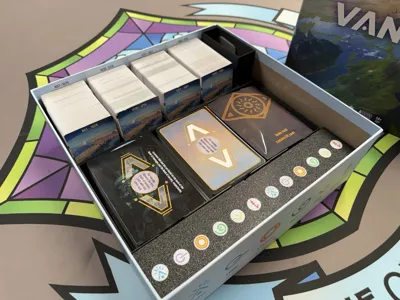
The component boxes use magnets to keep the lids together, and in some cases I stack two identical boxes with one lid. My approach is to split components into two boxes, so each side of the table can have easy access. In order to reduce the lid lift but keep a similar layout to the original box, I moved some of the location cards to a different stack. The standard cards stayed as is with no changes to ordering. With the new boxes, it is easy to split the work of finding cards amongst several people at the table instead of one player managing it. The standard cards are in two boxes of two rows, and the locations can move wherever needed.
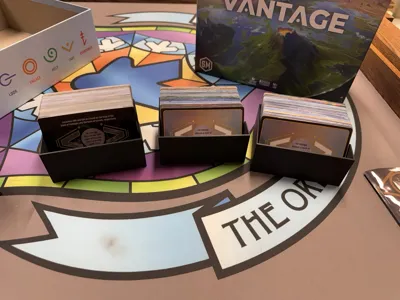
The three location boxes should hold cards as follows:
- Box 1: Cover card, locations 2-267
- Box 2: Cover card, location 268-555
- Box 3: Cover card, locations 556-802 and spoiler pack
This insert will require the use of ca glue and approx ~90 3mm by 1mm magnets. I ordered 300 of them from Amazon for this project. This set comes with a larger magnet that can be used to set the small magnets in place. For assembly, place a small dab of ca glue into the magnet hole, and then use the larger magnet to press a small magnet into the hole. Slide the large magnet to the side to finish…pulling it straight upwards can pull the small magnet out of the hole. If you have problems with a magnet refusing to stay in place, I found that using a small ziplock bag between the small and large magnet helped, you can hold the bag in place while moving the large magnet away.
One thing to note, you MUST mark the large magnet so you know the polarity! I marked one end green and one end red, so I could keep track. Any magnets facing upwards were placed against green, any facing downwards were placed against red. If you mix it up, the insert won't work, so make sure you pay attention to your polarity!
Boost Me (for free)
I make game inserts for my own sanity, I find it to be a fun hobby. If you feel these are worthy of a boost, please do so. If not, I won't lose sleep over it...these inserts are for me, sharing them is just more dopamine for my ADHD riddled brain :)
I will put any boosts towards more filament for more insert designs :) Thanks!
License
You shall not share, sub-license, sell, rent, host, transfer, or distribute in any way the digital or 3D printed versions of this object, nor any other derivative work of this object in its digital or physical format (including - but not limited to - remixes of this object, and hosting on other digital platforms). The objects may not be used without permission in any way whatsoever in which you charge money, or collect fees.
Comment & Rating (4)