


Print Profile(1)

Description
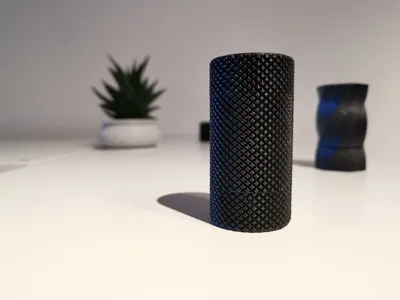
Pax Press
Compact and portable press designed to pre-press pucks for the PAX 3.
Ideal for travel or daily use when you want to prep in advance.
The press produces consistent pucks that fit the PAX oven tightly.
Use it with the Pax 2/3 funnel adapter by gruppler for easy chamber loading.
You only need to print one of each .stl file to get a fully working unit:
- Pax Press Body
- Pax Press Cap
- Pax Press Screw
- Pax Press Stem
- Pax Press Adapter Cap (for use with the funnel when filling)
Print Settings
- Print the cap with extra bottom layers
→ ensures the top area is fully solid and doesn’t deform under pressure - Add additional solid layers inside the stem
→ gives more rigidity during pressing - PETG recommended for durability
→ PLA can crack at the threads during heavy use
Manual
How I use it
I press my pucks at home and store them in a brick box.
When I'm out or camping, I just take the PAX and the box.
Refilling is quick, clean and doesn’t require loose material.
The vape session feels slightly different than with a loose pack
but not in a worse way — just more compact and consistent.
Step-by-step
- Screw out the bottom screw so it’s mostly extended
Push the stem fully into the body - Attach the adapter cap and use gruppler’s funnel
Fill the chamber and lightly tamp with the funnel packer
→ the material should be just below the edge - Remove the adapter cap and screw on the main cap by hand
- Start turning the bottom screw slowly
You’ll feel a bit of resistance — stop there
Repeat once or twice
On the final turn, go slightly tighter - Unscrew the bottom slightly to release pressure
Unscrew the cap completely - Turn the bottom screw in fully
The puck will rise out — depending on stickiness
you might need to nudge it off the stem - Store your pucks in a padded brick box
Keeps them stable and prevents bouncing around
The files may not be used commercially
Do not redistribute or modify without permission
Copyright applies
Use at your own risk
License
You shall not share, sub-license, sell, rent, host, transfer, or distribute in any way the digital or 3D printed versions of this object, nor any other derivative work of this object in its digital or physical format (including - but not limited to - remixes of this object, and hosting on other digital platforms). The objects may not be used without permission in any way whatsoever in which you charge money, or collect fees.
Comment & Rating (3)