Search models, users, collections, and posts

Strap Drawer Pull
IP Report


Print Profile(0)
Add the first print profile to earn points
Boost
9
37
0
0
0
0
Released
Description
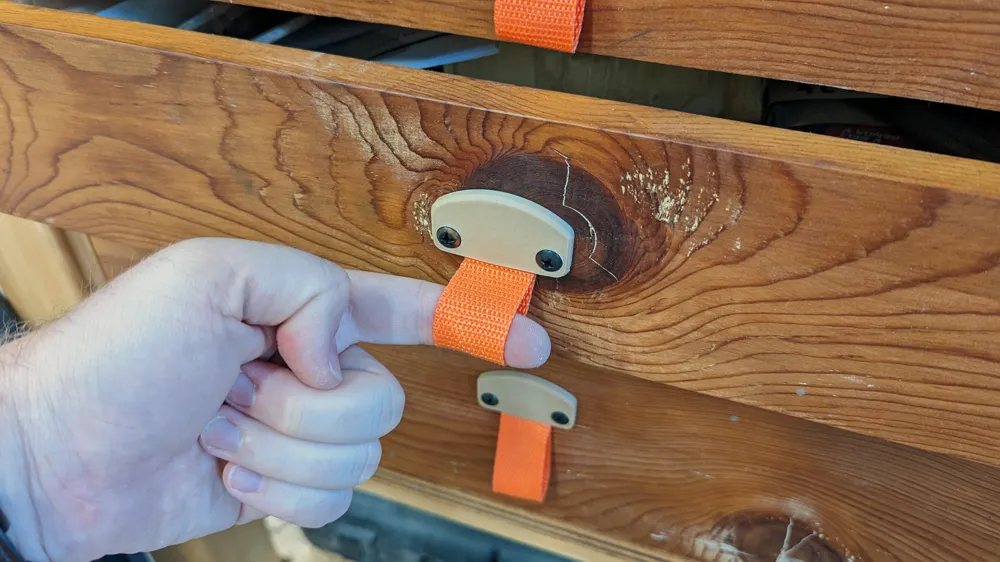
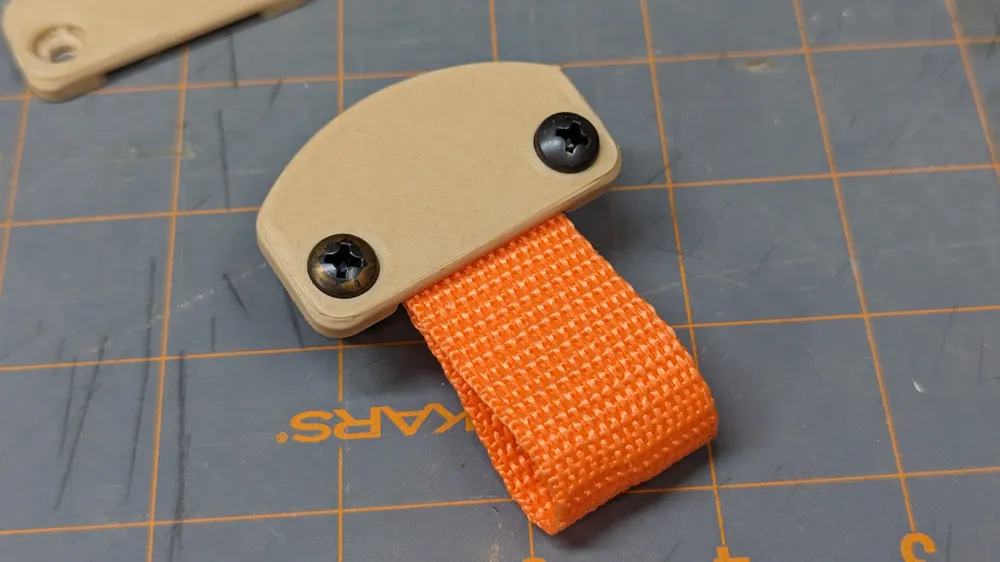
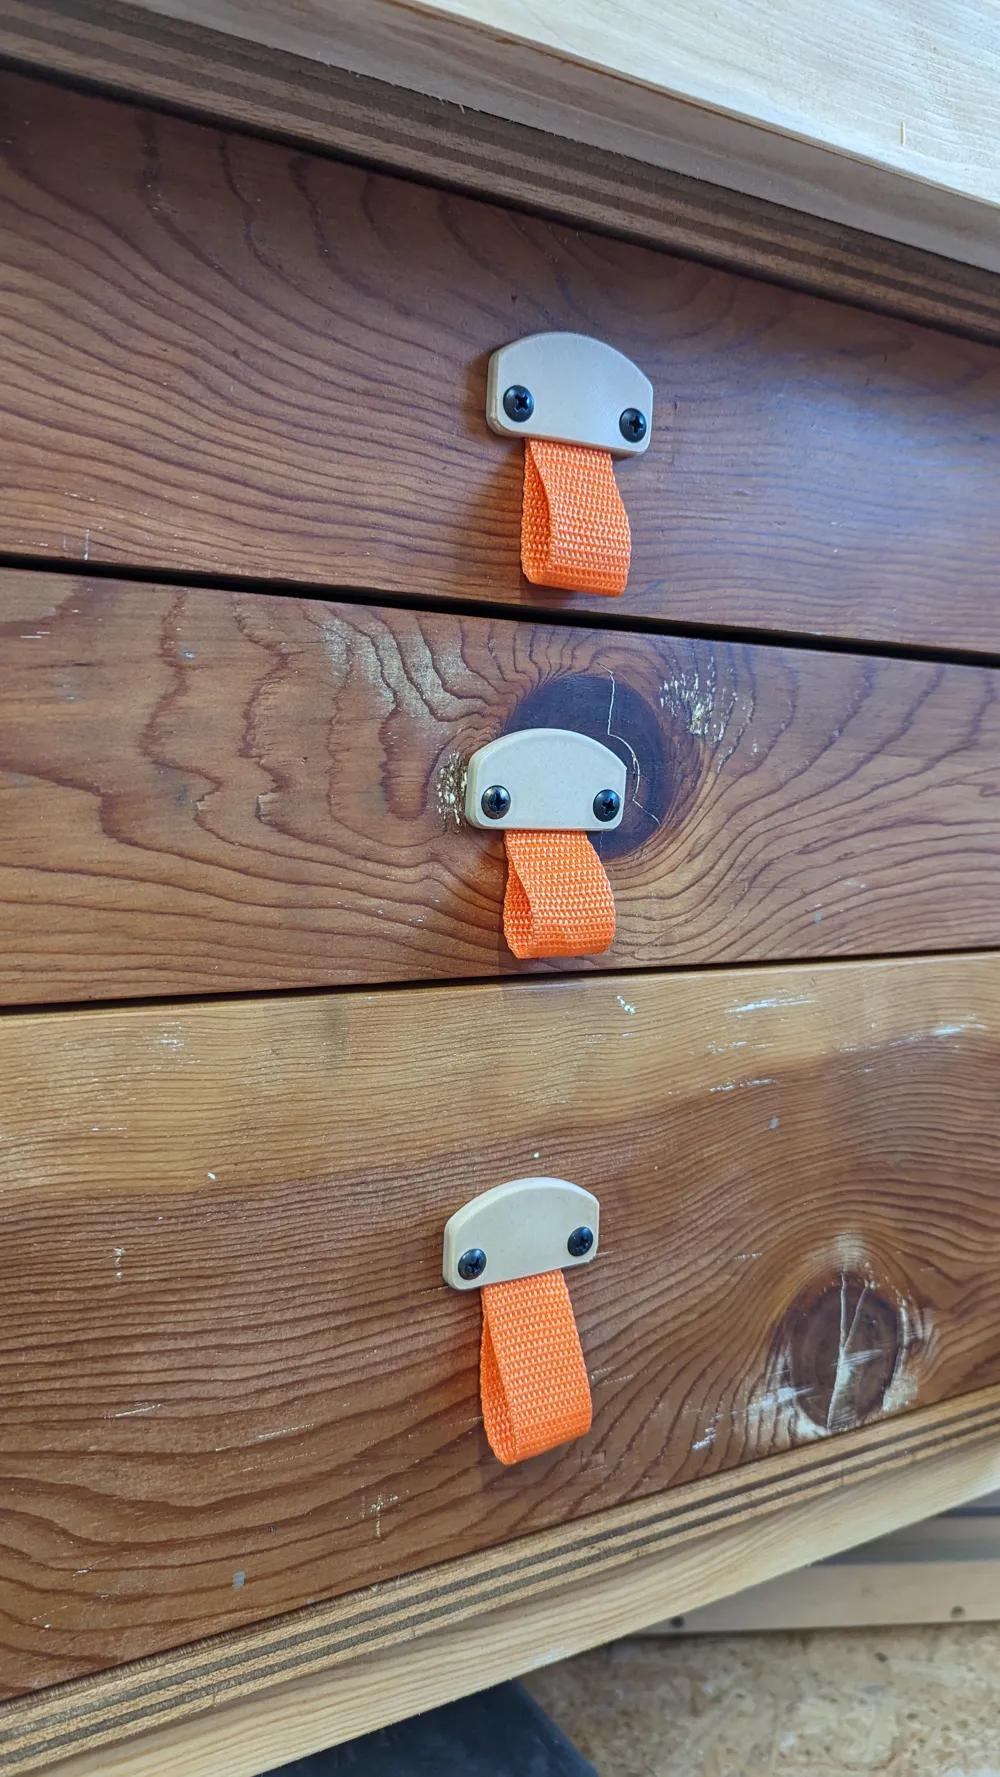
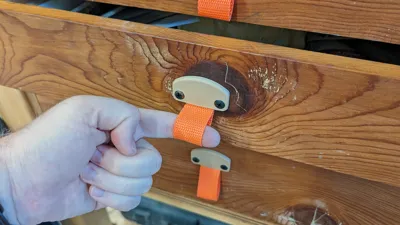
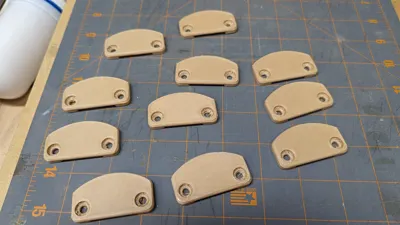
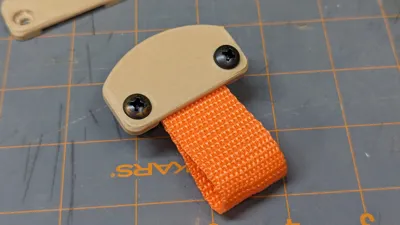
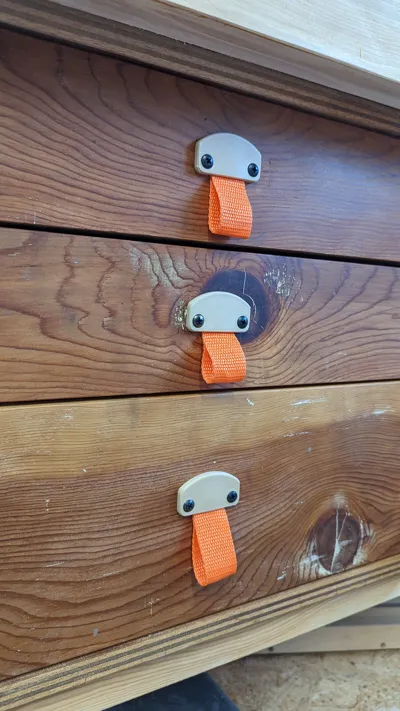
Although not the pinnacle of trending design, this pull is best suited for shops, campers, storage where space is limited, or where a knob or handle may get in the way. Can also be good for kids drawers or organizers where the color of the printed mount and the straps can be fun combos.
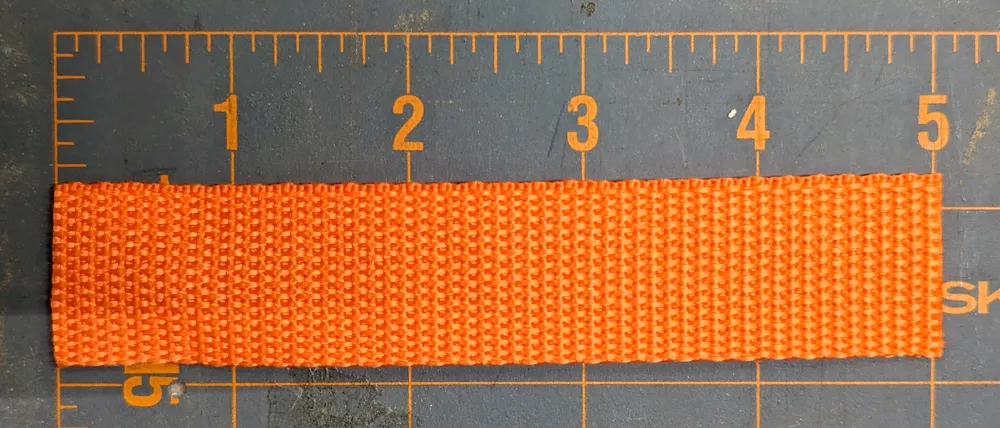
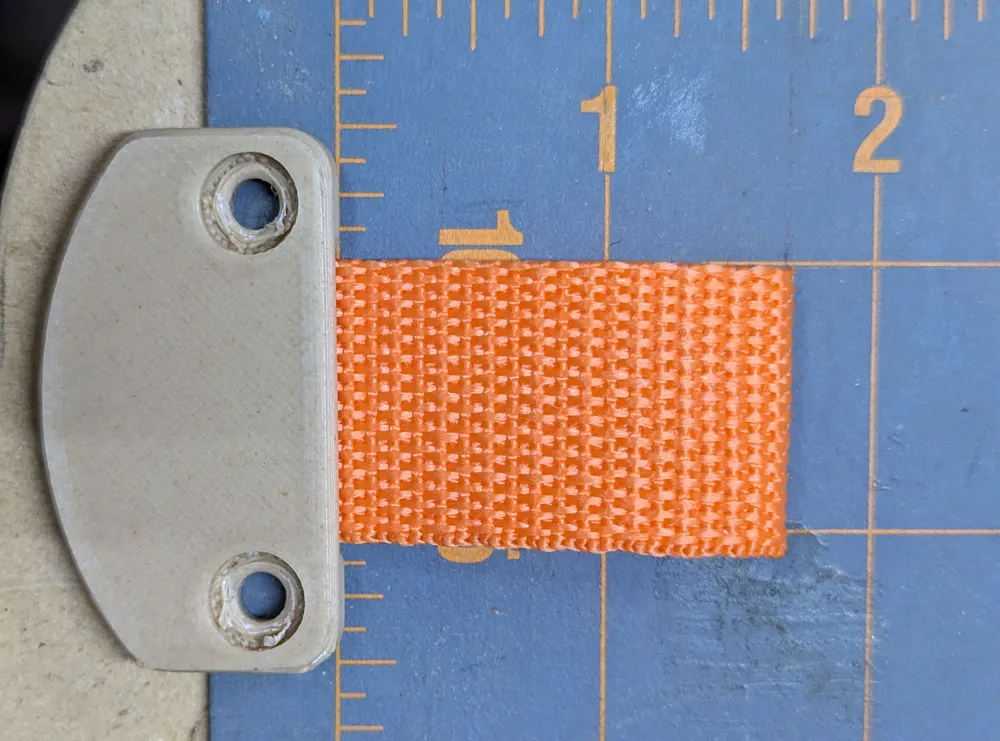
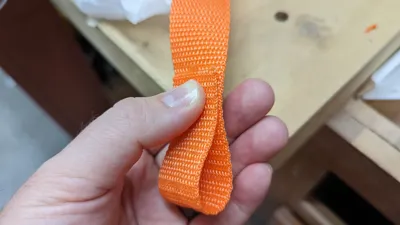
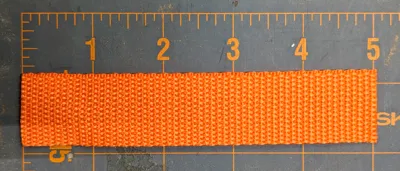
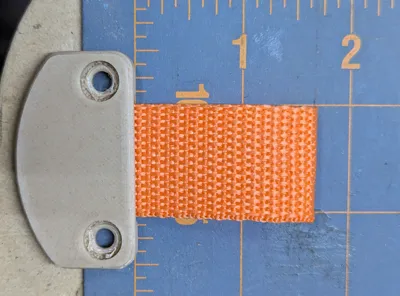
Designed for a 1" wide nylon strap (purchased 3 yds for $0.99/yd @ Hobby Lobby) and pan head screws (3/8" dia head).
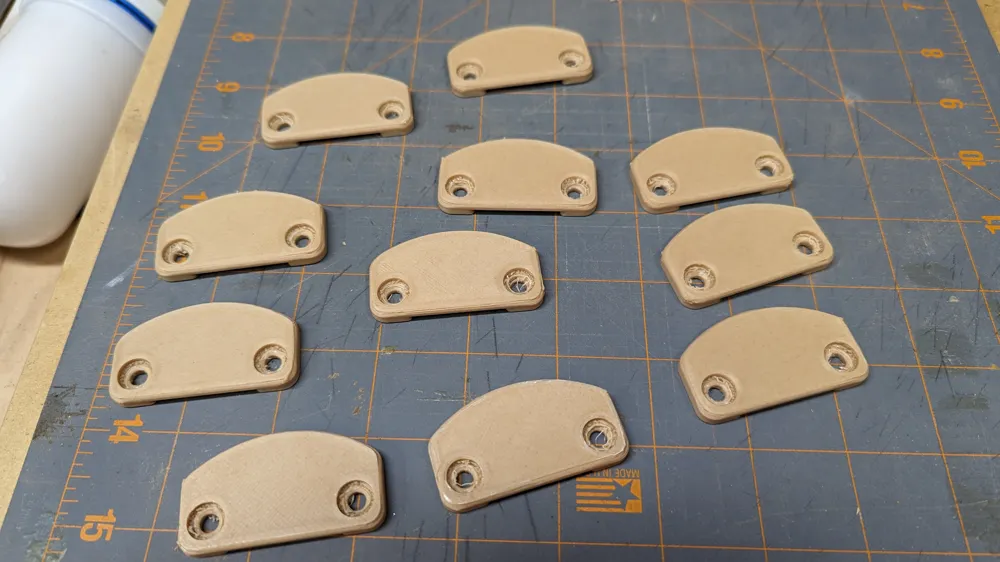
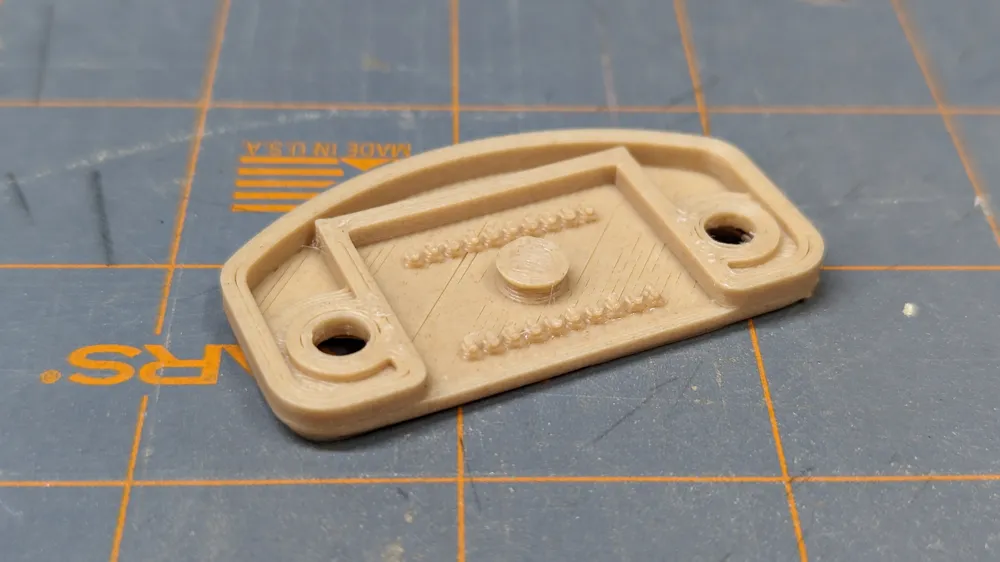
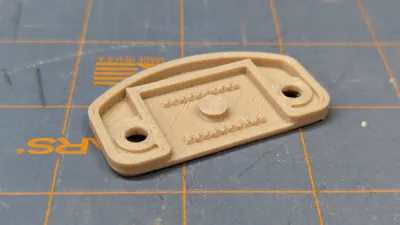
Print at 100% infill. I removed some material at the back where it is not needed to reduce the amount. Lay flat on the front face and use support if your printer needs it in order to print the bottom of the mounting holes “cleanly”.
Directions for use:
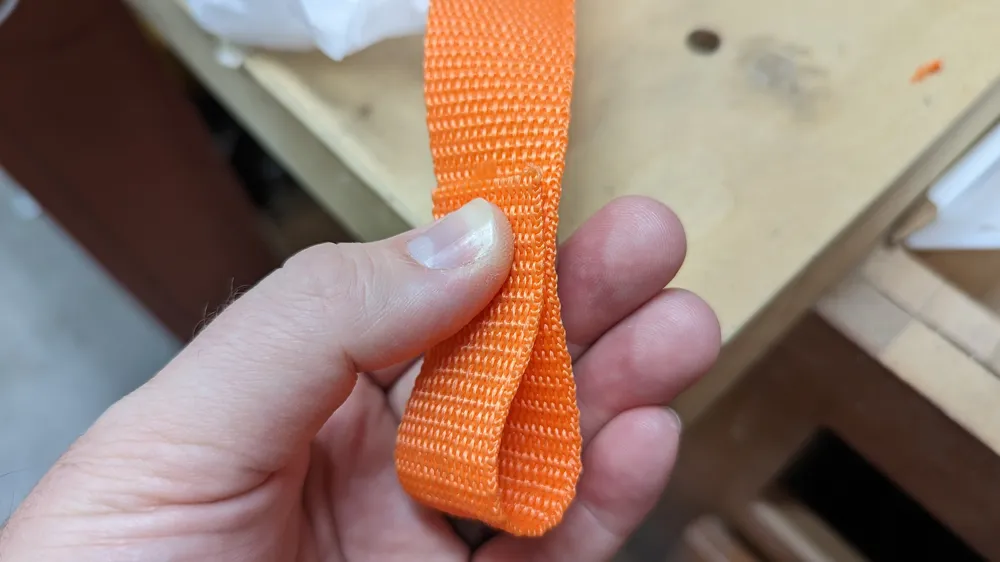
- Cut at least 5" length of strapping (will allow about 1 5/8" long of loop to stick out, enough for a finger or two). Longer if you want.
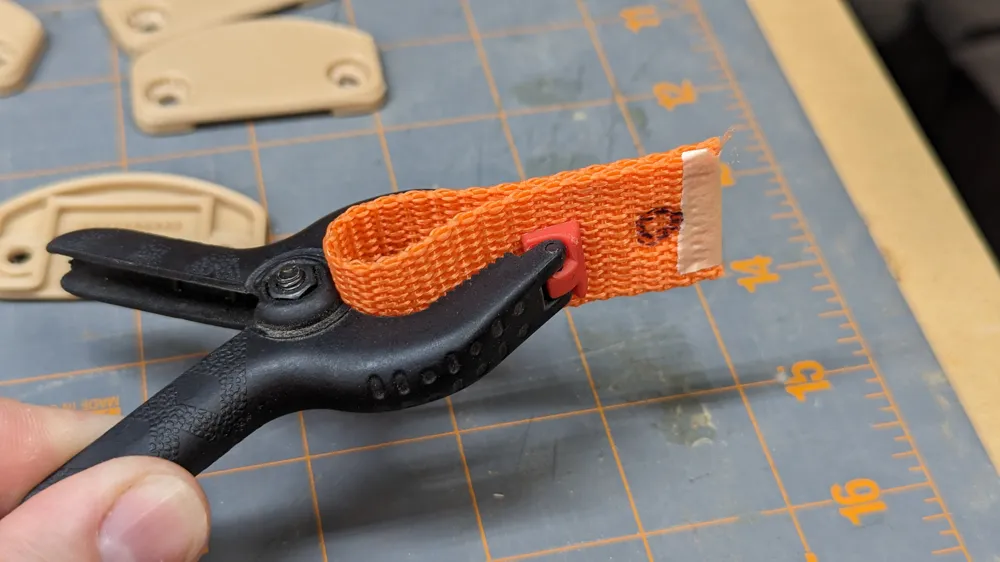
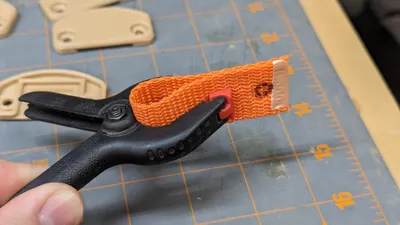
- Clamp or tape the ends together (make sure tape doesn't cover where the hole will be as the heated bolt will not melt easily through the tape)
- Use the back of the mount (where the circle and little grips are), press the strap into the spot where it will go, leaving an indent of where the hole should be melted through. It may help to mark the indent with a marker to see during the melting part.
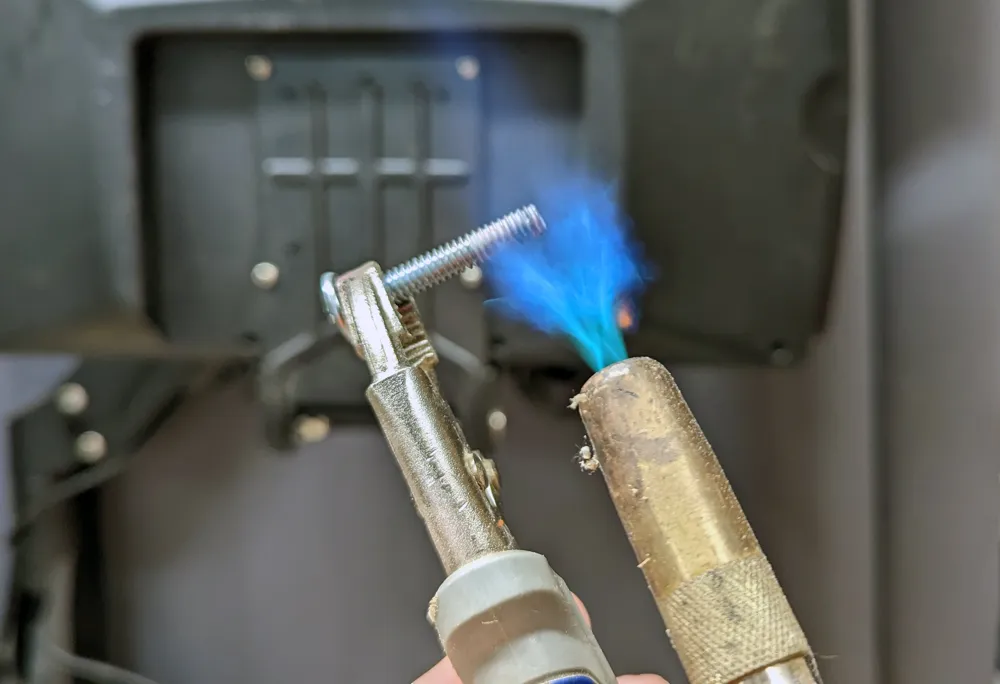
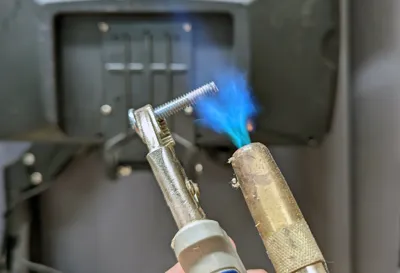
- With nylon for the strap, the hole can be melted through the two layers with a ¼" x 20 bolt heated over a flame (held in pliers of course and in a well ventilated area). If under age, use under supervision of parent or adult. Take caution when finished with the hot bolt, as it will retain heat for some time and may damage the surface it is placed on.
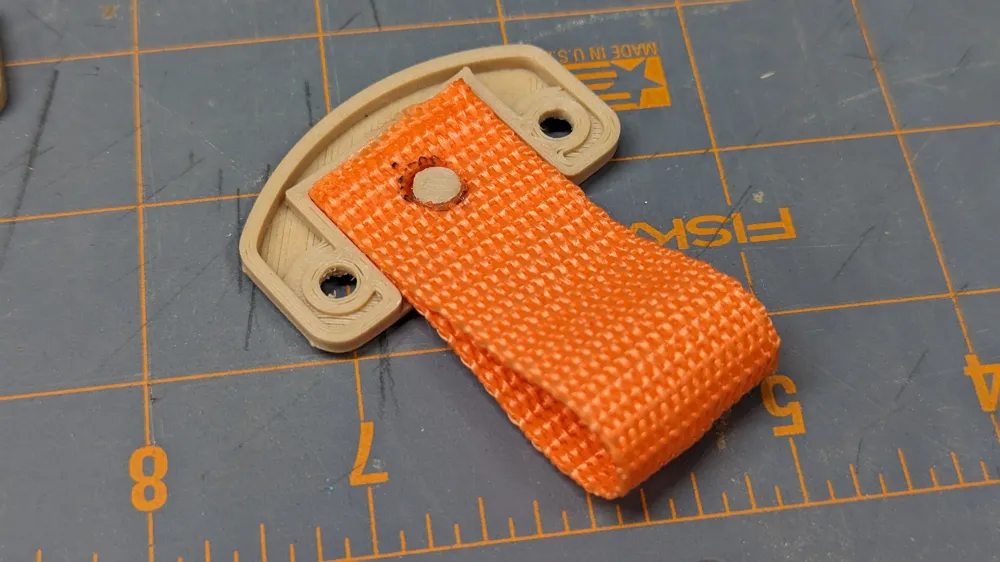
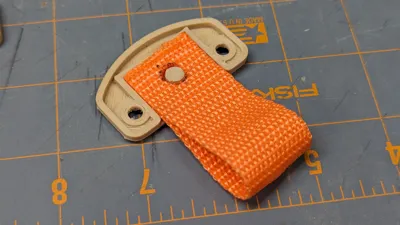
- After cooling, the strap may be inserted in the back of the mount. If there is any excess, causing it to not seat correctly, it can be trimmed.
- Using the mount as a guide, mark the screw holes in the location that you would like. Use a 3/32" - 1/8" drill bit to drill two pilot holes.
- Using two screws to screw the mount to desired location. Be sure to tighten so the mount is flat against the drawer, but do not overtighten as this may break the plastic. (here is a link to McMaster to show the size screw that I used that fits perfectly in the mounting holes. You don't need to buy those exact ones, but has a nice diagram of the size: https://www.mcmaster.com/91555A132/)
Voila!
License

This user content is licensed under a
Creative Commons Attribution-Noncommercial-Share Alike


Comment & Rating (0)