Holoprojector Prop


Print Profile(3)


Bill of Materials


- 3D Hologram Fan Projector x 1: https://a.co/d/4GzRxMa
- 9ft 30 LED USB String Lights Silver Wire String Lights Fairy String Lights x 1: https://a.co/d/i4QHBni
Description
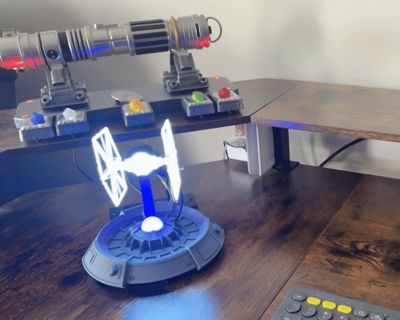
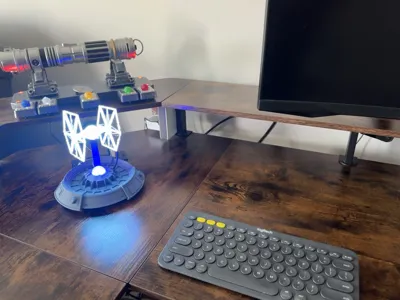
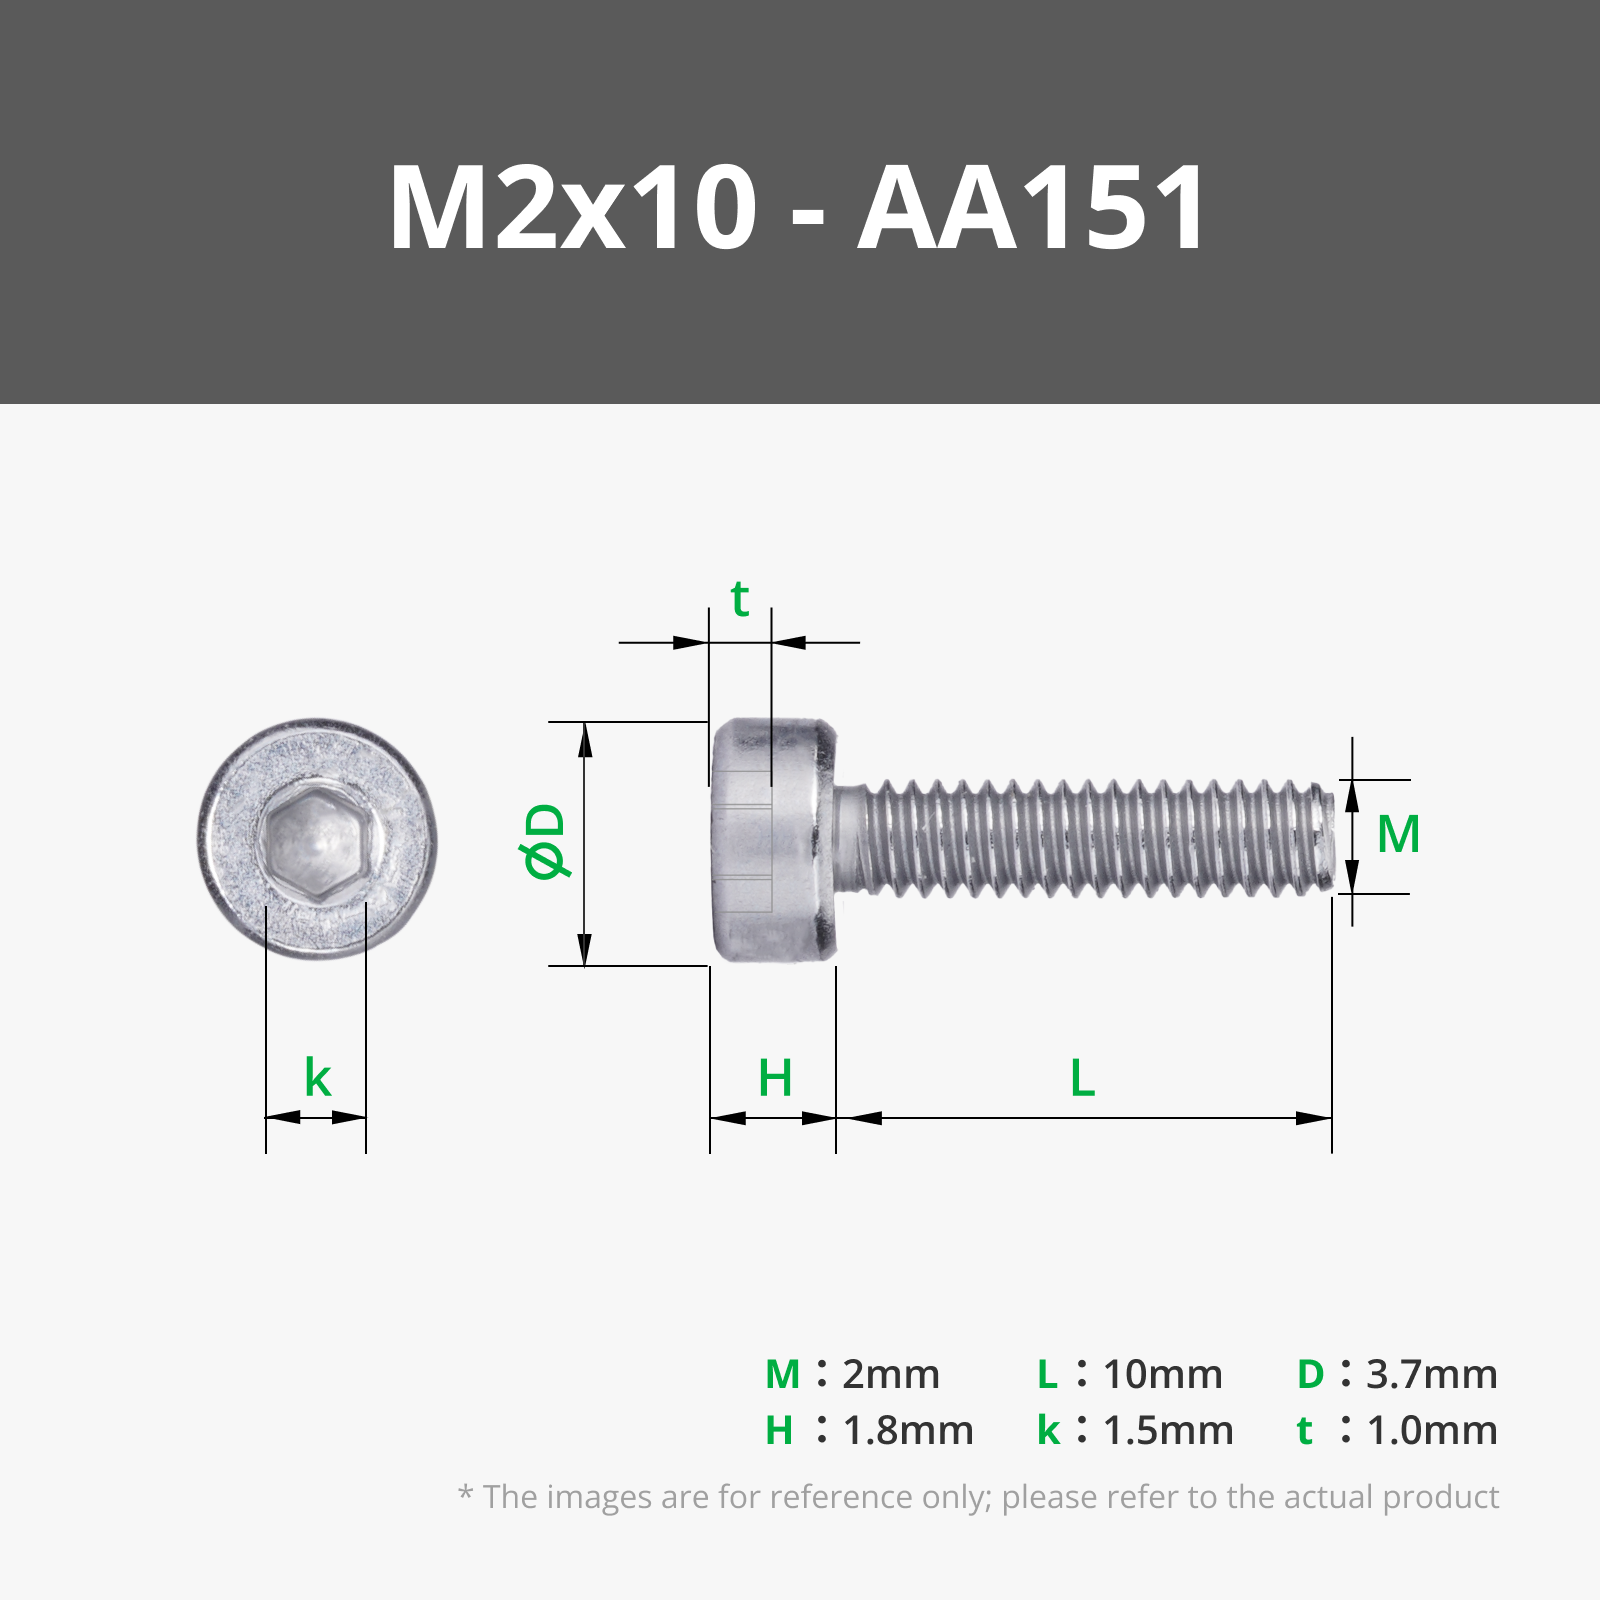
A desktop-sized holoprojector built with a 5.5in (14cm) hologram fan and fairy lights, both sourced from Amazon. You'll need 2 M2 screws (or a comparable size for the hologram fan of your choosing). Note: If using the fan I selected, you may need to slightly widen the screw holes as M2 screws were just a bit too large.
For the Base, I recommend setting supports to ‘Normal’ (as that seemed to speed up the print considerably) and using a 0.08mm layer height for printing, as I prefer minimizing layer lines. These settings are a bit conservative, so feel free to adjust them to suit your preferences.
For the globe, I switched up to use tree support. However, I kept struggling with removing the supports at the top of the globe (because I'm clumsy). So I ended up leaving the top of the “tree” in there. You might want to do the same. It doesn't negatively impact it at all from what I can tell.
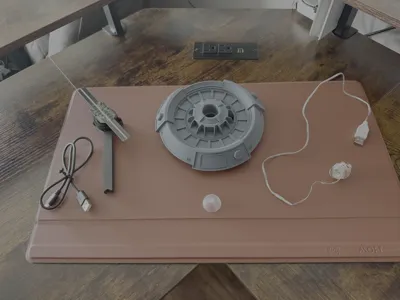
• Place the LEDs inside the center cavity to create the glow under the globe. Just bunch or wrap them (see last photo for example) and place them in the center. The hole in the center lets you thread the LED USB cable underneath.
•The mast holds the fan.
•The two holes on either side of the mast hole are for the fan's USB cable. There are two so you can use whichever one is closest to your fan’s power port, helping to hide the wire
The Fairy Lights: https://a.co/d/aXBcHJ8
The Holofan: https://a.co/d/40Viqd8
The Deathstar hologram video: https://pixabay.com/videos/death-star-star-wars-empire-33050/
(sorry, I don't remember where I got the TIE fighter one from.)
I'd love to see your prints! So feel free to post them below.
The design is based on concept art from Rogue One, with some modifications.
If you're interested in a far larger and more advanced version, check out Reality2Robots' Etsy store.
And if you want to see R2Rs built, check out The Smugglers Room’s video.
Comment & Rating (439)