
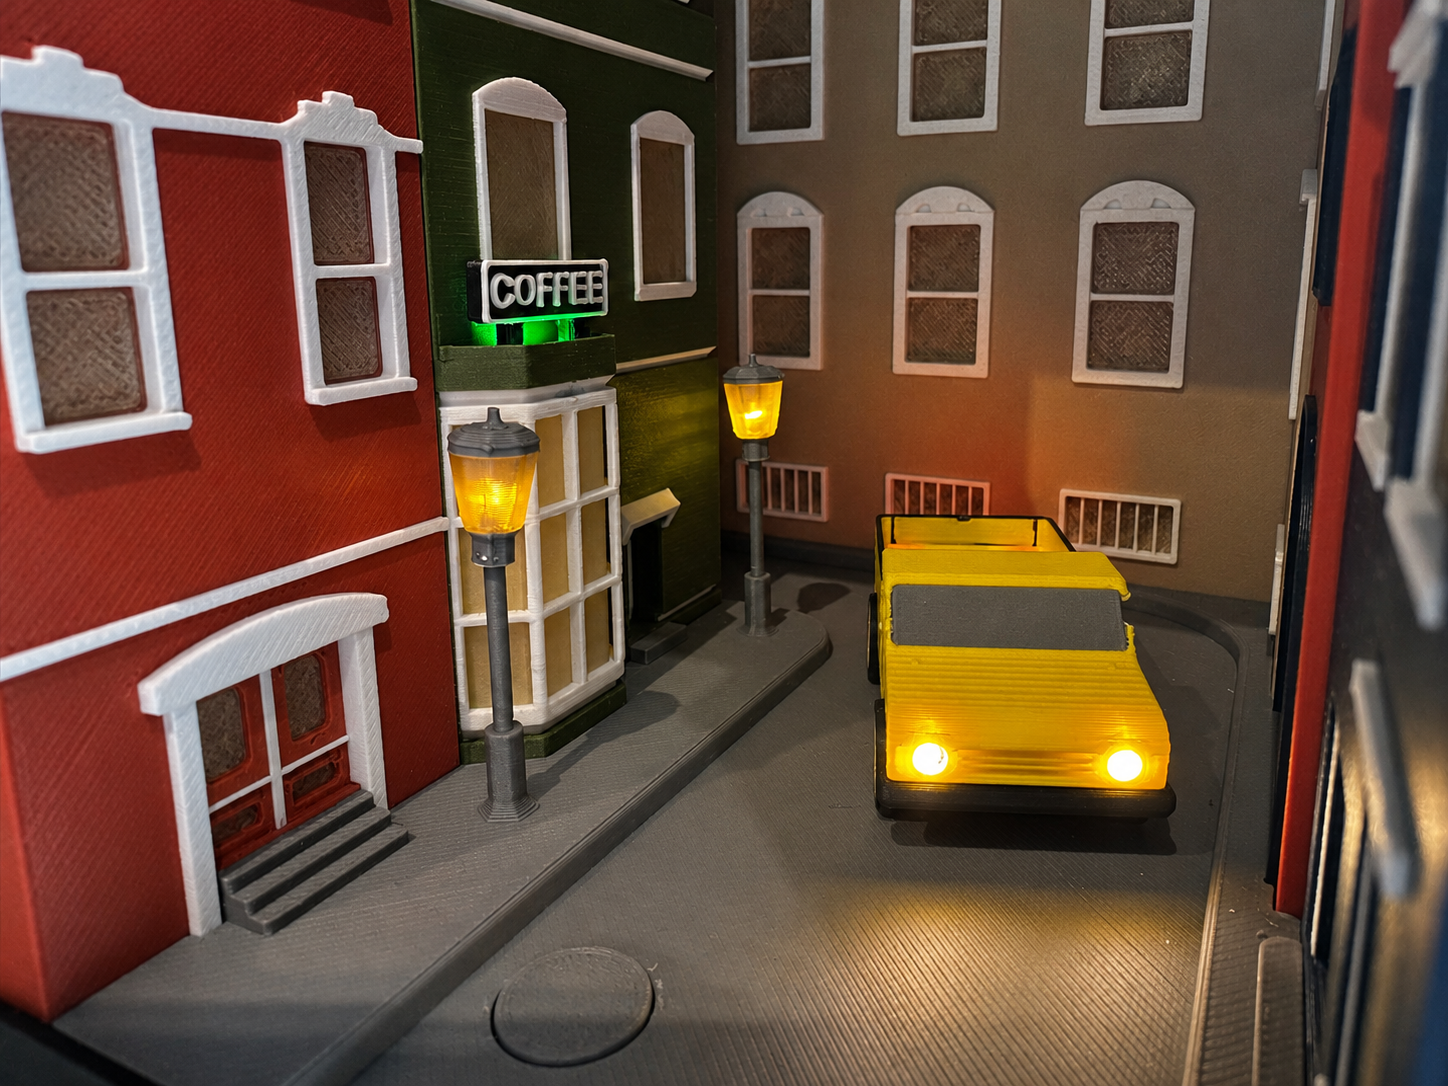
The idea for my Midnight City Street Book Nook came from the MakerWorld Limited Kit Challenge. I didn’t want to create only a model with lights. I wanted to build a small scene that looks like part of a city at night.
The atmosphere was very important to me. A narrow street, tall buildings, glowing street lamps, a light-up Coffee sign, and a vehicle with working front and rear lights should create the feeling of a quiet city at midnight.
From the First Idea to the Final Model
The whole model was designed in Fusion 360 and is my biggest design project so far. One of the biggest challenges was getting all the sizes and tolerances right. The buildings, the road, the frame, and the electronic parts all needed to fit together well and be easy to assemble.
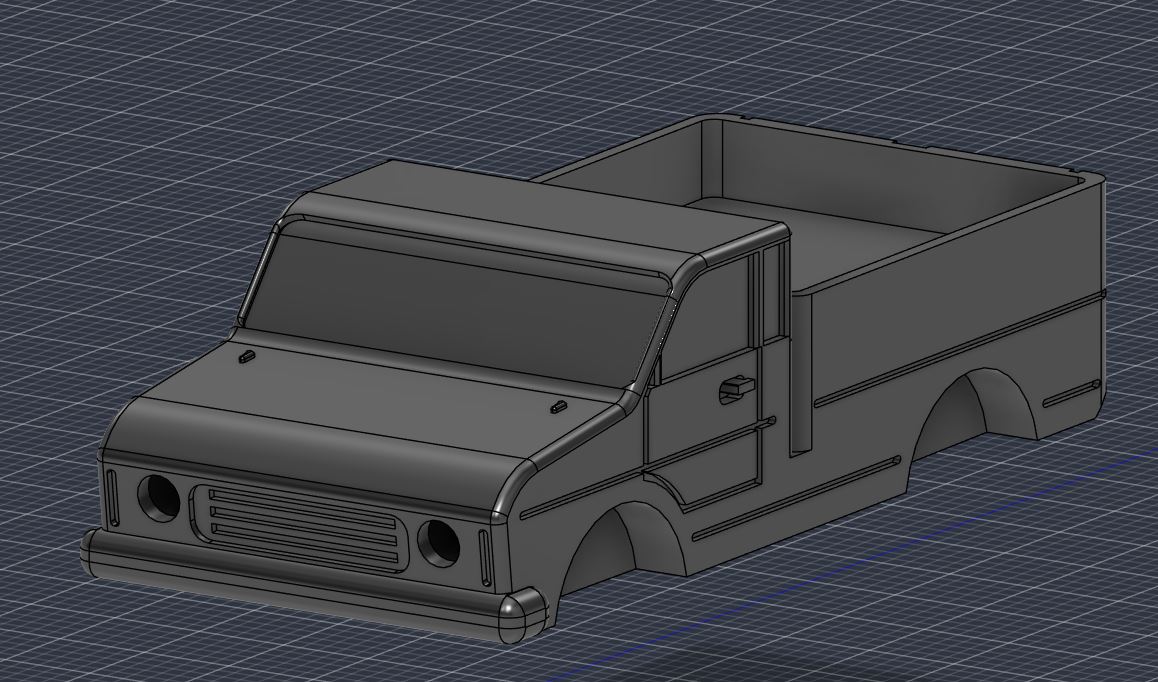
At first, I wanted to design a normal car for the scene. But during the first tests, I noticed that the car would not fit the scale of the scene. To make enough space for the front and rear LEDs, the car would have needed to be much bigger.
That is why I decided to design a truck instead. Its bigger and bulkier shape gave me more space for the LEDs (see Figure 1).
Lighting as the Heart of the Model
The lighting is one of the most important parts of the model. The truck has working front and rear lights. There are also two light-up street lamps and a glowing Coffee sign.
These different lights give the street its special nighttime atmosphere. Depending on the filament and LED colors, the scene can look warm and realistic or bright and colorful.
The print profiles include pauses at the correct layers for placing the LEDs inside the truck and the street lamps. This means the LEDs can be added during printing.
Modular Design
An important part of the design was keeping the electronics easy to reach. The road section can be removed, so the wires and electronic parts are still accessible after assembly. The top section of the Book Nook can also be removed.
The buildings are also placed into the model separately. This makes printing and assembly easier and allows you to try different color combinations.
The Finished Model
Many improvements, changes, and test prints were needed before the final version was finished. Many parts were changed, printed again, and tested several times until the size, lighting, and assembly worked well.
The project was a fun challenge and helped me improve my Fusion 360 skills.
Finally, I would like to thank MakerWorld for their support and for giving me the opportunity to bring this project to life!
I hope you enjoy the model - you can check it out here.Thank you for your support, and have fun printing and assembling it!