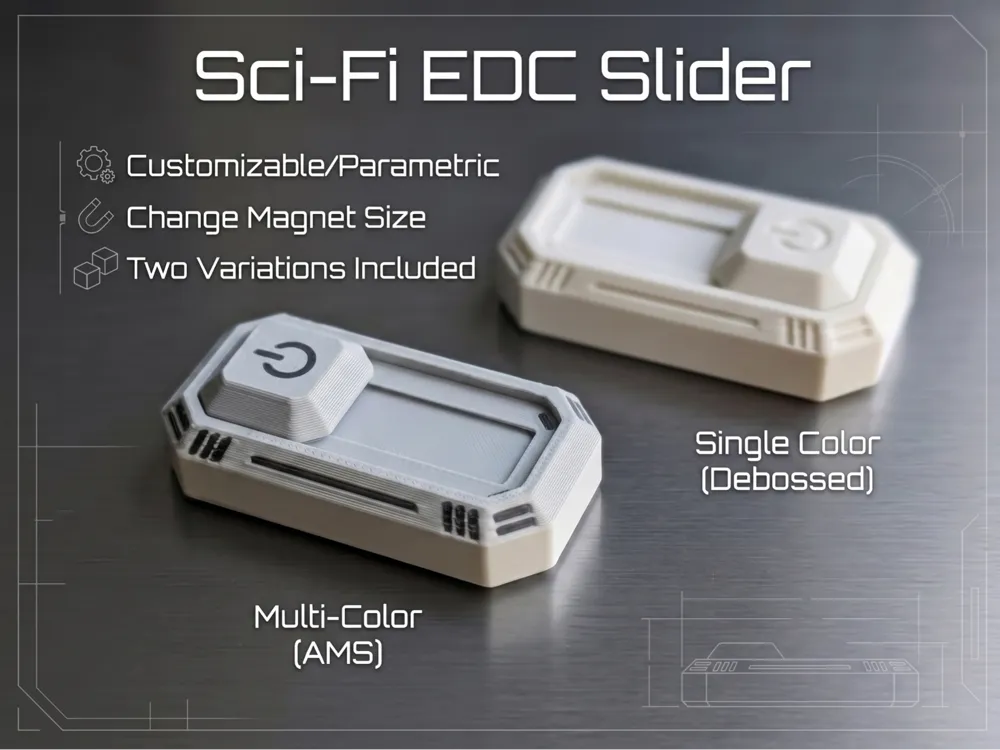
Sci-Fi EDC Slider


Print Profile(3)


Bill of Materials


Description
Boost Me (for free)
If you like this model, please consider giving me a boost. It's free! I would really appreciate it :)
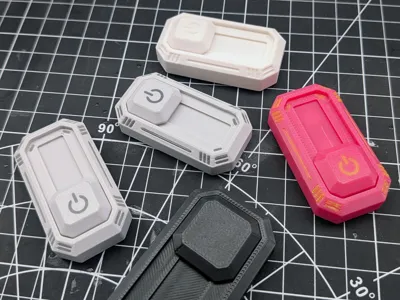
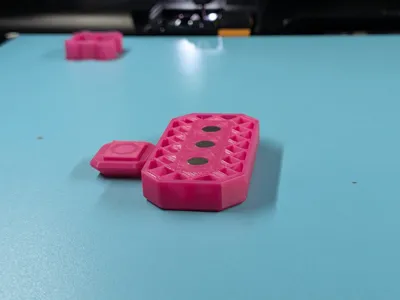
A small sci-fi themed magnetic slider toy made for satisfying back-and-forth fidgeting. It is simple, tactile, and fun to play with, with a little snap as the slider moves from side to side.
This was designed with children in mind, so the magnets are fully embedded inside the printed parts. That adds extra safety because the magnets are enclosed and cannot normally come loose during play.
How it works
The slider has one embedded magnet, and the housing has three embedded magnets. The two side magnets attract the slider so it snaps into place on either side. The middle housing magnet is flipped so it repels the slider magnet, pushing it away from the center and toward one of the side magnets.
This gives the toy a simple but satisfying magnetic action without any loose parts.
Included print profiles
Print profiles are included for:
- 6x2mm magnets
- 6x3mm magnets
- 8x2mm magnets
Please leave a comment if you need a print profile for another magnet size, or use the built-in Customizer by clicking the Customizer button.
My personal recommendation is the 6x3mm magnet profile. Larger magnets can give a stronger snap, but they also make the whole toy larger. The 6x3mm size strikes the best balance between magnetic strength and overall size.
Customizer guide
A more detailed guide can be added if needed, but the basic workflow is:
- After exporting the STL or 3MF, open it in Bambu Studio.
- Split the object to parts.
- "Sub merge" the slider into its own assembly. These should be output_1_31 to output_1_34. Select "Lay on face" and click the top face with the power icon to lay it flat on the bed.
- For both the slider and the housing, change the magnet bodies to "Negative Part". They should be the first parts in each body. Check the highlighted outline to make sure the correct bodies are selected.
- For a single-color print, delete the detail bodies. These should be everything after the first body in the parts list. For a multi-color print, change the detail bodies to the second filament in the list, assuming you are using two filament colors.
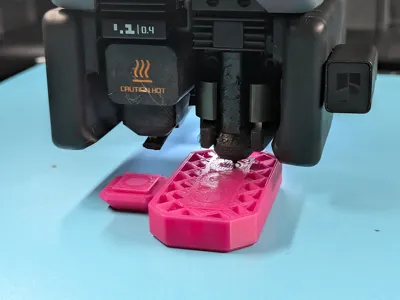
- Add a pause at the layer where the slider magnet is being closed over.
- Add a pause at the layer where the three housing magnets are being closed over.
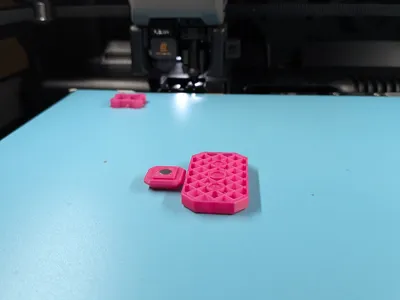
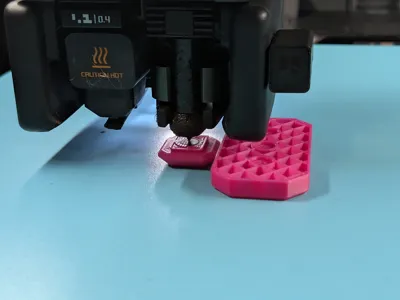
Magnet installation
At each pause, add a small dot of glue to the magnet before pressing it into the body. Double-check the polarities before continuing the print.
The slider magnet should be repelled by the middle housing magnet and attracted to the two side housing magnets.
Important: the slider is printed face-down, so double-check the magnet orientations before pressing them in. Once the magnet is seated, especially with glue, it can be hard to remove if the polarity is wrong. Take a moment to verify the orientation carefully before installing the magnets and resuming the print.
Assembly and break-in
After printing, press one end of the slider into the rail first. The slider uses a dovetail-style insert, so once one end is seated, press firmly on the other end until it snaps into place.
The fit is meant to be secure, but do not force it at the wrong angle. Make sure the slider is aligned with the rail before pressing it in.
It may feel a bit stiff at first, especially if your flow rate is not tuned properly, but it should smooth out with use. Slide it back and forth a bunch of times to help break in the dovetail surfaces.
A tiny amount of lubricant can also help. I like Krytox 205g0, but linear rod lubricant can also work if used sparingly. Apply only a very small amount to the sliding surfaces and wipe away any excess before use.
License
You shall not share, sub-license, sell, rent, host, transfer, or distribute in any way the digital or 3D printed versions of this object, nor any other derivative work of this object in its digital or physical format (including - but not limited to - remixes of this object, and hosting on other digital platforms). The objects may not be used without permission in any way whatsoever in which you charge money, or collect fees.
Comment & Rating (0)