CyberCharge


Print Profile(1)

Bill of Materials


Description
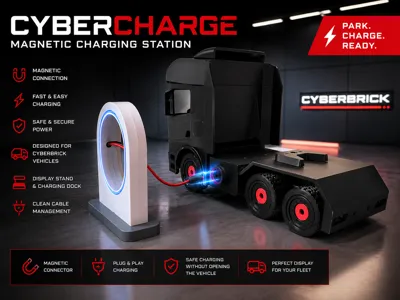
CyberCharge – Magnetic Charging Station for CyberBrick Vehicles
Keep your CyberBrick fleet charged, organized, and ready for the next job.
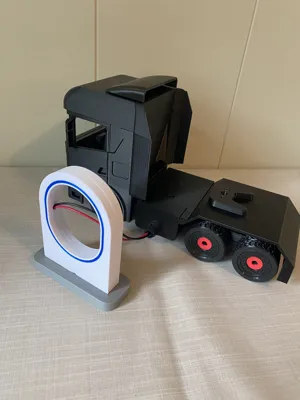
CyberCharge is a dedicated magnetic charging station designed specifically for CyberBrick vehicles. Instead of opening the vehicle or disconnecting cables, simply park your truck, connect the magnetic charger, and recharge the battery with ease.
The charging station also serves as a display dock, making it the perfect addition to any CyberBrick workshop, garage, or depot.
Features
- Magnetic charging connection
- Plug-and-play charging
- No need to open the vehicle for charging
- Clean and organized cable management
- Display stand and charging dock in one
- Compatible with current and future CyberBrick vehicles
- Easy to print and assemble
Required Components
Charging Station
Vehicle
- 1× Magnetic charging plug
- 1× XH2.54 Y-Type conversion cable
- CyberBrick battery
- CyberBrick ON/OFF switch
How It Works
The magnetic charging socket inside CyberCharge is connected directly to the original CyberBrick charger.
Inside the vehicle, the magnetic charging plug is connected to one branch of the XH2.54 Y-cable. The second branch connects to the vehicle's ON/OFF switch, while the main connector connects directly to the battery.
This allows the battery to be charged without disconnecting any cables.
Wiring Diagram

Please refer to the included wiring diagram image above.
The XH2.54 Y-cable is connected as follows:
- Male connector → Battery
- Female connector #1 → Vehicle ON/OFF switch
- Female connector #2 → Magnetic charging connector
The magnetic charging connector then connects to the CyberCharge station, which is connected directly to the original CyberBrick charger.
Charging Procedure
- Turn the vehicle OFF.
- Connect the magnetic charging cable.
- Charge the battery.
- Disconnect the charger.
- Turn the vehicle ON.
Important
⚠️ TURN THE VEHICLE OFF BEFORE CHARGING
The charging connector is connected directly to the battery through the Y-cable.
Do not operate the vehicle while the charger is connected.
CyberCharge is intended for battery charging only.
Park. Charge. Ready.
🚚 Cyberbrick Truck Series is now LIVE!
Build your own 3D-printed RC truck fleet.
👉 Follow now to unlock Early Bird rewards:
https://makerworld.com/en/crowdfunding/147-cyberbrick-truck-series-build-your-fleet
License
You shall not share, sub-license, sell, rent, host, transfer, or distribute in any way the digital or 3D printed versions of this object, nor any other derivative work of this object in its digital or physical format (including - but not limited to - remixes of this object, and hosting on other digital platforms). The objects may not be used without permission in any way whatsoever in which you charge money, or collect fees.
Comment & Rating (0)