Modular Light Track


Print Profile(4)


Bill of Materials


- ESP32 x 1:
- Addressable LED Strip x 1:
Description
Origins of the Design & Fabric Choices
This design came from a desire to 3D print and make a light track system which can be applied to walls and ceilings to brighten up the room. It has been developed during a time when I have been having difficulty sourcing Bambu PETG filaments which I normally use, so this has been developed to utilise Filaxix PETG Silver Metallic and Bambu PETG White Translucent. The good news is that I have found the Bambu PETG print profiles ideal for the alternate fabric so I have maintained the use of the Bambu PETG print profile for the Filafix PETG.
I would say that ideally you would want to use a 'shiny' or metallic PETG for the bases and one with good translucency for the lenses. The shiny bases help to scatter the light so it is more widespread by the time it hits the lens and you want to get as much light through the lens but also to ensure it is well diffused. One tester reported positive results using Bambu PETG White. Any translucent PETG would work for the lenses thought.
Each module is on the build plate ready to print. In cases where supports are required, these are manually pained on. Supports are preconfigured to use Bambu PLA Basic White for the interface layer of supports and this works really well, any PLA would likely work.
Each module has the base and then a merged Lid and Lens as the 'Lid Assembly'. It is best to keep the Lid Assembly merged as a single object to ensure the lens and lid print effectively together.
Only the Lens of the Lid Assembly needs to be in the translucent PETG. This is preconfigured for each assembly in the 'Objects' specific configuration in Bambu Studio. All preconfigured for you in the uploaded print profile.
Importantly, let me say that testers made me aware of other designs out there which deliver a similar purpose and functionality. I can confirm that this solution was developed independently and without knowledge or sight of any pre-existing designs.
Additional Parts
I used the WLED ESP32 solution to light up the track. This needs only an ESP32 microcontroller and addressable LED strips. You can find out more about this project with an easy to follow 'How To' at Getting Started - WLED Project this works out about 50% cheaper than buying 'off the shelf' and gives far more functionality and future use cases. It still allows integration with 'Alexa' and other home automation platforms.
Alternatively, you could use a preconfigured solution such as Govee LED Strips available next day off Amazon:
Amazon UK: Govee RGBIC LED Strip Light 5m, Compatiable with Alexa and Google Assistant, WiFi Smart Strip Lights Color Changing Music Sync for Bedroom Party Decor : Amazon.co.uk: Lighting
Amazon Germany:Govee LED Strip 20 m, RGBIC LED Strip with Segment Control, Music Sync, 64 Scene Modes, Controllable via App Control, Colour Changing, Suitable for Home Bedroom, 2 Rolls of 10 m Strips : Amazon.de: Lighting
Amazon Canada: Govee RGBIC LED Strip Lights 100ft, Smart LED Lights Work with Alexa and Google Assistant, App Control Segmented DIY Multiple Colors, Color Changing Lights, LED Lights for Bedroom (NOT Waterproof) : Amazon.ca: Tools & Home Improvement
Amazon US:Amazon.com: Govee 100ft RGBIC LED Strip Lights, Smart LED Lights Work with Alexa and Google Assistant, LED Lights for Bedroom WiFi App Control Segmented DIY Multiple Colors, Color Changing Light, (2 x 50ft) : Tools & Home Improvement
The 3D Printed Track
The design is based around straight modules, curved modules and a variety of joining parts. At initial upload the following components are available:
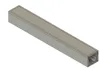
- Straight modules in lengths: 220, 120, 70, 45 and 35mm
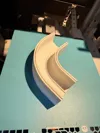
- Horizontally curved modules in 90, 60, 30 and 45 degree turns,
- Vertically curved modules in 90 and 30 degree turns,
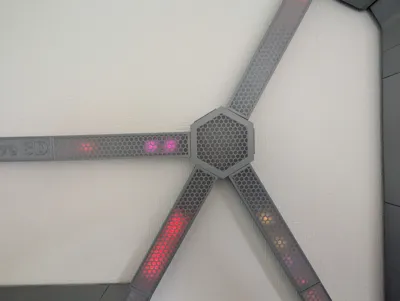
- A hexagonal 'hub' which allows up to 6 modules to join together,
- A 'Message' module that allows you to edit your own customised message, and
- A Universal Joint which allows joining of two surfaces which don’t necessarily need to be 90 degree joins.
There is an intention to make additional modules and customisable modules available in the future.
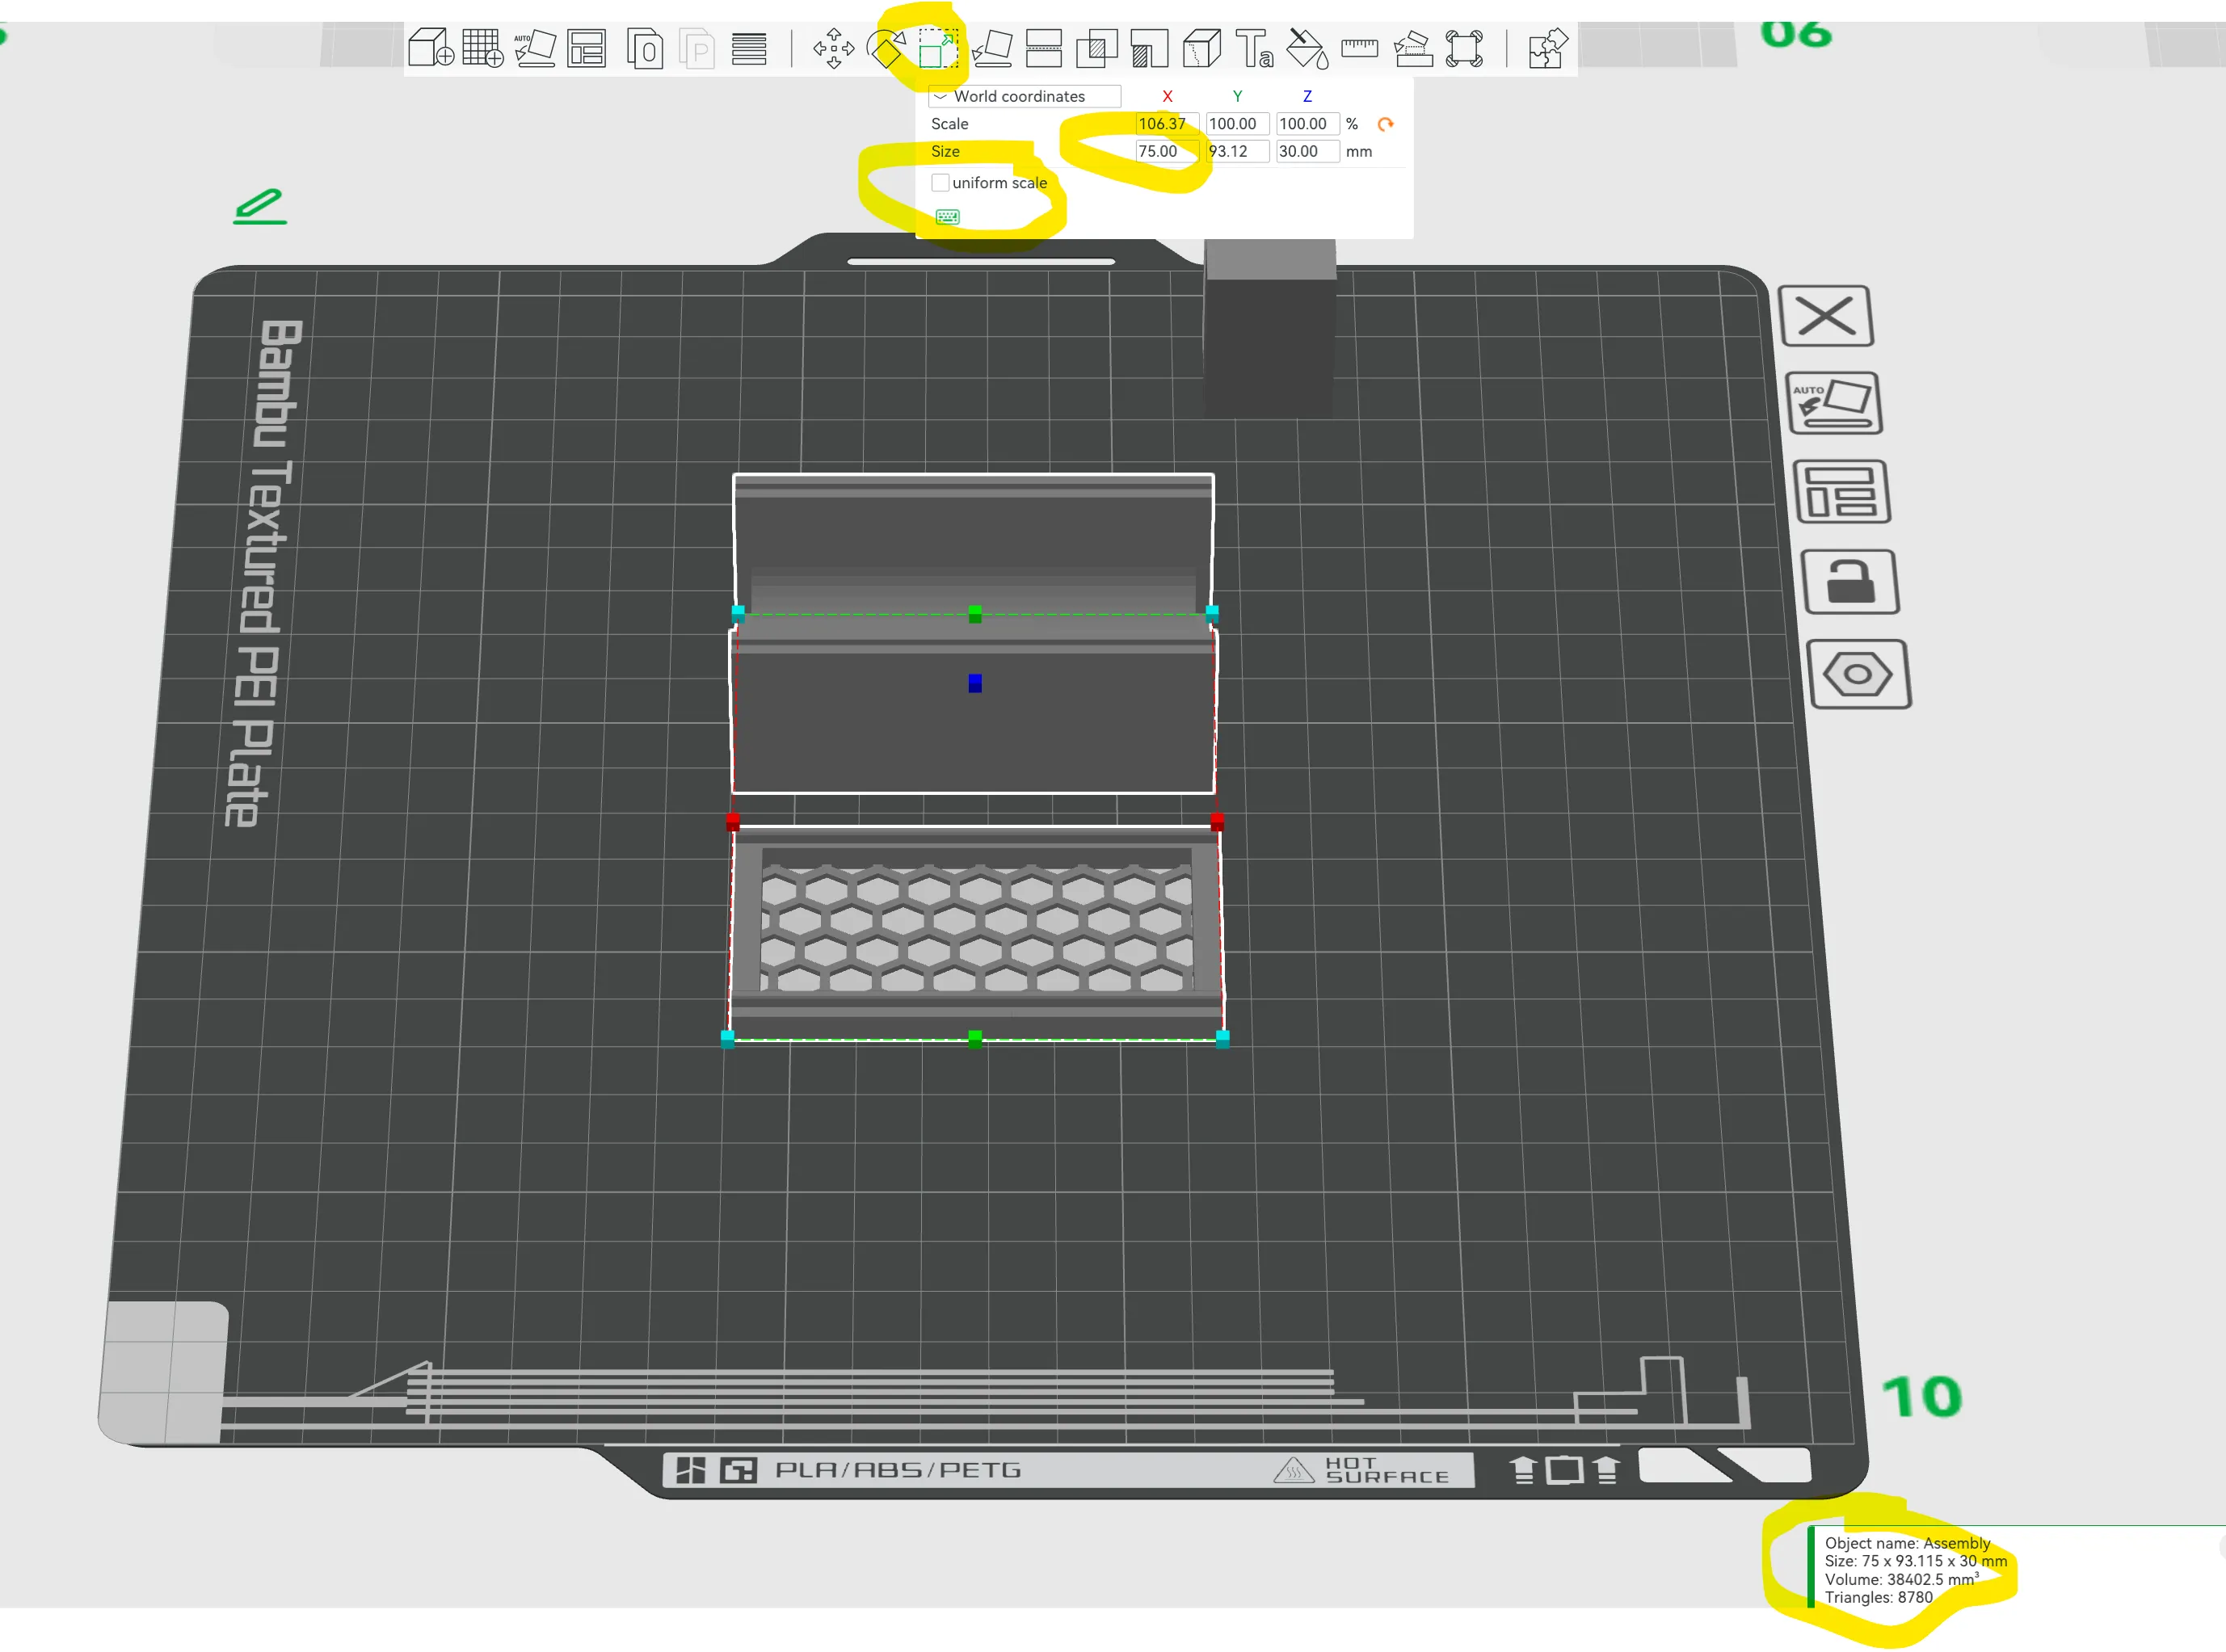
It is worth noting that if you need different lengths to those provided, it is easy to pick the closest size to what you want, then scale it along its length only (not height or width) to get you exactly the length you need. The change in the shadow texture under the lens will be minimal as long as you have only scaled by a small fraction.
Scaling Lengths.
For example, if you needed a length 75mm long, start with the 70mm straight module in Bambu Studio:
- Turn off "uniform scale" check box,
- Scale only the length of the piece to the size you desire; 75mm and press 'Enter'
That will get you the exact size you need and the distortion of the pattern is not noticeable.
Joining together lengths of track or tracks to corners
Each module has, at either end two holes in the base, and two holes in the lid which line up with every other module. Most modules have these holes passing all the way through the straight or corner. This allows you to put a piece of filament in the holes to line up the next module and hold them aligned together. As the holes go all the way through you could 'string' the modules on to lengths of filament to make a robust 'single' construction. Personally, I just use about 5cm lengths of filament joining holes on two modules so they line up easily.
There are joining frames which fit perfectly inside the joints between two modules. These should sit over the LED strip holding it down to the base, and avoid too much light leaking out at the join of two modules.
Originally I had screw holes on the bottom of the modules to screw them into position but I have since removed these and use 3M Command strips to fix them in position instead. You can always add screw holes in Bambu Studio using "Add Negative Part", I have left one set of screw holes in place in one of the Straight 220 modules so you can see how it is done. These can be left in place and copied to other modules, or deleted as you prefer.
The "Controller Housing" has an opaque lens and allows you to put the EPS32 microprocessor and associated wiring in one module.
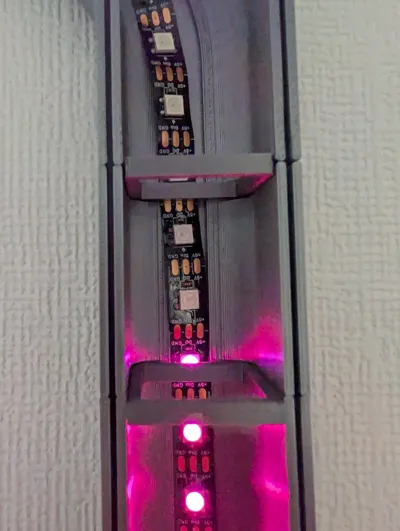
Taking the LED strip round corners.
Don't worry too much about making corners perfect for the LED strip, you can make it go up onto the slope inside the base or gently fold it making sure not to damage the strip itself. Personally I bend it round the base angle and it looks good.
I want to thank all those who tested the profile while it was in development. Please remember that all the mistakes are mine, not theirs' but they did iron out many flaws as part of testing and I am very grateful: Kevin Campbell, Lara Tims, Stephen Walker, and Chris Lewis.
License
You shall not share, sub-license, sell, rent, host, transfer, or distribute in any way the digital or 3D printed versions of this object, nor any other derivative work of this object in its digital or physical format (including - but not limited to - remixes of this object, and hosting on other digital platforms). The objects may not be used without permission in any way whatsoever in which you charge money, or collect fees.
Comment & Rating (52)