


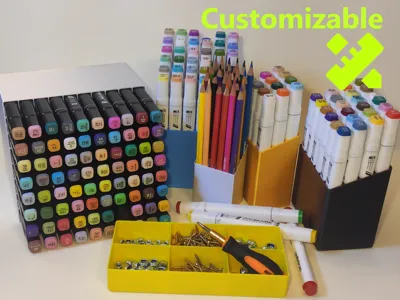

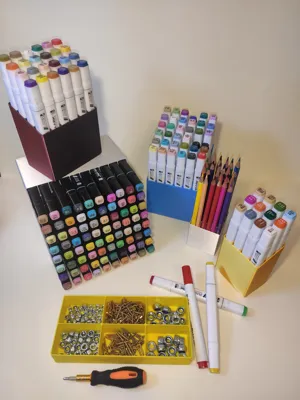


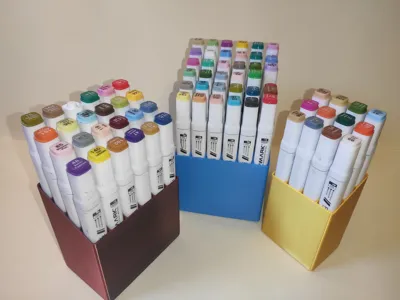

Print Profile(2)


Description
This isn’t just a marker holder—you can customize the cells so that it becomes:
- Seed-starting tray
- Rolled-socks organizer
- Tea-bag sorter
- …Anything else that fits a grid
Play with the parameters, and you can turn it into a knife block or a tiered “stair” organizer.

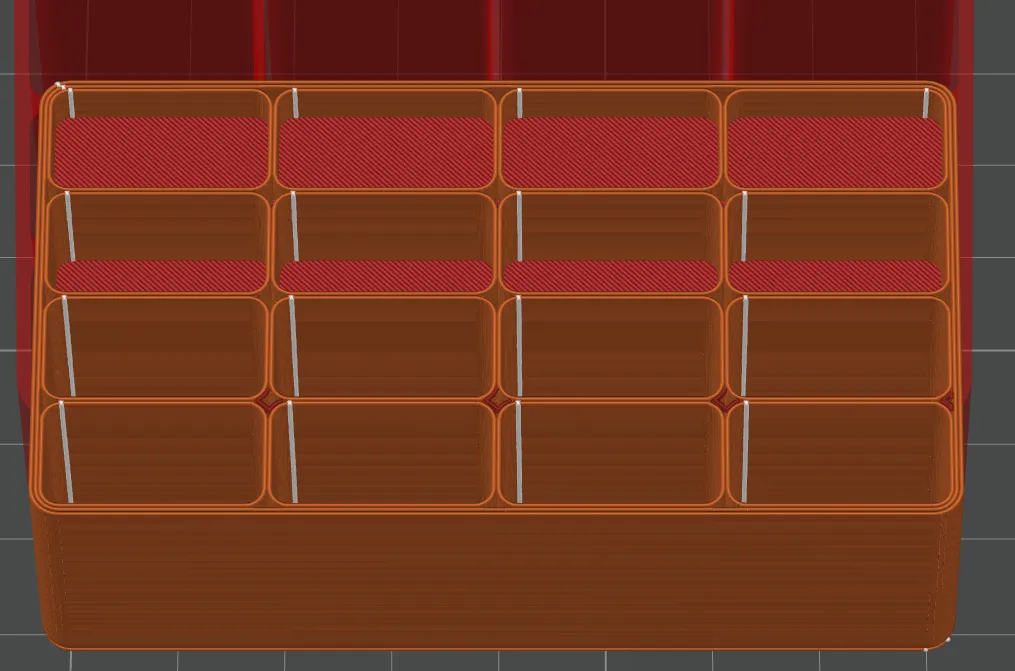
Try to print one of the predefined stands from the print profiles.
⚠️ Large-footprint prints (10x8 cells) can lift at the corners. For best adhesion, thoroughly clean the build plate and apply a thin layer of glue stick (or your preferred adhesive).
If you want to create your own one, read how to do that and how to optimize the print profile. The difference may be significant.
| By default | Optimized |
 |  |
The script exports a single 3MF file containing two geometries: the main body and the modifier.
The modifier is required to create an optimal print profile (see the Print Profile section).
Basic parameters — safe to edit
All sliders below are tuned for a 0.4 mm nozzle.
Workflow
- Leave Nozzle Diameter = 0.4 mm, adjust only the parameters in the table until the layout suits you.
- When you want a thin-walled version, change Nozzle Diameter → 0.2 mm (nothing else)
- The model creates a geometry with thinner gaps, walls, fillets, and spacings, optimized for the 0.2 mm nozzle print profile
| Name | Description |
|---|---|
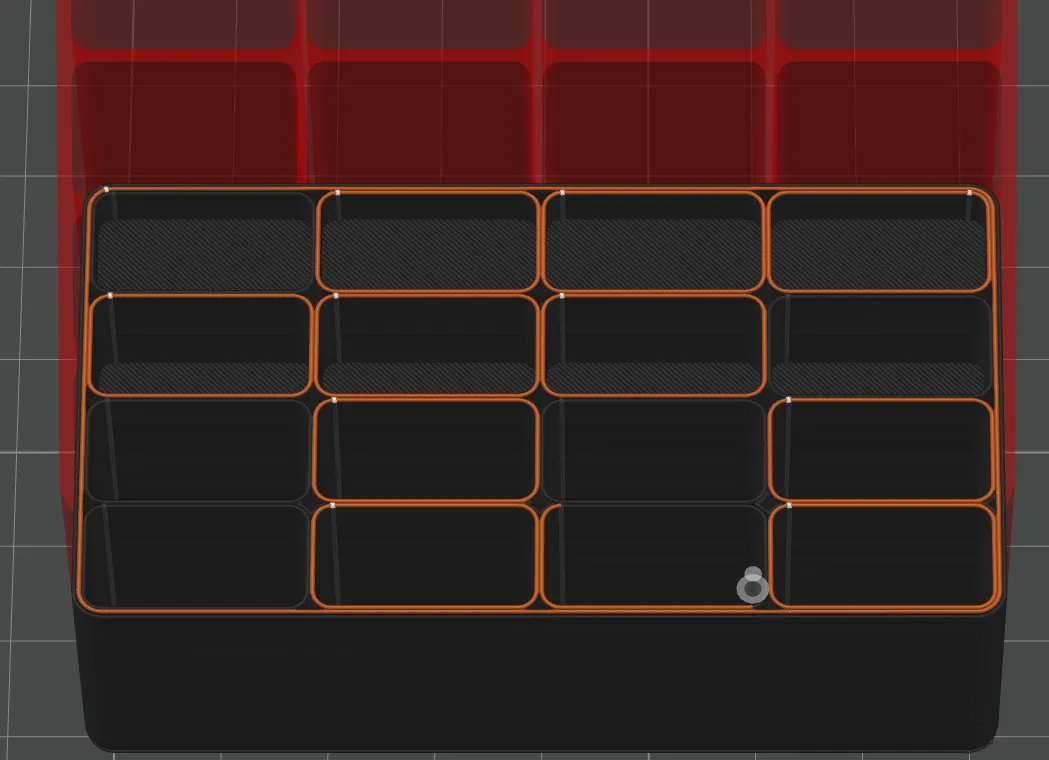
| Cell X | Inner cell size along X – width. |
| Cell Y | Inner cell size along Y – length. |
| Base Height | Cell height of the lowest row; every higher row starts “stepped up” by Stair Height. |
| Quantity X | Number of cells per row (columns). |
| Quantity Y | Number of rows. |
| Stair Height | Step height that raises the floor of each successive row (Z-direction). Set 0 if all rows must be level. Controls the slope angle as well. |
| Bottom Thickness | Bottom thickness. |
Advanced parameters — may require your custom print profile
If you change any parameters in this section, the standard optimisation steps do not guarantee an optimal print profile; you may have to tune the profile manually.
| Name | Description |
|---|---|
| Cell Spacing | Wall thickness between neighbouring cells. |
| Cell Fillet | Fillet radius at inner cell corners. |
| Edge Margin | Extra outer-wall thickness. |
| Outer Fillet | Fillet radius at external body edges. |
| Nozzle Diameter | Printer nozzle diameter. Default 0.4 mm; set 0.2 mm to automatically shrink Cell_Spacing, Cell_Fillet, and Outer_Fillet, giving a thinner-walled model that prints cleanly on 0.2 mm if it worked on 0.4 mm. |
Print Profile Optimization
- Download one of the print profiles for 0.4mm Nozzle or 0.2mm Nozzle, depending on the Nozzle Diameter in your settings.
- Open the print profile, don't delete existing objects.
Add a new build plate, then add the generated .3mf file to the project. Import geometry only!

- Delete all objects and build plates except yours.
Split the generated object into the two geometries.

Export the shell object as an STL file

- Delete the shell object from the project.
Center the body.

Add saved STL as a modifier to the main body.

Center the modifier

- Select the modifier and press “Move”, set Z = 0, don't move it manually.

Select the modifier in the object settings. Set “Wall loops = 2” (4 for the 0.2 mm nozzle)

- Choose the filament as for any other prints.
Slice, check line types. You should see something like that.
JUST PRINT IT!
License
You shall not share, sub-license, sell, rent, host, transfer, or distribute in any way the digital or 3D printed versions of this object, nor any other derivative work of this object in its digital or physical format (including - but not limited to - remixes of this object, and hosting on other digital platforms). The objects may not be used without permission in any way whatsoever in which you charge money, or collect fees.
Comment & Rating (11)