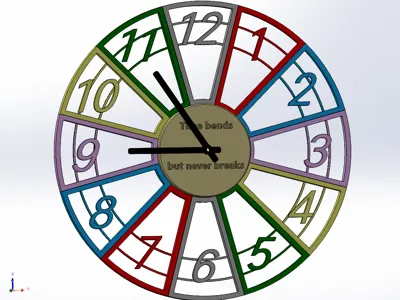
Multicolor Wall Clock


Print Profile(1)

Description
I saw a wall clock design by someone else on myminifactory, and I thought it was pretty good, so I drew one myself.
Let me briefly explain the externally purchased items; the clock movement was purchased from Taobao. I bought it from the first store.


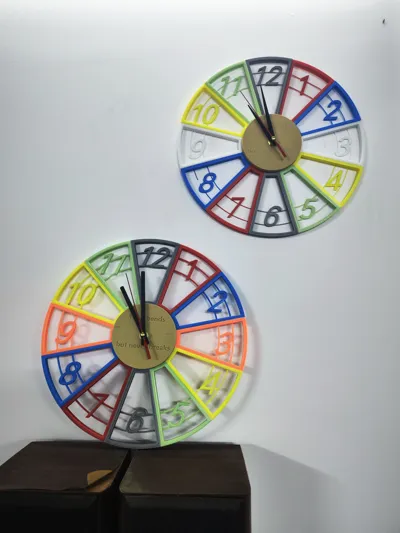
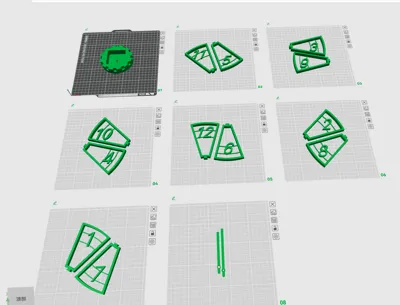
Print all the parts in your favorite colors, and once you have them all, you can start assembling.
First, remove the nut from the clock movement, then attach the movement to the main body, and then tighten the nut.


Then begin installing the numbers. Start with the number 12; this number has a positional requirement and needs to be aligned with the clock movement's hook.

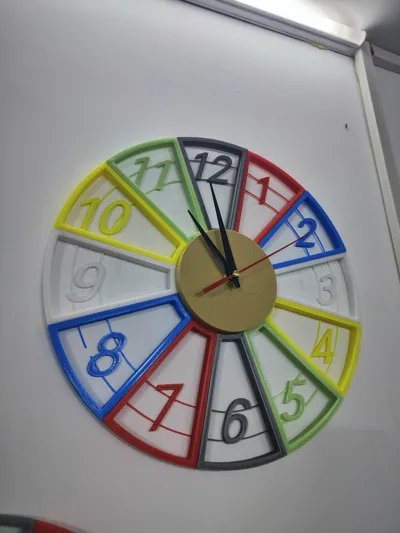
Once this is positioned correctly, you can install the other numbers sequentially. Below is the result of the completed installation.

Finally, install the hands. The clock movement I purchased came with hands, but I thought the hour and minute hands were unattractive, so I reprinted them. Below is the final result.


You can coordinate the colors to your liking.
Because I do not have a resin printer, those who have one could try printing the numbers and hands with glow-in-the-dark material; this will produce a better nighttime effect.
It is recommended to use ABS or other weather-resistant material for printing to prevent deformation when hung on the wall.
Comment & Rating (1)