
Table of Nuclides Puzzle – Physics Model
Print Profile(23)


Description
Intro
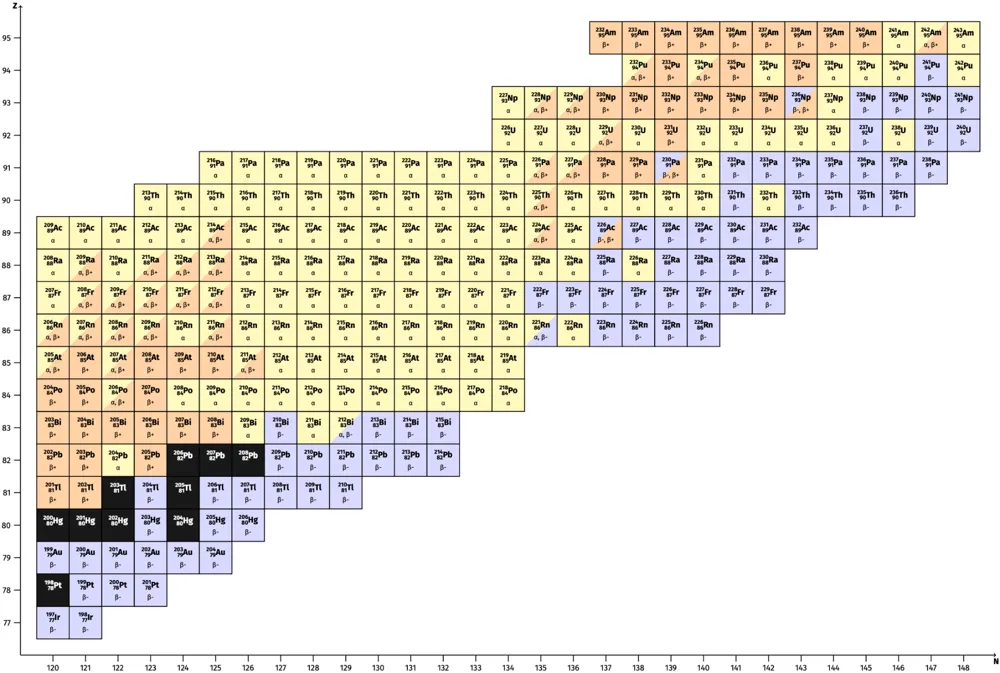
The table of nuclides itself is a graphical representation of all known atomic nuclei, displaying their properties such as stability and decay modes. Unlike the periodic table, which organizes elements by their chemical properties and atomic number, the nuclide chart arranges isotopes of elements based on their proton number (Z) on the vertical axis and neutron number (N) on the horizontal axis. Each point on the chart represents a unique nuclide, characterized by a specific number of protons and neutrons. The chart provides crucial insights into the world of nuclear physics and especially into the decay chains of the isotopes.
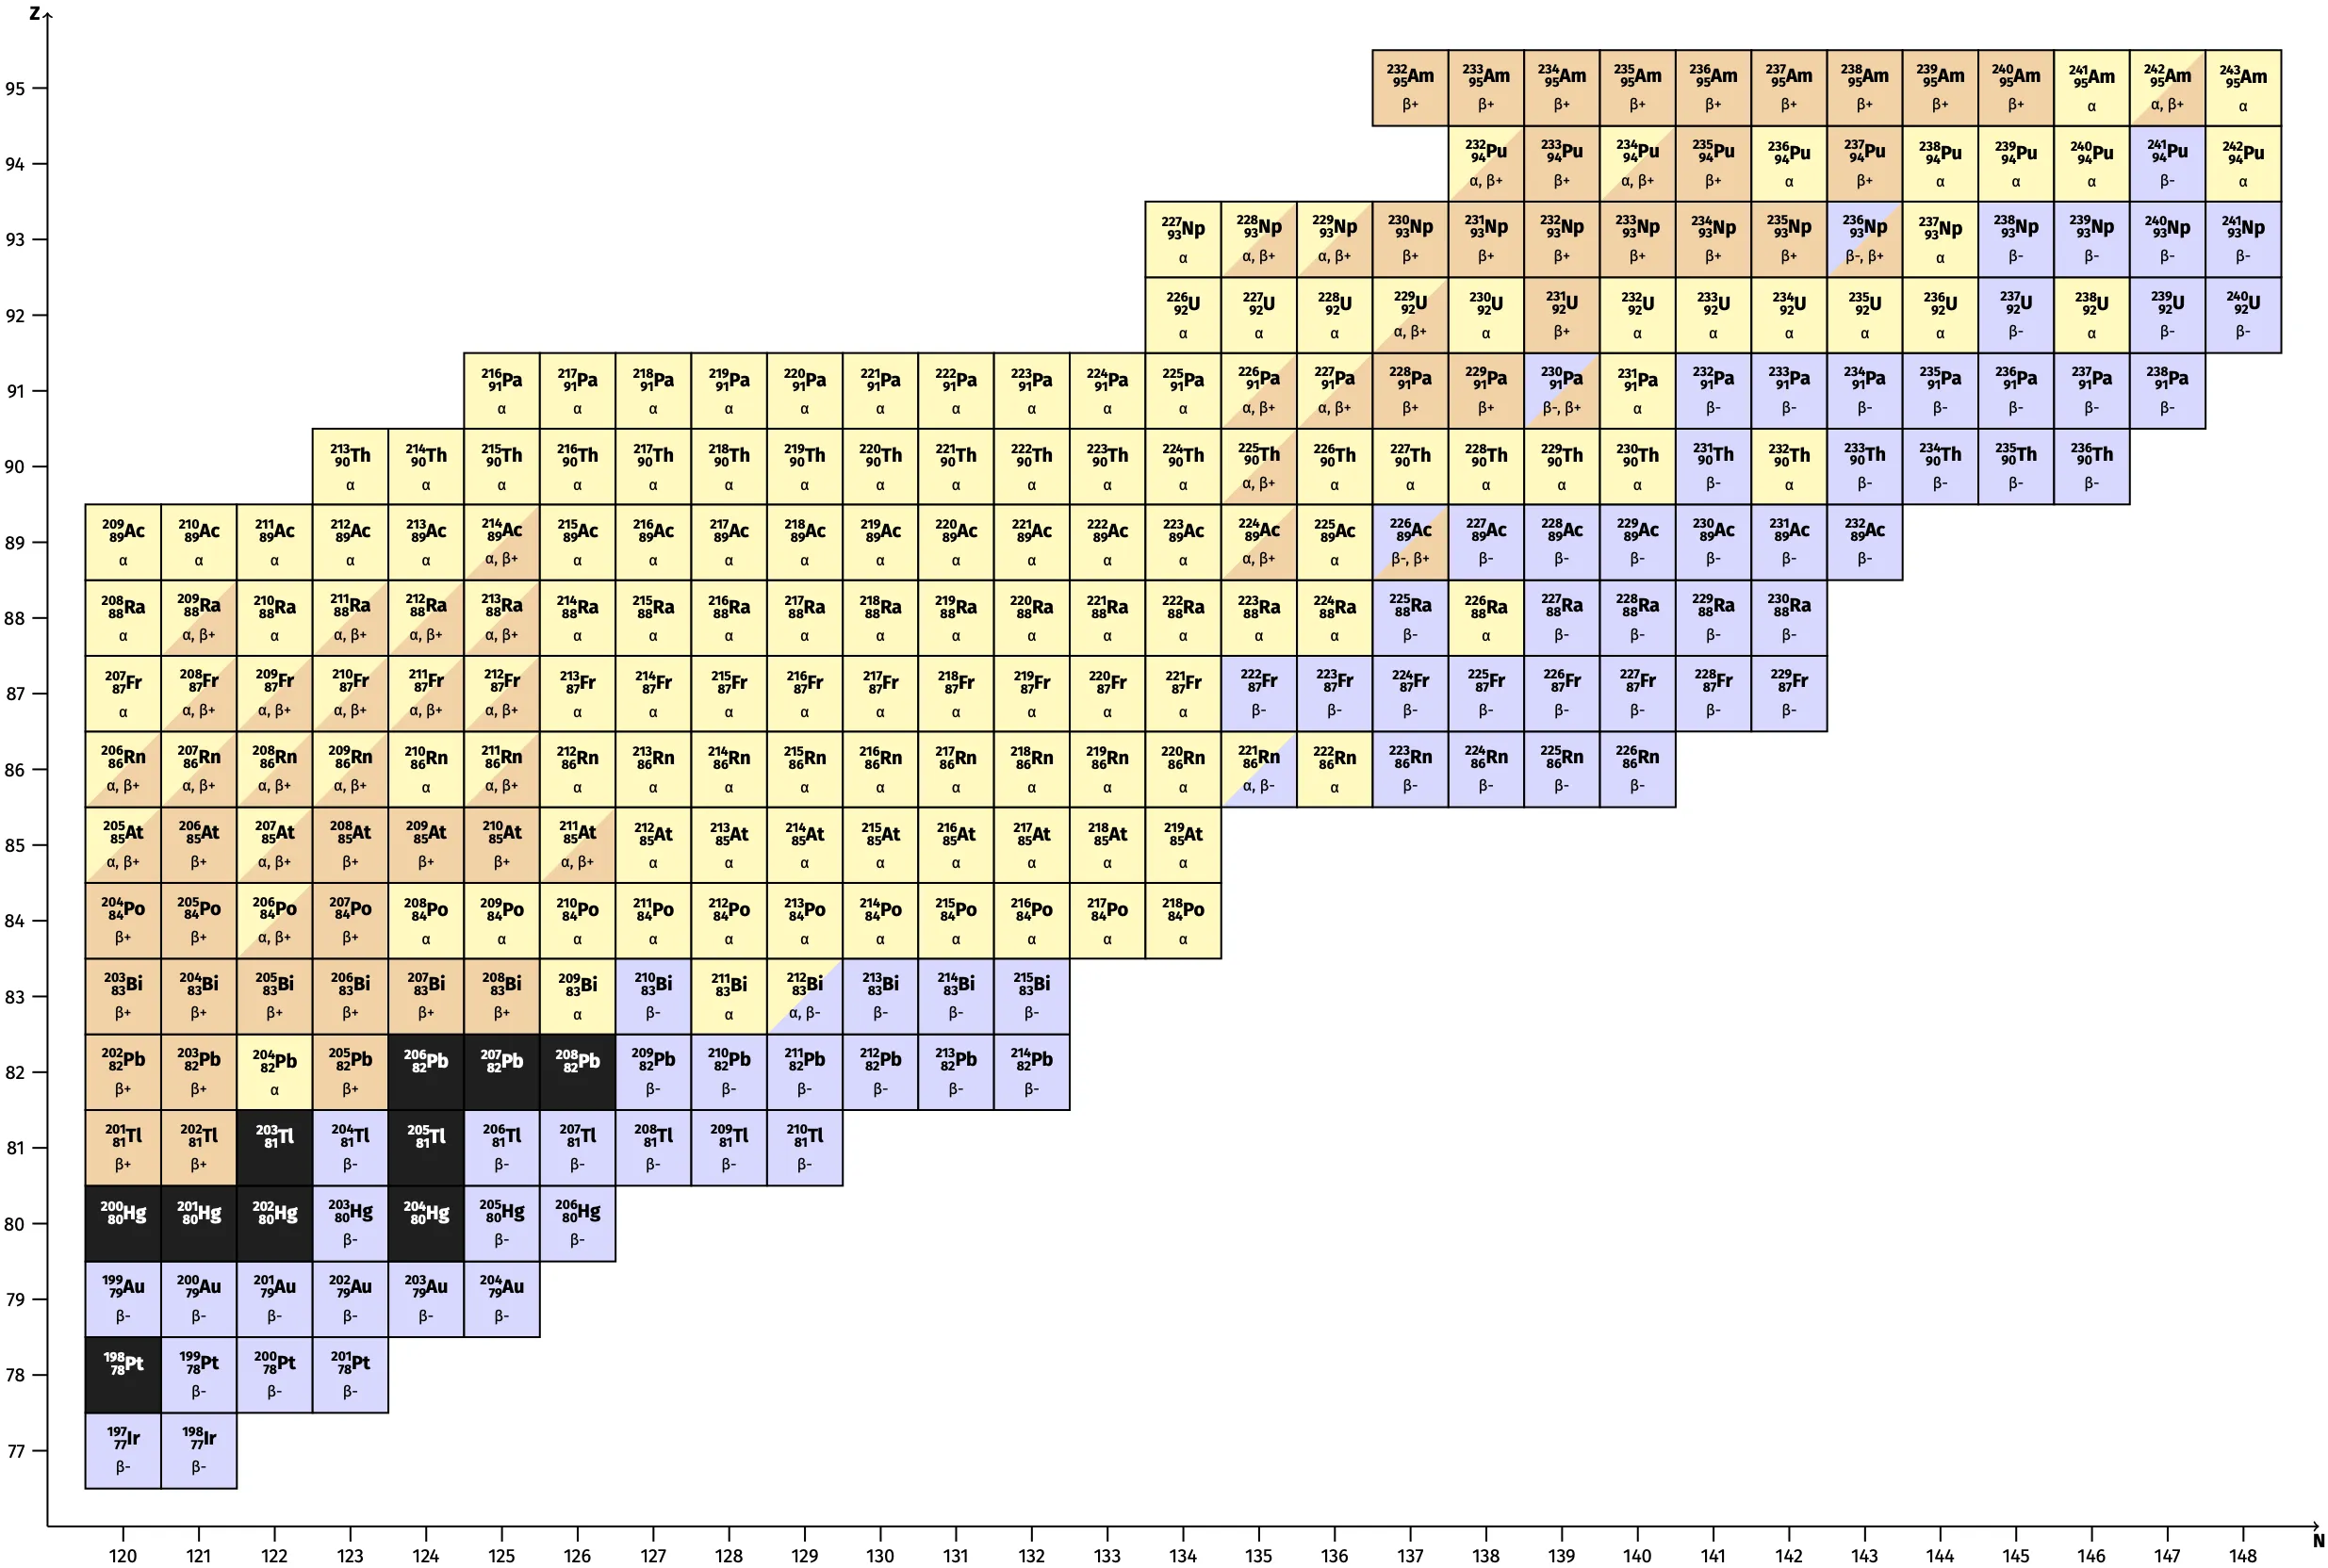
This puzzle of the table of nuclides offers (at least) two opportunities to learn about the isotopes/nuclides. You’ll find attached a work sheet (EN/DE) with matching tasks for you(r students).
1️⃣ Sort the element tiles in the two dimensional grid of proton and neutron numbers and discover the structure of the table of nuclides. You must sort the elements and arrange them according to their number of protons (Z) and neutrons (N). Then you can discuss the different “axis” for isotopes (same Z ↔︎), isotones (same N ↕︎) and isobars (same A/mass ⤡).
After that you can talk about the different decay modes of each isotope, what happens in the nucleus and which particle are emitted. Then get to the second learning.
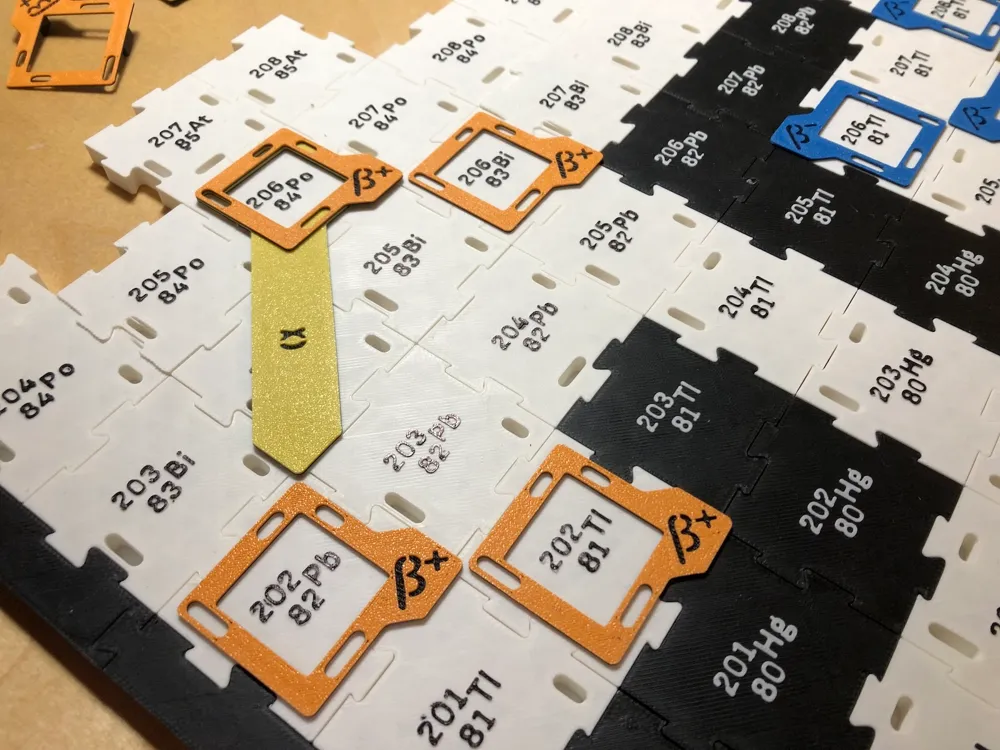
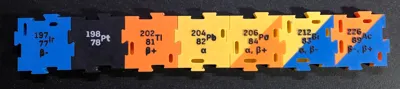
2️⃣ Build decay chains (or decay series) across the table by placing the matching decay frames to the tiles. Each isotope is either stable—only a few of the lighter nuclei—or has one or two possible decay modes: α, β⁻ and β⁺. Normally those modes are indicated with colored cells in the table but this set also provided a version (p; see below) where the modes can only be found by testing which decay frame fits on the element tile. Depending on which set of tiles you choose it will be more or less easy to find the right decay for an element and build the decay chain. To build a chain simply pick a random starting point and then arrange the decay frames until you reach a stable isotope. On your way it might happen that you come across an isotope with two possible decays; that's where your chain branches out to two paths. Follow both to a stable isotope.
Since it may take while to build the whole puzzle you may consider doing the first task with a smaller sub set and have prebuilt (and fixed/glued) versions of the whole set at hand for the second task.
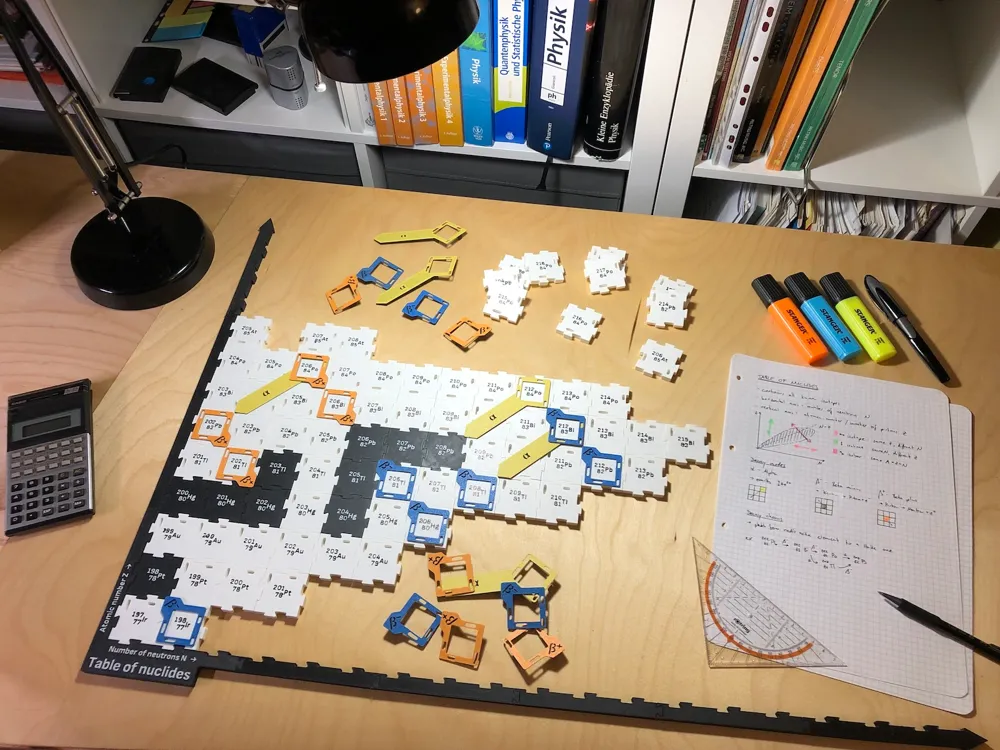
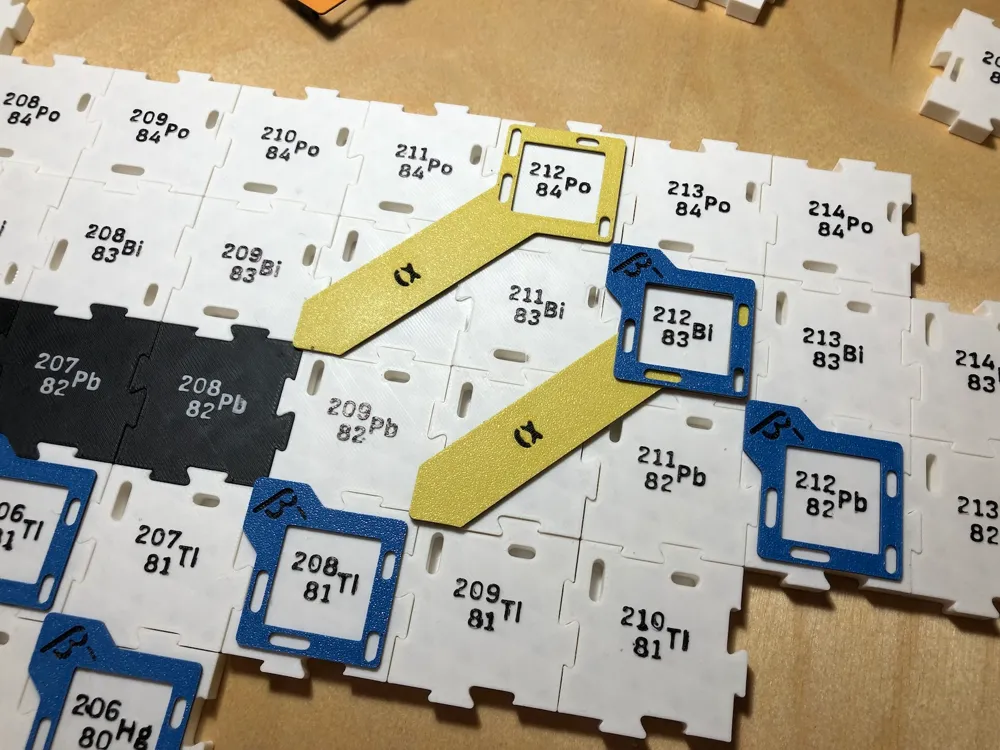
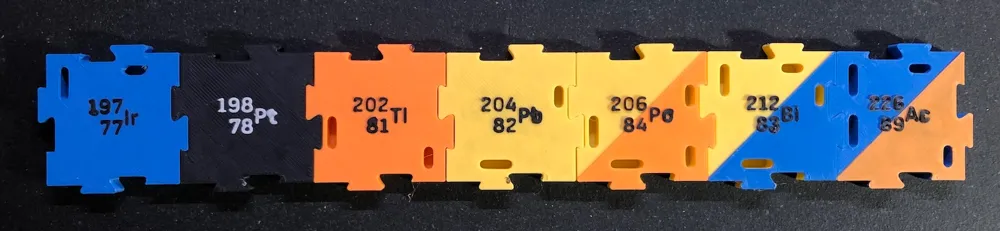
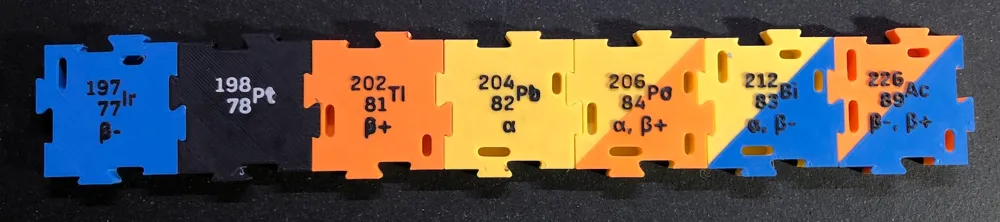
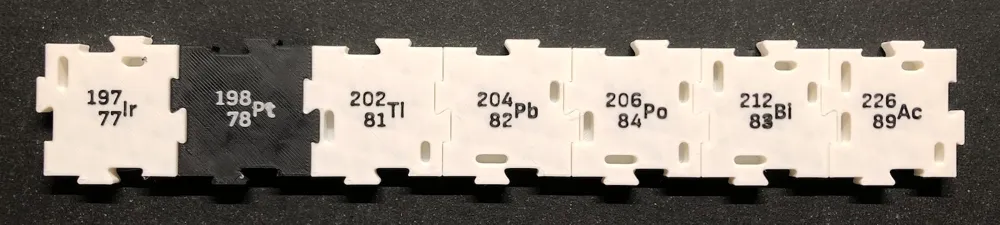
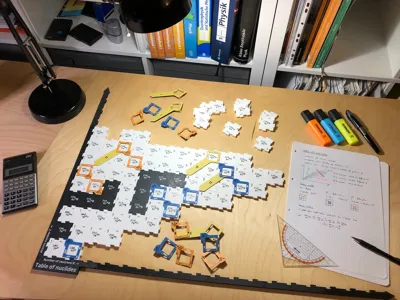
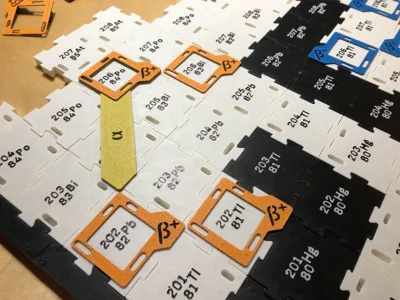
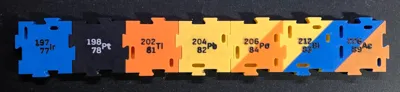
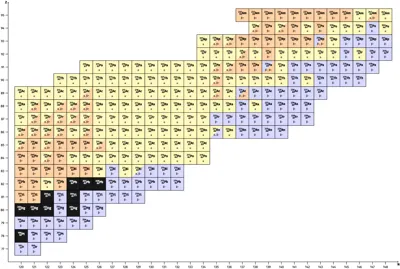
The following image shows the partly build chart, where you can find multiple decay chains.
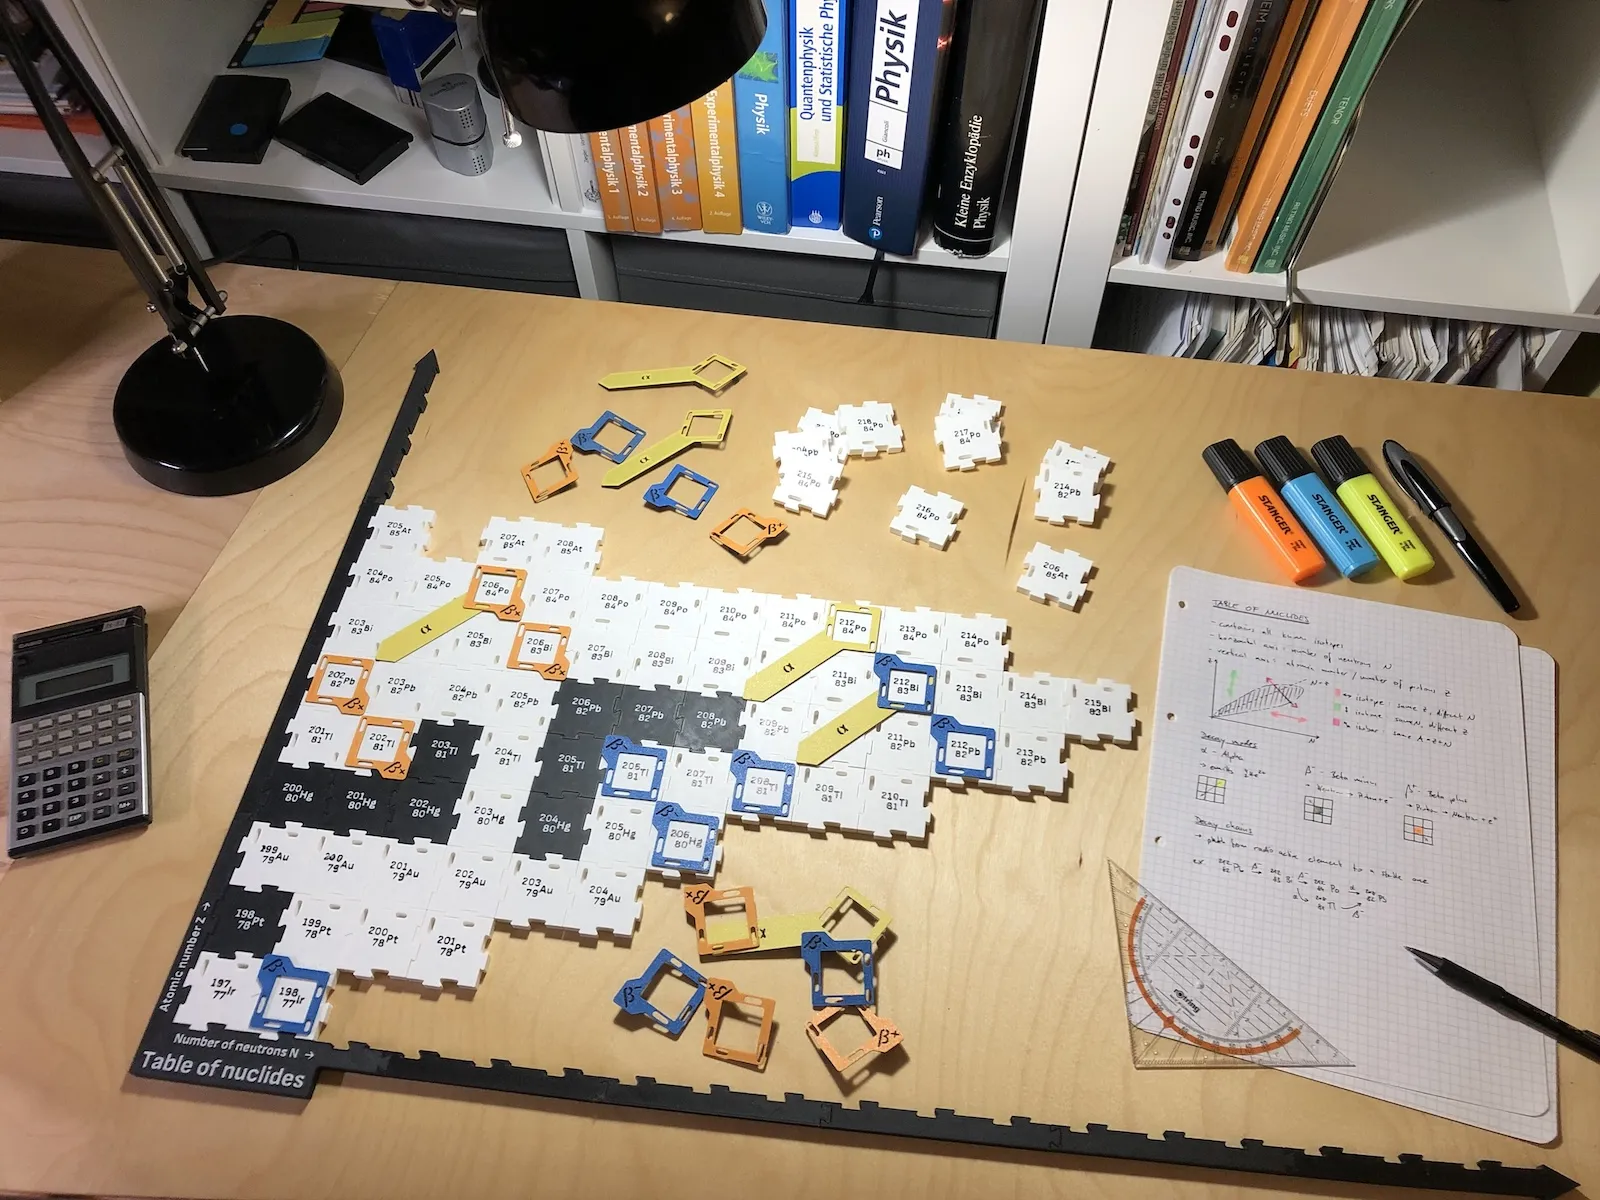
- Ir-198 → Pt-198
- Hg-206 → Tl-206 → Pb-206
- Po-206 → Bi-206 → Pb-206
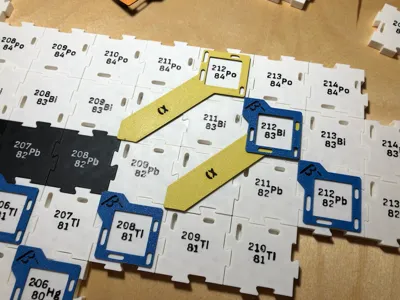
↘︎ Pb-202 → Tl-202 → Hg-202 - Pb-212 → Bi-212 → Pa-212 → Pb-208
↘︎ Tl-208 ↗︎
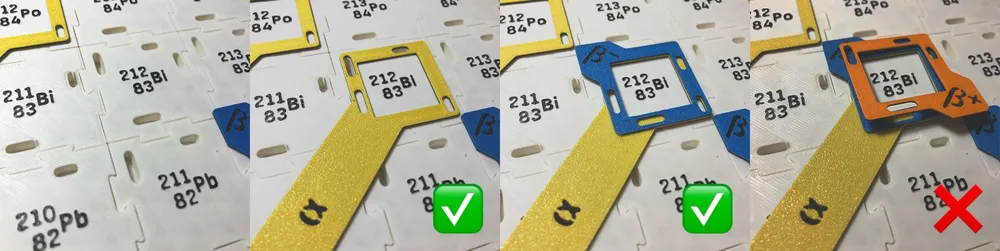
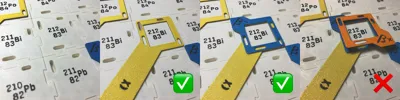
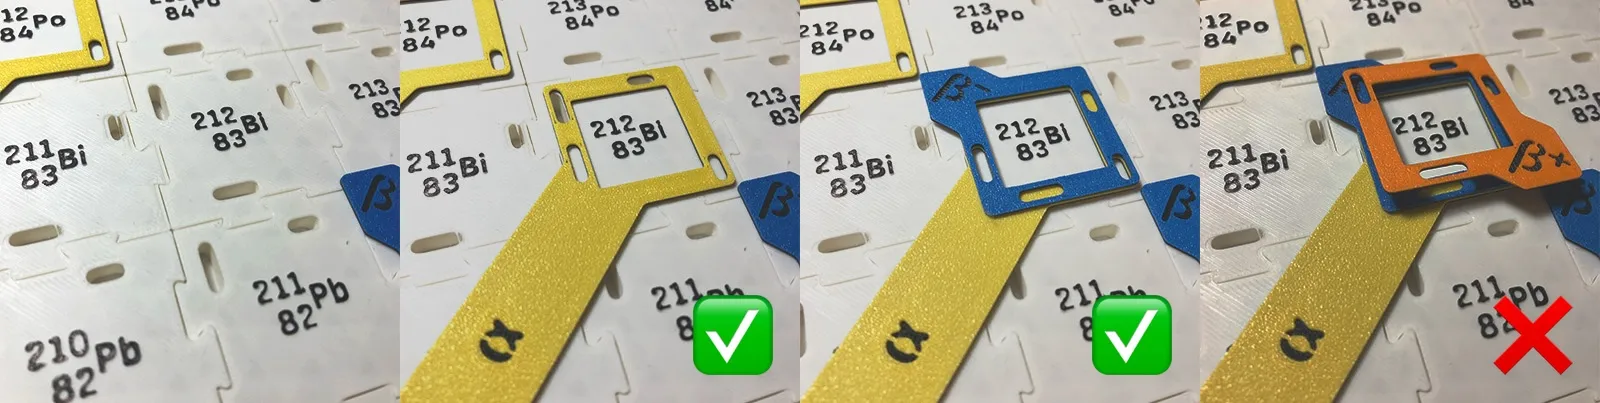
Each element tile has a certain configuration of holes matching the plugs of the decay frames, thus it is not possible to place a decay frame of an impossible decay mode. If an isotope like Bi-212 has two possible decay modes you can fit two frames on top of each other but the impossible third frame won't fit properly.
About this set an its design
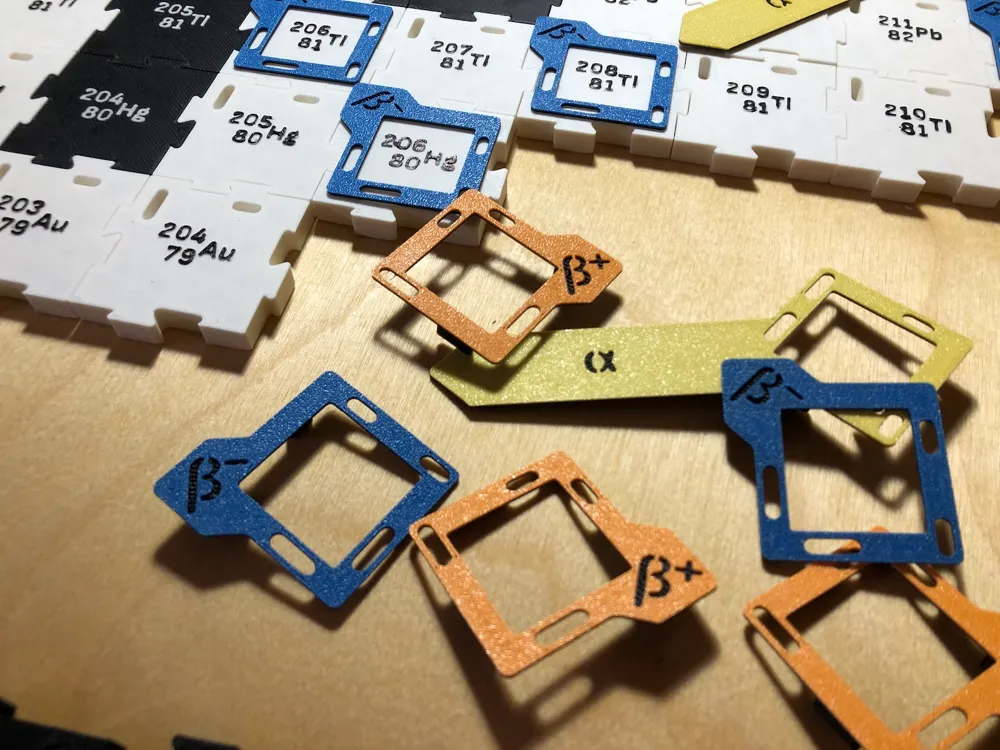
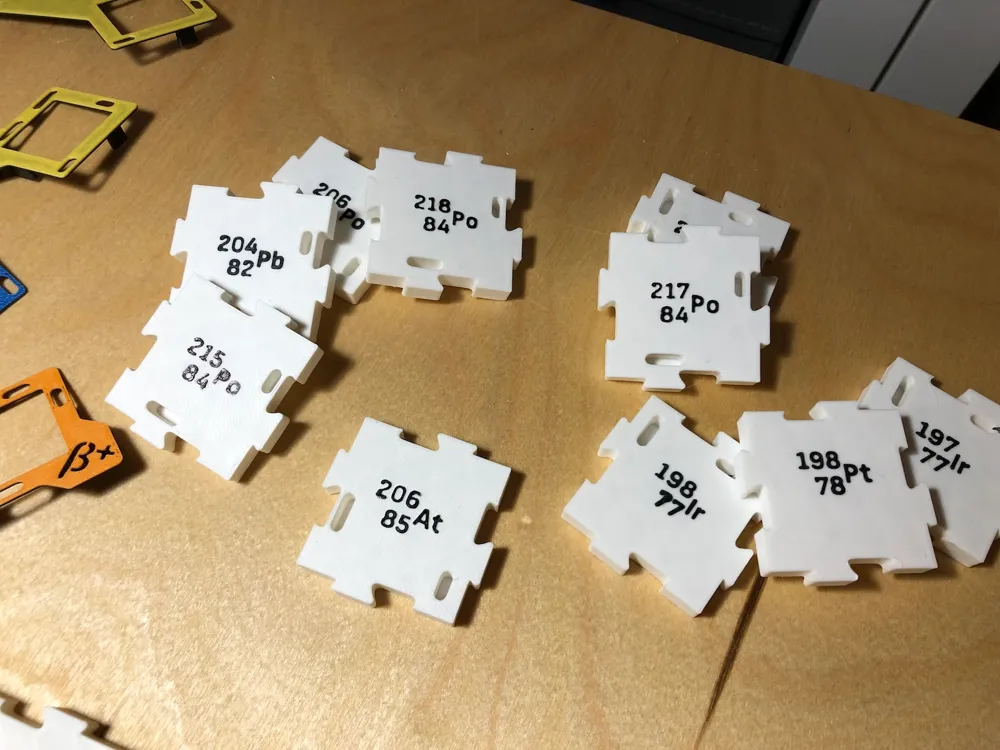
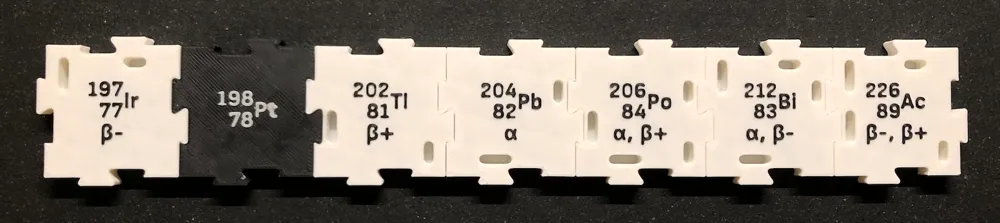
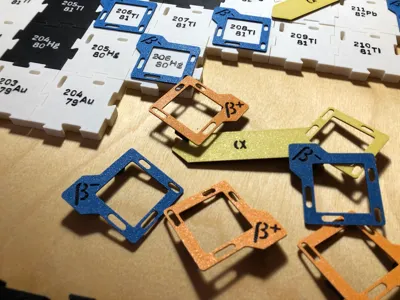
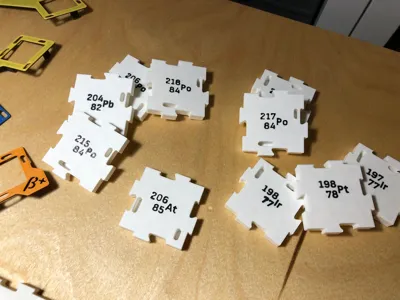
This set consist of multiple element tiles for different isotopes/nuclides (but not the full table, see image above and Data source). Furthermore the are some parts to build up the axis grid and the decay frames. The latter can be used to find the decay chains. There is one for each decay type that’s typically discussed in (german) schools: α, β⁻ and β⁺. Each decay frame has a certain combination of “plugs” thus fitting only on the element tiles, which are likely to decay in this way. The full model will span an area of about 120cm × 75cm (or 48″ × 30″). However a build plate size of 180mm × 180mm ist big enough to print all parts.
Everything was designed to be printed completely without color changes or with some manual color changes at certain layer heights. I recommend the latte. The changes could be automated of course with an AMS, but I don’t have one thus can’t test ist or provide the profiles. See details about that in “Printing”.
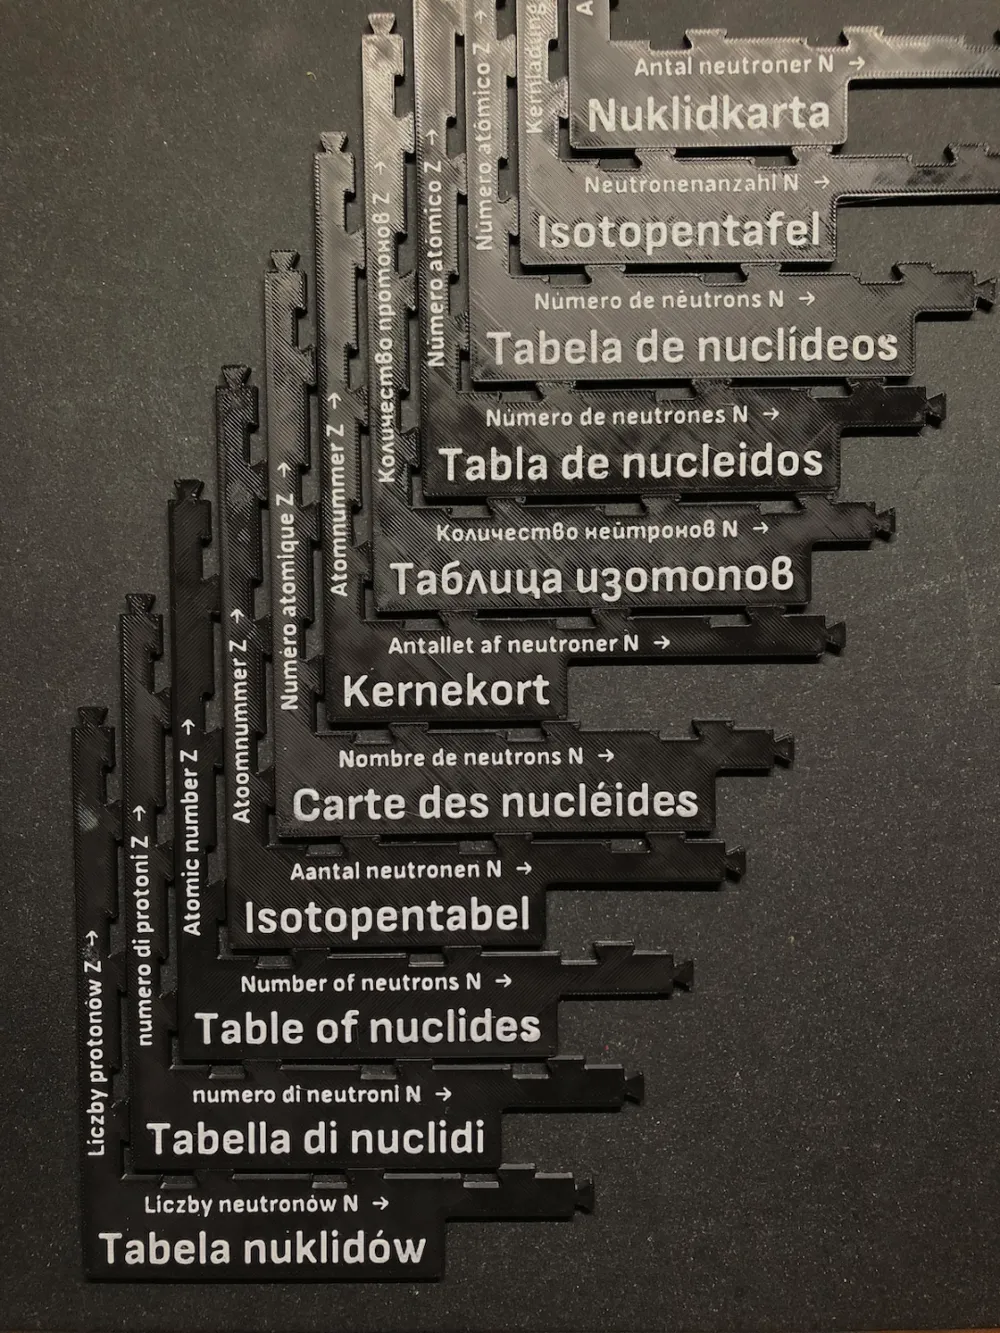
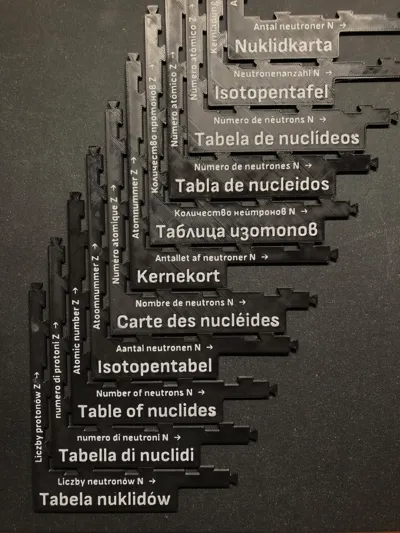
The title and text on the axes are provided in 11 languages: Danish, Dutch, English, French, German, Italian, Polish, Portuguese, Russian, Spanish, Swedish. I took most of the terms from Wikipedia and translated a few using DeepL. Let me know if there are mistakes. Other languages could be generated using the onshape files (see Source). The worksheet is provided in English and German.
Versions of element tiles
There are different sets of element tiles to choose from depending on how much information should be printed on them and be visible for you(r students).
p – plain
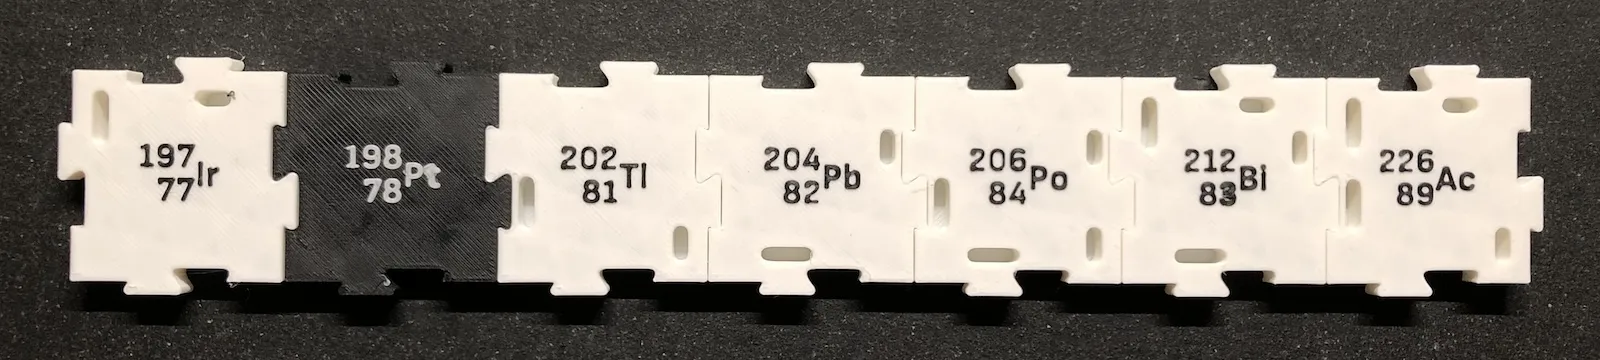
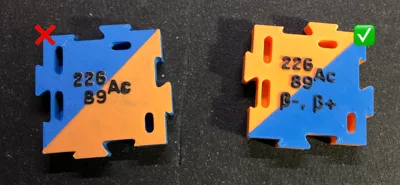
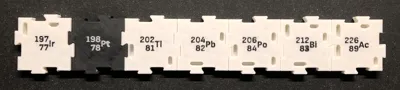
Element symbol, number of protons and neutrons. The types of decay can be found only by trying which decay frame fits the tile. These tiles can be printed in the same color/filament. You might add a color change for the text layers (see Printing).
pd – plain with decay
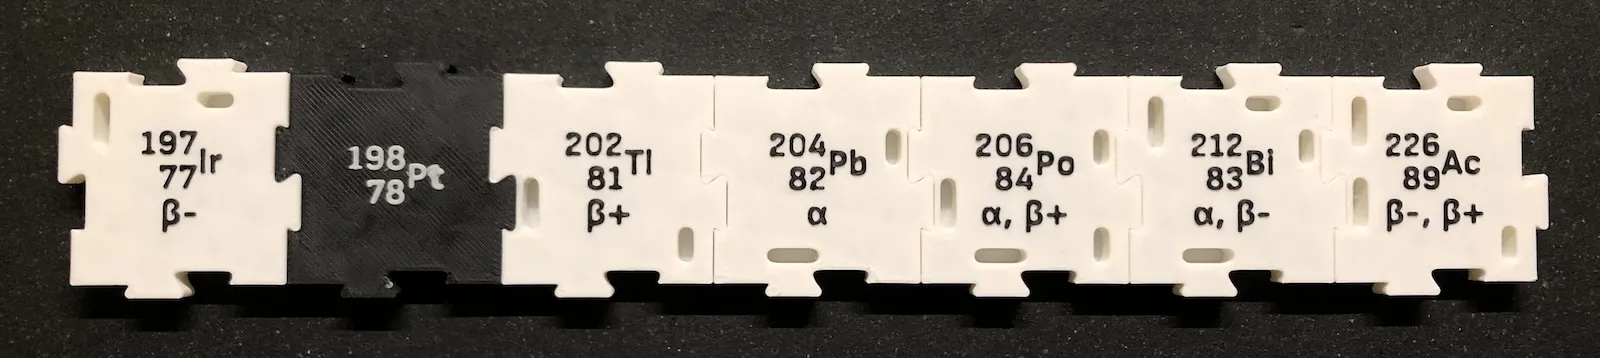
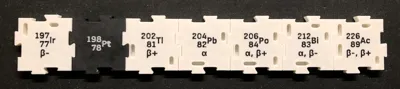
Same as plain + text to indicate possible decays.
cd – color coded
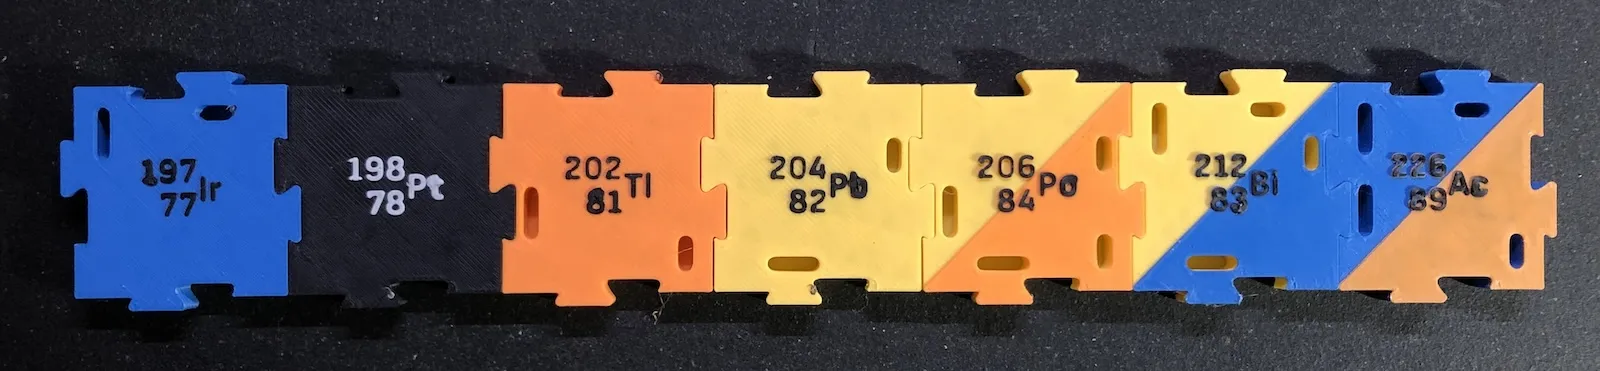
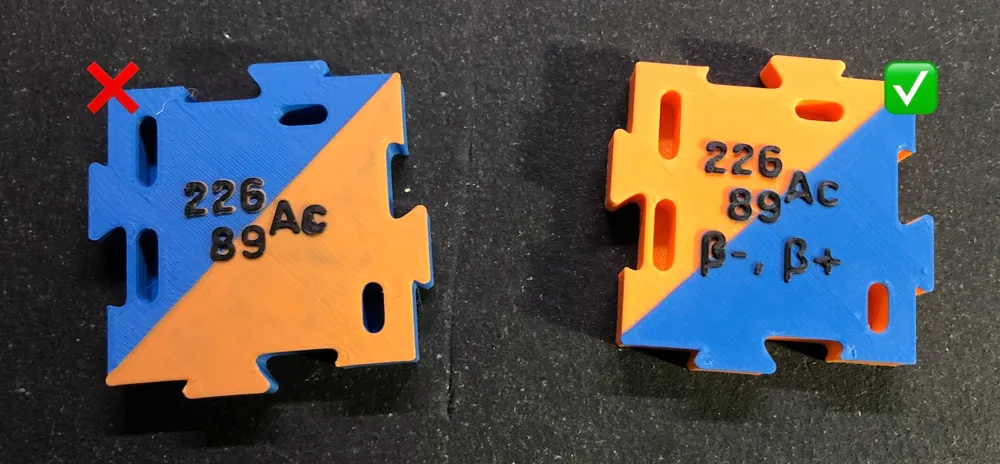
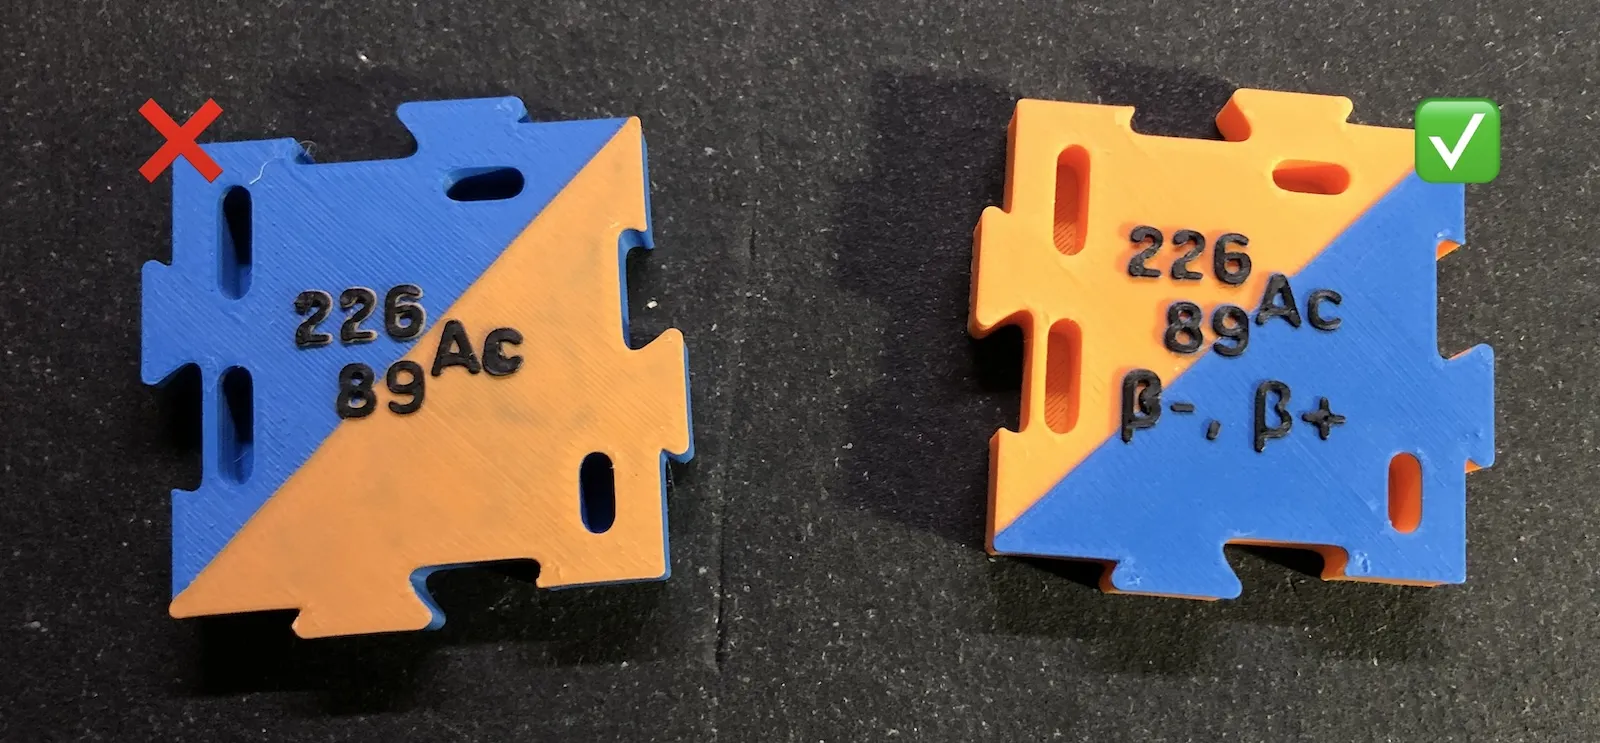
Slement symbol, number of protons and neutrons. These tiles must be printed in different colors to indicate the decay type. Nuclides with two (equally likely) possible decays must be printed with a color change at a certain layer hight resulting in a diagonally divided top color (see Printing).
cd – color coded with decay
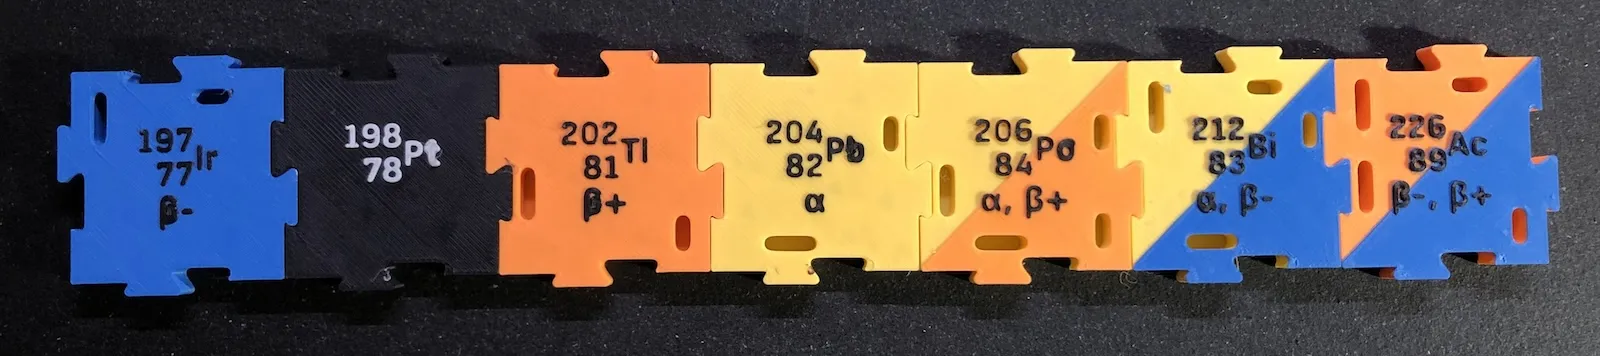
same as color code + text to indicate possible decays
Printing
All elements were designed to be printed with 0.4mm nozzle a layer height of 0.15mm on a printer without an automatic color changing system (AMS) and without supports. Manual (or automatic) color changes can be added at certain layer heights (see table). In the 3MF files I added pause commands to manually change the color, you may replace them with automatic color changes. If you want to print all parts in a single color, which is also possible, just remove the pause commands.
Settings
- 0.15mm layer height
- 15% cubic infill
- 2 walls
- 4 top, 2 bottom layers for element tiles and axis parts 3 top, 4 bottom layers for decay frames
- monotonic linear top/bottom surface pattern
- Arachne wall generator
- manual color changes, see table
- some elephant foot compensation for axis parts and element tiles
Colors
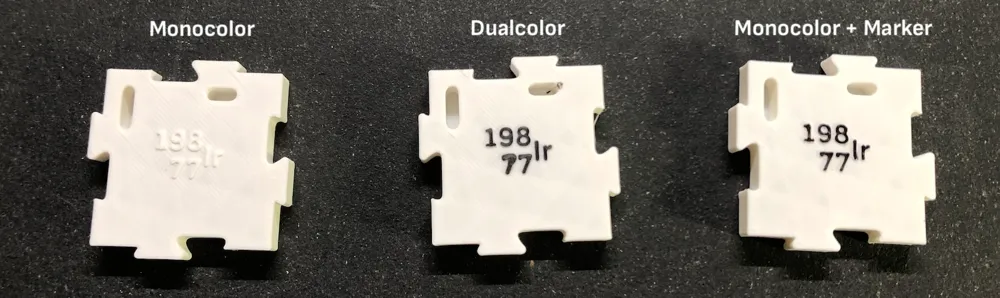
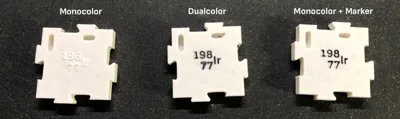
If you print on of the plain sets (p or pd) you can also print the tiles in white and apply the color for the text with a marker to save some color changes. For a color set this might also work if the filament colors are not too dark.
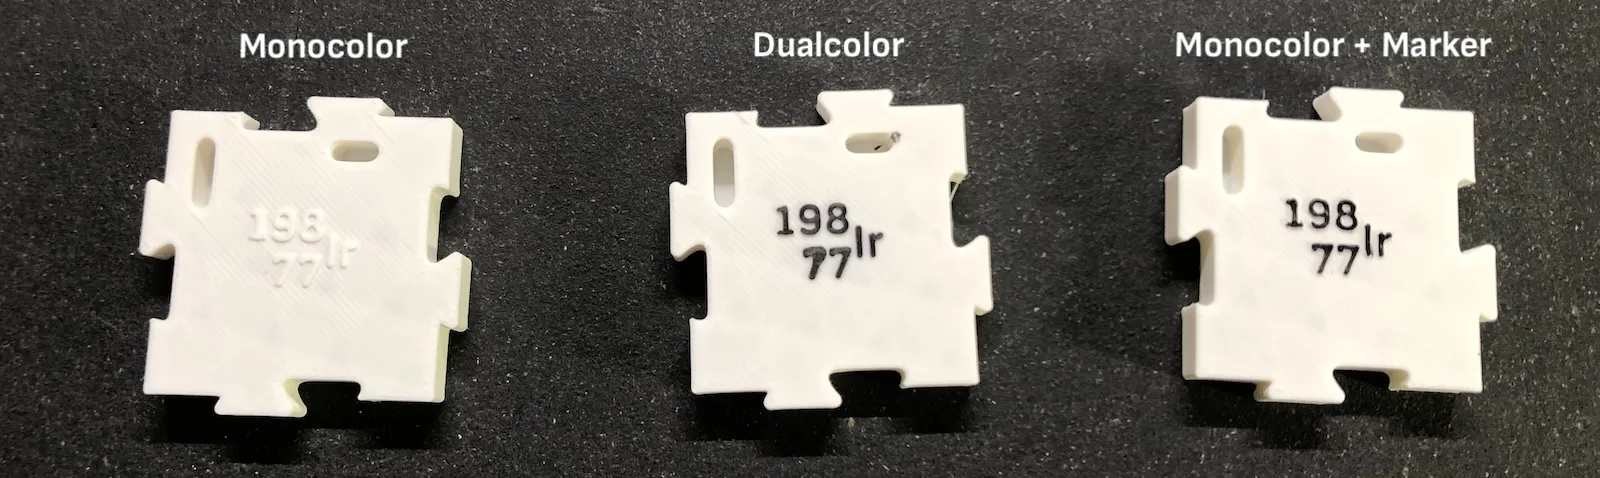
Note: For the dual colored tiles (in set cd and c) I recommend to print the lighter color as base and then the darker on above it.
Parts/BOM table
The quantities indicated in the following table are meant for one puzzle set. For multiple teams of students multiply the numbers accordingly.
In the table “Ori.” indicates the printing orientation, where “nrm” means “normal” i.e. the bottom of the model on the print bead and “usd” ist “upside down” meaning the top surface of the model should lay on the print bed. “CC1” and “CC2” say where one should add a color change. The number is the layer number and the length is the z height. Optional color changes are marked with “opt.”. “C1”, “C2” and “C3” are the colors to be used: C1 is the first color at print start, C2 the one after the first change and C3 the one to be used after the second change.
| Object/File | Qty. | Comment | Ori. | C1 | CC1 | C2 | CC2 | c3 |
|---|---|---|---|---|---|---|---|---|
| AXIS PARTS | ||||||||
| axis_origin_XX | 1 | — | nrm | black | opt. at 46/6.45 | white | — | — |
| axis_tip | 0 | optional instead of axis_x/y_end | nrm | black | — | — | — | — |
| axis_x/y_mid | 8 x, 5 y | nrm | black | — | — | — | — | |
| axis_x/y_end | 1 each | use axis_tip alternatively | nrm | black | — | — | — | — |
| DECAY FRAMES | ||||||||
| alpha_decay_frame | 9 | quantity depends on complexity/length of chains to be build | usd | yellow | opt. at 5/0.75 | black | — | — |
| beta_minus_decay_frame | 9 | quantity depends on complexity/length of chains to be build | usd | blue | opt. at 5/0.75 | black | — | — |
| beta_plus_decay_frame | 9 | quantity depends on complexity/length of chains to be build | usd | orange | opt. at 5/0.75 | black | — | — |
| ELEMENT TILES | ||||||||
| p[d]/… | 1 each | plain tile version (opt. inverse colors for stable) | nrm | white | opt. at 43/6.45 | black | — | — |
| c[d]/…_stable | 1 each | colored tile version, stable isotope | nrm | black | at 43/6.45 | white | — | — |
| c[d]/…_a | 1 each | colored tile version, α decay | nrm | yellow | at 43/6.45 | black | — | — |
| c[d]/…_bm | 1 each | colored tile version, β⁻ decay | nrm | blue | at 43/6.45 | black | — | — |
| c[d]/…_bp | 1 each | colored tile version, β⁺ decay | nrm | orange | at 43/6.45 | black | — | — |
| c[d]/…_a-bm | 1 each | colored tile version, α or β⁻ decay | nrm | yellow | at 43/6.45 | blue | at 45/6.75 | black |
| c[d]/…_a-bp | 1 each | colored tile version, α or β⁺ decay | nrm | yellow | at 43/6.45 | orange | at 45/6.75 | black |
| c[d]/…_bm-bp | 1 each | colored tile version, β⁻ or β⁺ decay | nrm | orange | at 43/6.45 | blue | at 45/6.75 | black |
Source
CAD files
The models where build in onshape, and can be accessed here at onshape.com.
The tiles however were generated automatically using OpenSCAD, since onshape can’t automate this at the moment. You’ll find the required files here in the ZIP download as well.
For more information take a look at the README or head directly to GitHub.
Documentation (3)
License



Comment & Rating (8)