Li Chuang Lushan School enclosure, active heat dissipation, 5-sided full coverage, turbine air duct heat dissipation, thin, all interface openings, fewer hardware components


Print Profile(1)
Description
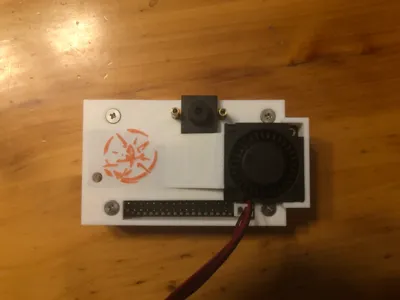
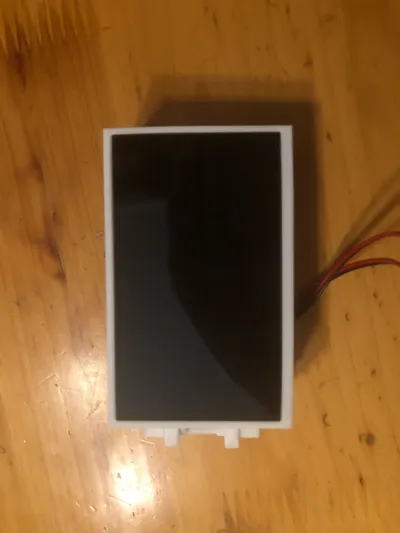
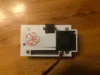
Dissatisfied with the heat dissipation of the original enclosure and the thickness of the official active heat dissipation design, referencing the RTX public version graphics card design, this thin, turbine fan, overall heat dissipation enclosure was designed. It is compatible with a 3.1-inch screen expansion board, and the camera is fixed with a copper column to allow for the easy addition of a camera protective cover later. There is ample internal space, sufficient to accommodate a small power supply board.
~$ Hardware Materials: 【Requires purchasing 2 M2*7 copper columns, 3 M2*5 (4 head diameter), and 4 M2.5*8mm+n copper columns included with the 3.1-inch screen expansion board】
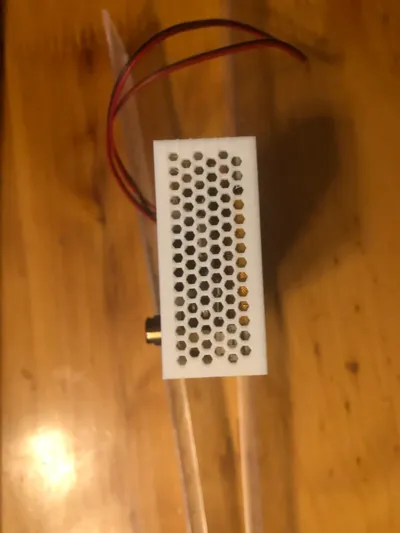
~$ Electrical Materials: 【One 3010 turbine blower, a 5V one is recommended for ease of installation and testing】


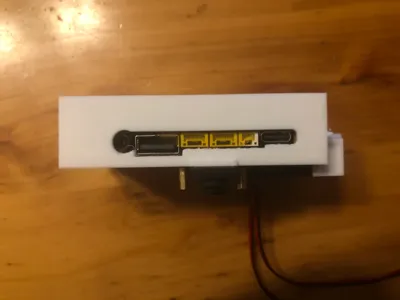
~$ The headphone jack in the image is not perfectly aligned; this has been corrected in the actual file.
~$ Pay attention to the printing orientation; otherwise, the spring part of the button will break in the direction of the layer lines.
Boost Me (for free)
~$ Installation Steps:
0. Install the 3.1-inch screen expansion board and the upper copper columns in the normal way.
1. Gently press both buttons to loosen the supports, preventing them from getting stuck after installation.
2. Check again to ensure that the supports are completely removed to prevent damaging the pin header.
3. Screws on the inside, copper columns on the outside. Pull the ribbon cable to the inside, then secure the camera to the enclosure.
4. Connect the camera ribbon cable to the mainboard (the most difficult step). Disengage the vertical slot, bring the enclosure side with the camera close to the development board, insert the ribbon cable into the slot, use a screwdriver to push the ribbon cable into place, and finally secure the latch with a screwdriver.
5. Secure the mainboard into the enclosure: First snap it into the side without the camera (this side of the enclosure is raised to ensure a tight fit with the screen), then slightly lift the USB side of the enclosure to snap it in.
6. Install the screws: There are four screw holes; use the original screws.
7. Install the fan: Simply snap it in place, making sure the orientation is correct. You can use an M2 screw to secure the upper right corner.
8. Test.
Comment & Rating (0)