
Program Volume Control for Windows (Deej)

Print Profile(1)

Bill of Materials


- 10K Linear 16mm Potentiometer with Switch (6mm shaft, 7mm thread) x 5: https://www.switchelectronics.co.uk/products/10k-linear-16mm-potentiometer-with-switch
- DC 5V WS2812B LED Individually Addressable RGB Built-in LED Chip x 6: https://www.aliexpress.com/item/4001160076414.html?spm=a2g0o.order_list.order_list_main.35.5f201802f7d2ln
- 20x5mm Rubber Adhesive Feet x 4: https://www.aliexpress.com/item/1005005410967424.html?spm=a2g0o.order_list.order_list_main.11.5f201802f7d2ln
- Arduino Nano Every x 1: https://www.switchelectronics.co.uk/products/arduino%C2%AE-nano-every
- 6x9mm Self Tapping Screws x 2: https://uk.rs-online.com/web/p/self-tapping-screws/4828076?cm_mmc=UK-PLA-DS3A-_-google-_-CSS_UK_EN_PMAX_RS+PRO-_--_-4828076&matchtype=&&gad_source=1&gclid=Cj0KCQiAkJO8BhCGARIsAMkswyjRuzPMDUMUafmw2dD9oSOx8B_m8lwQ8axh8G9fr_NJbtG5u8yPVkYaAqfzEALw_wcB&gclsrc=aw.ds
- 25mm Aluminium Potentiometer Knobs for 6mm shaft x 5: https://www.aliexpress.com/item/1005007197671040.html?spm=a2g0o.order_list.order_list_main.17.5f201802f7d2ln
- 12mm Momentary Button x 1: https://www.aliexpress.com/item/1005006954749165.html?spm=a2g0o.order_list.order_list_main.71.4f9e1802Q2AolT
Description
Boost Me (for free)
Boosts go a huge way in helping me keep these models free, every boost is greatly appreciated :)
About:
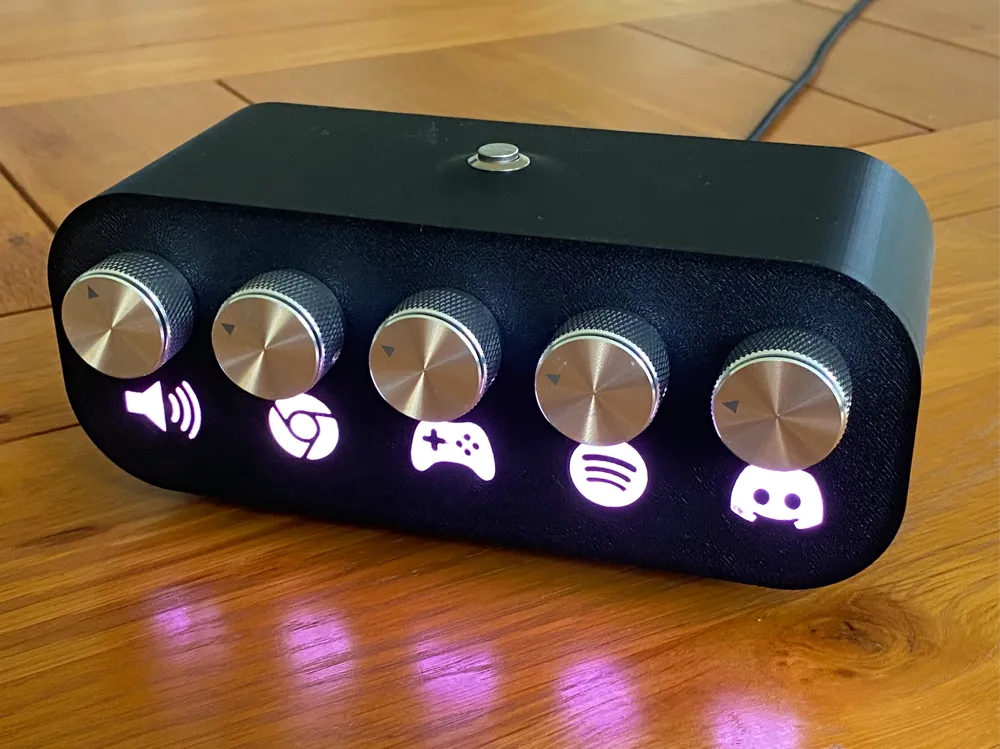
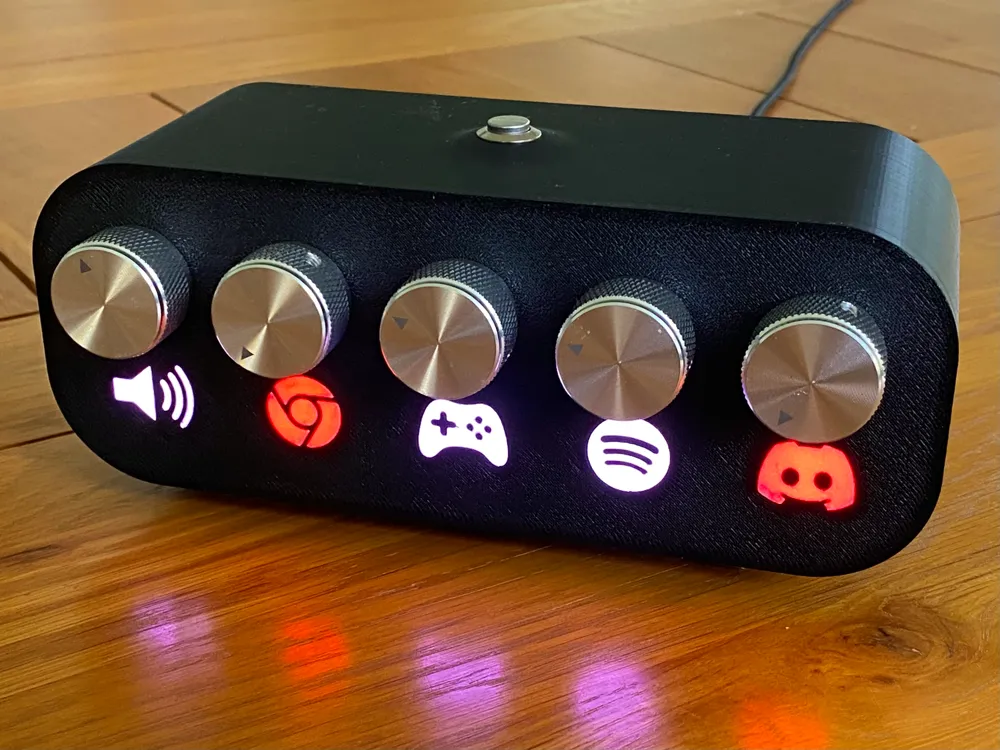
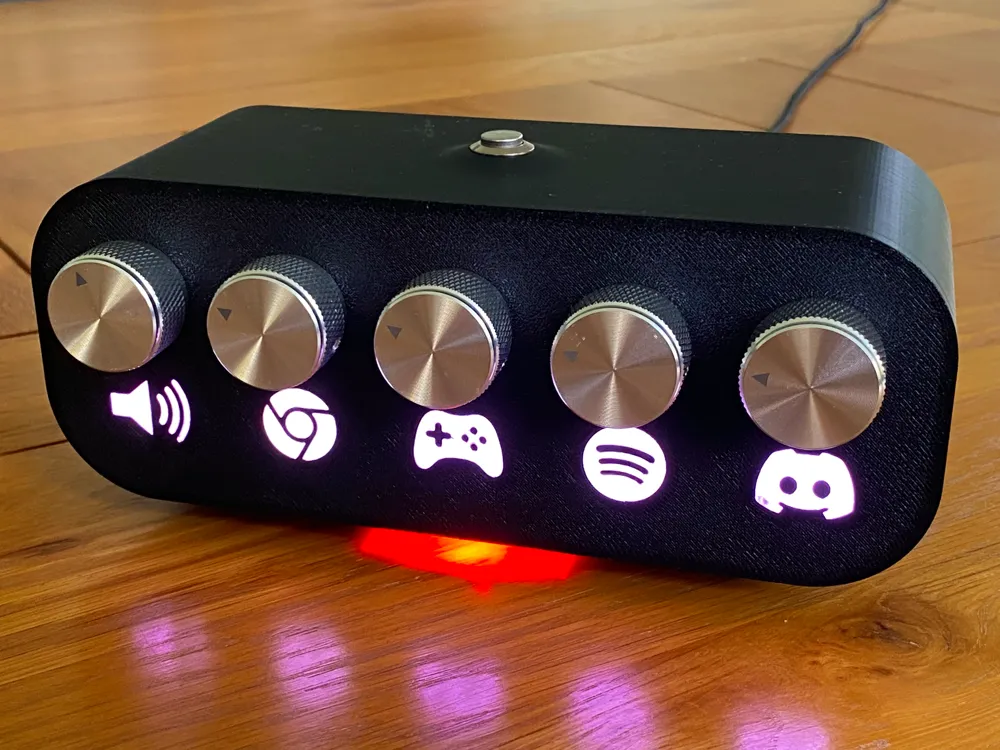
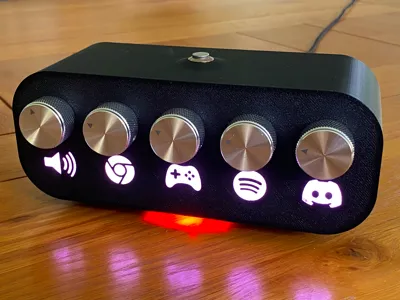
An LED backlit Deej controller! If you don't know what deej is, it's a really cool open source project where people design and build physical audio knobs/sliders to control the volume of individual programs on a windows or linux PC. This is my design using multi colour printing to give a clean backlit logo under each slider, when the volume is 0 the logo turns red, and when the button on top is pressed it mutes my mic on discord and gives a red LED underglow. This is a challenging print, soldering and coding job so not recommended for beginners, but this is a great intermediate project, and you get something useful at the end of it.
An optional stand made just for this case is also available here: https://makerworld.com/en/models/1021529#profileId-1002996
Printing (please read):
Printed on an X1C, but should be P1P, P1S, A1 & A1 mini compatable. AMS recomended however not required as there are only 6 filament changes for the main body.
I've included a print profile for black and white PETG. Due to its stringiness and its ability to stick to everything, you need to inspect the first three layers after each colour change either by adding pauses into the g-code or manually stop the printer if you notice the slightest bit of black filament in the white layers. If you cant remove the black plastic because it's embedded, then it's worth restarting the print. This is 100% worth the effort to ensure there are no defects when the white parts are back-lit later by an LED.
If you're making your own profiles for other filaments these are some useful settings:
- Filament print order as black then white on every layer
- Hilbert curve bottom layer on the main body (looks nicer on a textured buildplate)
- Seam position at the back
- Avoid crossing walls
- 3 wall loops
- No supports
Bigger prime tower to hopefully reduce black plastic sticking to the nozzle.
Arduino Pin-out & Assembly:
2 - Digital line for neopixels
3 - Button 1 (on potentiometer 1)
4 - Button 2 (on potentiometer 2)
5 - Button 3 (on potentiometer 3)
6 - Button 4 (on potentiometer 4)
7 - Button 5 (on potentiometer 5)
8 - Button 6 (mute button on top)
A7 - Potentiometer 1
A6 - Potentiometer 2
A5 - Potentiometer 3
A4 - Potentiometer 4
A3 - Potentiometer 5
5V - To all potentiometers and one to the neopixel strip
Gnd - To all potentiometers, all buttons and the neopixel strip
Depending on which direction you run your LED pixels you may need to change the code, I wired mine pixel 1 = potentiometer 5, pixel 2 = potentiometer 4 etc, with pixel 6 being the mute mic LED in the bottom (I know this is awkward but it was easier to fit the wires in the box this way). The arduino is taped down to the rasied section at the bottom with double sided foam tape (something similar to 3M VHB tape).
Code and Software:
The arduino code is in the text file below. This code requires the Miodec fork of deej for the mute button to work, within the deej config file you can pick which keystroke to emulate (I chose F13), in discord you can create a keyboard shortcut for toggle mute and press the button on top of the deej controller. It is also worth noting you may need to roll back a serial communications driver on windows, instructions on how to do this can be found in the ‘deej-app-help’ channel on their discord server.
Credit and useful links:
- Original Deej creator - https://github.com/omriharel/deej
- Deej fork that supports the mute button (one used for this project) - https://github.com/Miodec/deej
- Deej community discord server - https://discord.com/invite/nf88NJu
- Good explainer of what Deej is - https://www.youtube.com/watch?v=9lDU3zSYREc&ab_channel=MadModLabs
Documentation (1)
License



Comment & Rating (14)