
Modular Desk/Workshop 6 cm drawers

Print Profile(2)


Description
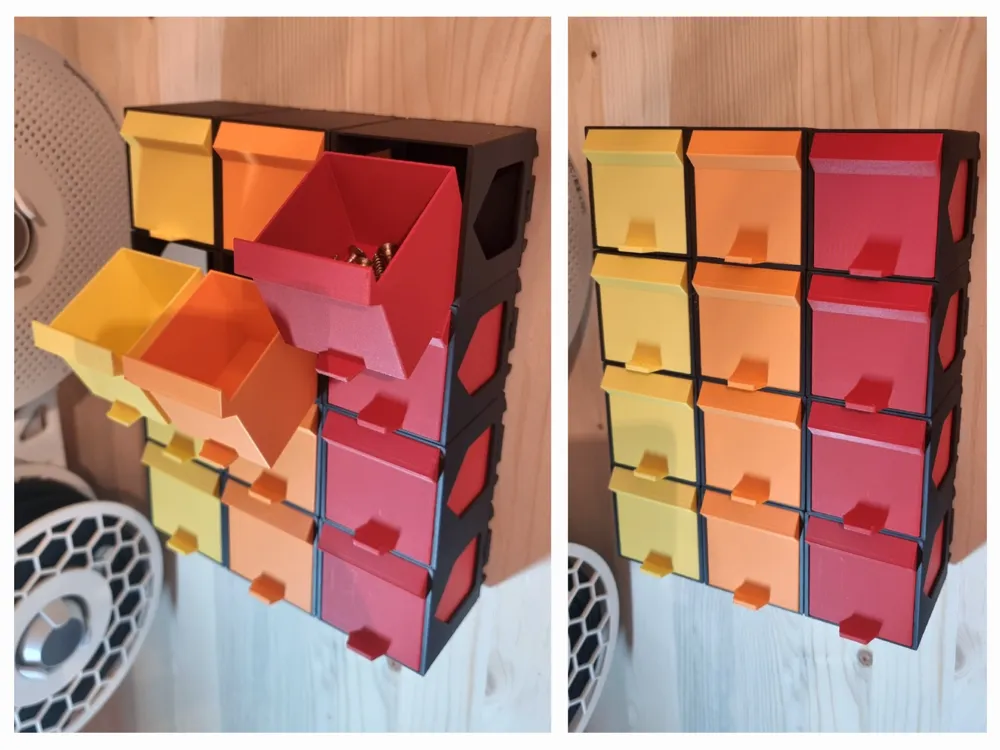


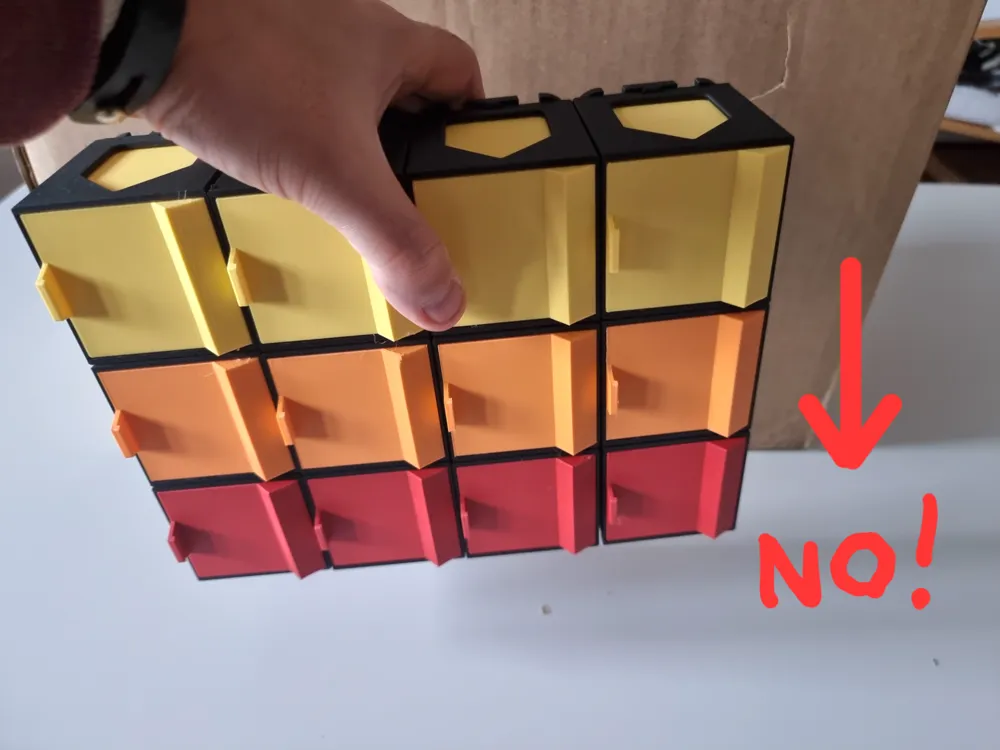
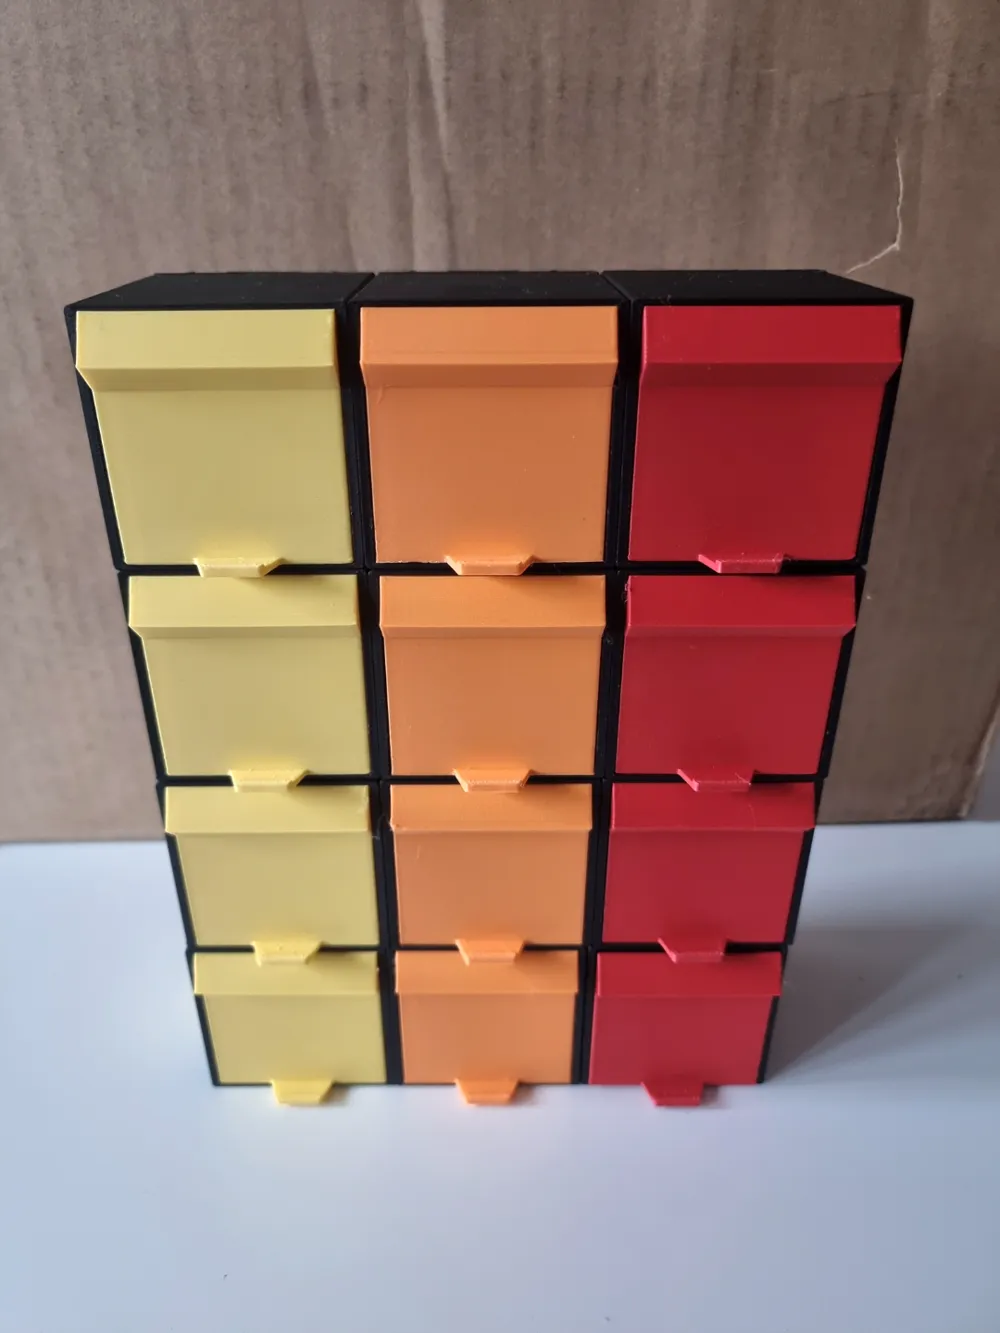
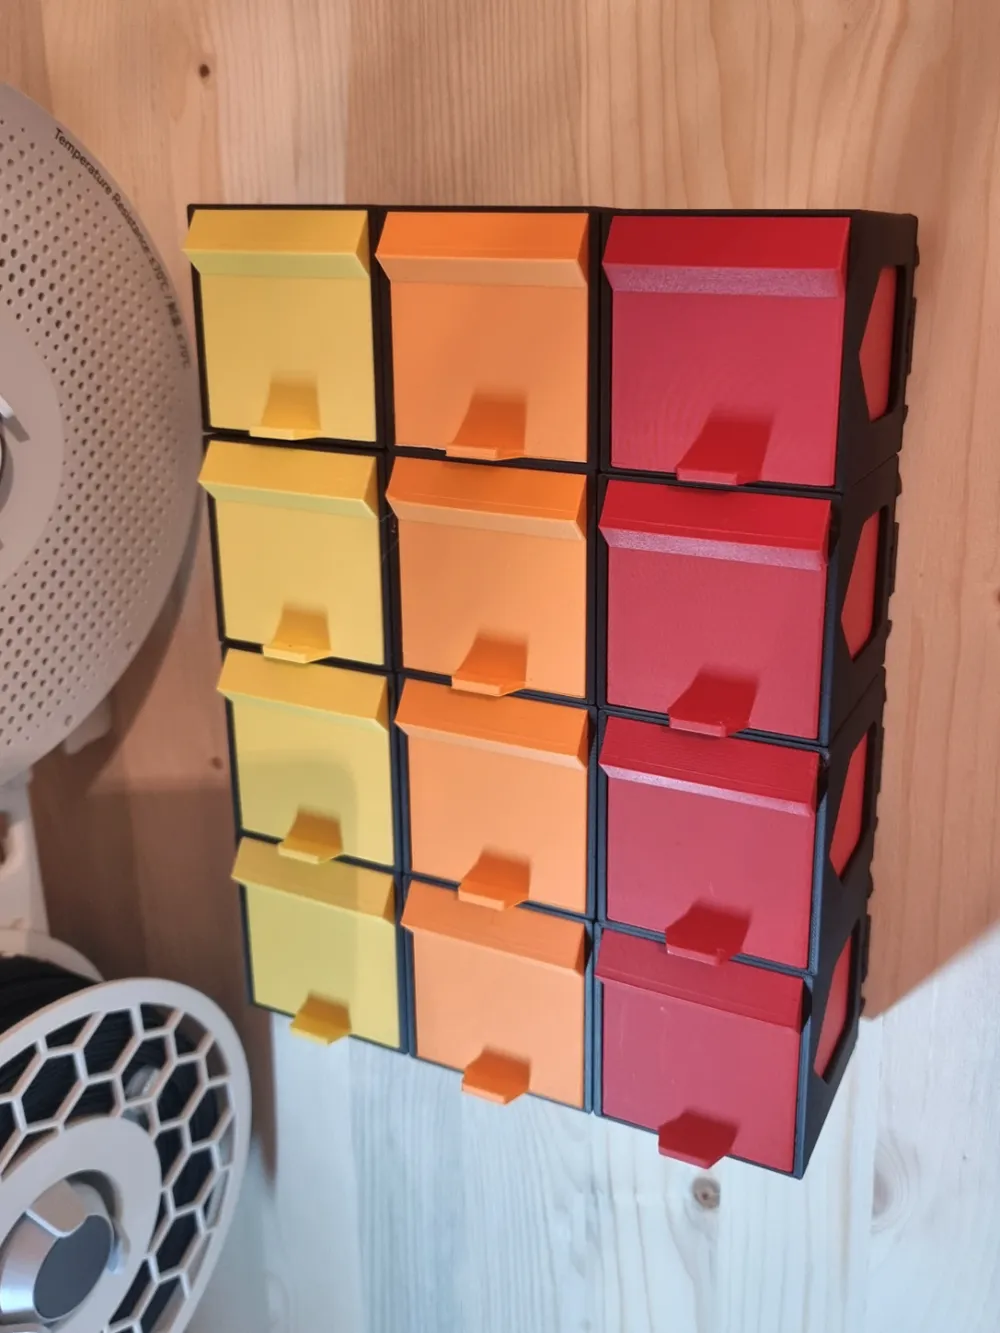
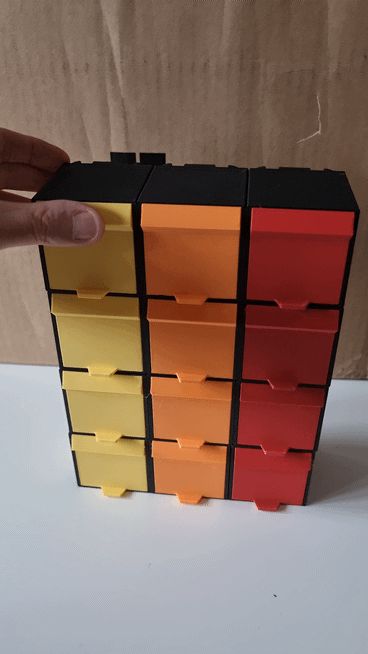
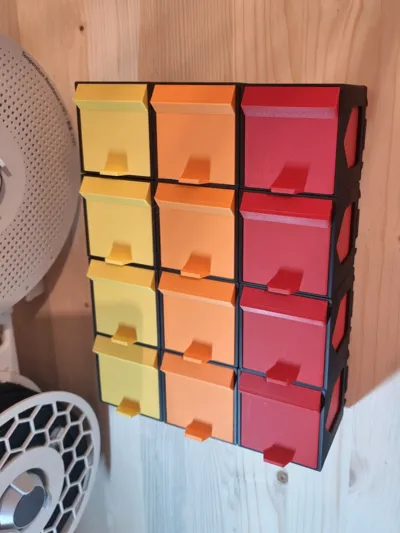
I created these modular drawers for screws, bolts, and various small parts to be aesthetically pleasing, expandable as needed, and suitable for placement on a workbench or wall mounting.
The internal dimensions of each drawer are approximately 55x50x50 mm.
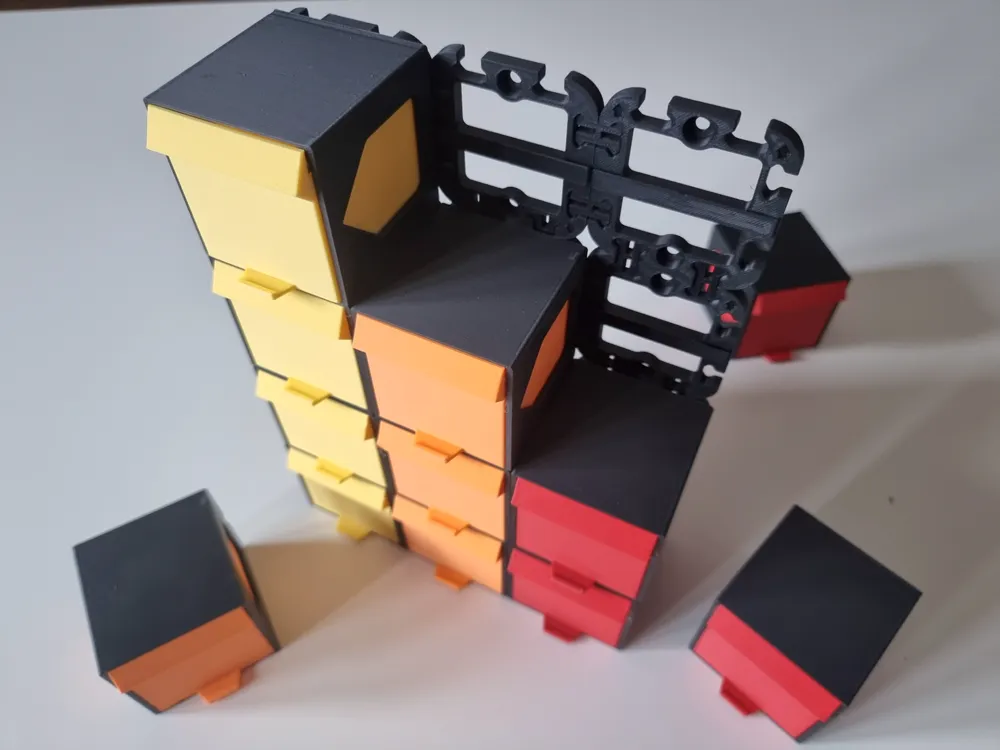
Each drawer consists of three parts:
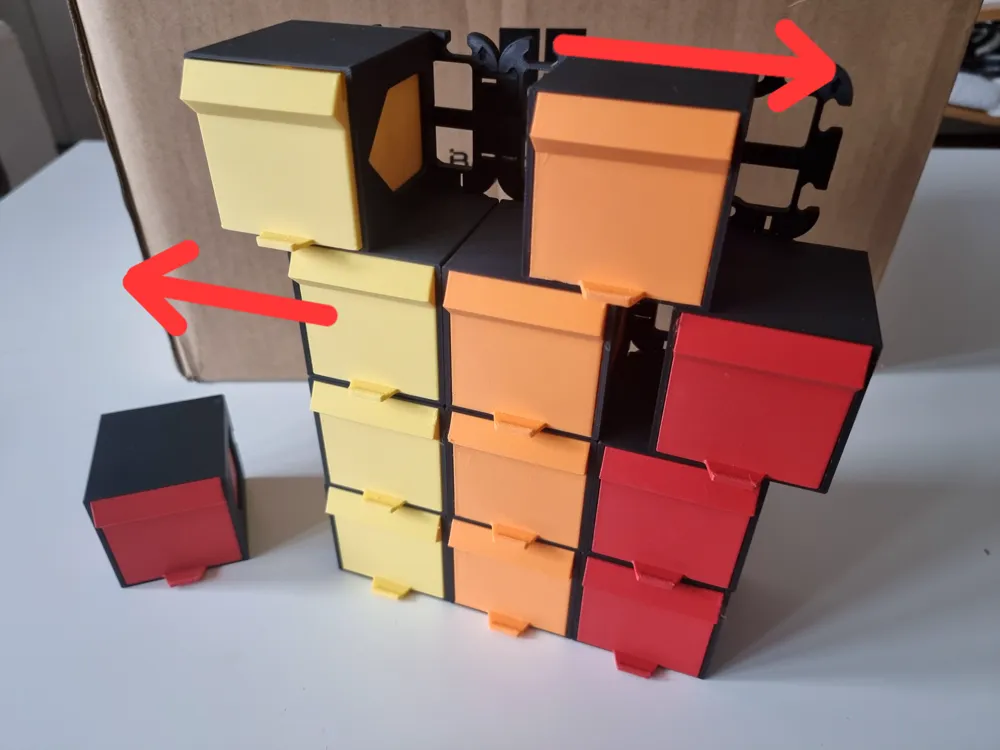
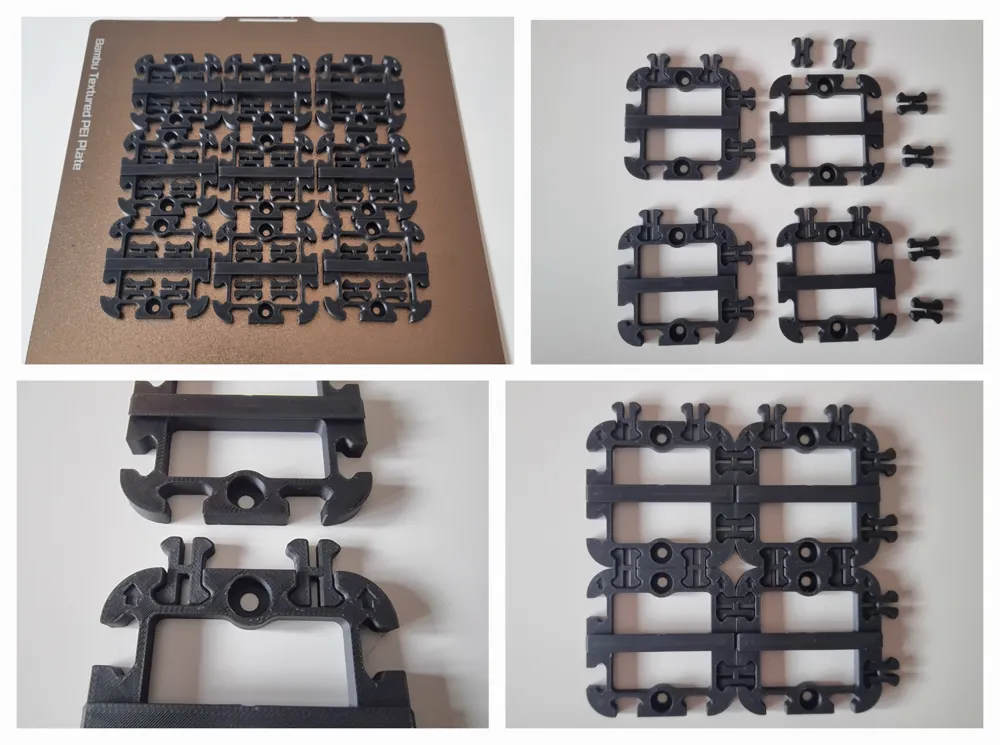
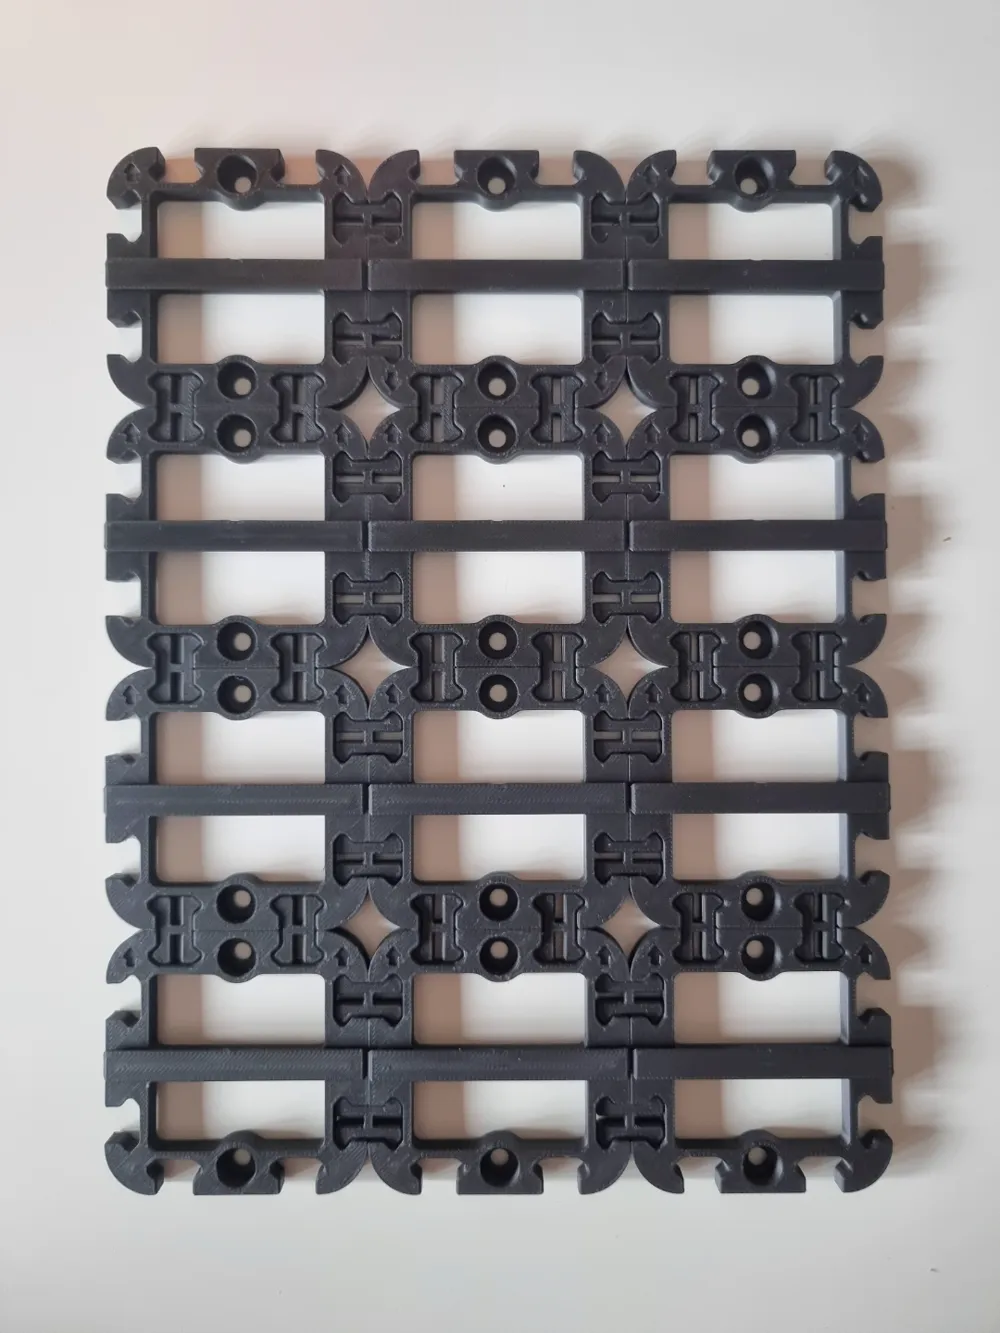
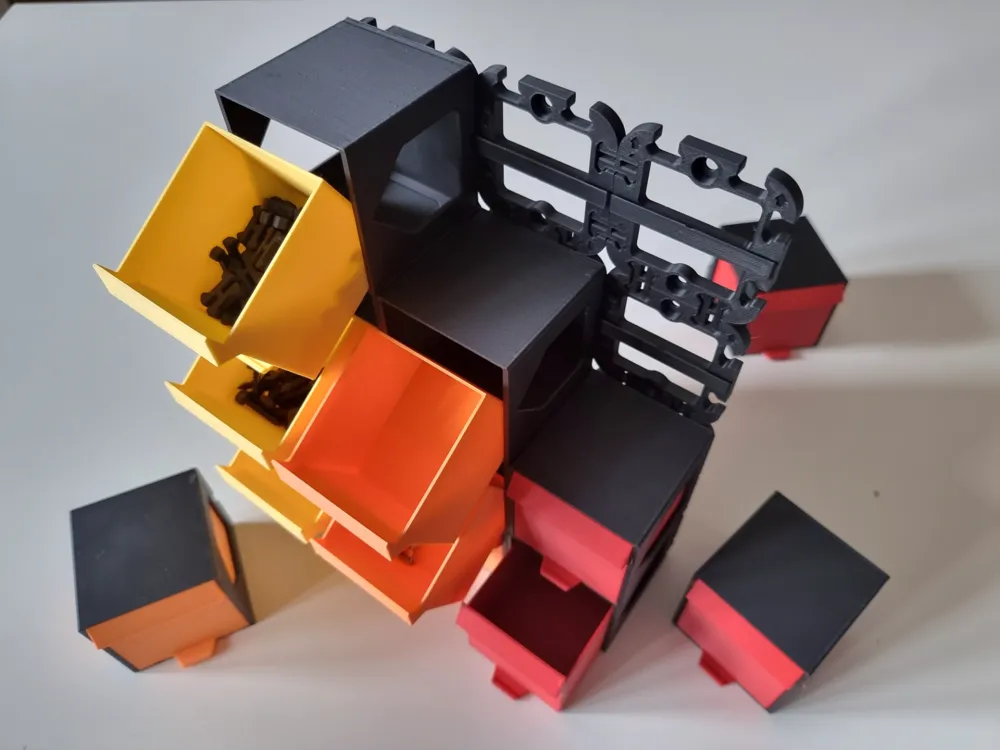
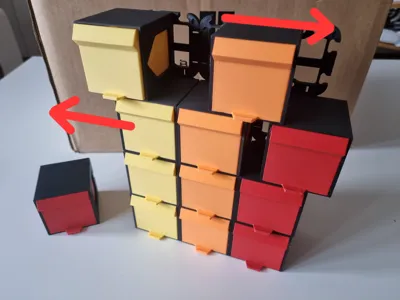
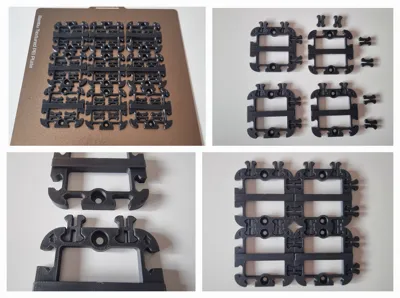
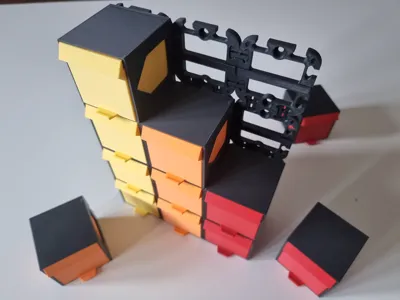
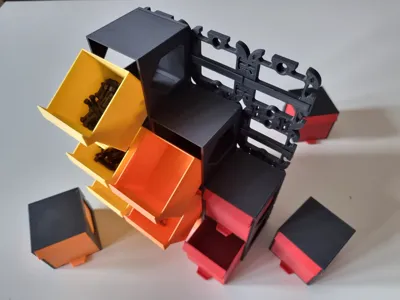
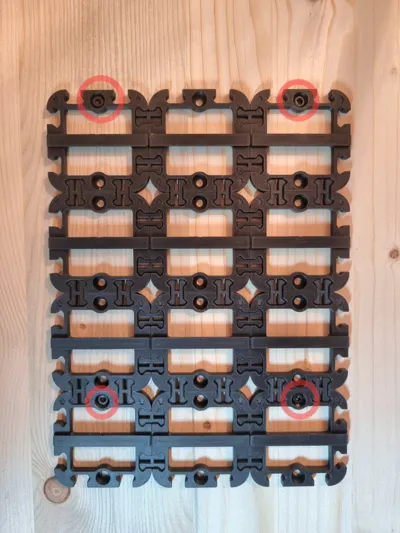
A base grid and 4 connectors to firmly connect it to other modules as desired. I preferred to separate the connectors from the base so that they do not protrude once assembled (see photo).
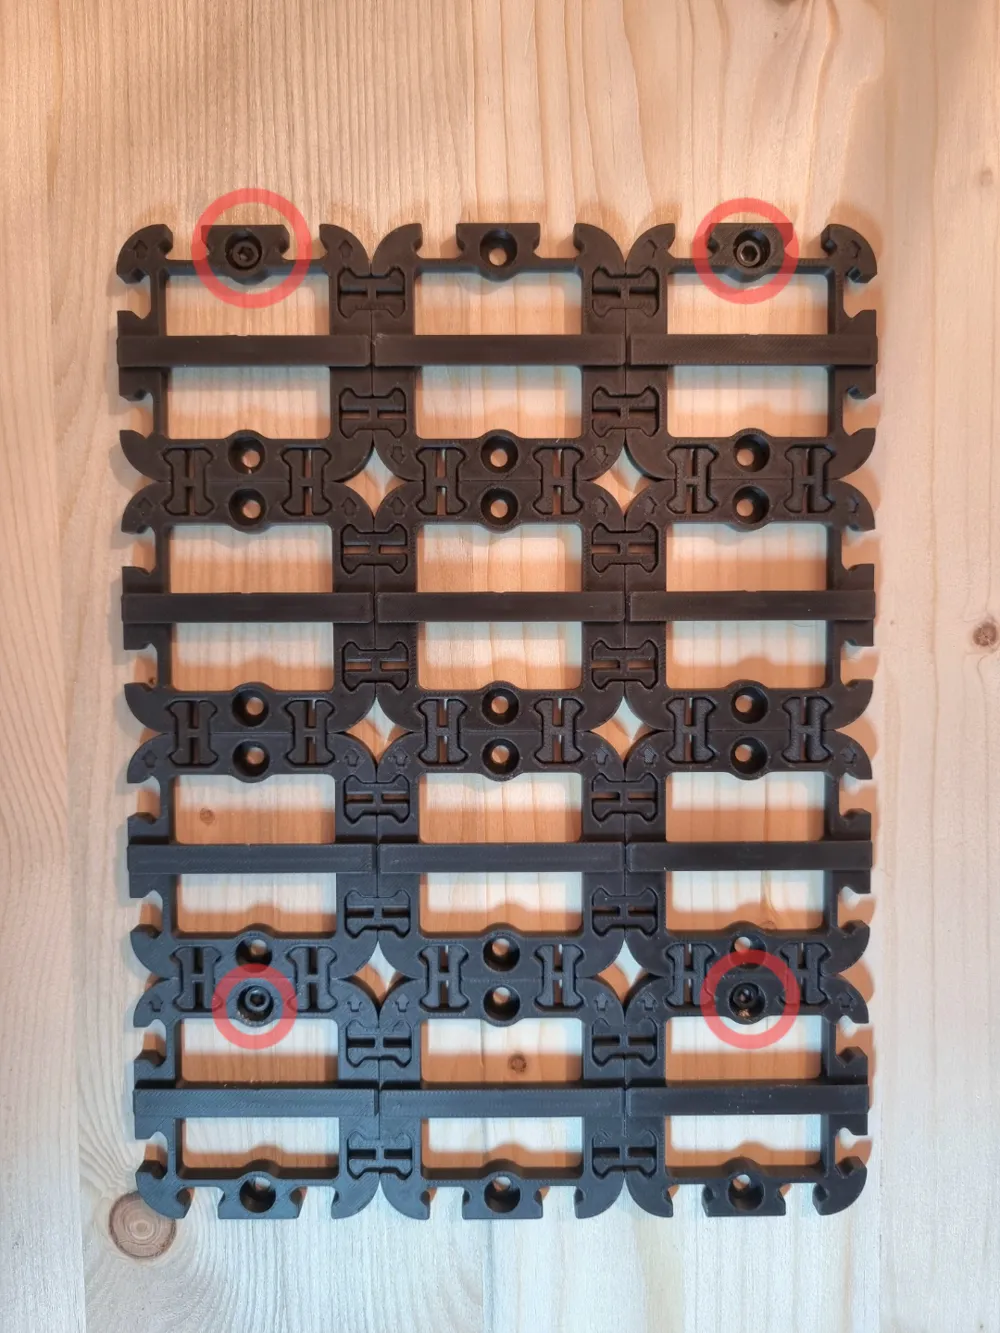
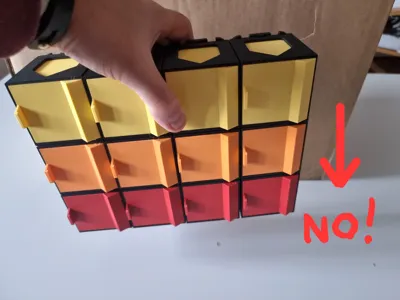
Each grid features two upward-pointing arrows!
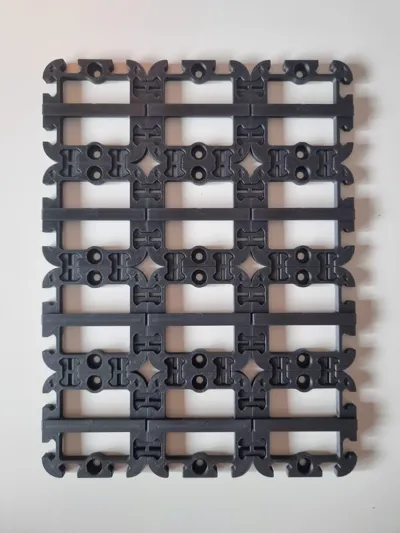
Each grid features two holes suitable for 3 and 4 mm screws (4.4 mm through-hole diameter) with a head diameter no larger than 9 mm and a depth no greater than 4.4 mm.
- A container that will house the drawer itself. The container is inserted onto the grid by sliding it laterally onto the appropriate track on the grid. Some resistance is normal, especially during the first assembly. The container has a small tooth that prevents free sliding and allows for centering the container on the grid itself.
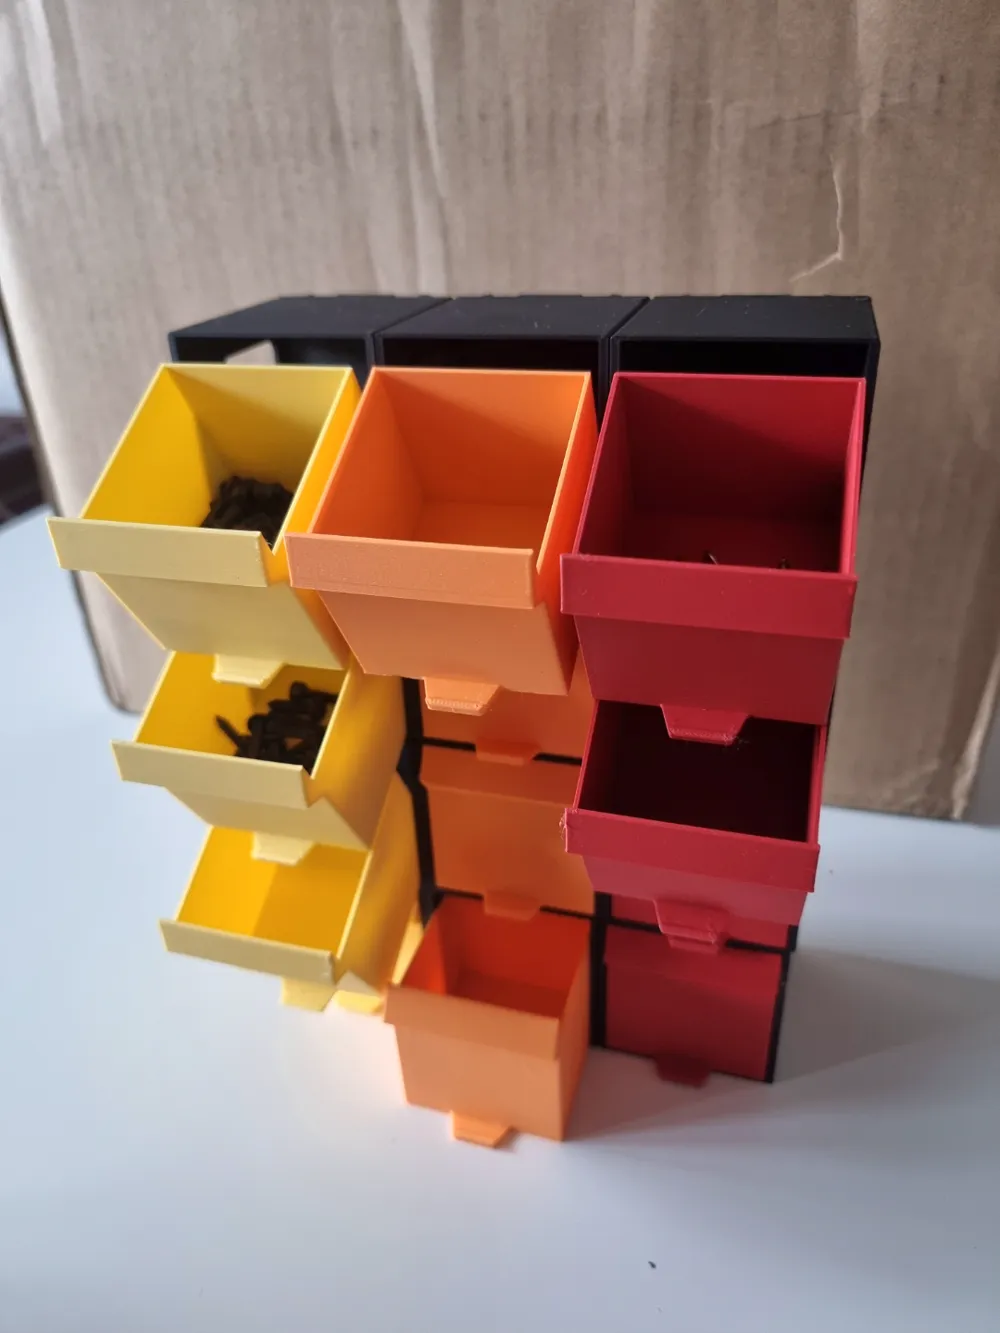
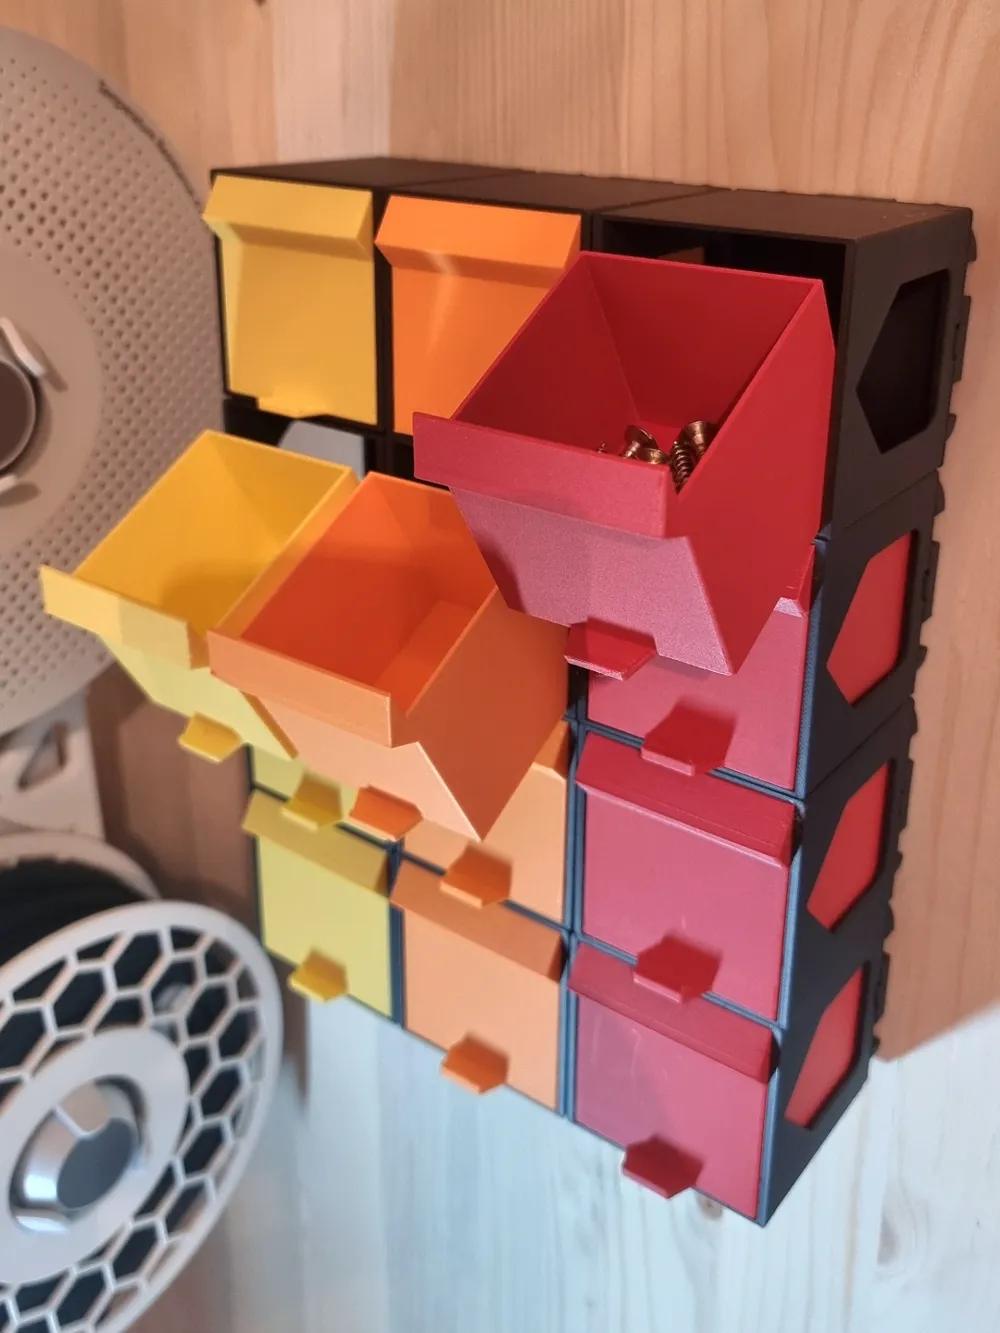
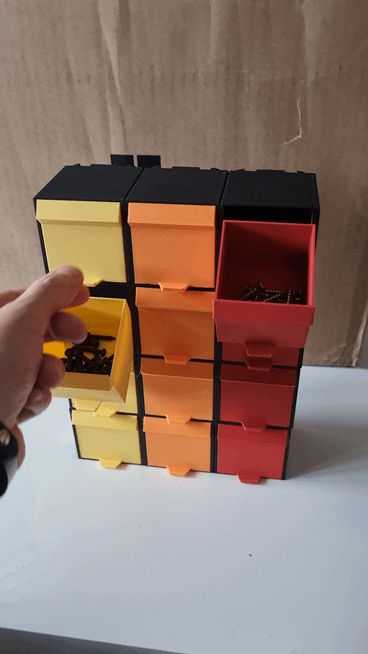
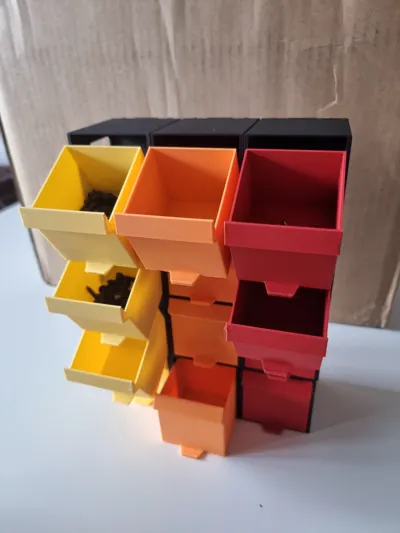
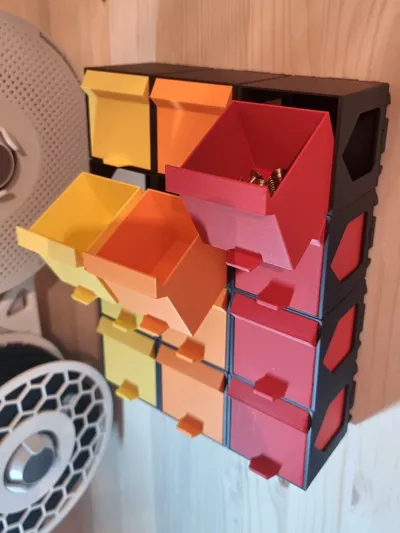
- The drawer itself. It is simply assembled by forcing it into the container, ensuring that the side pins fit into the appropriate tracks. If correctly assembled, the drawer should slide freely to the end, and once opened, it should tilt forward, facilitating internal viewing. The drawer has a space for any labels measuring 54x12 mm.
As I already wrote, the containers can be placed freely on the desk/workbench, but they will be unstable unless double-sided tape is used to secure them.
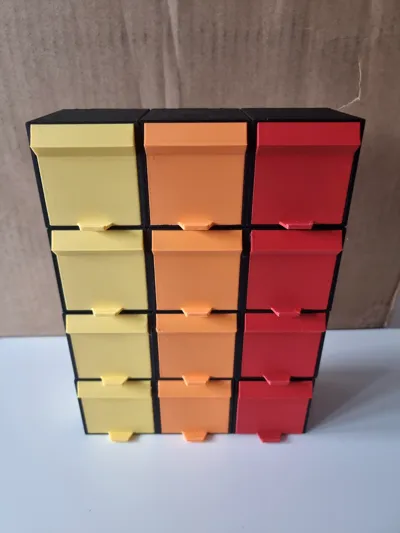
It is strongly recommended to screw them to a support for permanent use (I screwed them to wood) using the appropriate holes in each grid. Naturally, it is not necessary to fix each grid, but depending on the number of drawers, you will have to adjust how many screws to use. Personally, on a 3x4 grid, I used 4 screws at the corners (see photo).
The beauty of this system is that you can expand the number of drawers over time, even printing them one at a time!
I have prepared 2 versions, one for the A1 Mini and another for the A1.
The profile for the A1 Mini contains 4 print plates:
- The first contains all three elements; they can all be printed in the same color, or you can simply choose which element to print from both Bambu Studio and Bambu Handy.
- The second contains 4 containers.
- The third contains 4 drawers.
- The fourth contains 4 grids.
The profile for the A1 contains 7 print plates:
- The first contains all three elements.
- The second contains 4 containers.
- The third contains 4 drawers.
- The fourth contains 4 grids.
- The fifth contains 9 containers.
- The sixth contains 9 drawers.
- The seventh contains 9 grids.
Boost Me (for free)
I hope you find this project useful and enjoyable; if so, consider giving me a boost!
Happy printing!
I hope you like it…and happy printing!
Boost Me (for free)
Consider rewarding my work, thank you!
License

You shall not share, sub-license, sell, rent, host, transfer, or distribute in any way the digital or 3D printed versions of this object, nor any other derivative work of this object in its digital or physical format (including - but not limited to - remixes of this object, and hosting on other digital platforms). The objects may not be used without permission in any way whatsoever in which you charge money, or collect fees.


Comment & Rating (51)