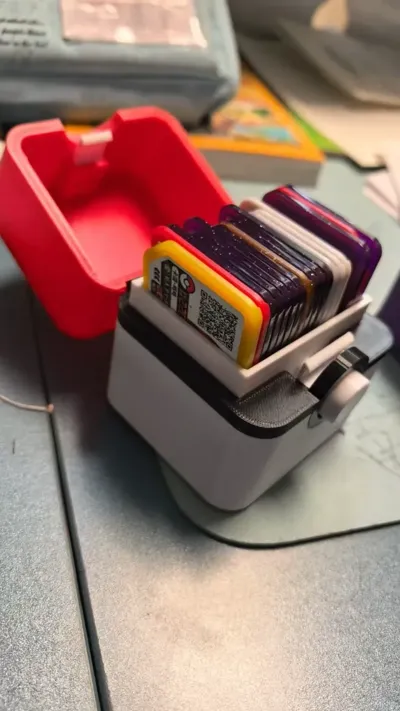
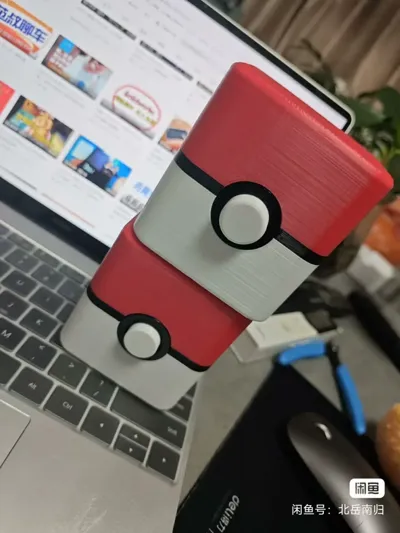
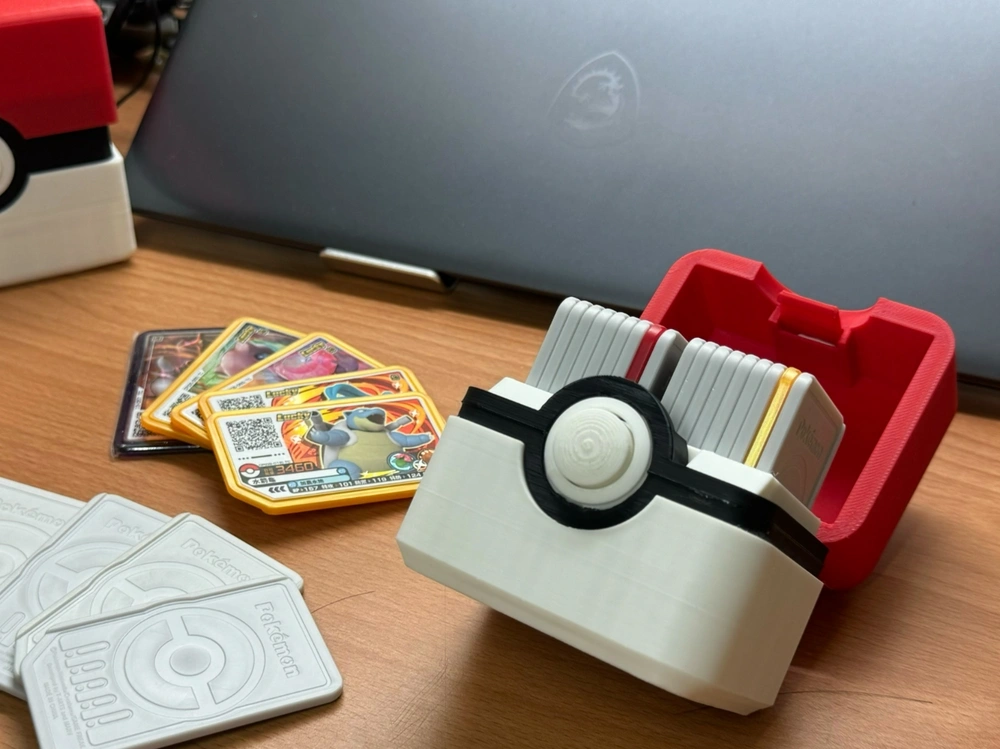
Pokémon Go Plus Box


Print Profile(1)

Description
I conceived this box design after encountering a magnificent model by fellow community member @Tera Chiang, the inspiration for this Pokeball replica. Its charming aesthetic, coupled with a friend's passion for Pokémon and the augmented reality game, spurred my adaptation. For simplicity, I omitted the external hook casing and incorporated spring locating pins, employing cylindrical pins for robust component integration. After roughly ten prototypes (I admit my inexperience), I achieved a snug fit using Caige PETG, ensuring seamless articulation and minimal play. I hope you enjoy it!
II. Assembly Instructions:
1. Insert a spring (a standard ballpoint pen spring works well) into the locating pin cavity, applying gentle force or rotating as needed.
2. Insert a 2MM x 5MM cylindrical pin into the foremost locating hole of the white main body, as illustrated below (this pin secures the black circle).

3. Fit the black circle onto the white button, concave side down, aligning it with the hole shown above and securing it with the cylindrical pin (alternatively, fitting the white button first, then the black circle, works if you pay attention to alignment). Adjust the white button's angle to engage with the spring locating pin, simultaneously securing the black circle to the 2mm cylindrical pin, completing the installation of the white button and black circle onto the main body.
4. Install the intermediate black frame. Matching alignment holes are provided on the base of the black frame and the top of the white main body. Use 2MM x 5MM cylindrical pins for secure connection. If holes are tight, gently expand them with scissors or a similar tool. Complete insertion of all pins is not mandatory; prioritize secure assembly. The number of pins is at your discretion.
5. Insert the upper lid hooks into their respective slots, securing them with 2MM x 5MM cylindrical pins, providing both securement and alignment to ensure proper hook engagement.
6. Attach the red lid, using a 2MM x 30MM cylindrical pin (or one no shorter than 25mm) to connect the red lid to the black mid-frame, using the pin as a hinge.
Assembly is now complete.
III. Important Notes:
1. Cylindrical pins are used exclusively for connection and fastening. While adhesive bonding is a viable alternative, I found it aesthetically less appealing.
2. To maintain secure fastening of the black circle surrounding the button with only one bottom cylindrical pin, I incorporated two small “ears.” When the black mid-frame is installed, corresponding recesses engage with these “ears,” creating a positive locking mechanism. Therefore, ensure complete removal of supports from the aforementioned recesses prior to assembly to ensure smooth engagement of the locking structure. (As an aside, I recommend using a small awl to remove supports from cylindrical pin holes; I gently pressed along the edges, then lightly pried upward to dislodge the support.)
3. If the button feels stiff, apply pressure from various angles to allow for component settling and break-in.
IV. That's all for now, with more to come as needed. I hope you enjoy it!
Comment & Rating (4)