
Infinity Orb Vaults
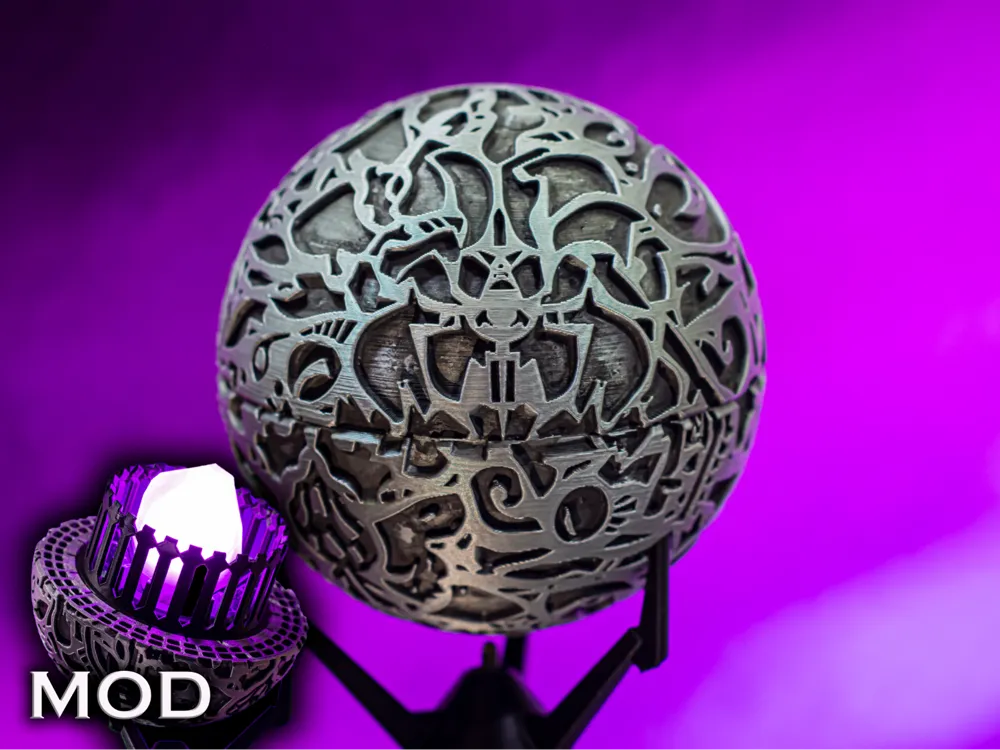
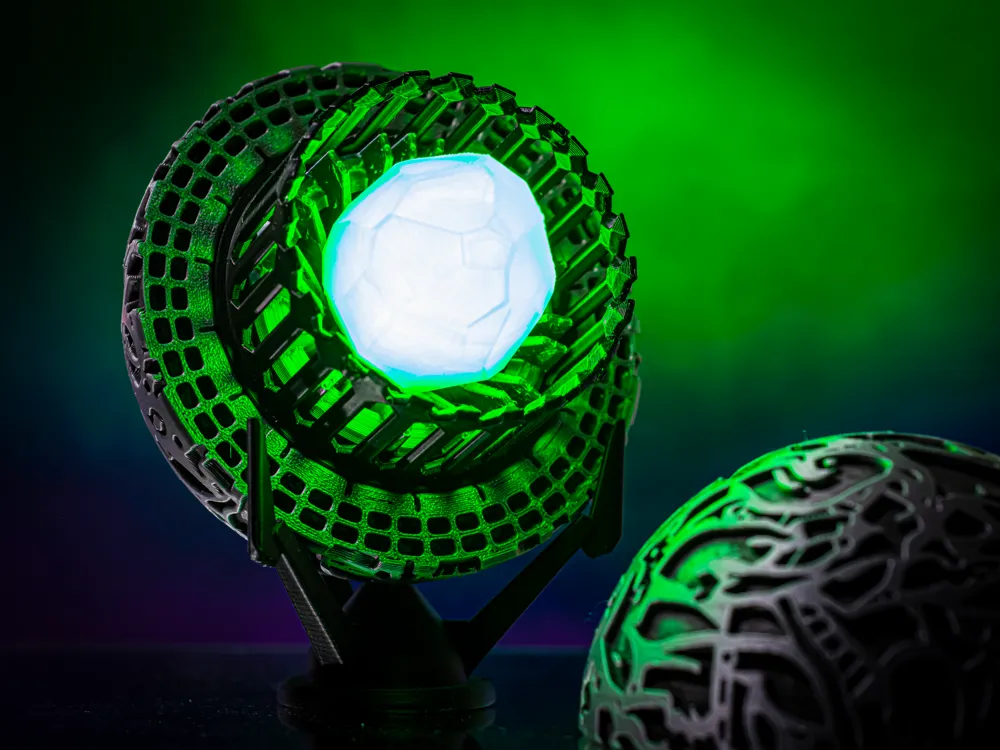


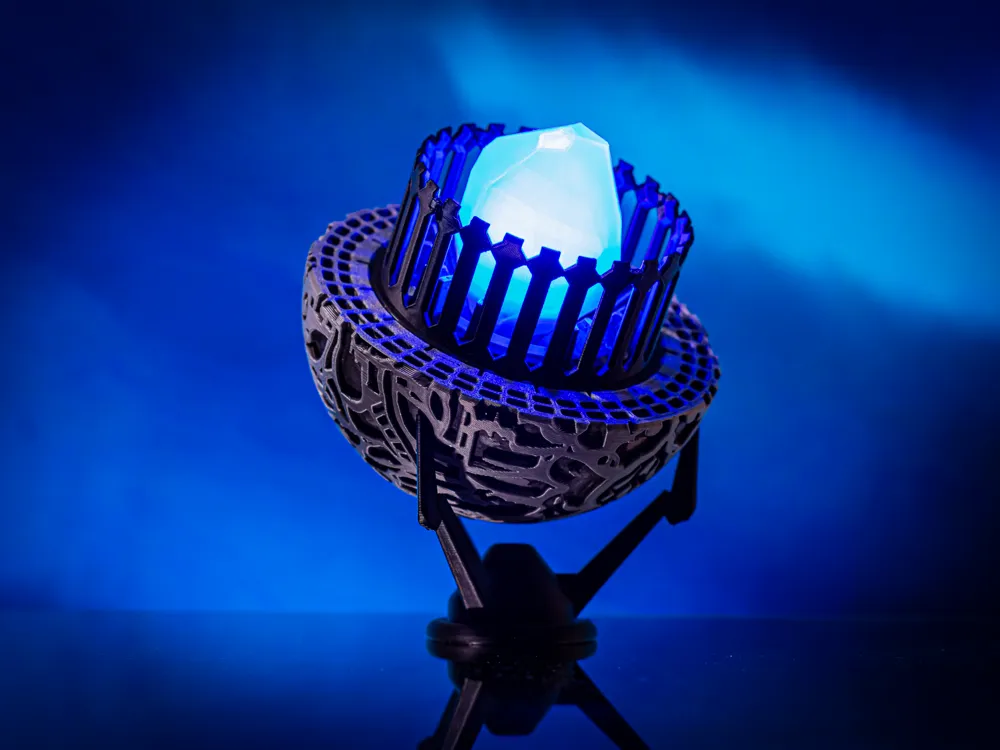






Print Profile(4)


Description
New Modification!

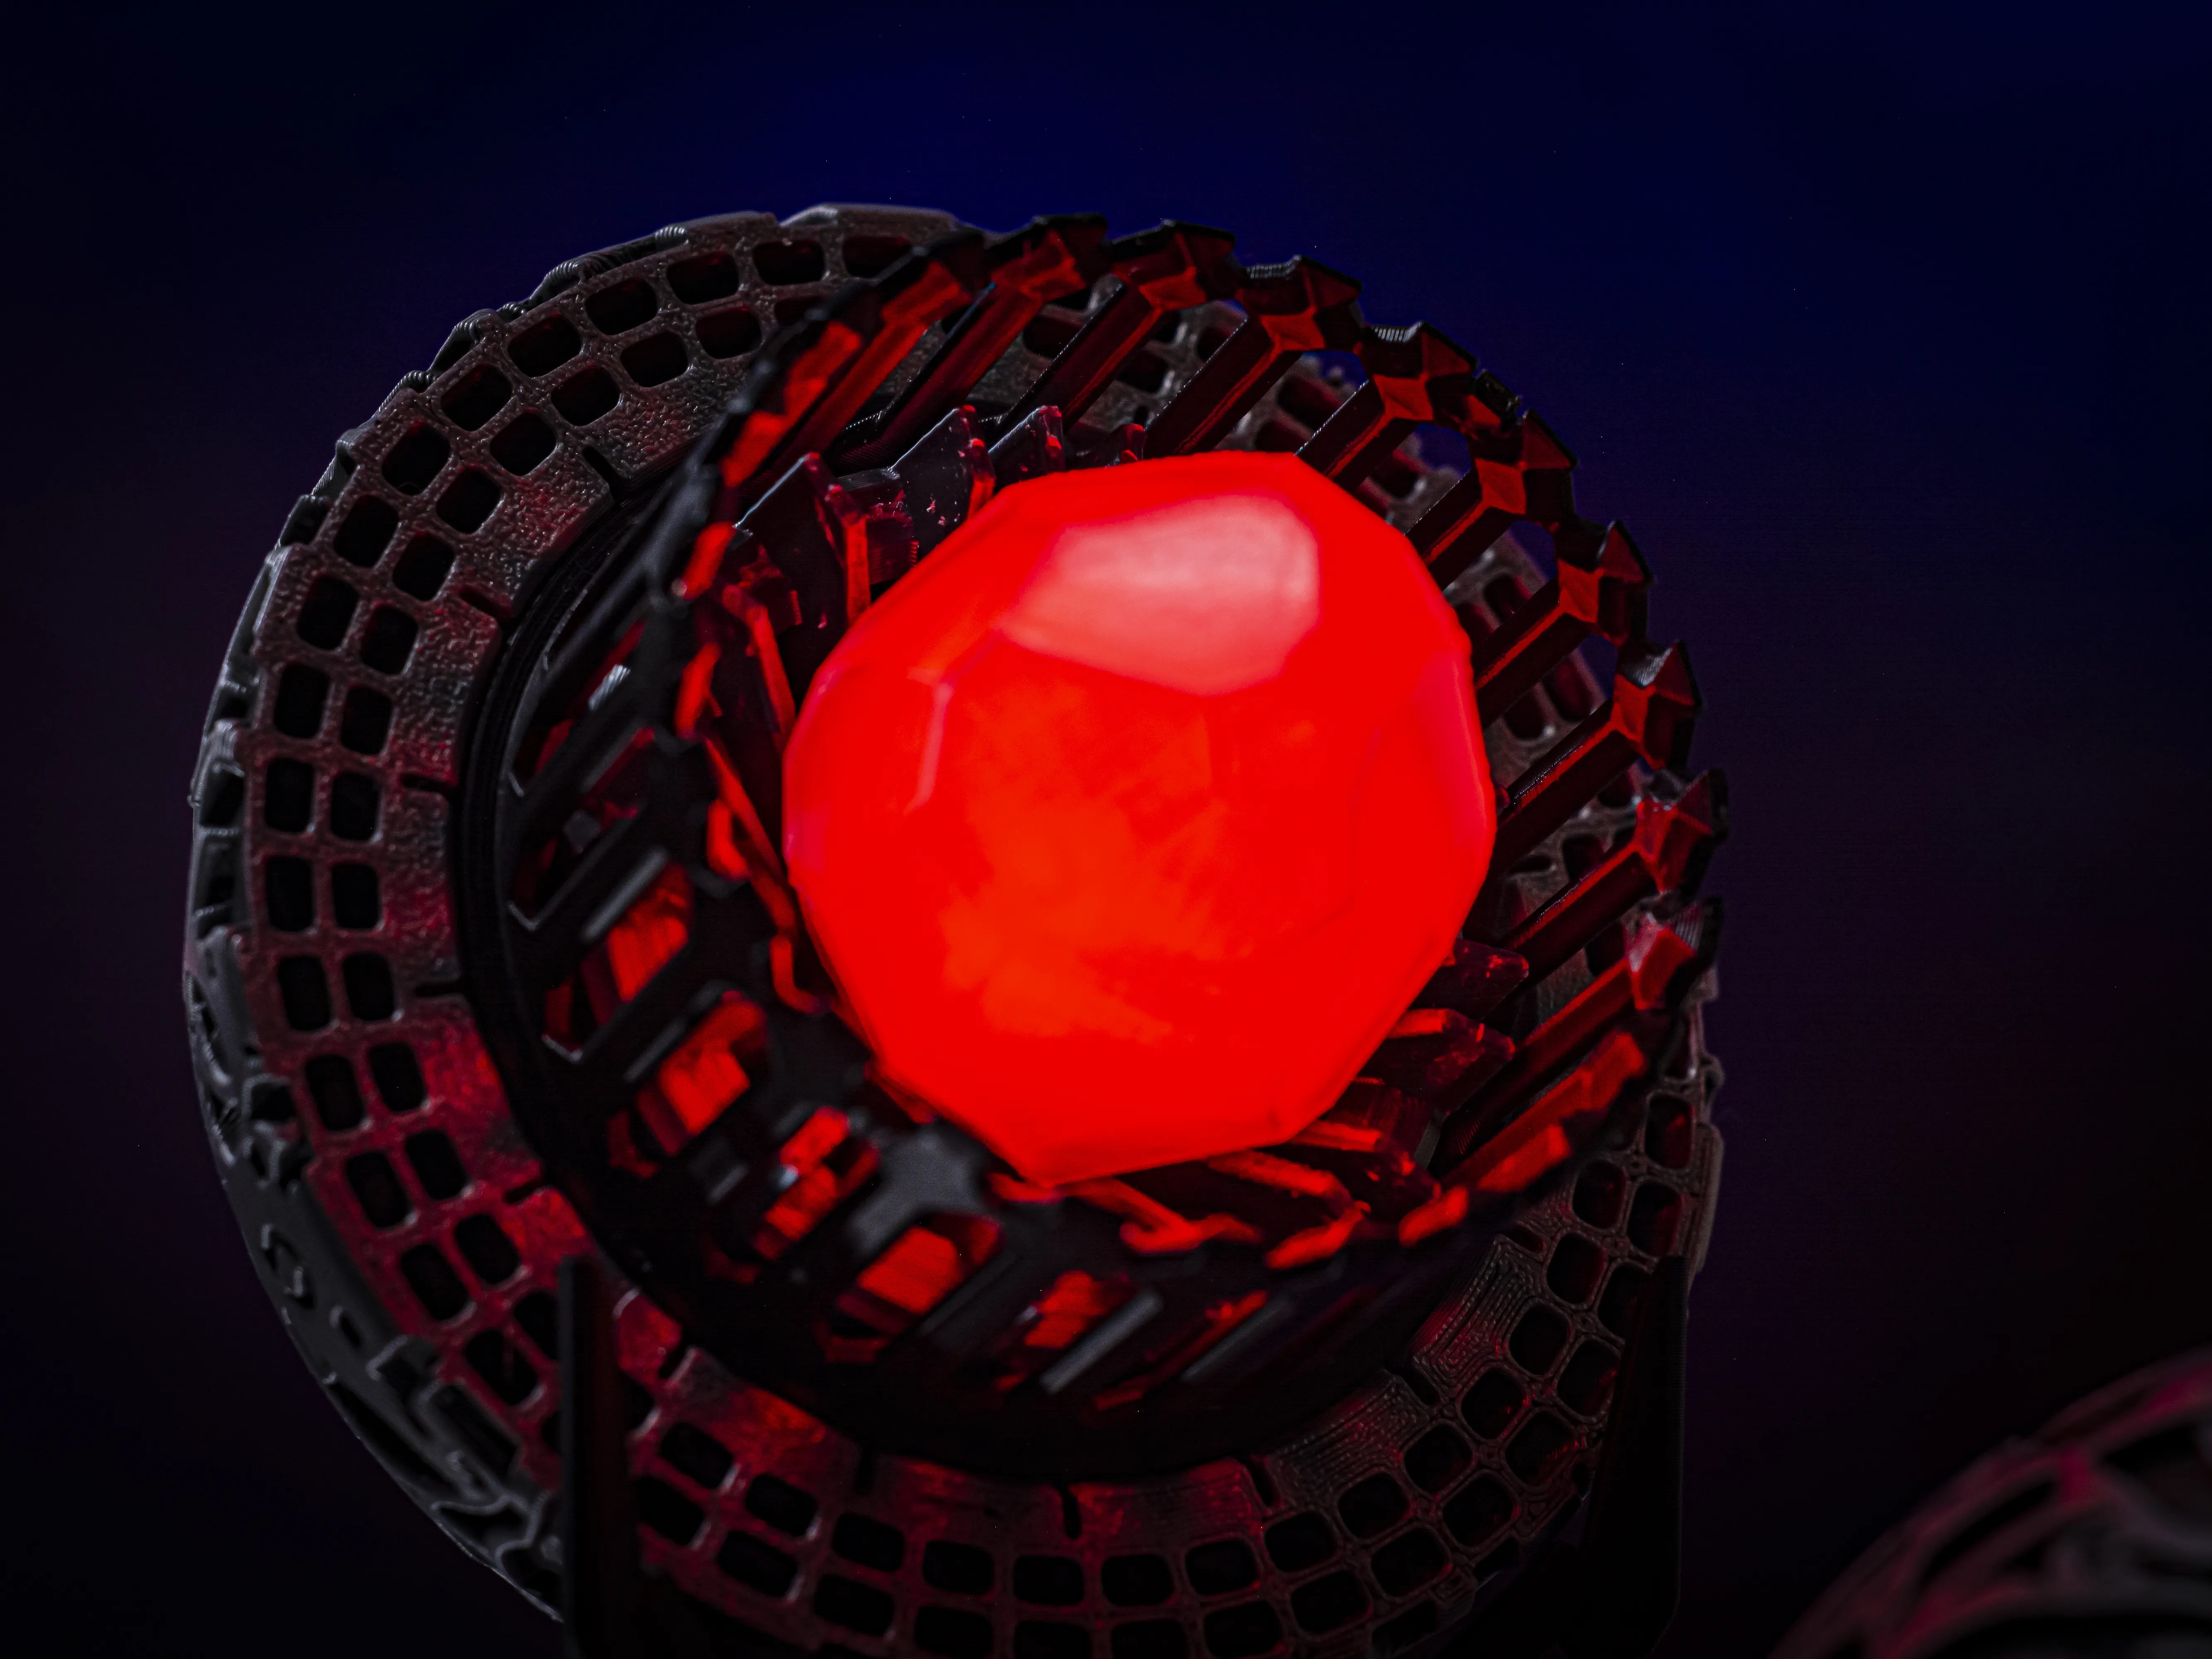
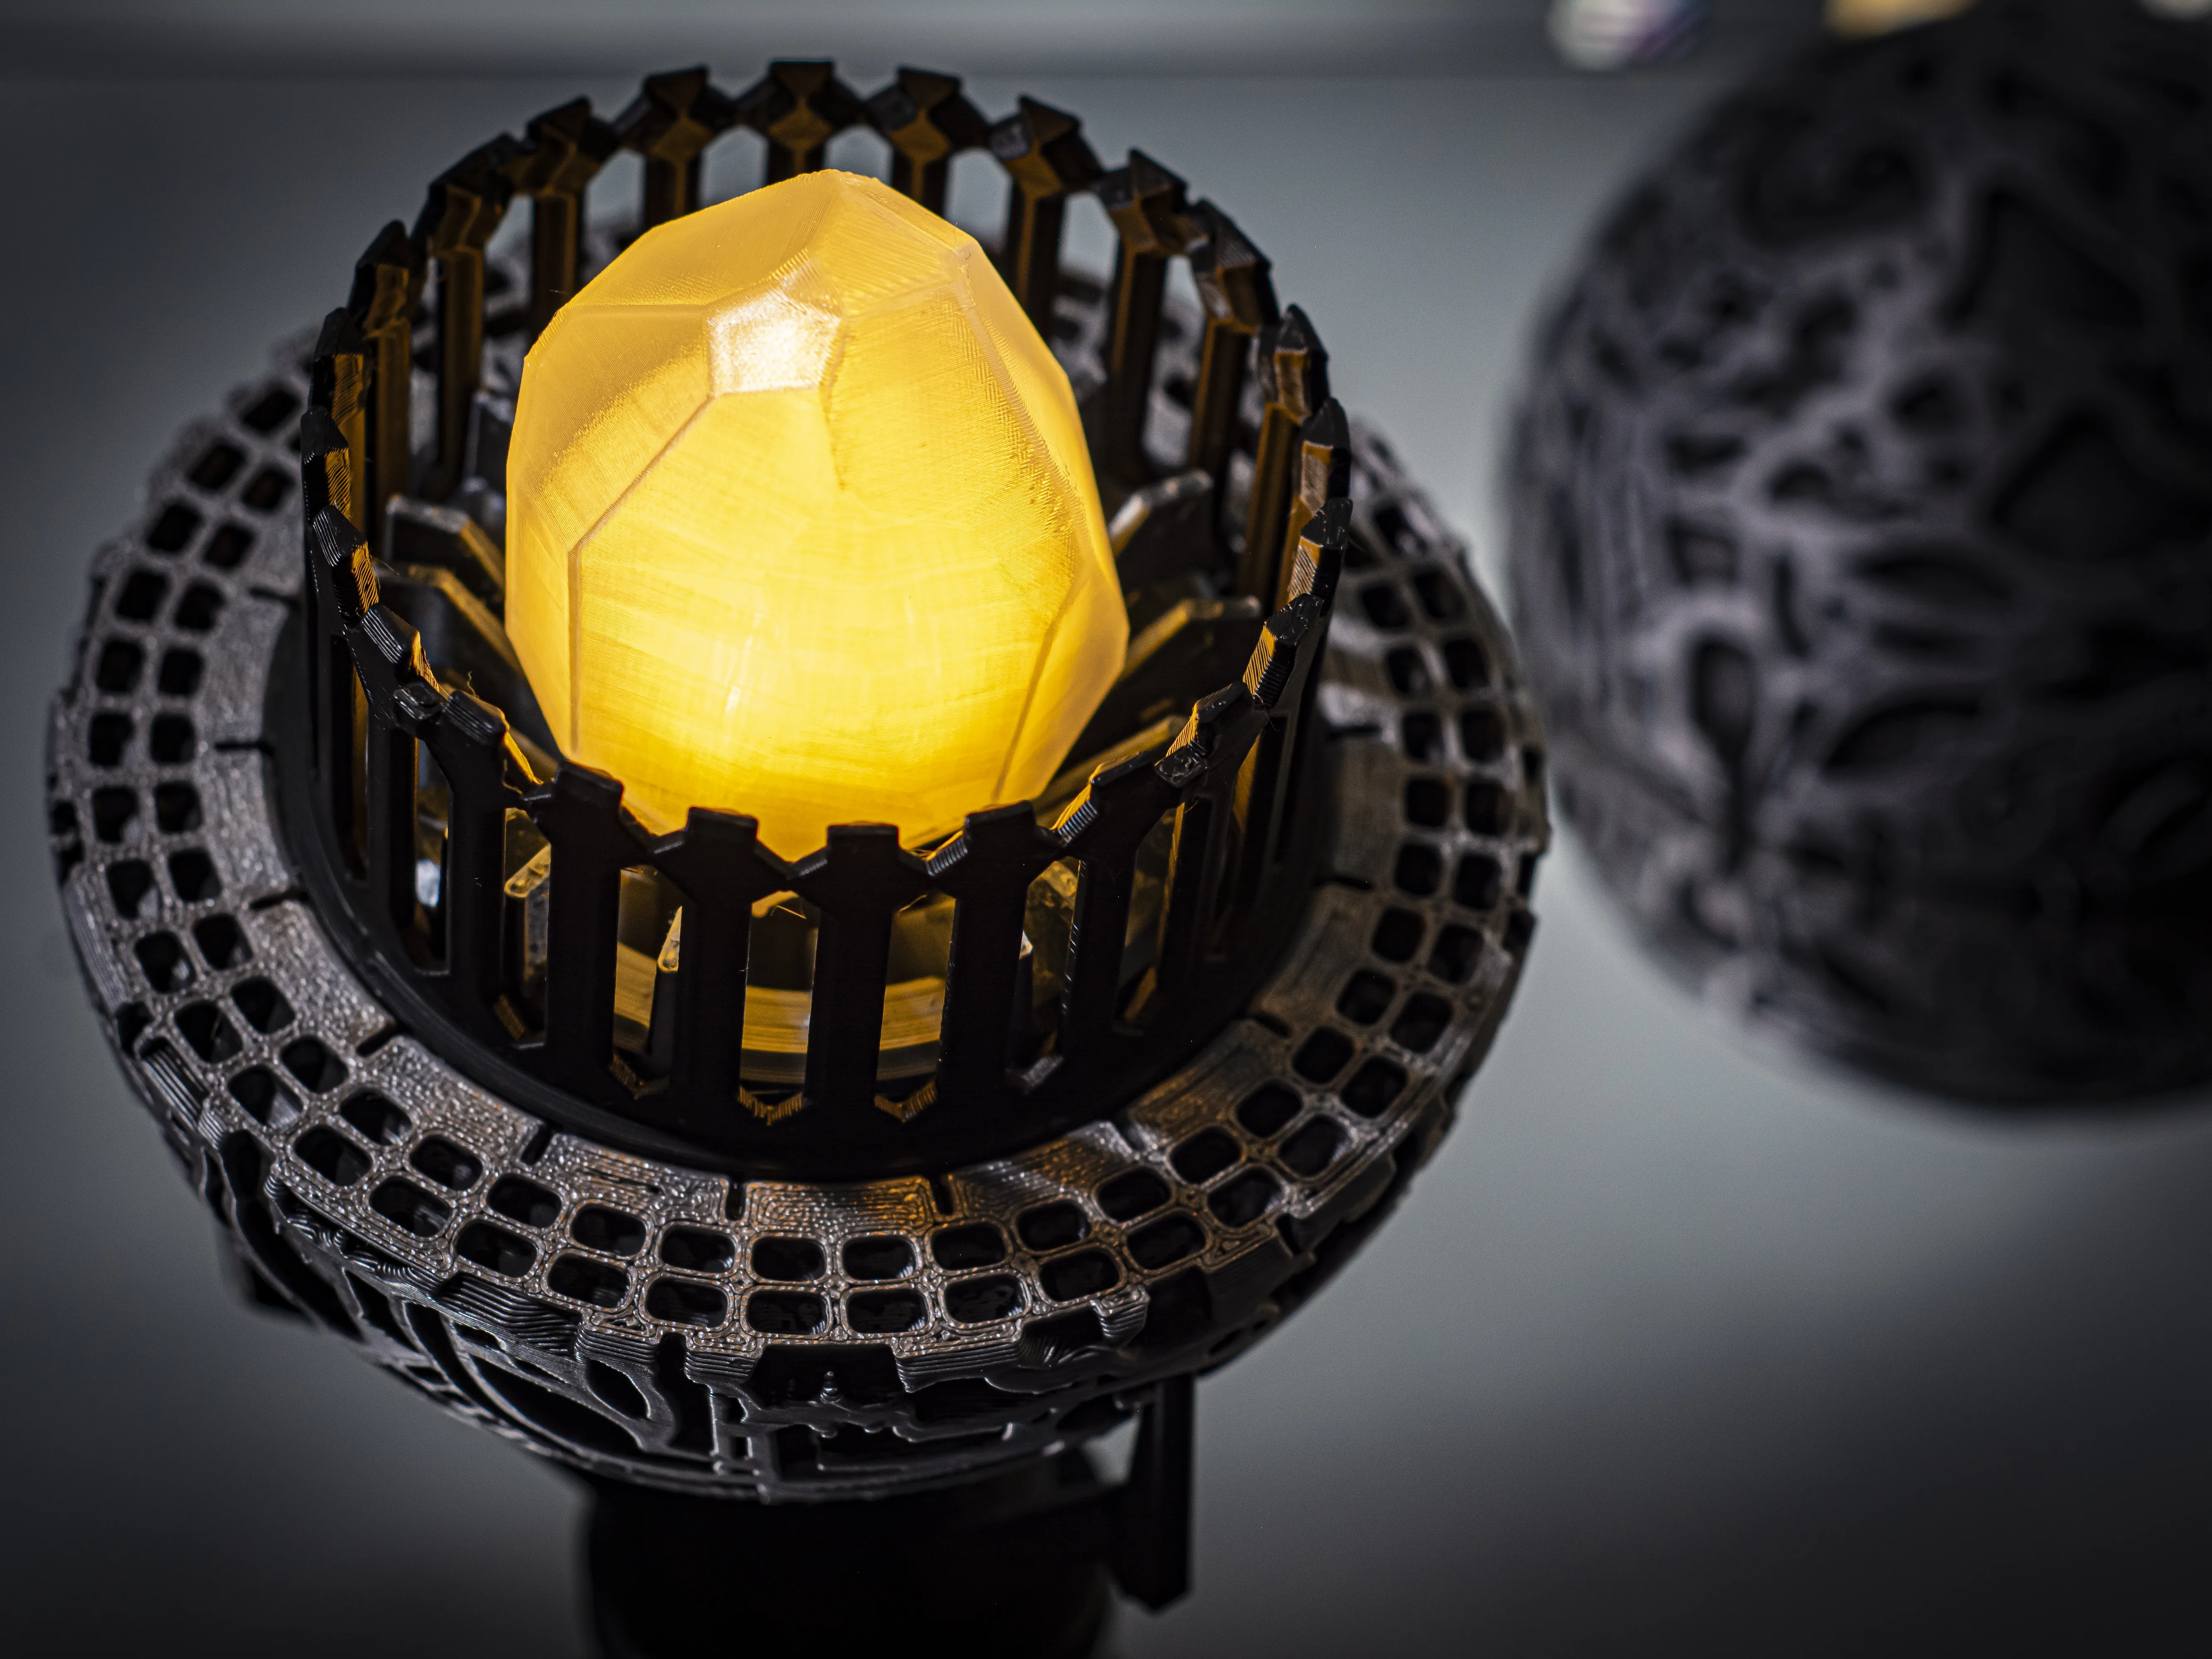
I created an adapter that attaches to the existing Infinity Orb to connect it with my Infinity Stone model.
The Infinity Stone model, along with descriptions and instructions, is available at this link:
Infinity Stone - RGB remote led by Megatiks - MakerWorld
Here’s a short showcase of the fully assembled Infinity Set:

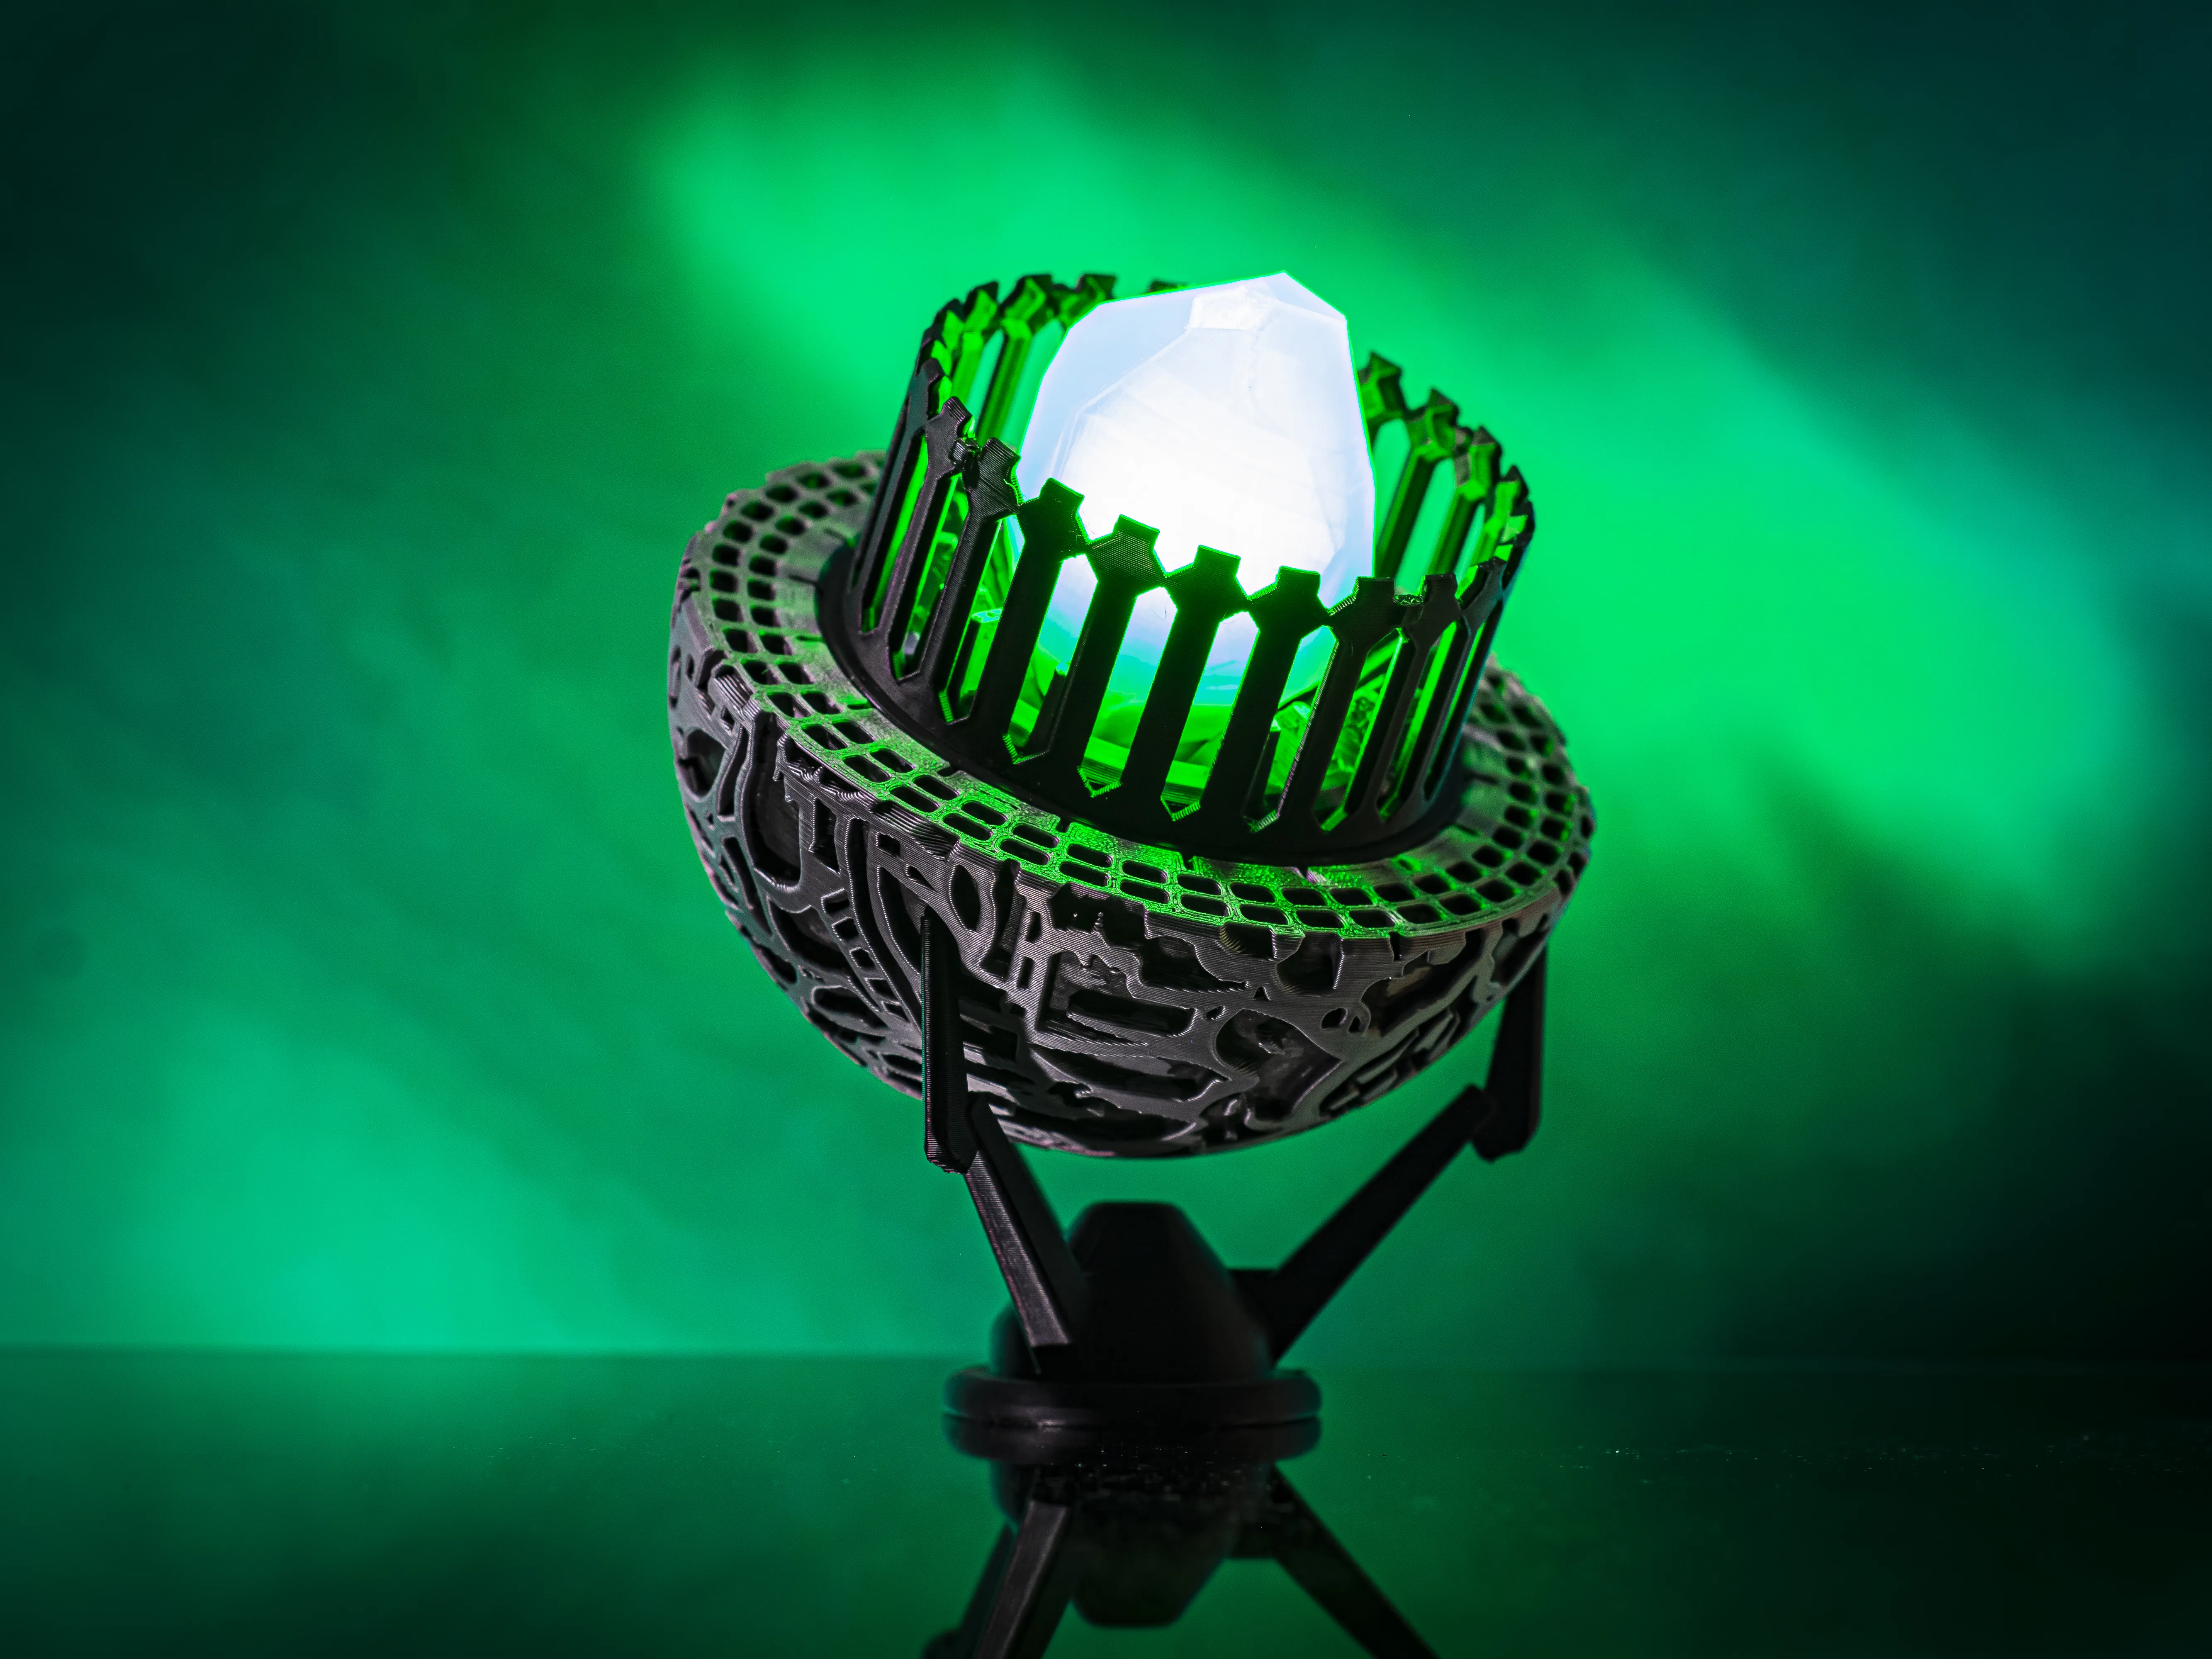
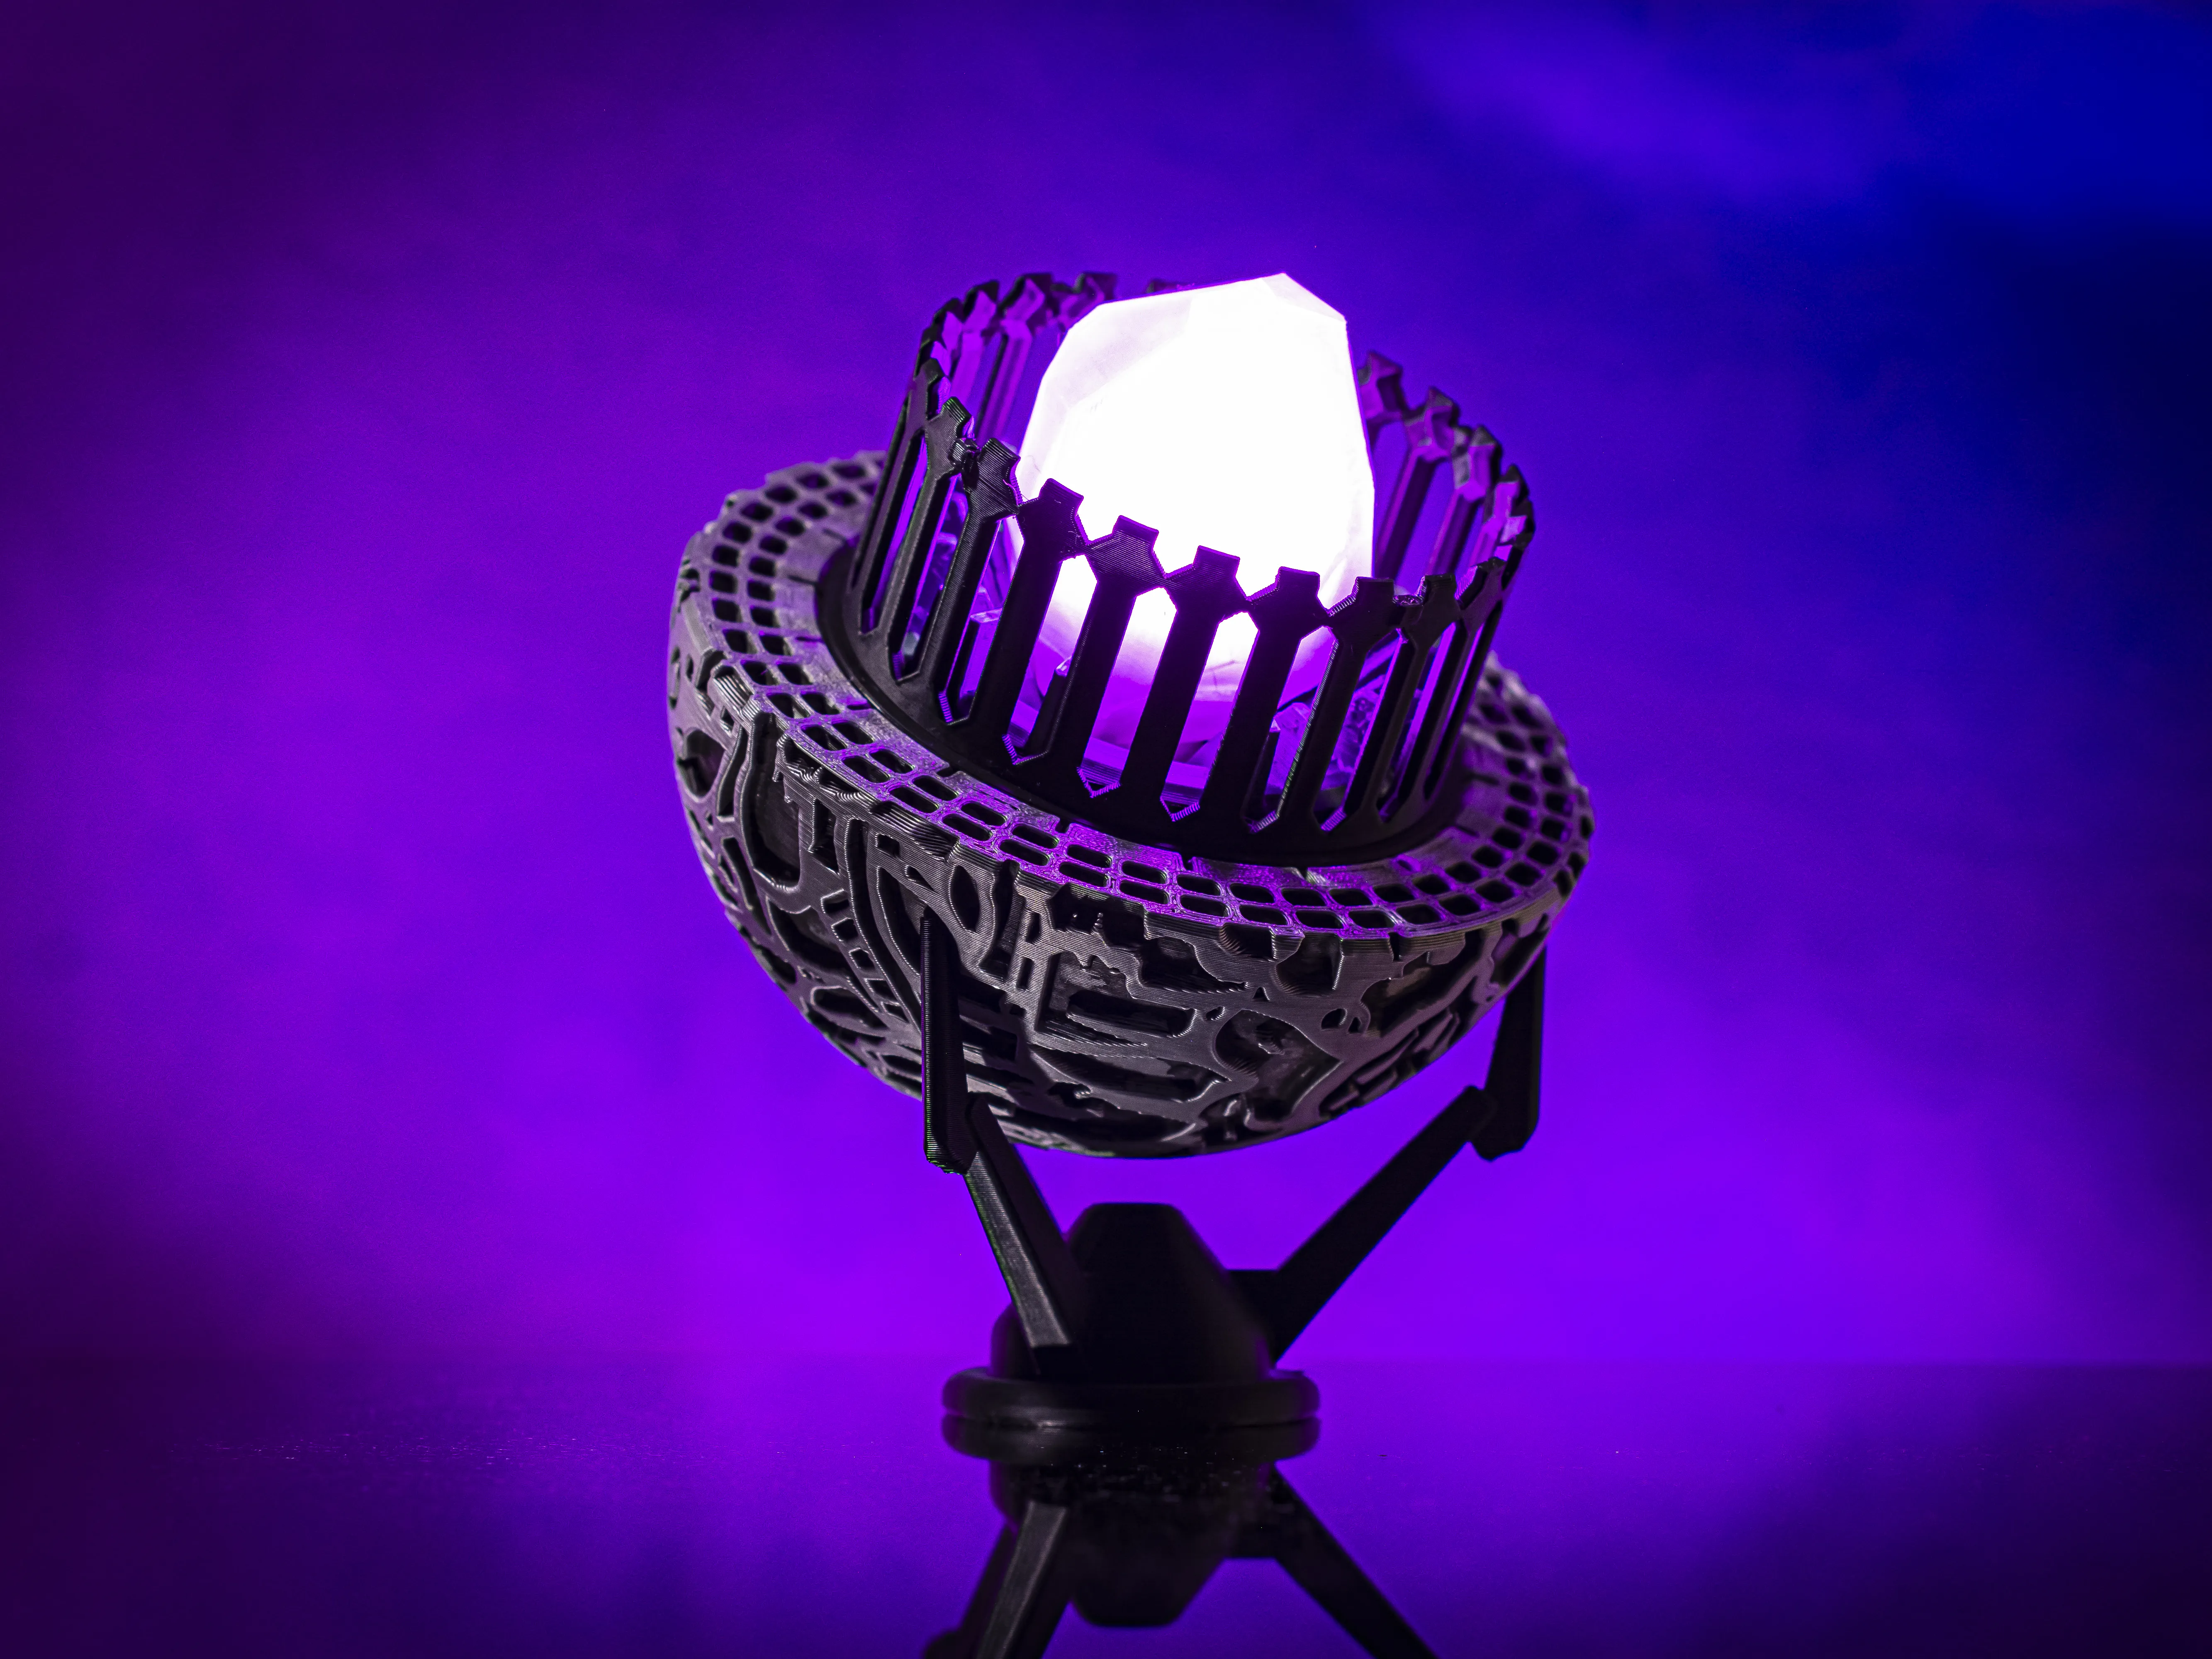
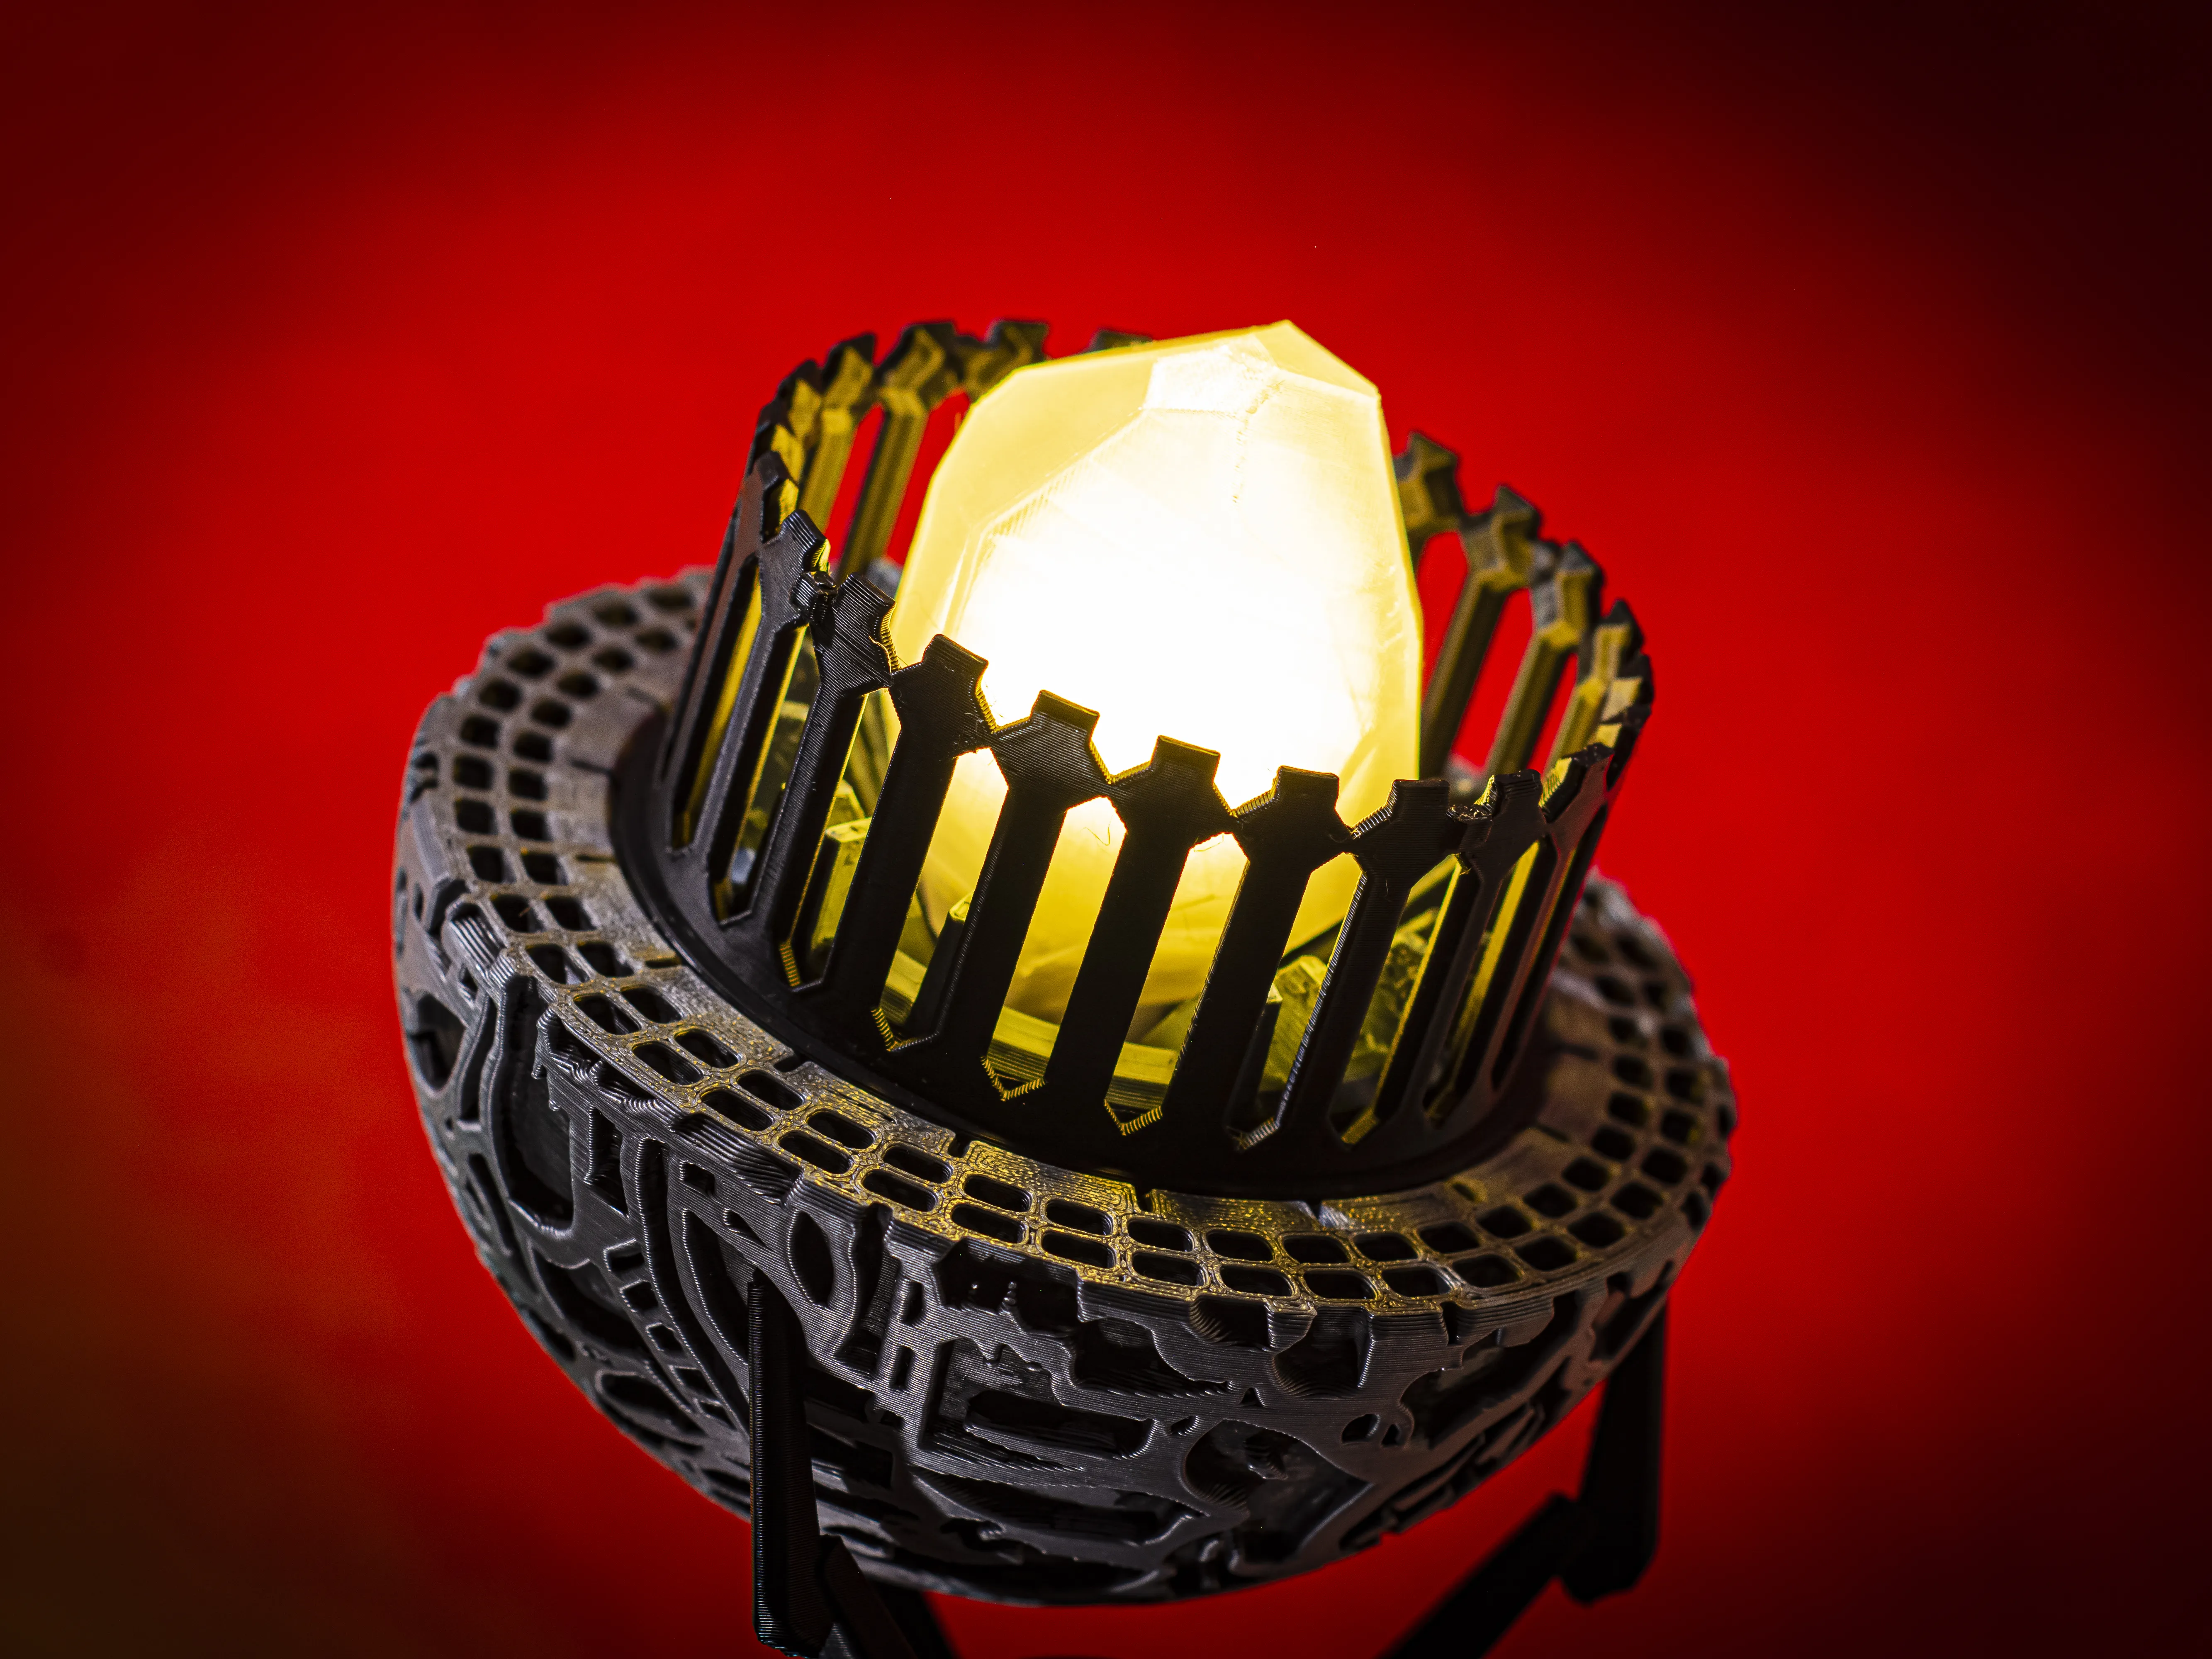
What do you need for assembly?
- A 10mm diameter magnet (2mm or 3mm thick)
Assembly instructions are available in video format:
Infinity Orb Vaults
Boost Me (for free)
to support future, better projects
Membership
Check out how to be part of my world! Every bit of support is a huge boost to my motivation, helping me design even better models
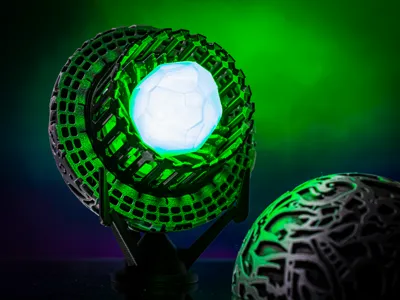
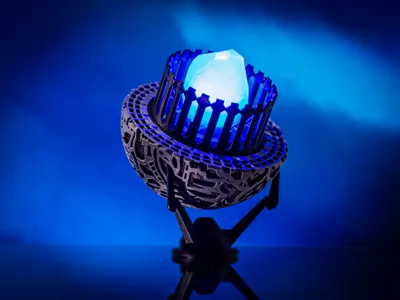
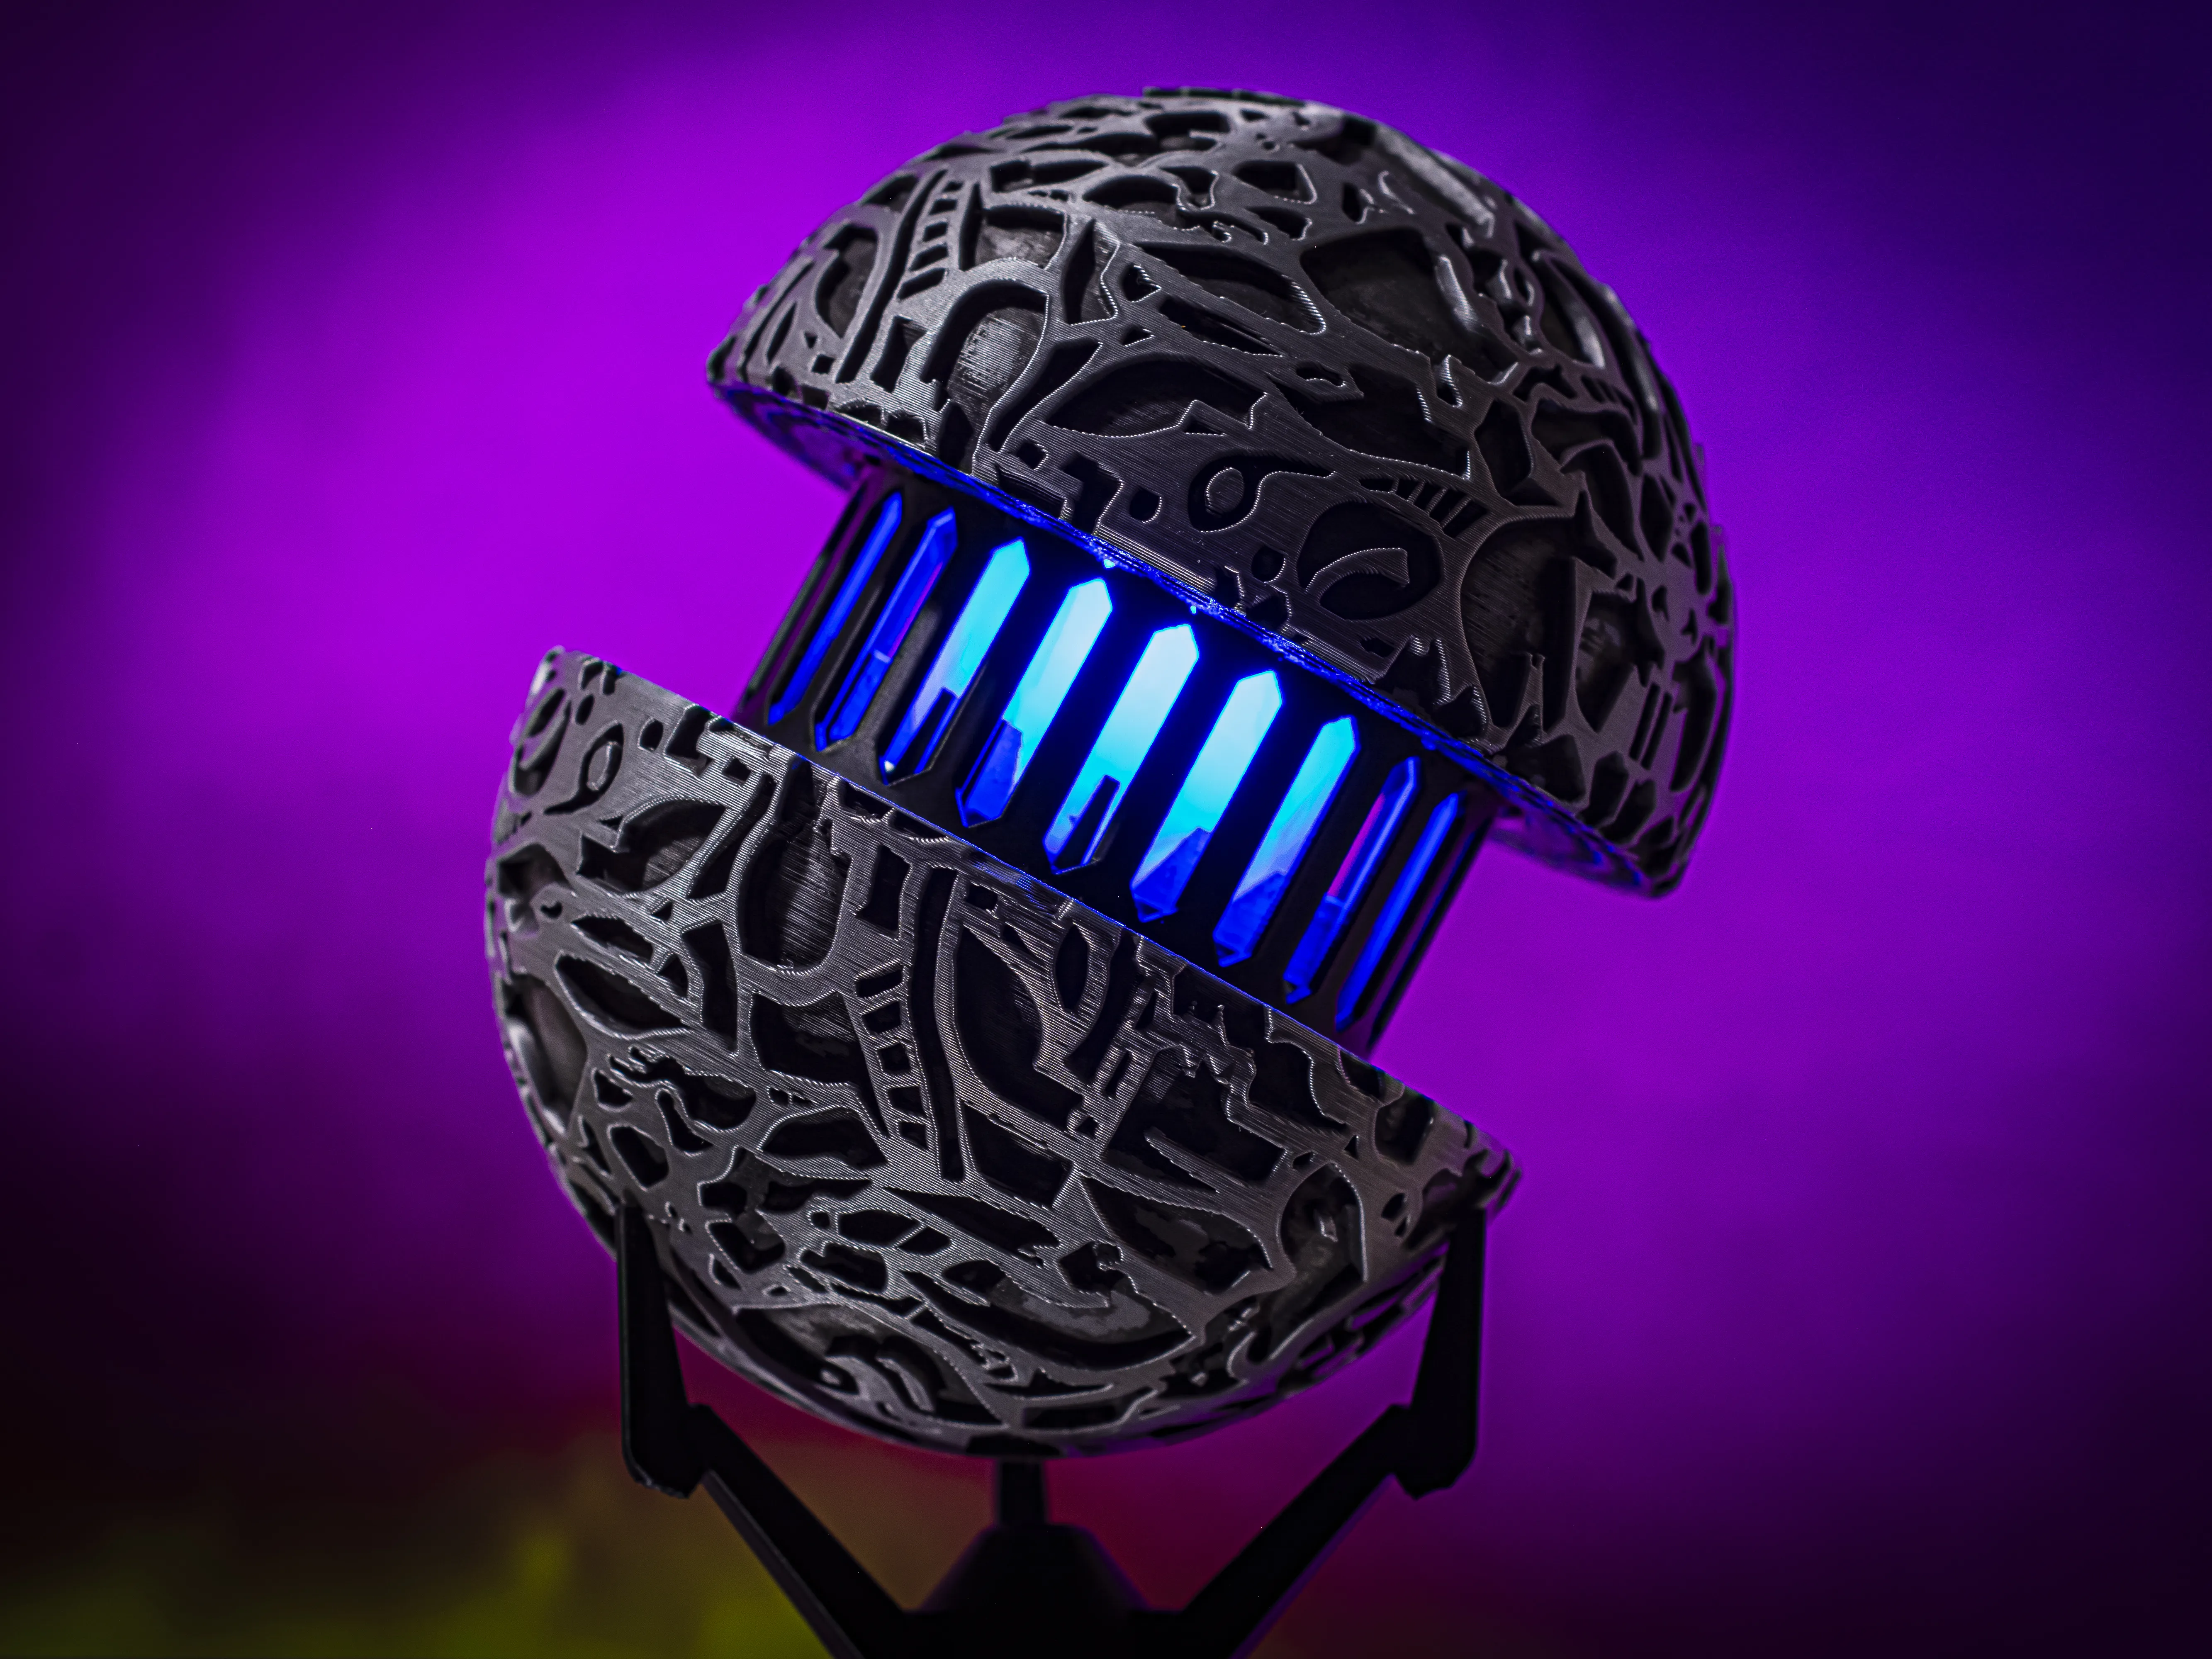
This unique 3D-printed sphere combines aesthetics with functionality, styled like a mysterious artifact. The sphere serves as a secure vault, featuring an intricate rotational mechanism to unlock it. Solving the puzzle is a challenge, as the locking mechanism involves multiple pins and grooves that must align perfectly to open.

When assembled, it resembles a cosmic relic, perfect for storing small treasures or acting as a stunning display piece. The puzzle mechanism requires different actions for assembly and disassembly, ensuring a satisfying experience for enthusiasts of logical challenges. Beware of traps that force you to retrace your steps when attempting to solve it!

Ideal for fans of puzzles, cosmic themes, or those seeking a creative storage solution.

I’ll describe how I achieved this aged effect—not as a professional guide, but simply how I did it. I used regular water-based watercolor paints. I dipped a brush in water and mixed a very diluted solution. Then, I applied it into all the crevices and openings, wiping off the excess with a paper towel. After it dried, I wiped the raised surfaces with a damp cloth to make them clean and shiny again.
What do you need for assembly?
Only fast-drying glue is needed for assembly.
Assembly instructions are available in video format:
Solution - Spoiler alert: This reveals the solution
License

You shall not share, sub-license, sell, rent, host, transfer, or distribute in any way the digital or 3D printed versions of this object, nor any other derivative work of this object in its digital or physical format (including - but not limited to - remixes of this object, and hosting on other digital platforms). The objects may not be used without permission in any way whatsoever in which you charge money, or collect fees.


Comment & Rating (185)