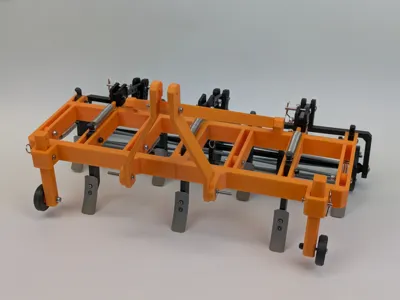
OpenRC Cultivator XL


Print Profile(1)

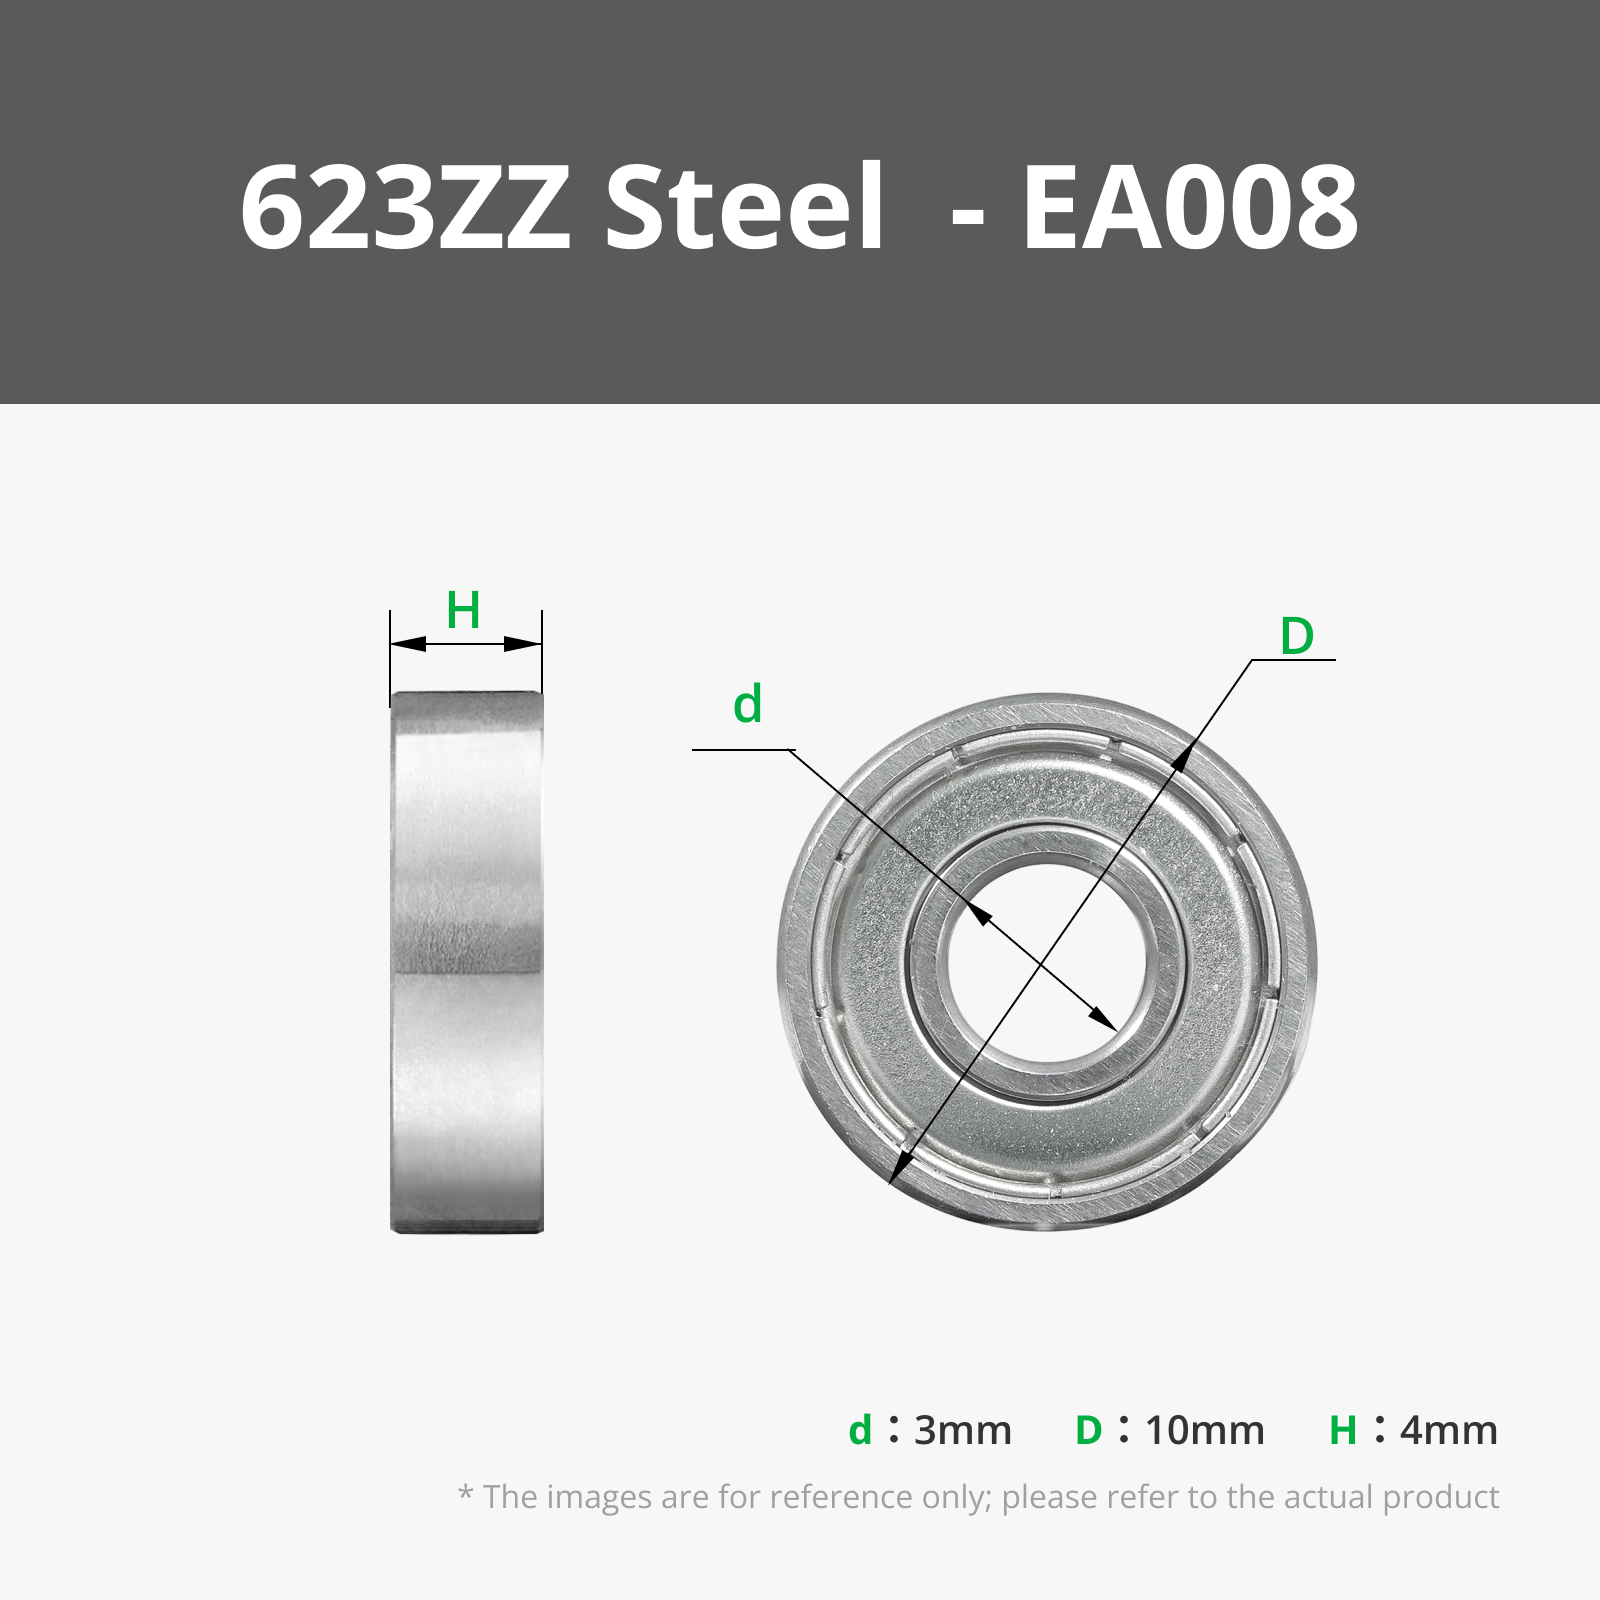
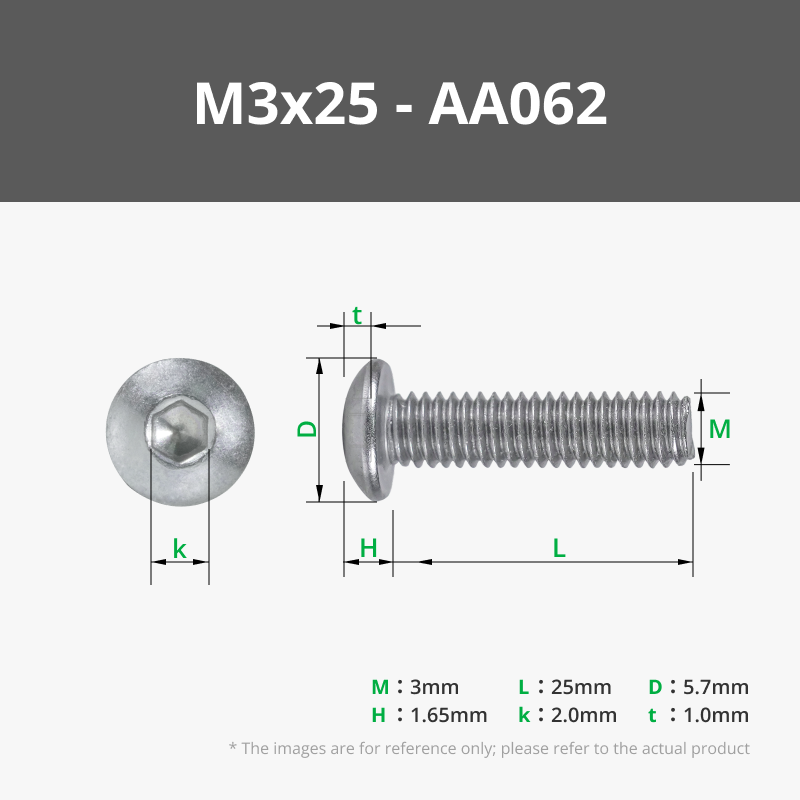
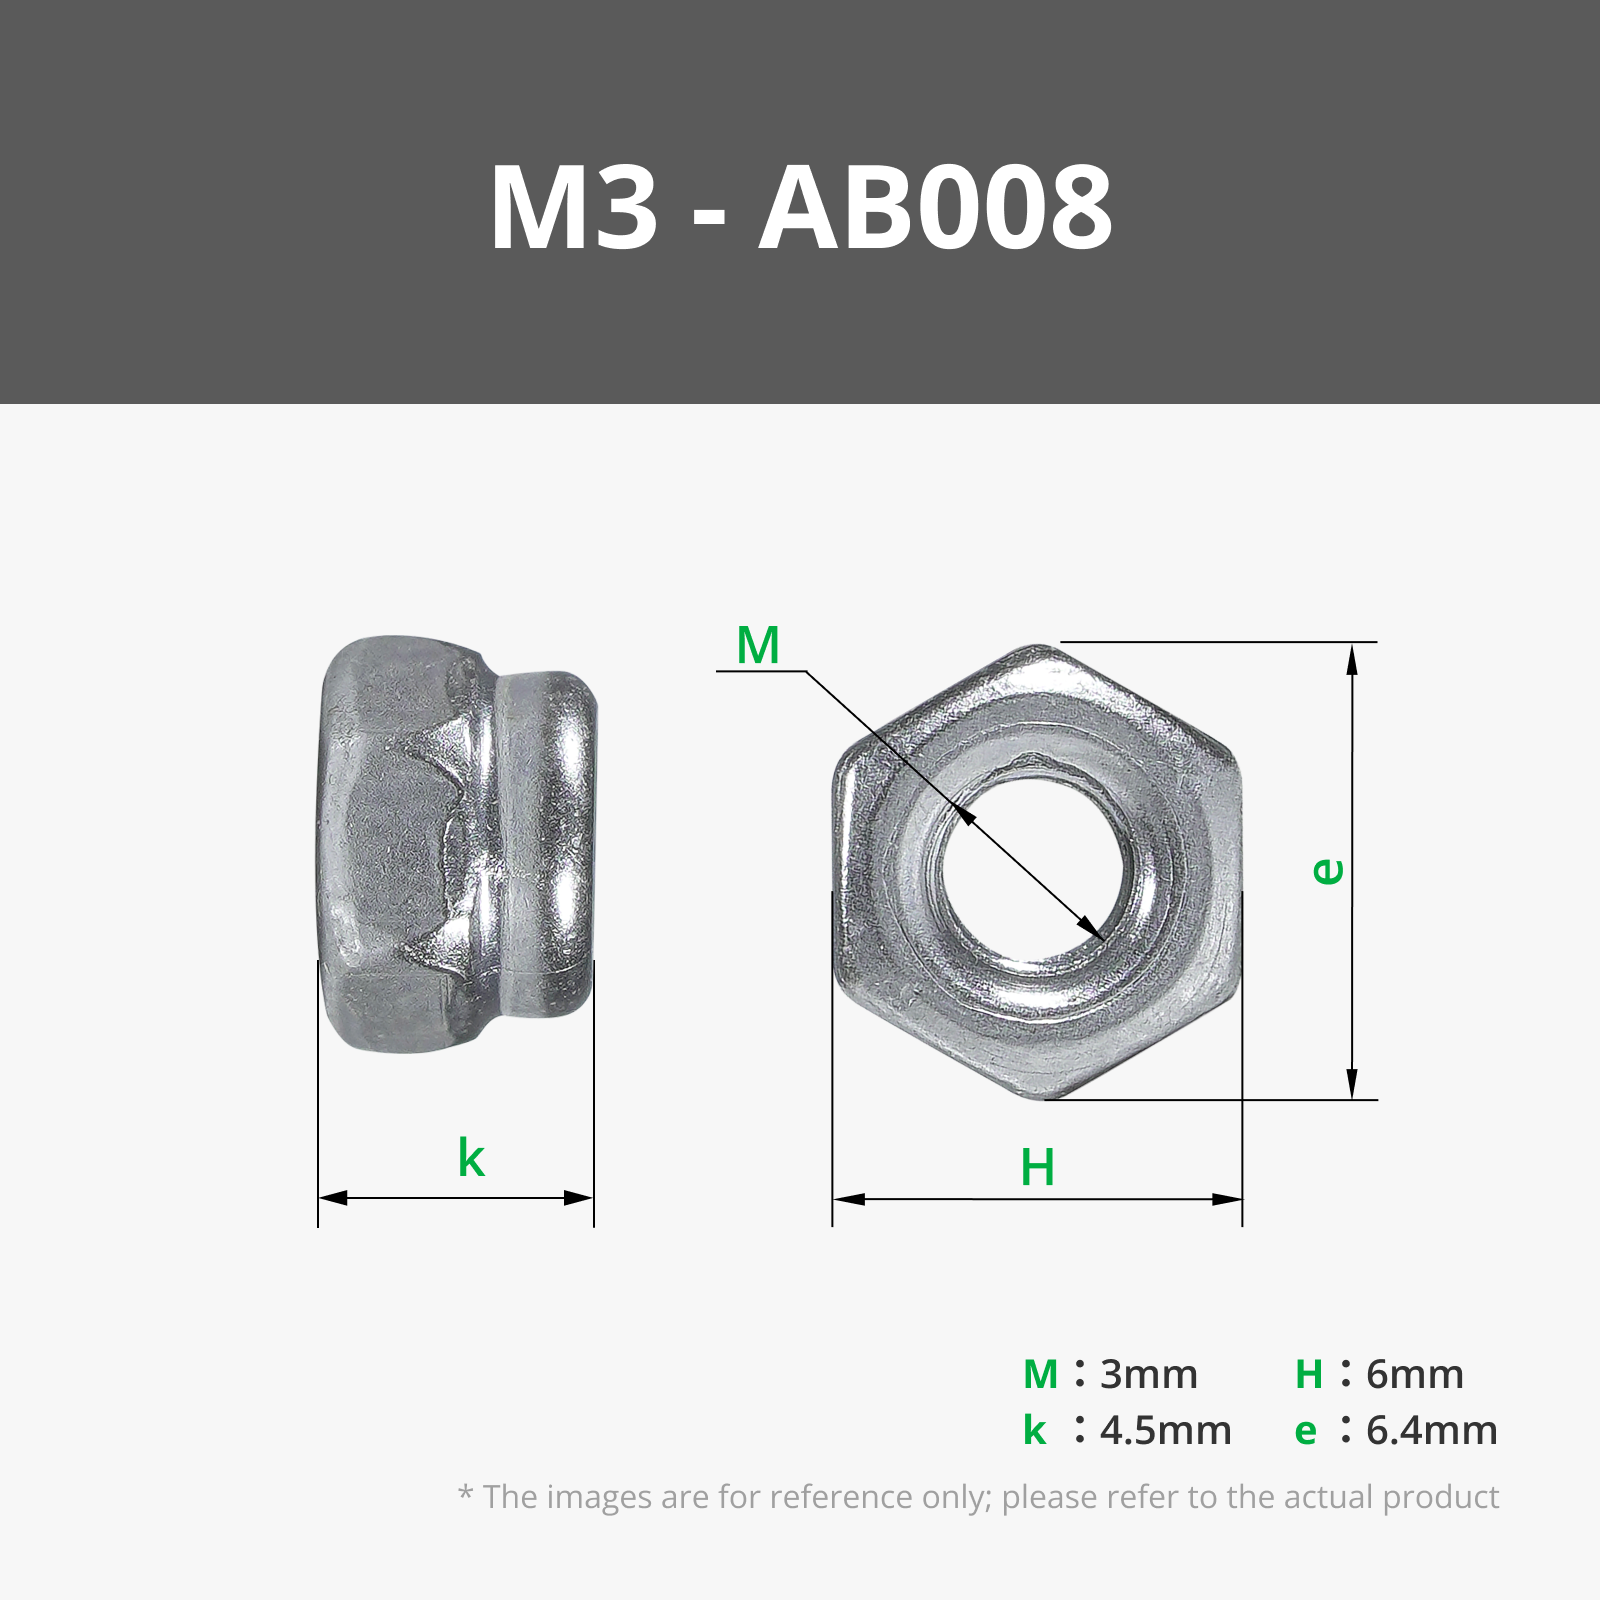
Bill of Materials


Description
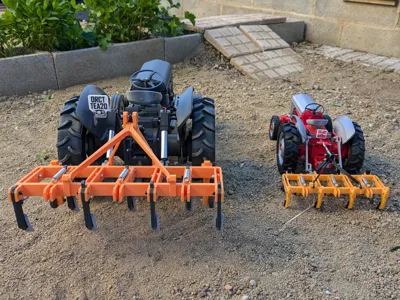
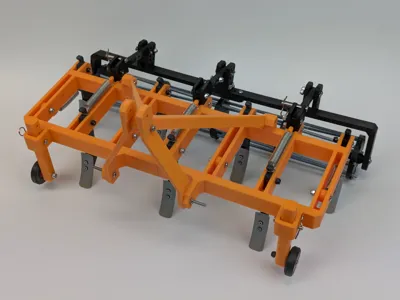
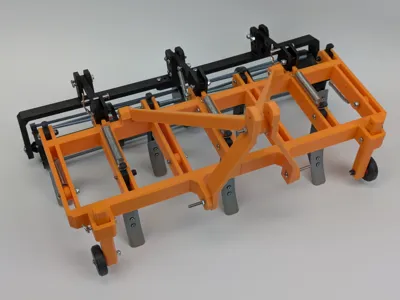
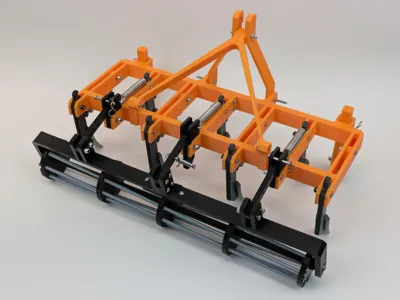
The OpenRC MK3 XL tractor has been quite a success and it needed some tools urgently, so… I proudly present it's first tool! A new cultivator with an optional roller! Preparing your soil for the next harvest have never been easier!
As always, it's free and ready to be downloaded and 3D printed with your favourite 3D printer and your choice of colors, and it comes with video in action too! (soon)
I truly hope that you love it and remember that you can support my work with boosts or with a coffee or a tip!
Long live the OpenRC Tractor!
Instructions:
Check these resources to help you with your cultivator build.
- Maker's supply list of materials covers most of hardware needed but some things are not available there. Check BOM spreadsheet for links to buy all materials.
- List of printed parts and hardware can be found on the BOM spreadsheet
- All parts should be correctly oriented to print the way they are (let me know if they’re not).
- To insert M4 threaded rod into disk parts, you'll first need to make a thread to the disks parts. Use an M4 thread tap before inserting threaded rods. After using the thread tap insert M4 rods by rotating them and use spacers parts between disks. The first rod is a bit tricky but following rods will be easier. TIP: secure the rod in an electric screwdriver and use it to quickly rotate the rod and insert it. Doing it by hand will take forever!!
License
You shall not share, sub-license, sell, rent, host, transfer, or distribute in any way the digital or 3D printed versions of this object, nor any other derivative work of this object in its digital or physical format (including - but not limited to - remixes of this object, and hosting on other digital platforms). The objects may not be used without permission in any way whatsoever in which you charge money, or collect fees.
Comment & Rating (9)