
Scara 2D Drawing Robot - ESP32 five-bar link







Print Profile(2)


Bill of Materials

- ESP32 C3 x 1: https://aliexpress.com/item/1005006406538478.html
- ESP32 C3 Expansion Board x 1: https://aliexpress.com/item/1005006406538478.html
- SG90 180 deg Servo x 3: https://aliexpress.com/item/1005007173214082.html?
- M3x40 SHCS Screw x 1:
- Rubber Band x 1:
- Pen x 1:
Description

2D Drawing Robot: Build, Draw, Print!
Boost Me (for free)
Boos it to get more projects like this, integrating hardware and software.


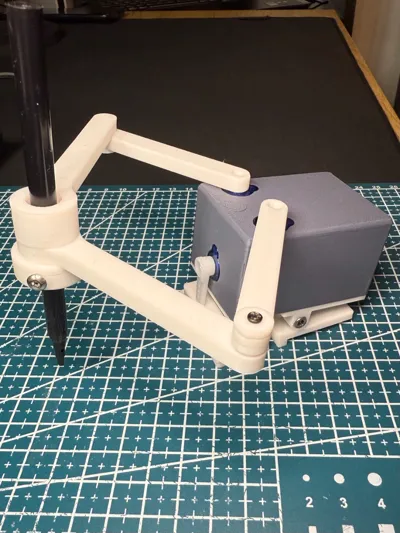
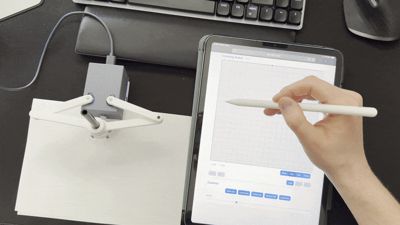
Unleash your creativity with this feature-packed 2D drawing robot! Powered by the ESP32-C3, this compact robot is perfect for makers, educators, and students eager to explore robotics, physics, and design. With a G-code interface and a user-friendly web controller, you’ll bring your digital designs to life in no time.
Why You’ll Love It
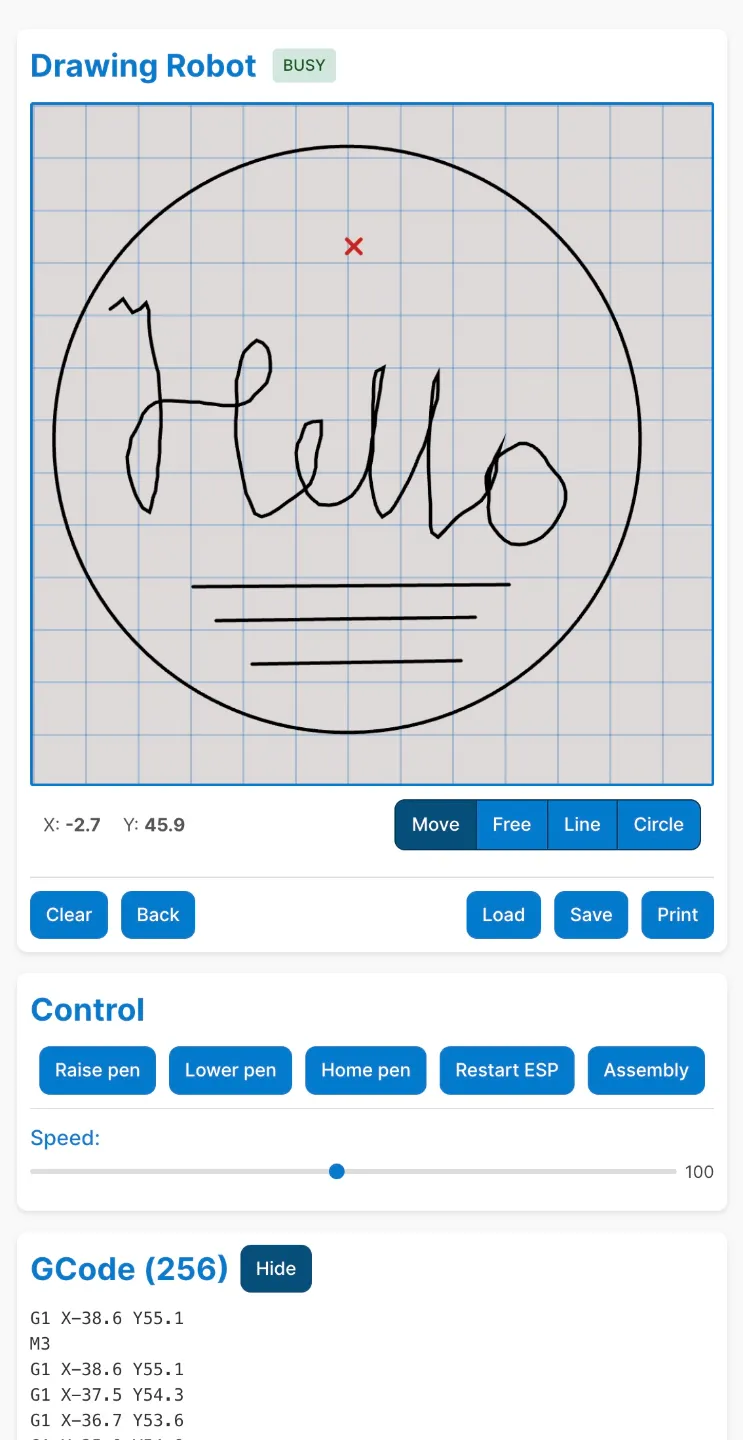
Comprehensive Web Interface Control:
- Real-time Pen Positioning: Precisely move the pen with the interactive interface for accurate and consistent results.
- Shape Drawing Made Easy: Upload or design shapes directly within the web interface and watch the robot replicate them flawlessly.
- Creative Freedom: The advanced firmware enables the robot to replicate custom designs, whether it’s straight lines, perfect circles, or freehand masterpieces.
Hassle-Free Setup:
- Flash the firmware effortlessly using PlatformIO, ensuring a smooth and straightforward installation process.
- Control the robot wirelessly with the integrated web-based controller, accessible from any device with a browser.
Open-Source Advantage:
- Access the complete project on GitHub at ESP32-Drawing-Robot. Collaborate, customize, and expand the project to suit your unique needs.
Required Parts
- ESP32-C3 Super Mini: The core microcontroller with built-in wireless capabilities.
- ESP32 Expansion Board: Simplifies connections and powers components.
- 3x SG90 Servos 180 deg: Provides precise movement for drawing.
- Fasteners and Screws:
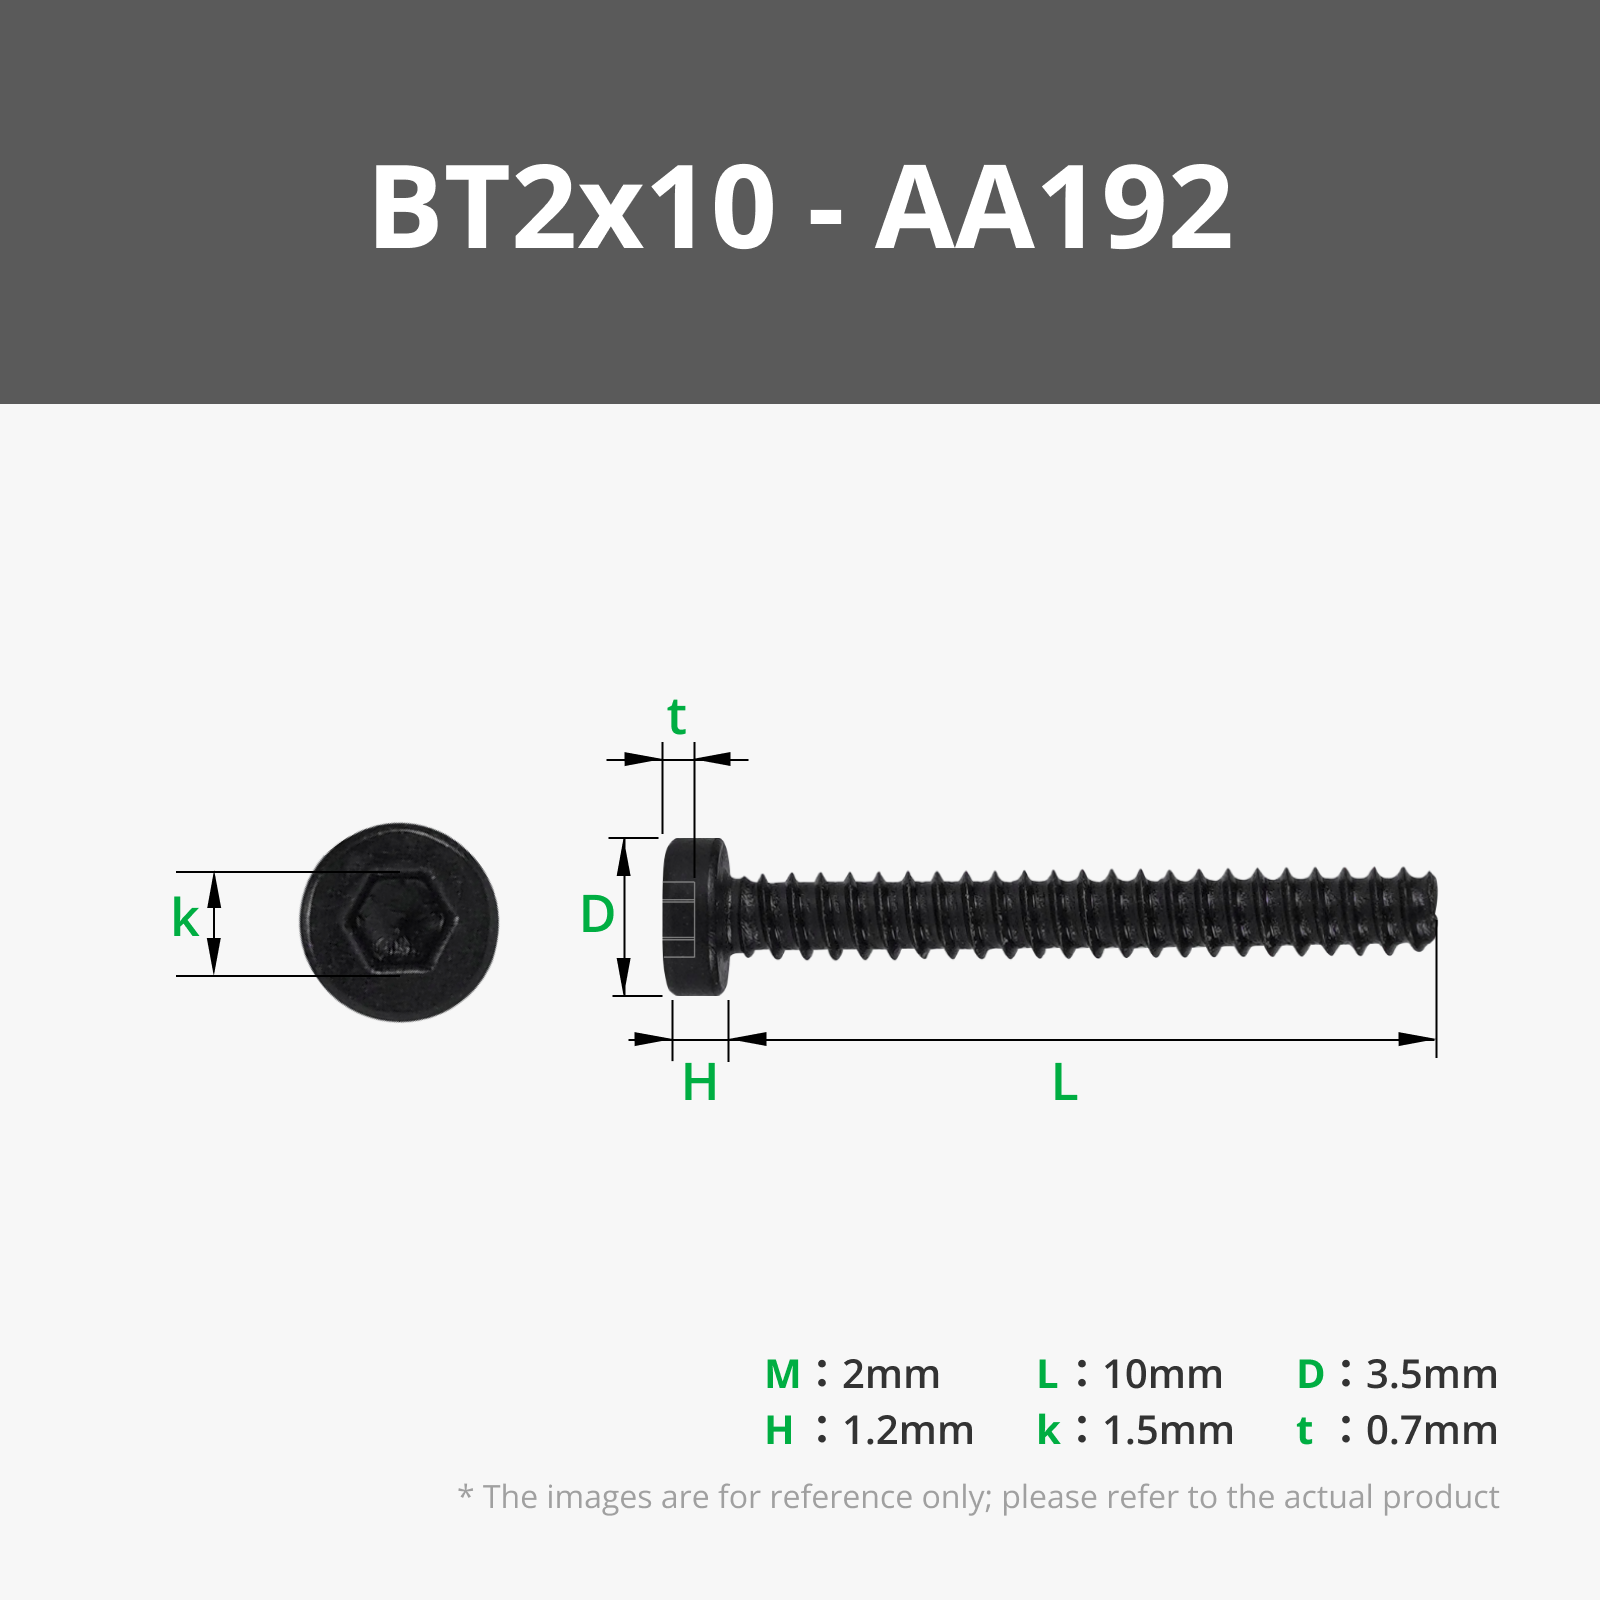
- 6x Bt2x10 SHCS self-tapping screws
- 3x M3x8 BHCS
- 1x M3x40 SHCS
- Rubber band
- Pen
How to Get Started
- Flash the Firmware: Install it via ESPHome flasher (recommended) or via PlatformIO from the GitHub repo.
- Assemble the Robot: Follow simple instructions using the provided components.
- Control with the Web Interface: Connect to the robot and start drawing shapes, controlling the pen, or printing your designs!
Flashing firmware via ESPHome Flasher
- Download the latest firmware-merged.bin file from the releases page
- Open the ESPHome flasher in a Chrome browser and connect the ESP32 to your computer.
- Click CONNECT, then INSTALL.
- Select the downloaded firmware-merged.bin and click INSTALL.
Wiring
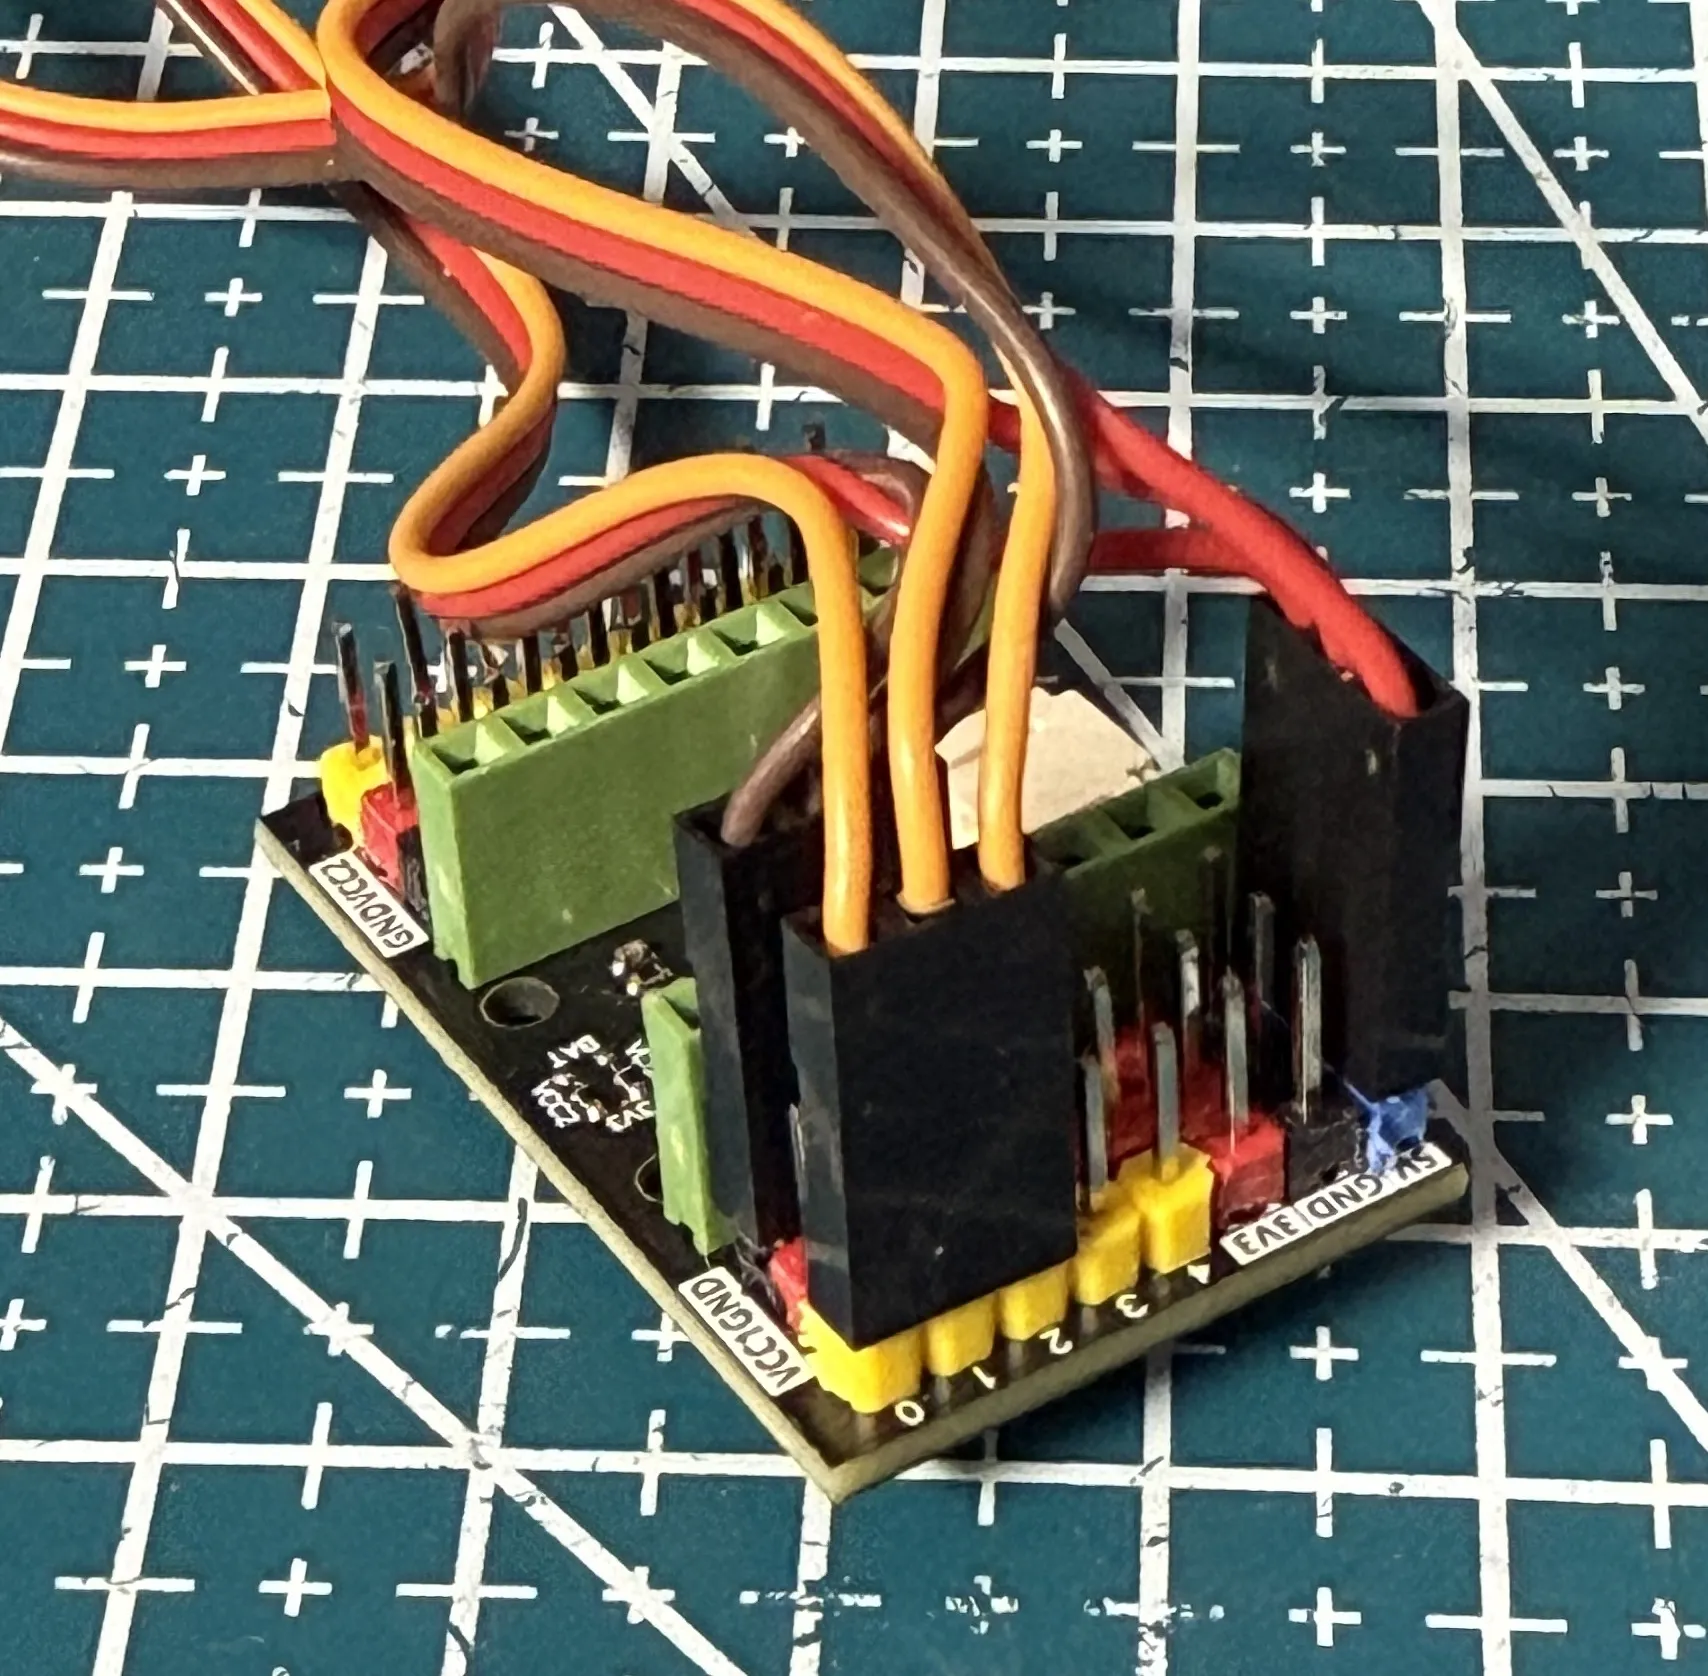
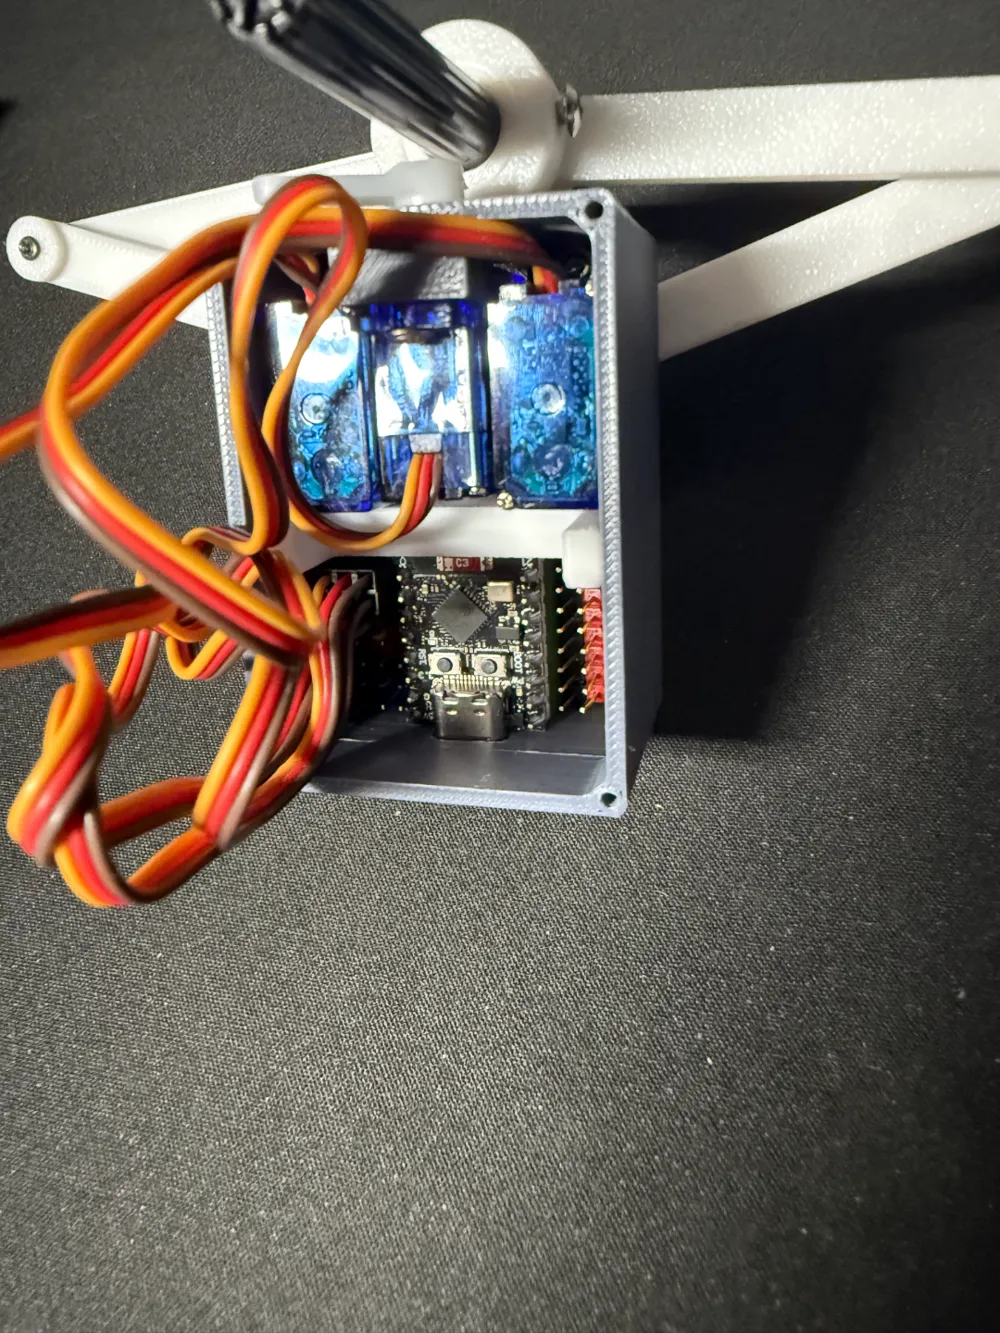
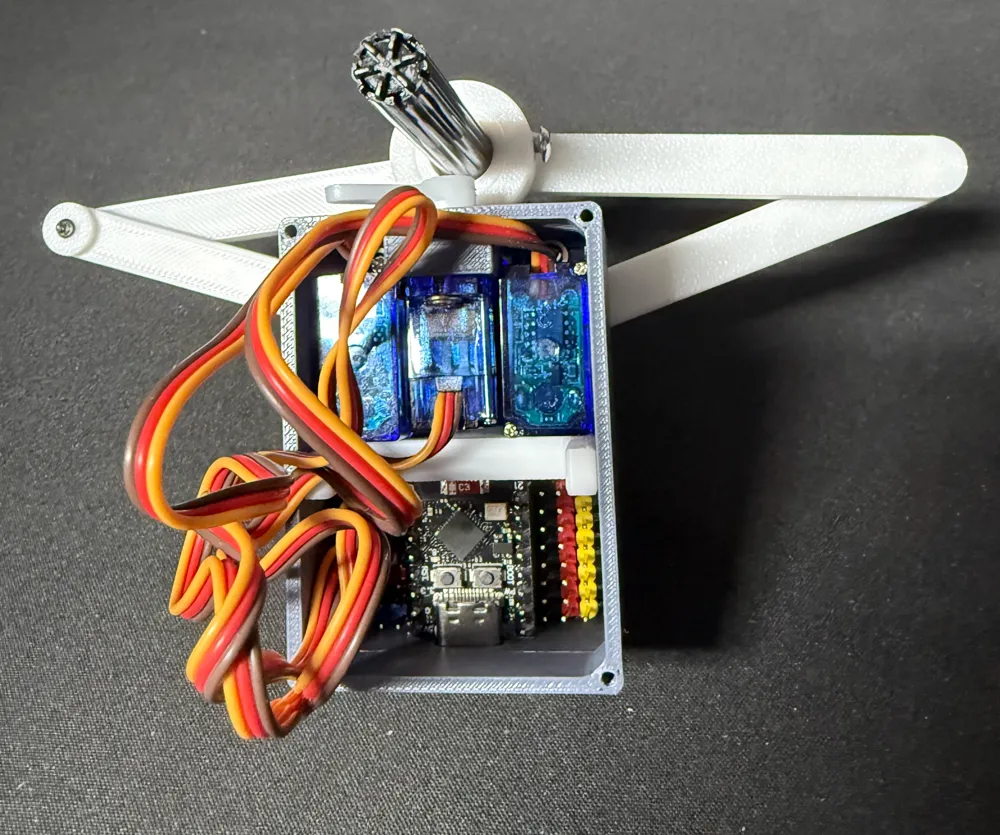
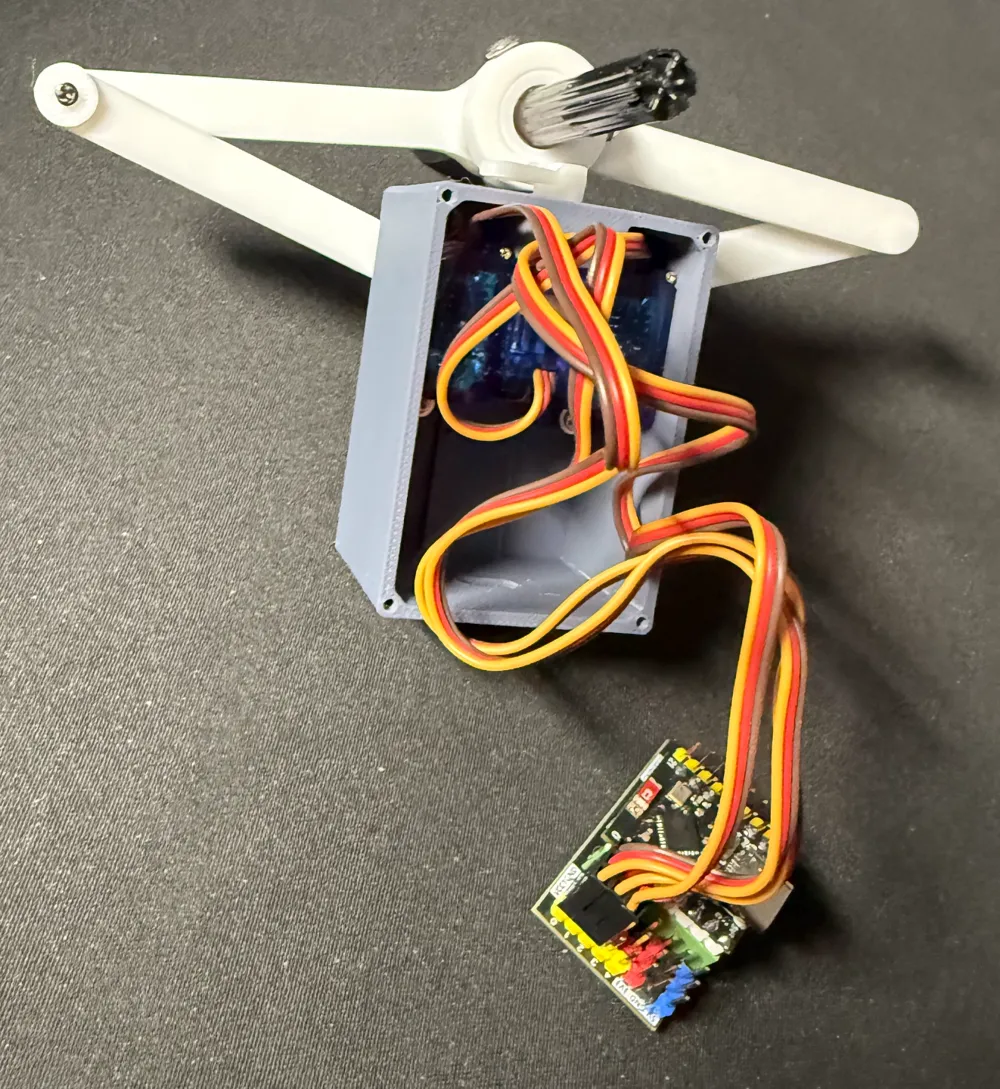
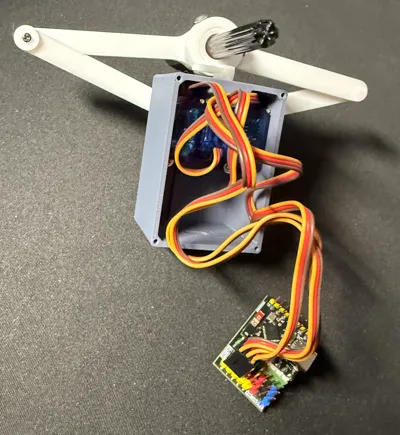
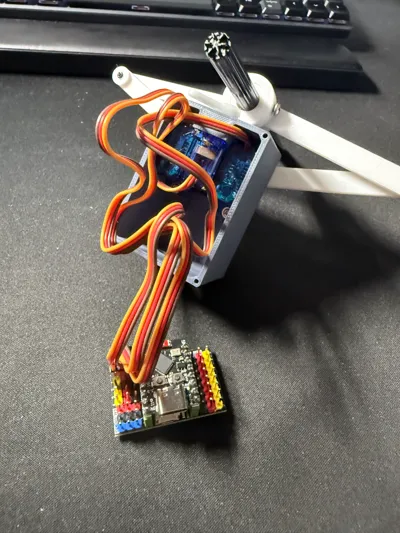
Reconfigure the servo plugs by grouping all 5V wires into one plug, and all ground wires into another, and keeping each servo’s PWM signal line in separate individual plugs. That way you can power servos with 5V from USB instead of using 3.3V from a step-down converter.
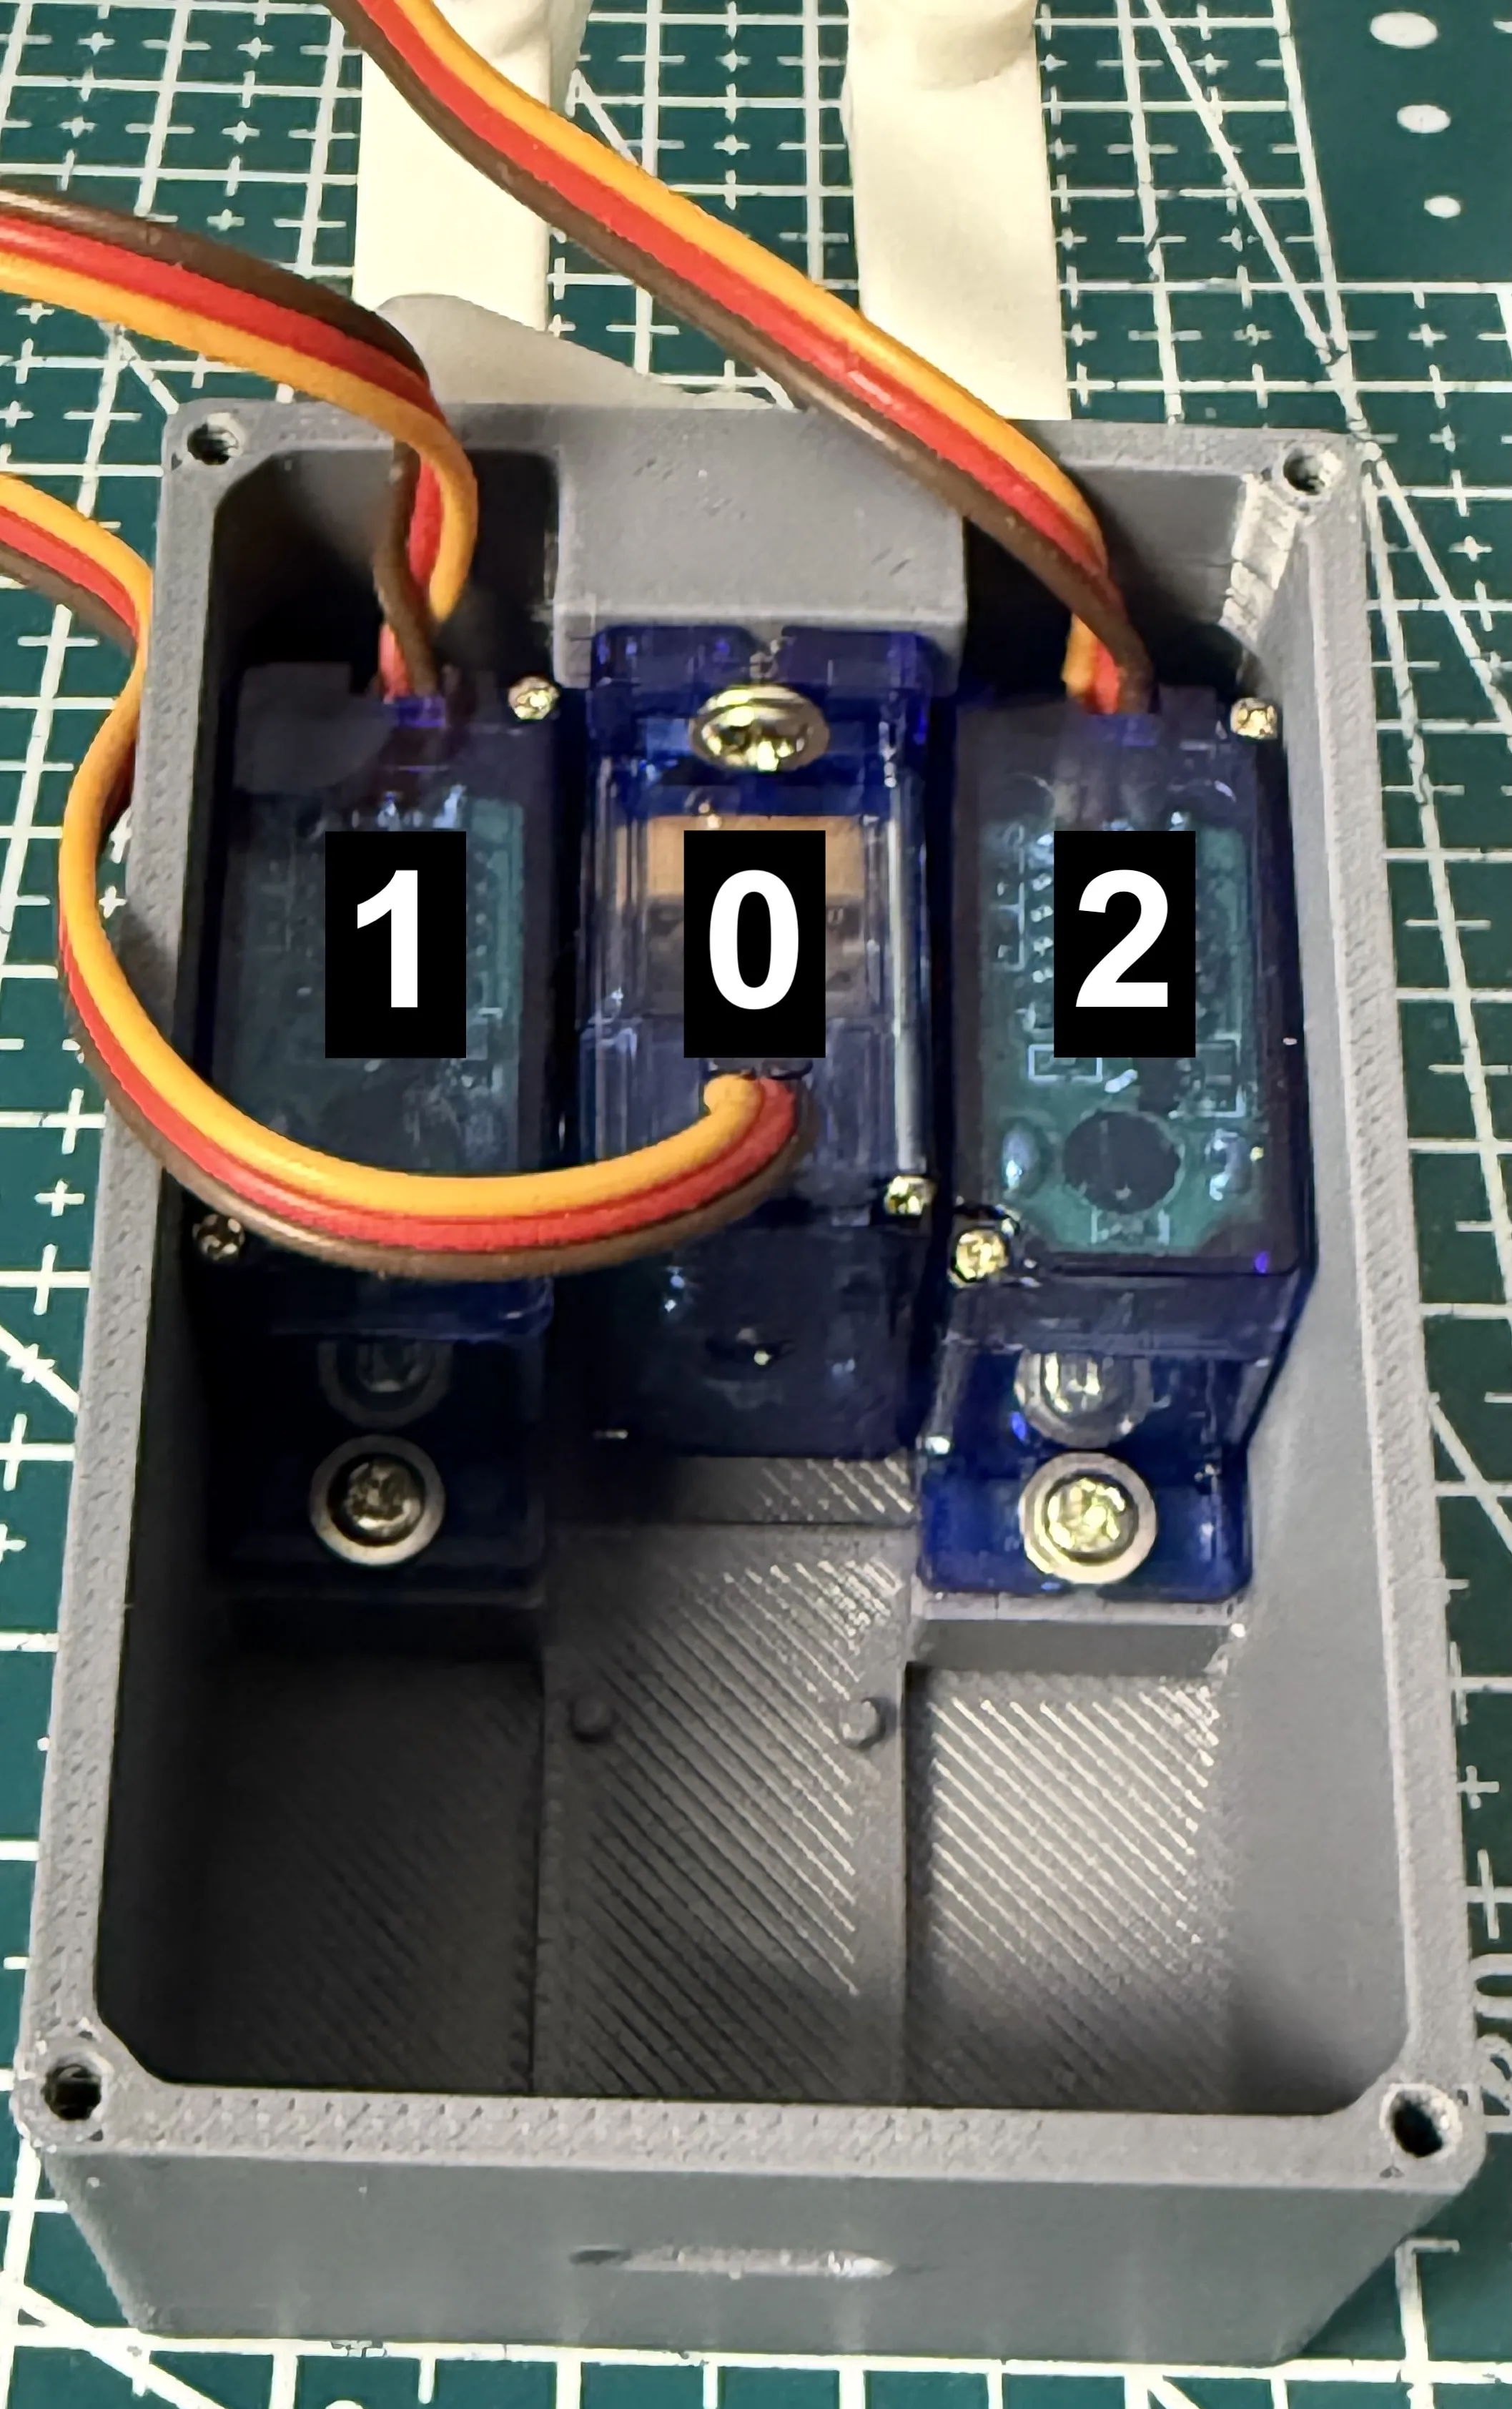
Plug servos to pins 0, 1, and 2 as in the above image.
Assembly tips

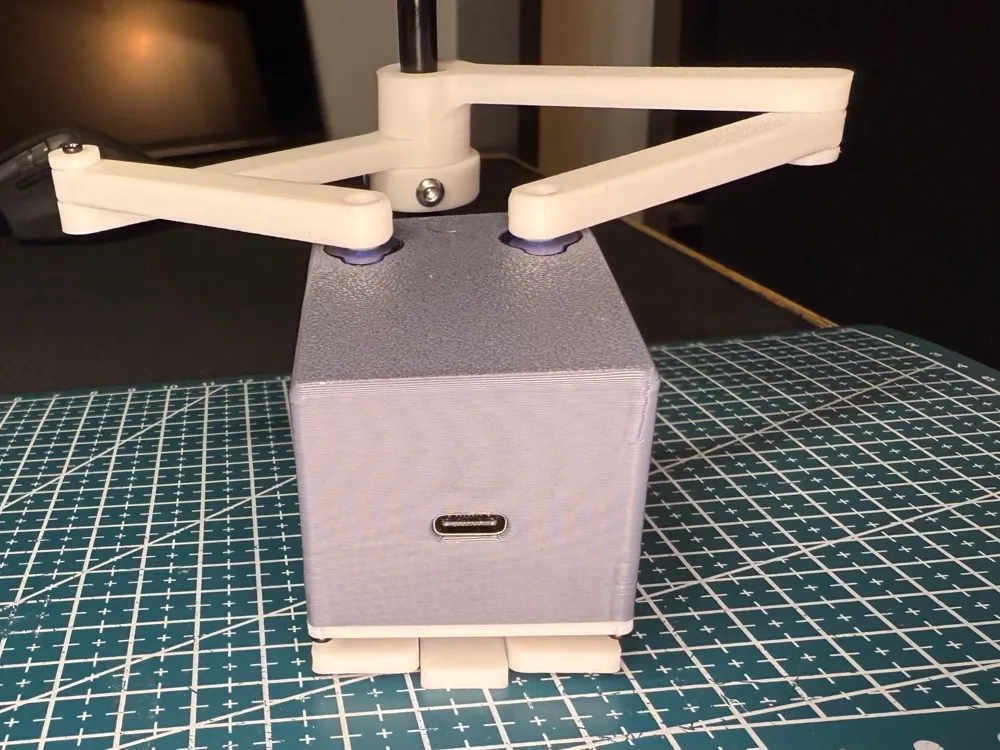
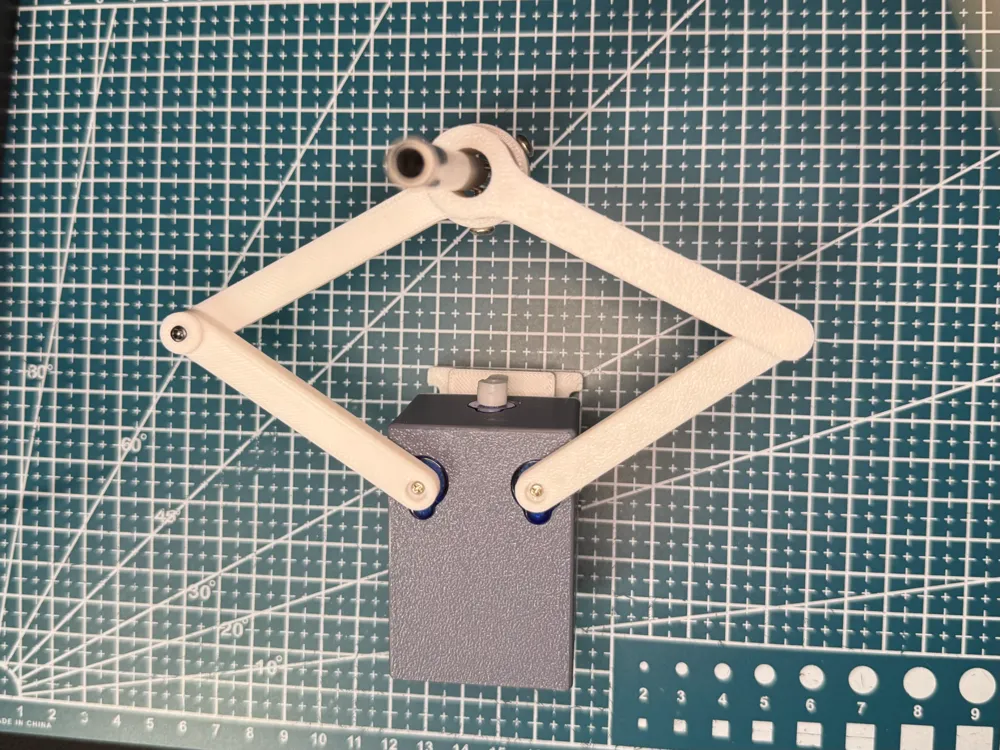
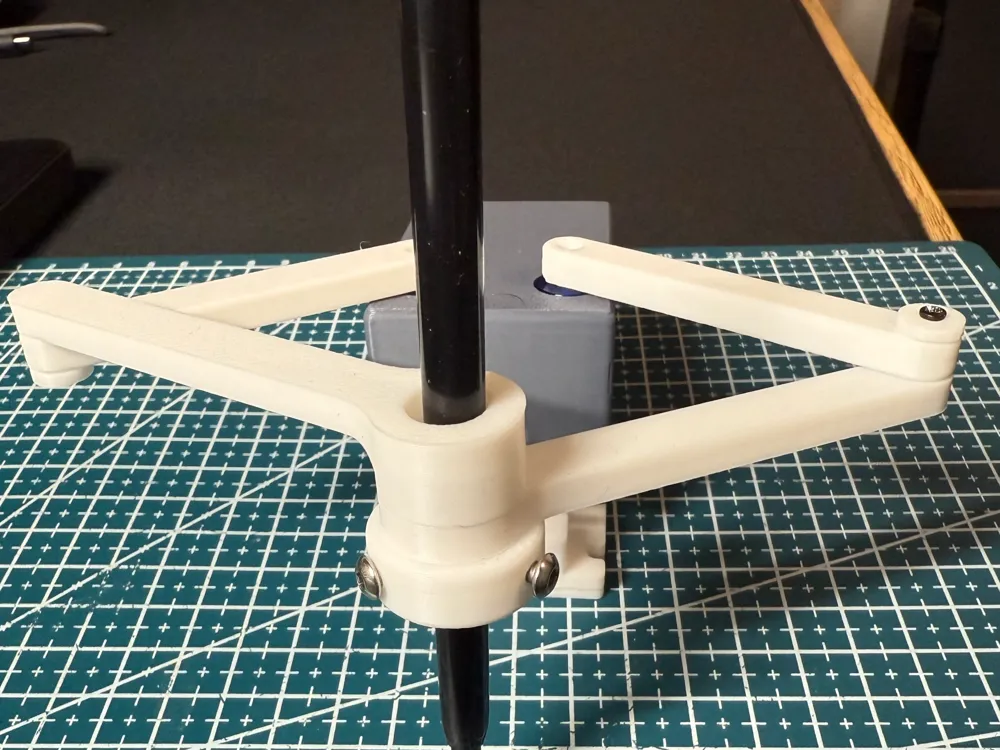
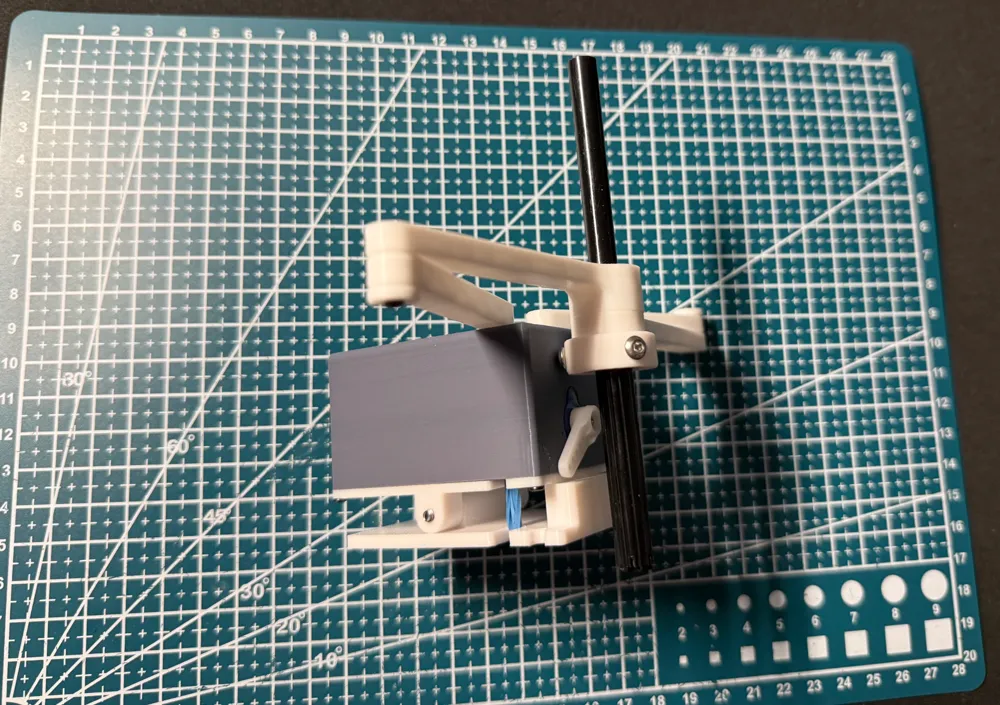
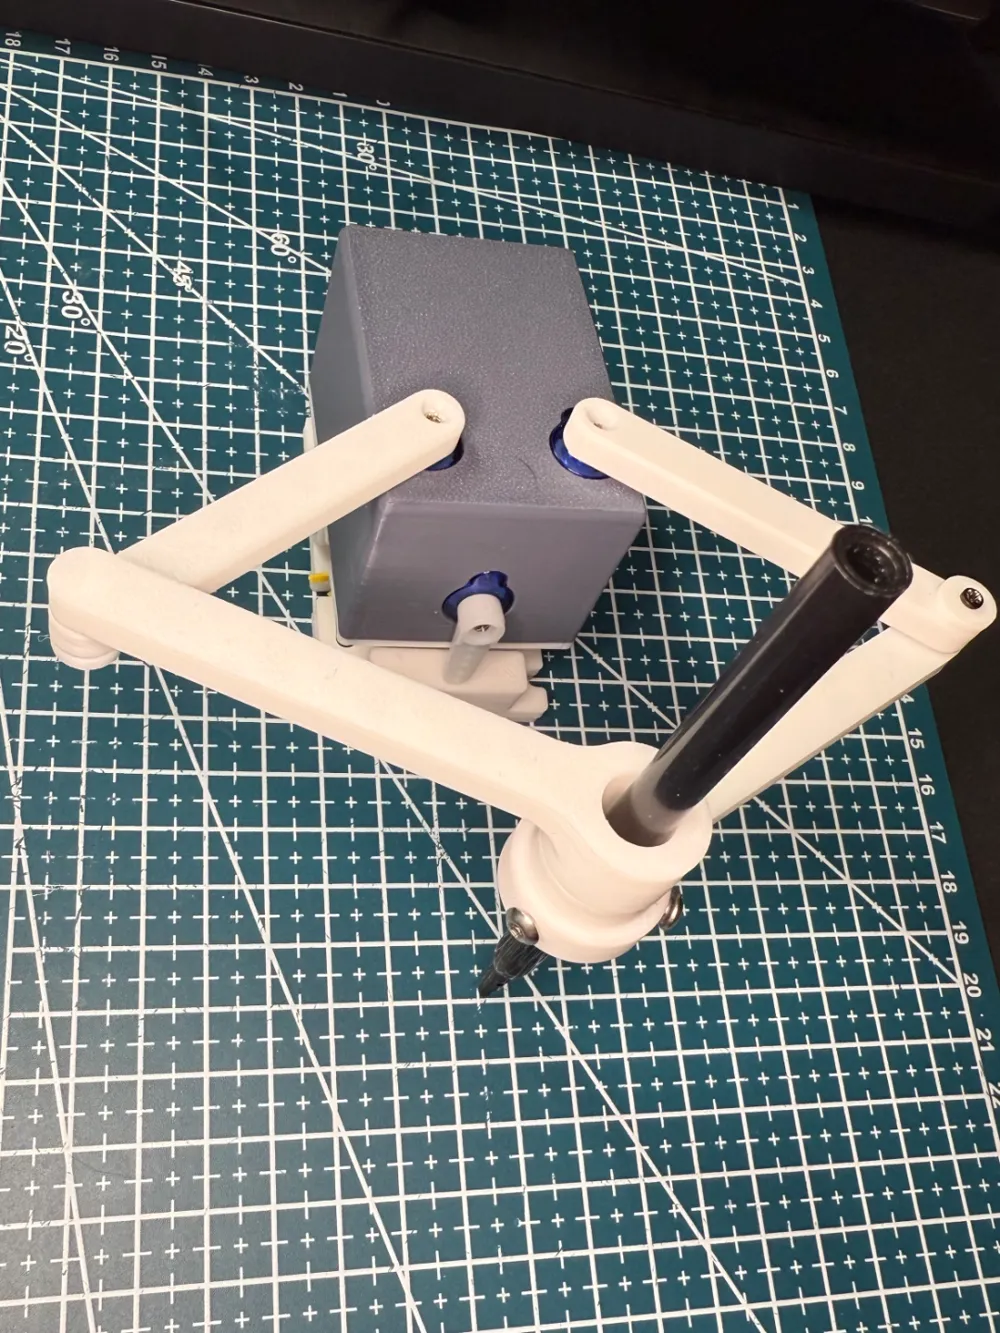
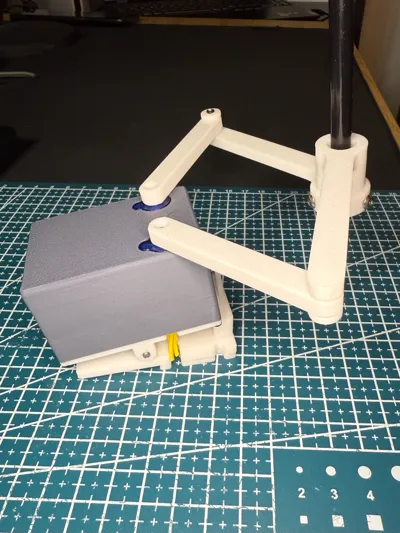
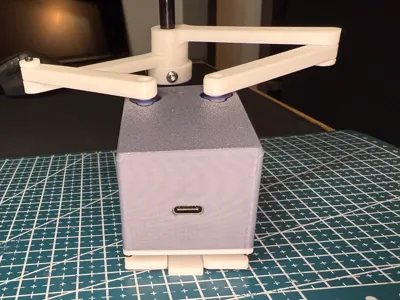
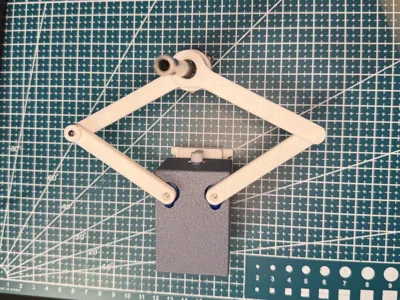
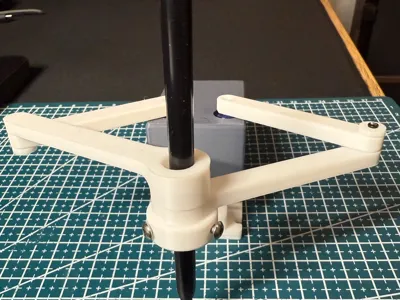
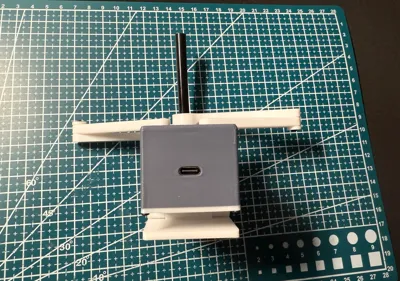
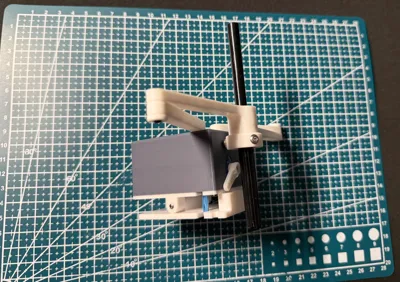
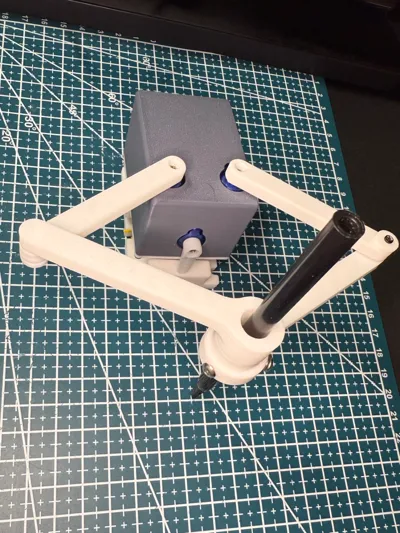
After flashing the firmware, click the Assembly button in the user interface to rotate the servos to their designated positions. Then, attach the servo arms, ensuring they are parallel to each other and aligned with the base before securing them with screws.
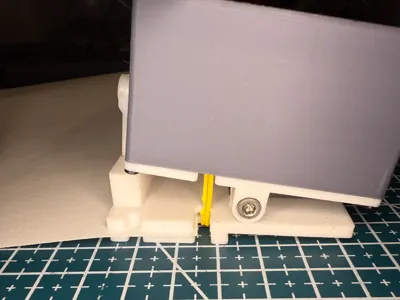
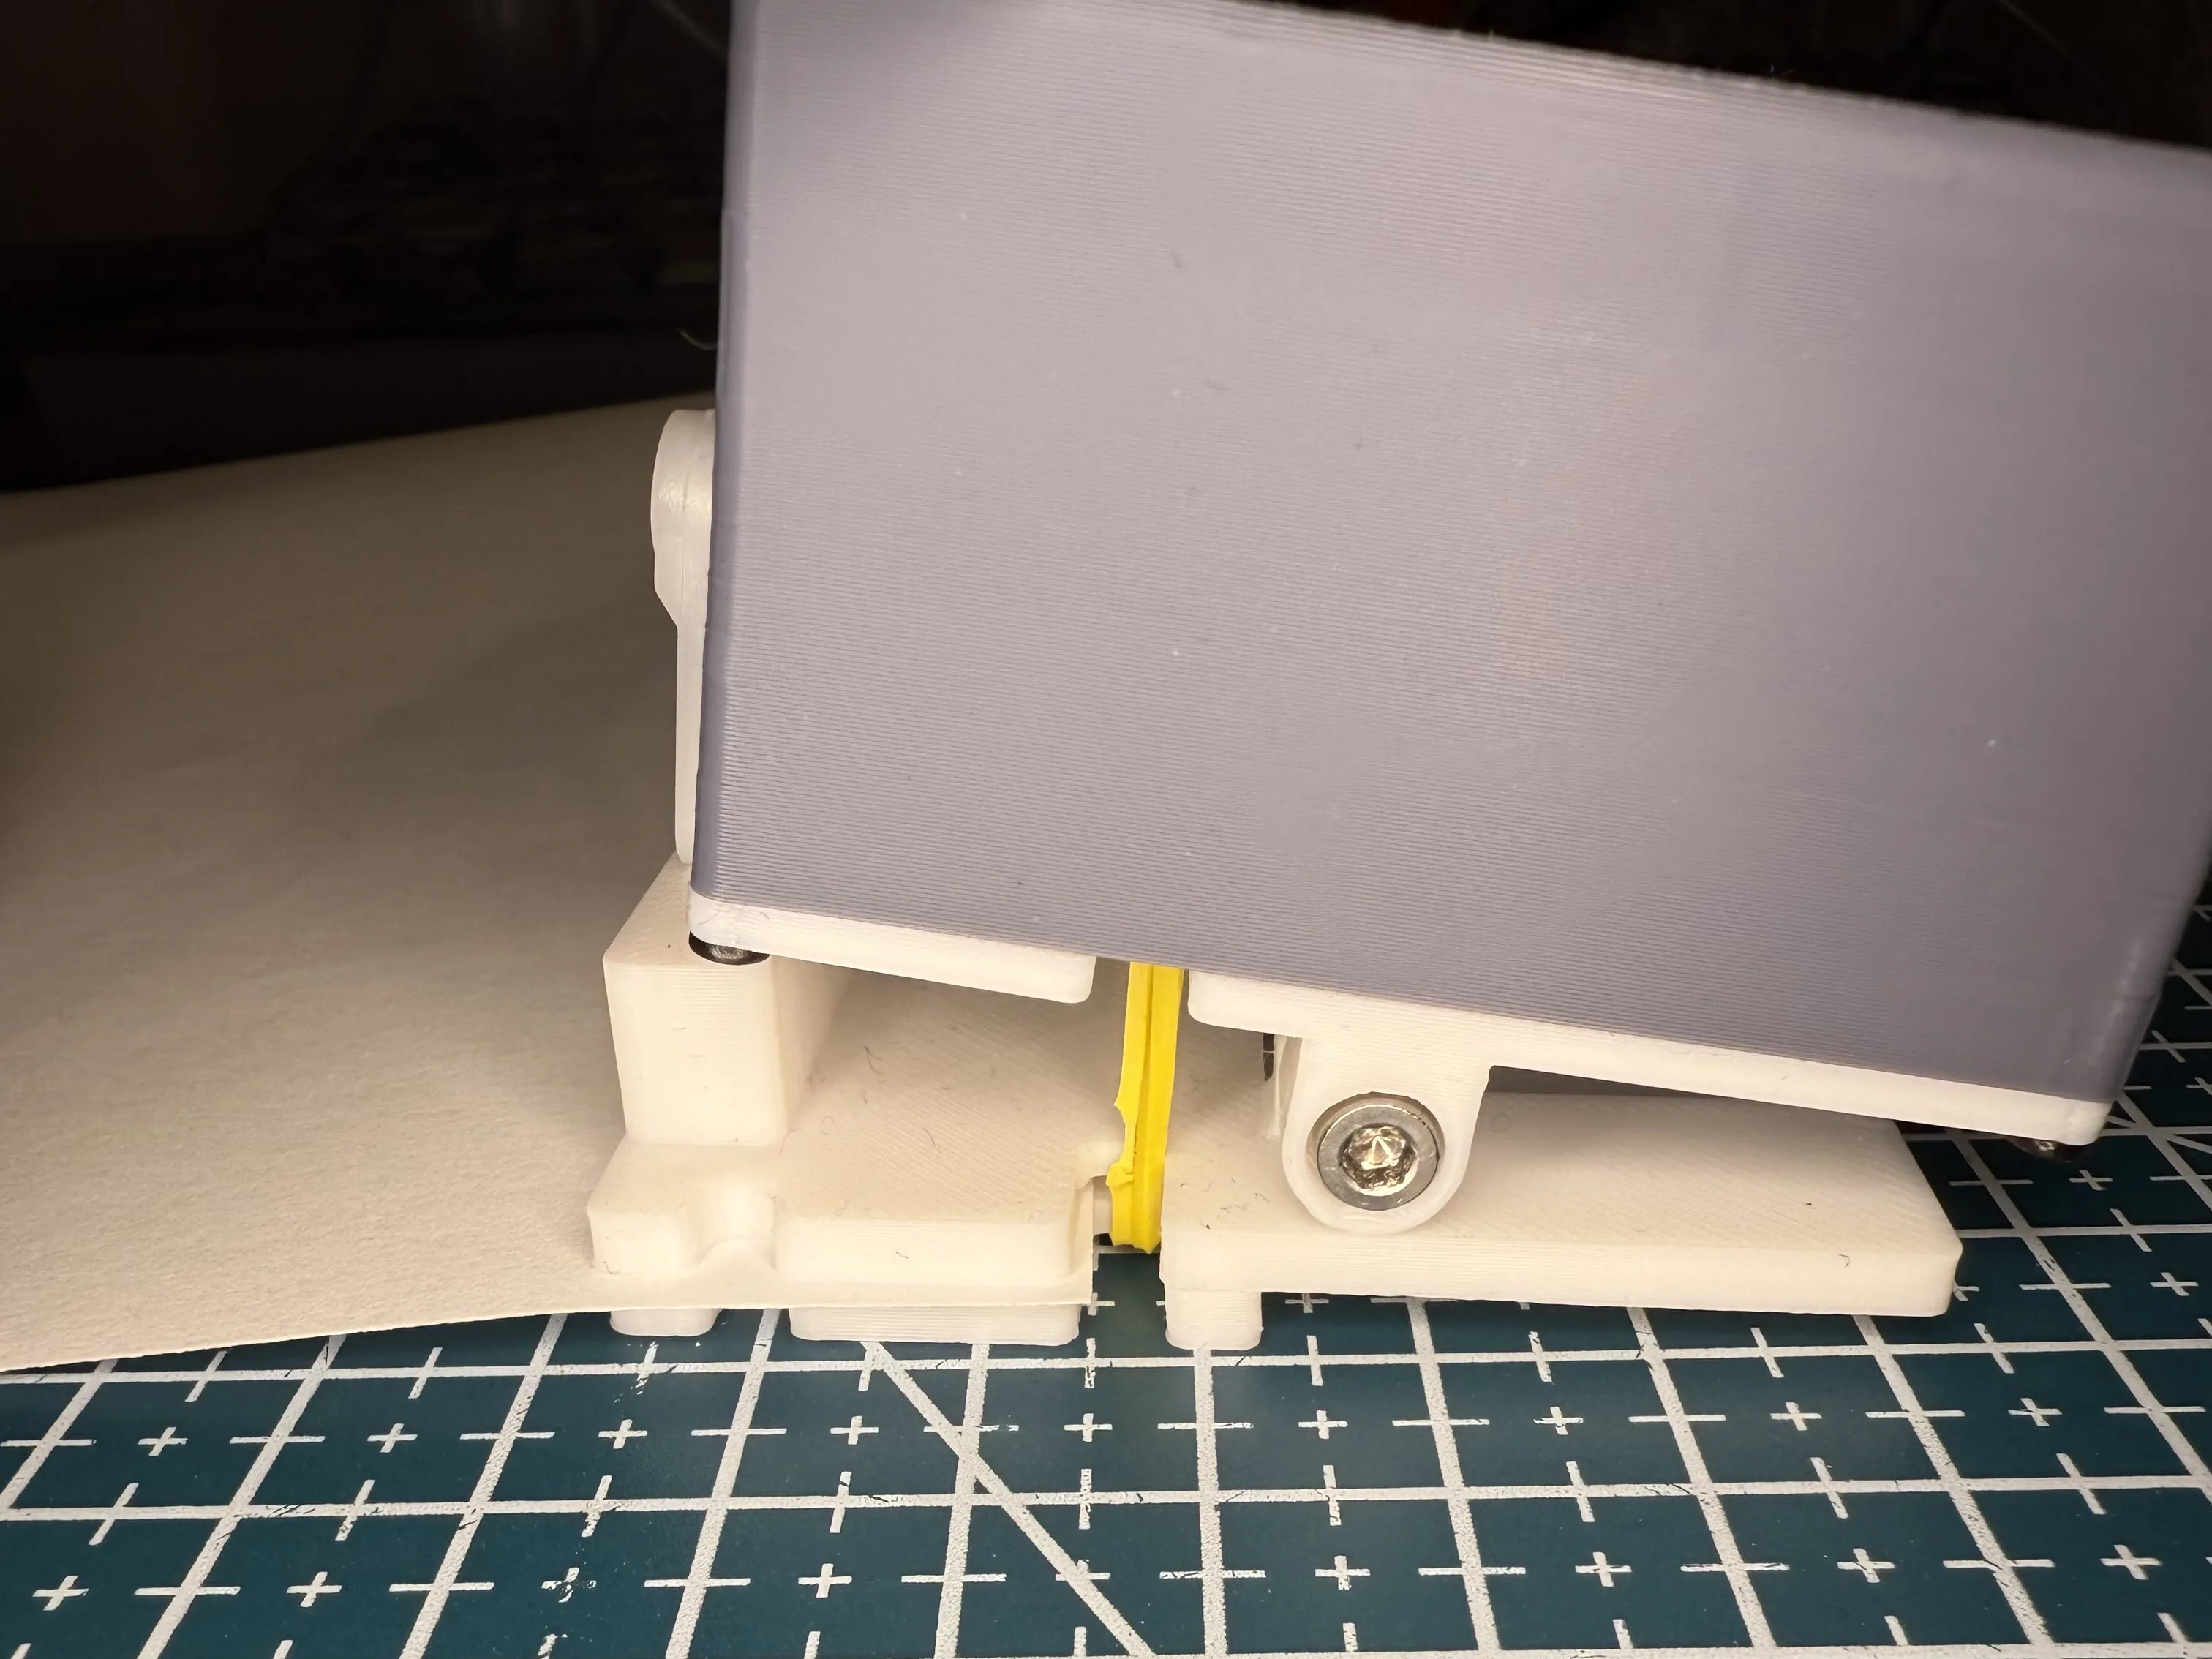
Then attach the middle servo arm so that it barely touches the base.
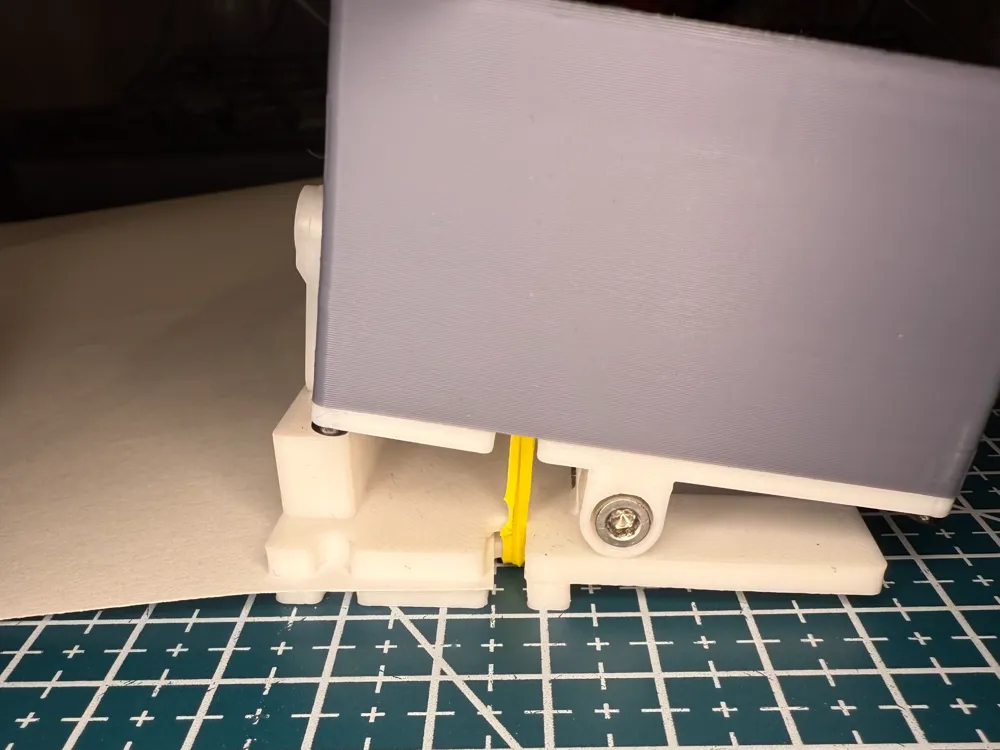
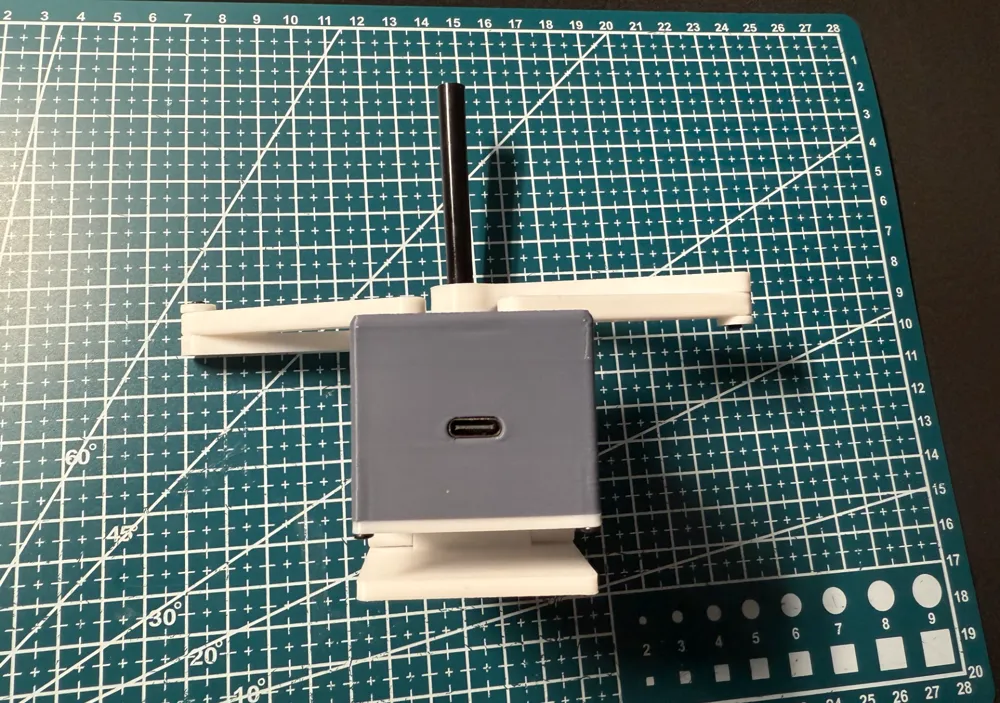
The robot now features a paper-clipping mechanism, ensuring it stays firmly in place during prints for enhanced precision and stability.
Web interface
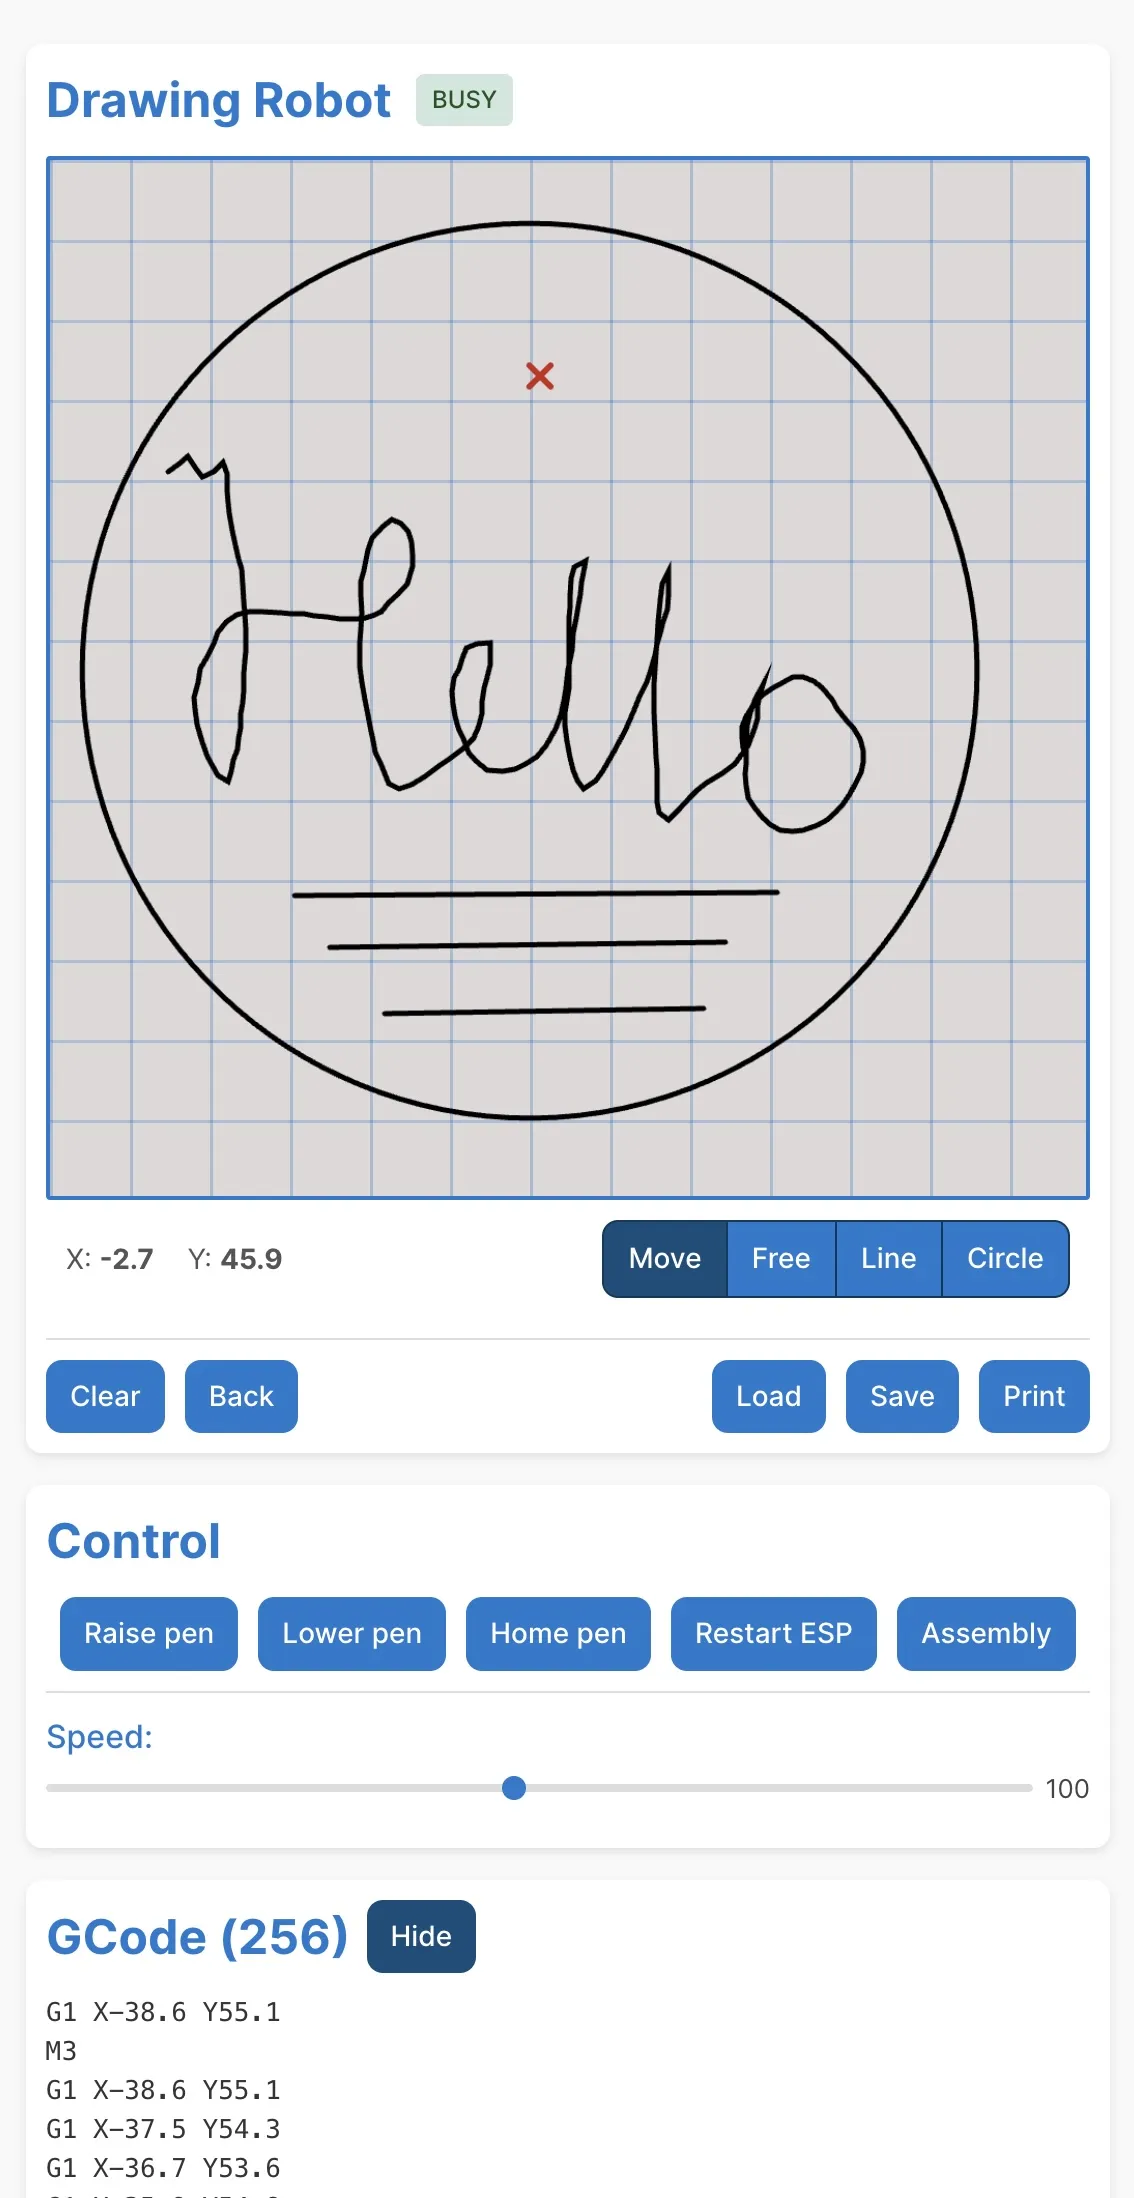
The web interface offers full control of your 2D drawing robot with three modes: Free, for hand-drawn designs; Line, for straight edges; and Circle, for perfect arcs. You can adjust speed, raise or lower the pen, set the home position, restart the device, or undo the last line using the “Back” button.
Real-time G-code is displayed for your designs and can be saved or loaded for later use. When your drawing is complete, click Print to watch the robot bring it to life!
Boost Me (for free)
Boos it to get more projects like this, integrating hardware and software.
License

You shall not share, sub-license, sell, rent, host, transfer, or distribute in any way the digital or 3D printed versions of this object, nor any other derivative work of this object in its digital or physical format (including - but not limited to - remixes of this object, and hosting on other digital platforms). The objects may not be used without permission in any way whatsoever in which you charge money, or collect fees.


Comment & Rating (157)