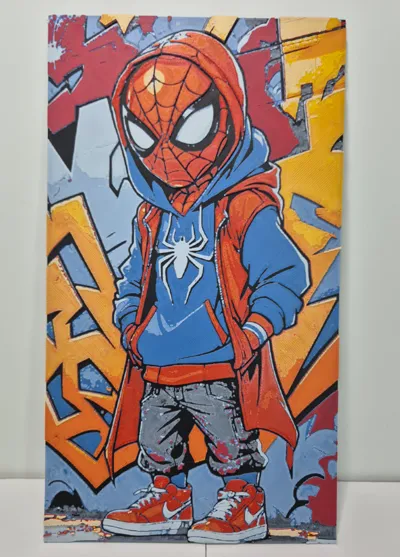
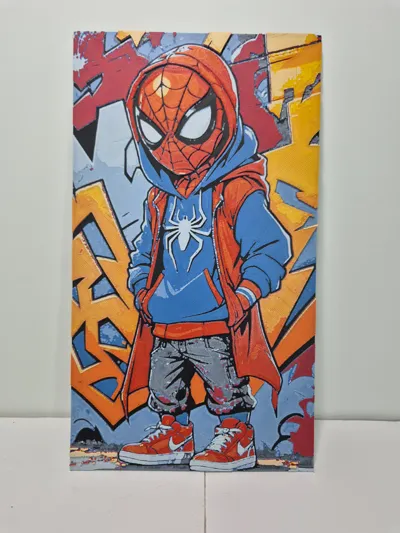
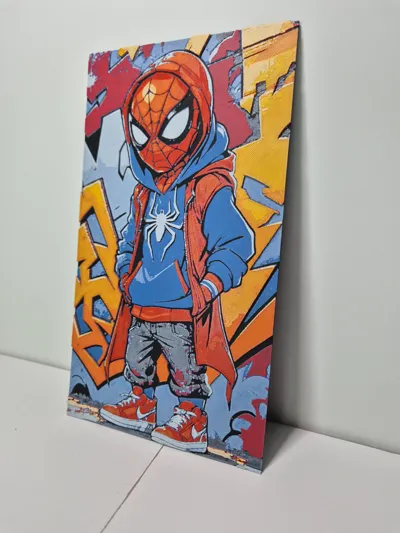
HueForge SpiderMan Grafitti


Print Profile(1)

Description
For this new HueForge, I aimed to heighten the complexity. This time, I utilized seven colors.
Below, I explain how to change colors using only one AMS.
----------------------------------------------------------------------------------------------------------------------------

Here's how to proceed with the color changes.
As shown in the image, for basic red, select the slot where the black spool is located; for yellow, the light red spool slot; and for orange, the blue spool slot.
You must change them once you've finished with the indicated color. This requires being near the printer. Don't run this file late at night XD.
If you need assistance, feel free to leave a comment or contact me via DM on TikTok.
----------------------------------------------------------------------------------------------------------------------------
Print at 100% infill with a 0.08mm layer height and a 0.16mm base layer
Filaments Used:
Bambu Lab PLA Matte Charcoal Transmission Distance: 0.6
Bambu Lab PLA Matte Ivory White Transmission Distance: 3.5
Bambu Lab PLA Matte Marine Blue Transmission Distance: 0.5
Bambu Lab PLA Matte Scarlet Red Transmission Distance: 2
Bambu Lab PLA Basic Red Transmission Distance: 4
Bambu Lab PLA Basic Orange Transmission Distance: 7
Bambu Lab PLA Basic Yellow Transmission Distance: 6
Swap Instructions:
Start with Charcoal
At layer #6 (0.56mm) swap to Ivory White
At layer #7 (0.64mm) swap to Marine Blue
At layer #8 (0.72mm) swap to Ivory White
At layer #12 (1.04mm) swap to Marine Blue
At layer #14 (1.2mm) swap to Scarlet Red
At layer #15 (1.28mm) swap to Red
At layer #18 (1.52mm) swap to Orange
At layer #22 (1.84mm) swap to Yellow
At layer #25 (2.08mm) swap to Ivory White for the remainder.
Comment & Rating (2)