
High-precision RC remote control boat Romantic Ferry
Print Profile(1)
Description
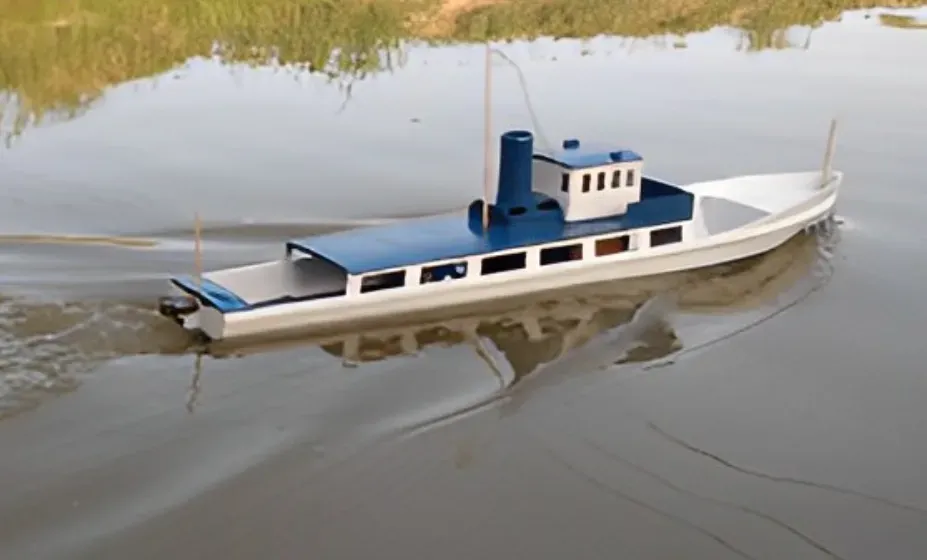
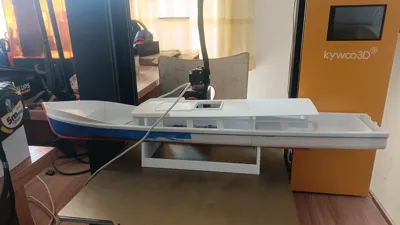
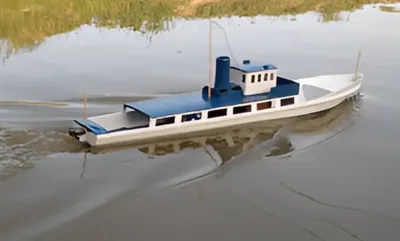
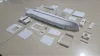
I call it the Romantic Little Ferry
Overall Length: Approximately 600 mm
Beam: Approximately 115 mm
Height: Approximately 135 mm (excluding mast)
I have a small pond and wanted a small boat to navigate it. I’ve always loved the river ferries of England’s south coast, so I built this one from scratch.
My electronics configuration: Surpass Hobby 2435 4800kV, paired with a 25A ESC.
The battery is a Turnigy 1000mAh 2S 7.4v 30C - 40C Lipo Pack – more than sufficient for such a small vessel!
The servo is a standard 9g servo – a custom STL is provided for the rudder arm – a pushrod arrangement is set up using 0.8 mm wire.
The rudder is an off-the-shelf brass “micro” 33 mm x 22 mm component.
The propeller shaft and propeller are a combined unit: 200mm x 3mm inner shaft/30mm plastic propeller.
The outer propeller shaft is cut to approximately 170mm, the inner shaft to approximately 1cm, but please check against your drawings!
Connect the motor to the propeller shaft using a 2.3 mm to 3.2 mm solid coupler, then bond the motor mount and propeller shaft in place to keep it perfectly straight.
Hull:
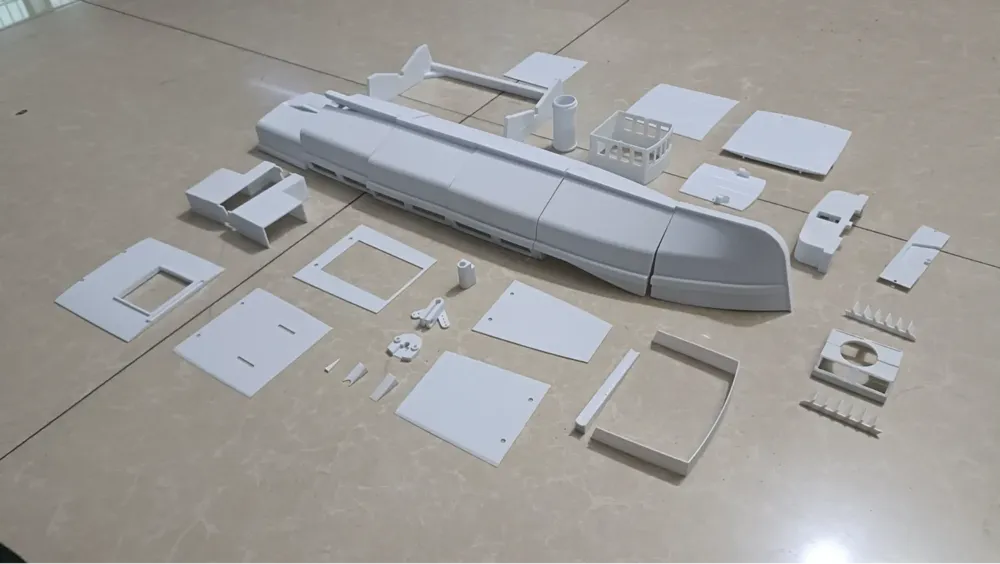
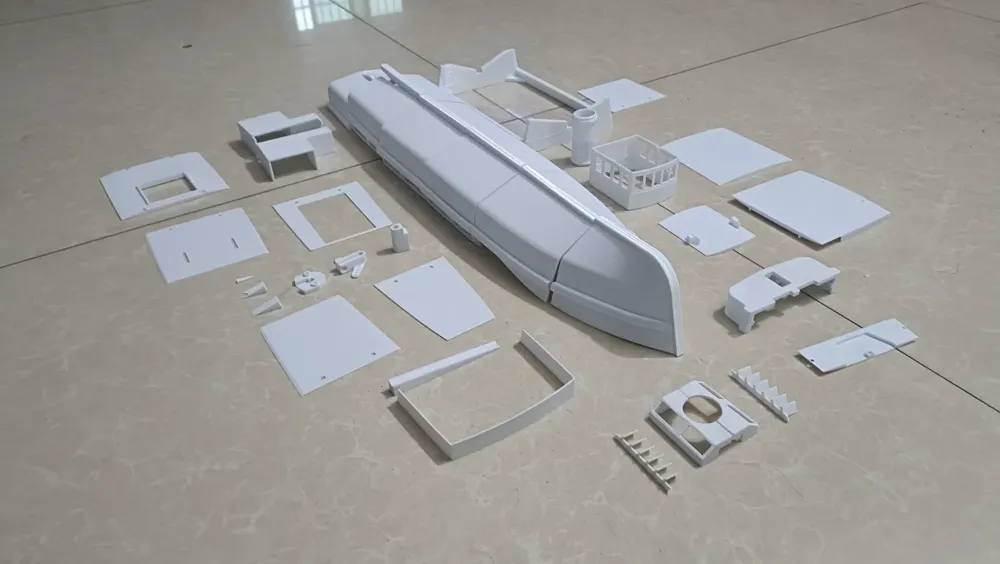
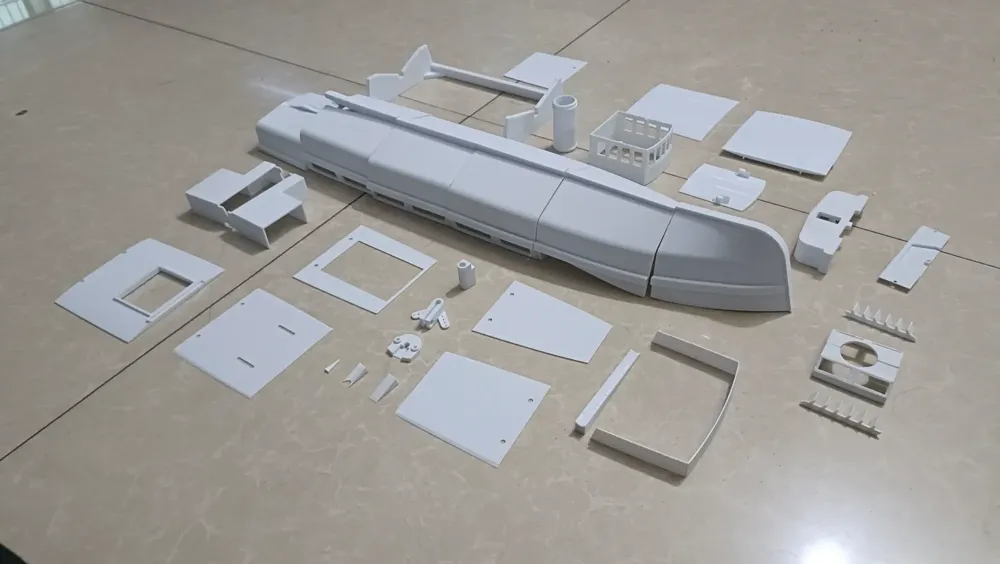
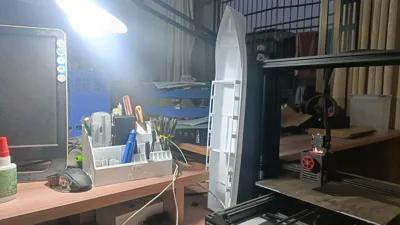
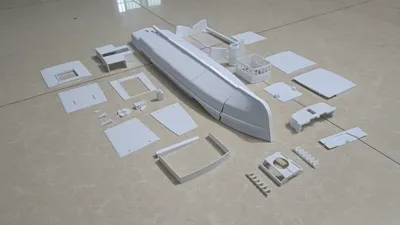
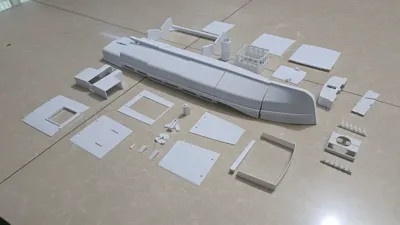
Print all parts, then adhesive-bond them together using superglue, beginning by carefully balancing them atop one another and applying glue along the edges of the joins. Ensure that the printed surfaces are flat and free from warping – a light sanding may be sufficient.
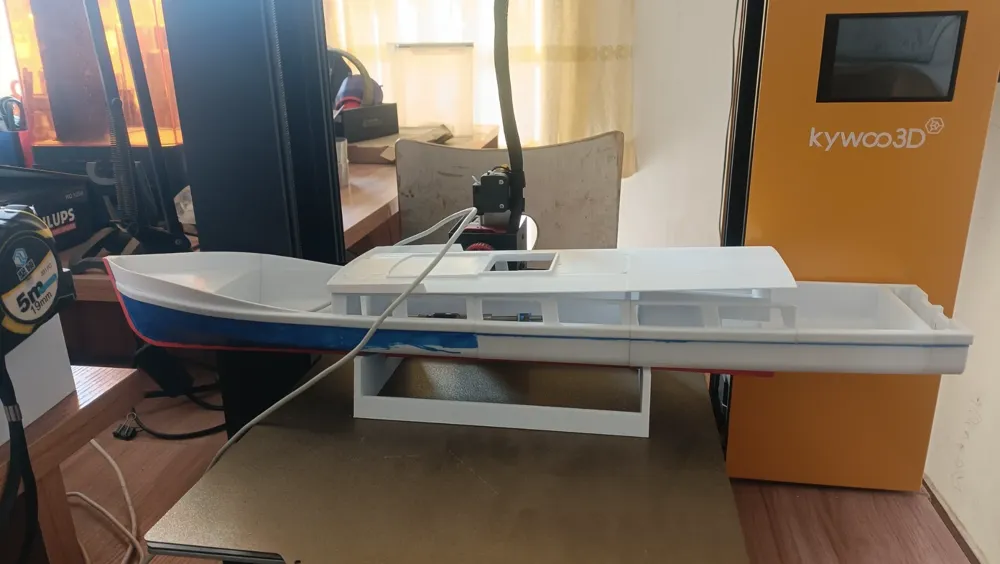
Adhere pairs of components together, then bond the paired assemblies until the entire hull is joined. The completed hull balances evenly on its flat stern before the rudder tube is installed, so install this last.
With all parts aligned, fill any particularly egregious seams with isopon p38, then sand…
The motor housing is aesthetically pleasing and convenient for securing the ESC – I did not glue it to the prototype; I merely pressed it firmly against the keel.
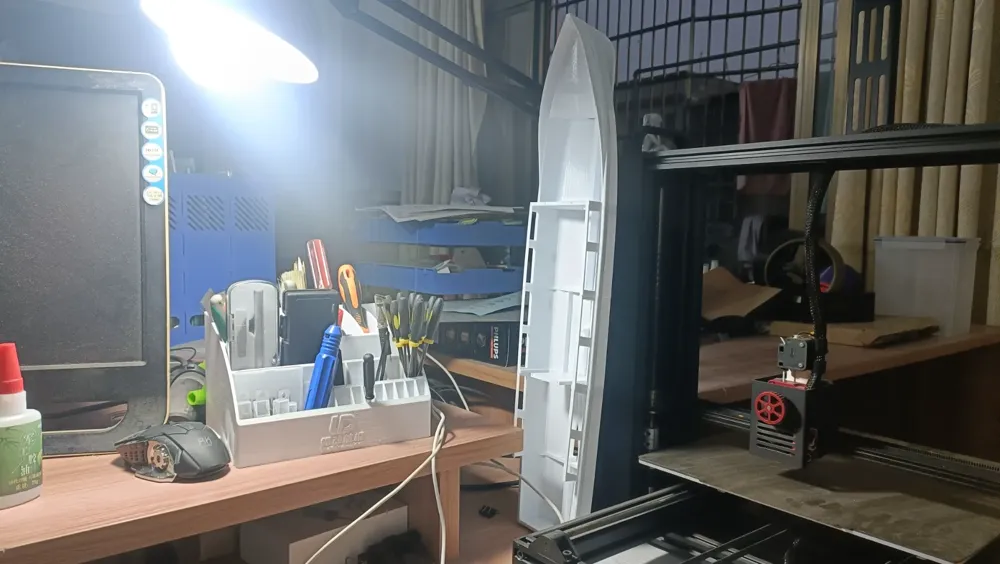
All decking sits upon the hull framework – no fixing required.
Deck and Superstructure:
As with the hull; I bonded these together using superglue, initially clamping them flat then firmly squeezing them together.
The upper deck is secured to the hull using four screws, set into the cabin bulkheads. Pre-drill these screw holes to prevent the screws from tearing the plastic. The wheelhouse and smokestack housings are glued to the upper deck, with the wheelhouse roof secured by two screws. The aft deck, above the rudder servo, is similarly fastened with two screws.
Use small 8mm x 1.5mm screws – anything similar to small servo mounting screws will suffice…
Three holes are provided for masts – I used 3 mm hardwood dowels and secured them in place with superglue.
Sealing and Painting
As is well known, 3D prints can leak, so the hull requires sealing.
I applied a thorough, even coating of epoxy resin to the entire underside of the hull; a clear varnish/resin may also suffice. It penetrates the 3D print well and provides a complete seal.
Then paint it your chosen color,
Alternatively, print in separate color sections,
Whether waterproofing the superstructure is necessary is a matter of personal preference; I generally do not.
License

You shall not share, sub-license, sell, rent, host, transfer, or distribute in any way the digital or 3D printed versions of this object, nor any other derivative work of this object in its digital or physical format (including - but not limited to - remixes of this object, and hosting on other digital platforms). The objects may not be used without permission in any way whatsoever in which you charge money, or collect fees.


Comment & Rating (15)