
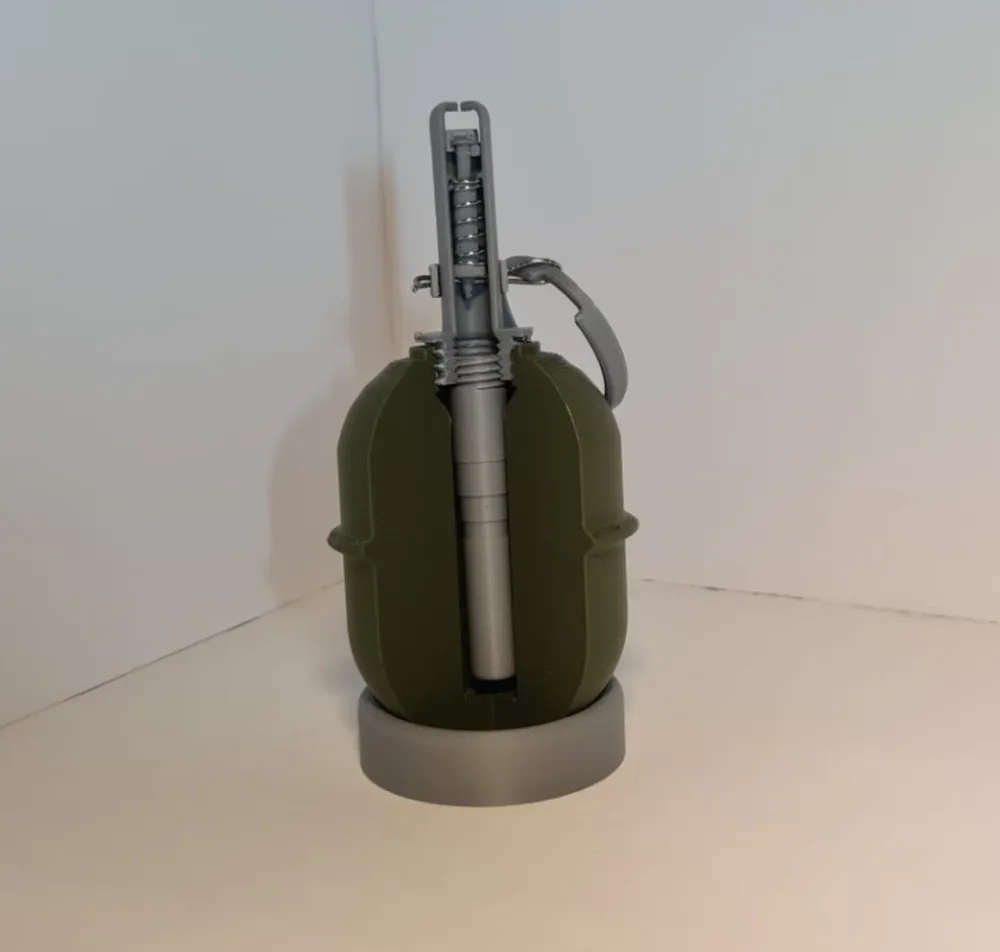
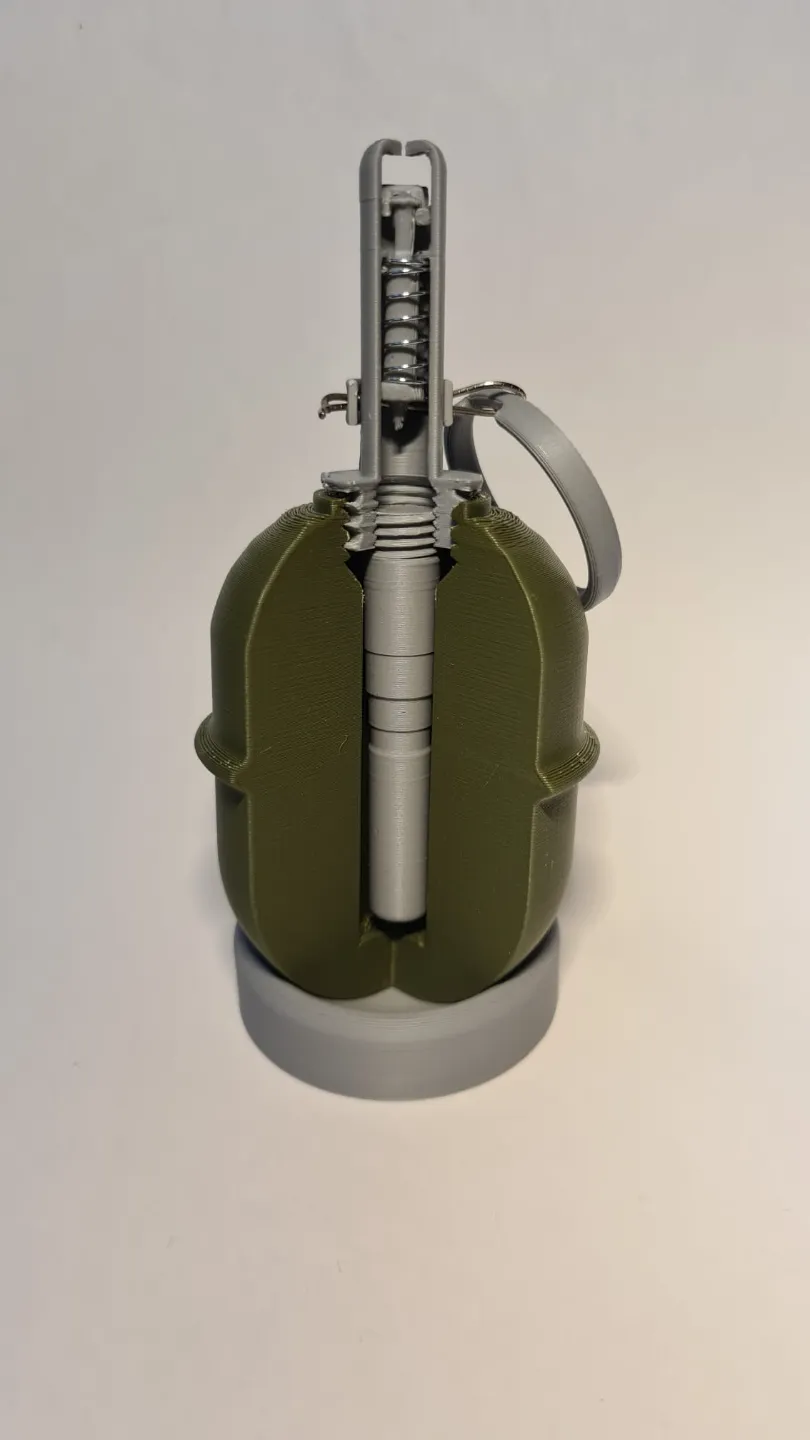
RGD-5 Grenade Cutaway

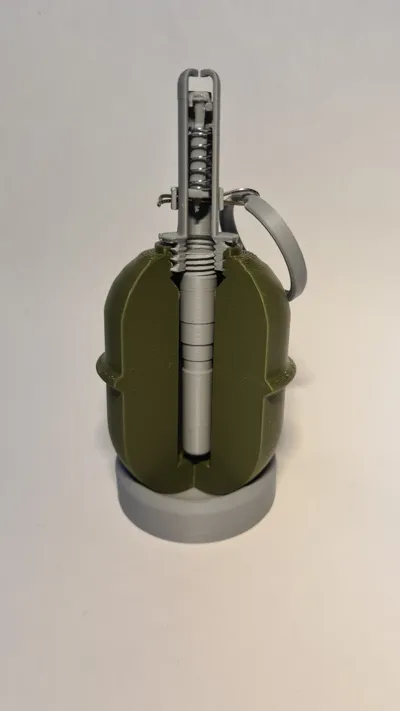
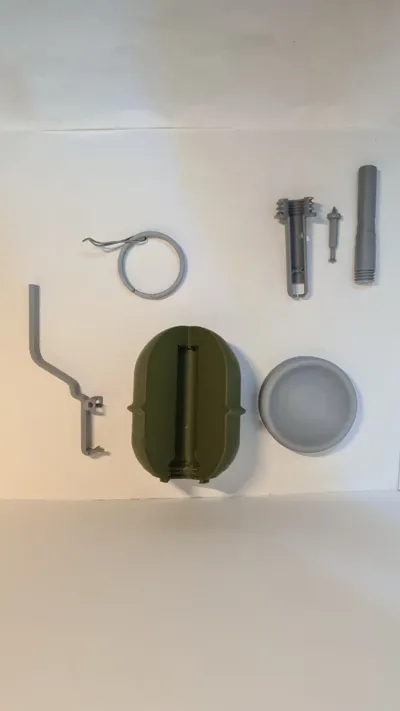
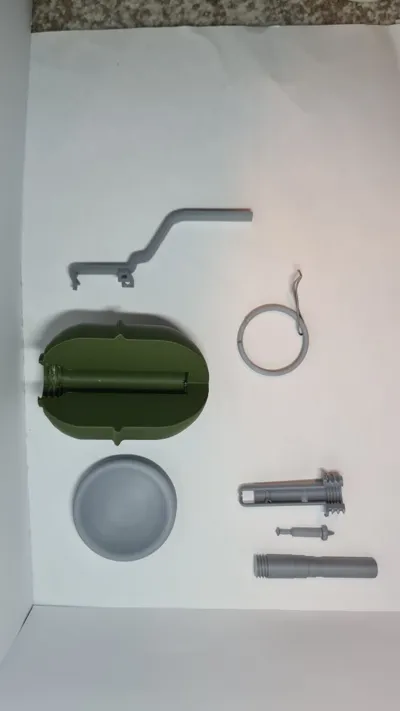
Print Profile(1)

Bill of Materials

Description
DISCLAIMER : This model is only for educational purposes. It does not contain any explosives and can not be modified into doing so. This a display model and can not be modified to be used as a real grenade!!
Short description :
The RGD-5 is a post–World War II Soviet anti-personnel fragmentation grenade, designed in the early 1950s. The RGD-5 was accepted into service with the Soviet Army in 1954. It was widely exported, and is still in service with many armies in the Middle East and the former Soviet bloc.
The grenade features a UZRGM fuse assembly and the RGD-5 shell, which were adapted by me in a cutaway model, made with the intent to be used as a educational model.
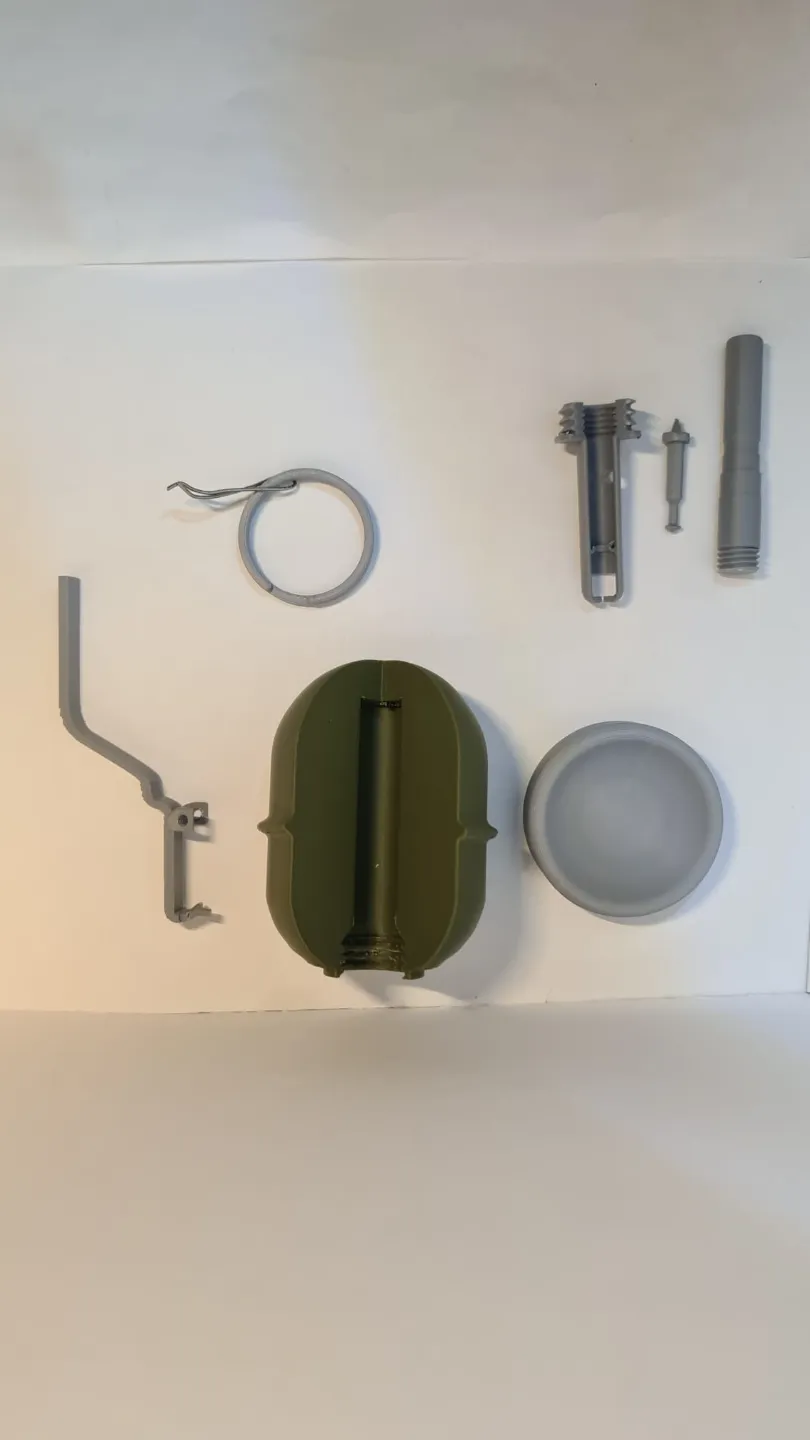
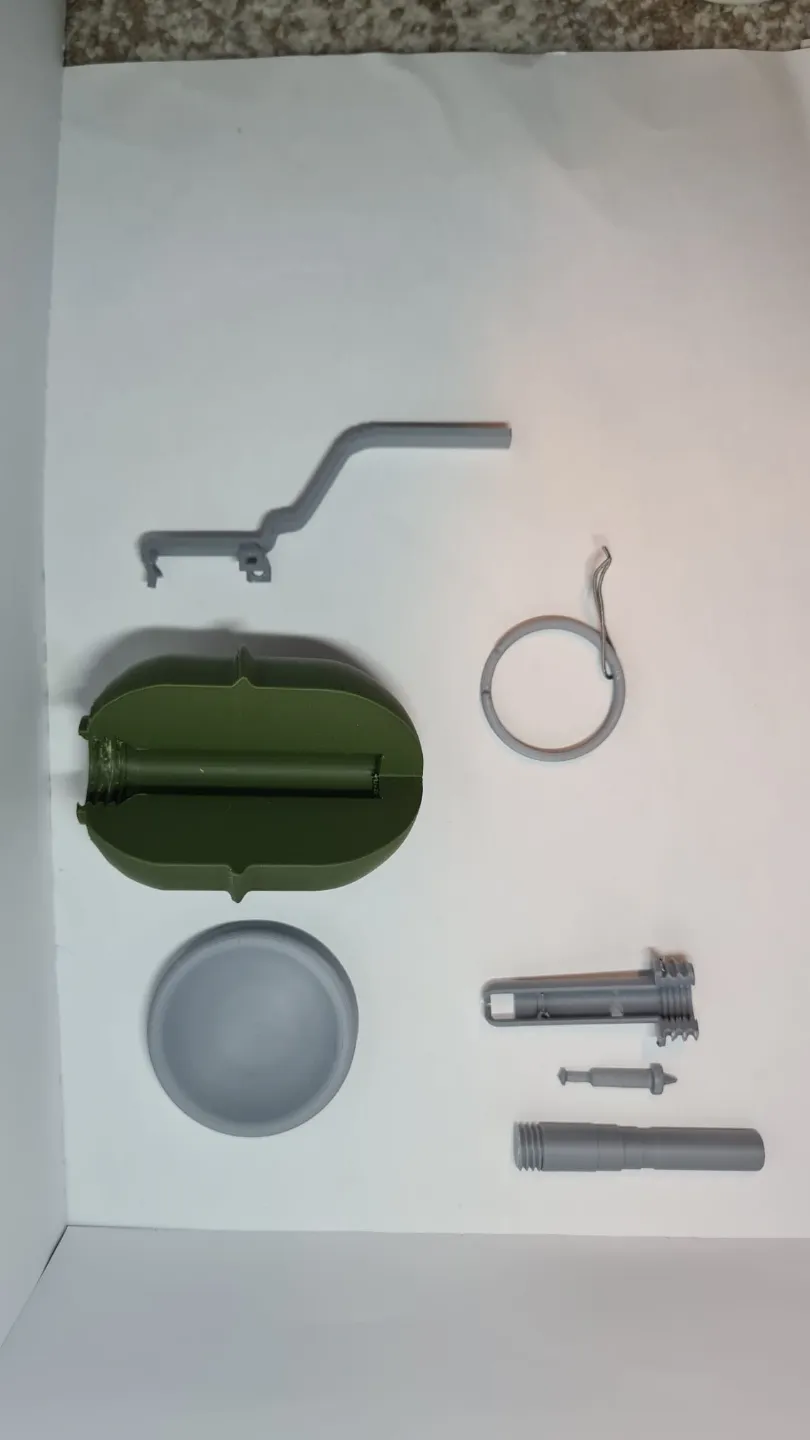
Necessary parts:
Apart from the 3D printed parts you will need a spring with the diameter of 7/7.5 mm. The length does not matter because it can be cut to fit your needs.
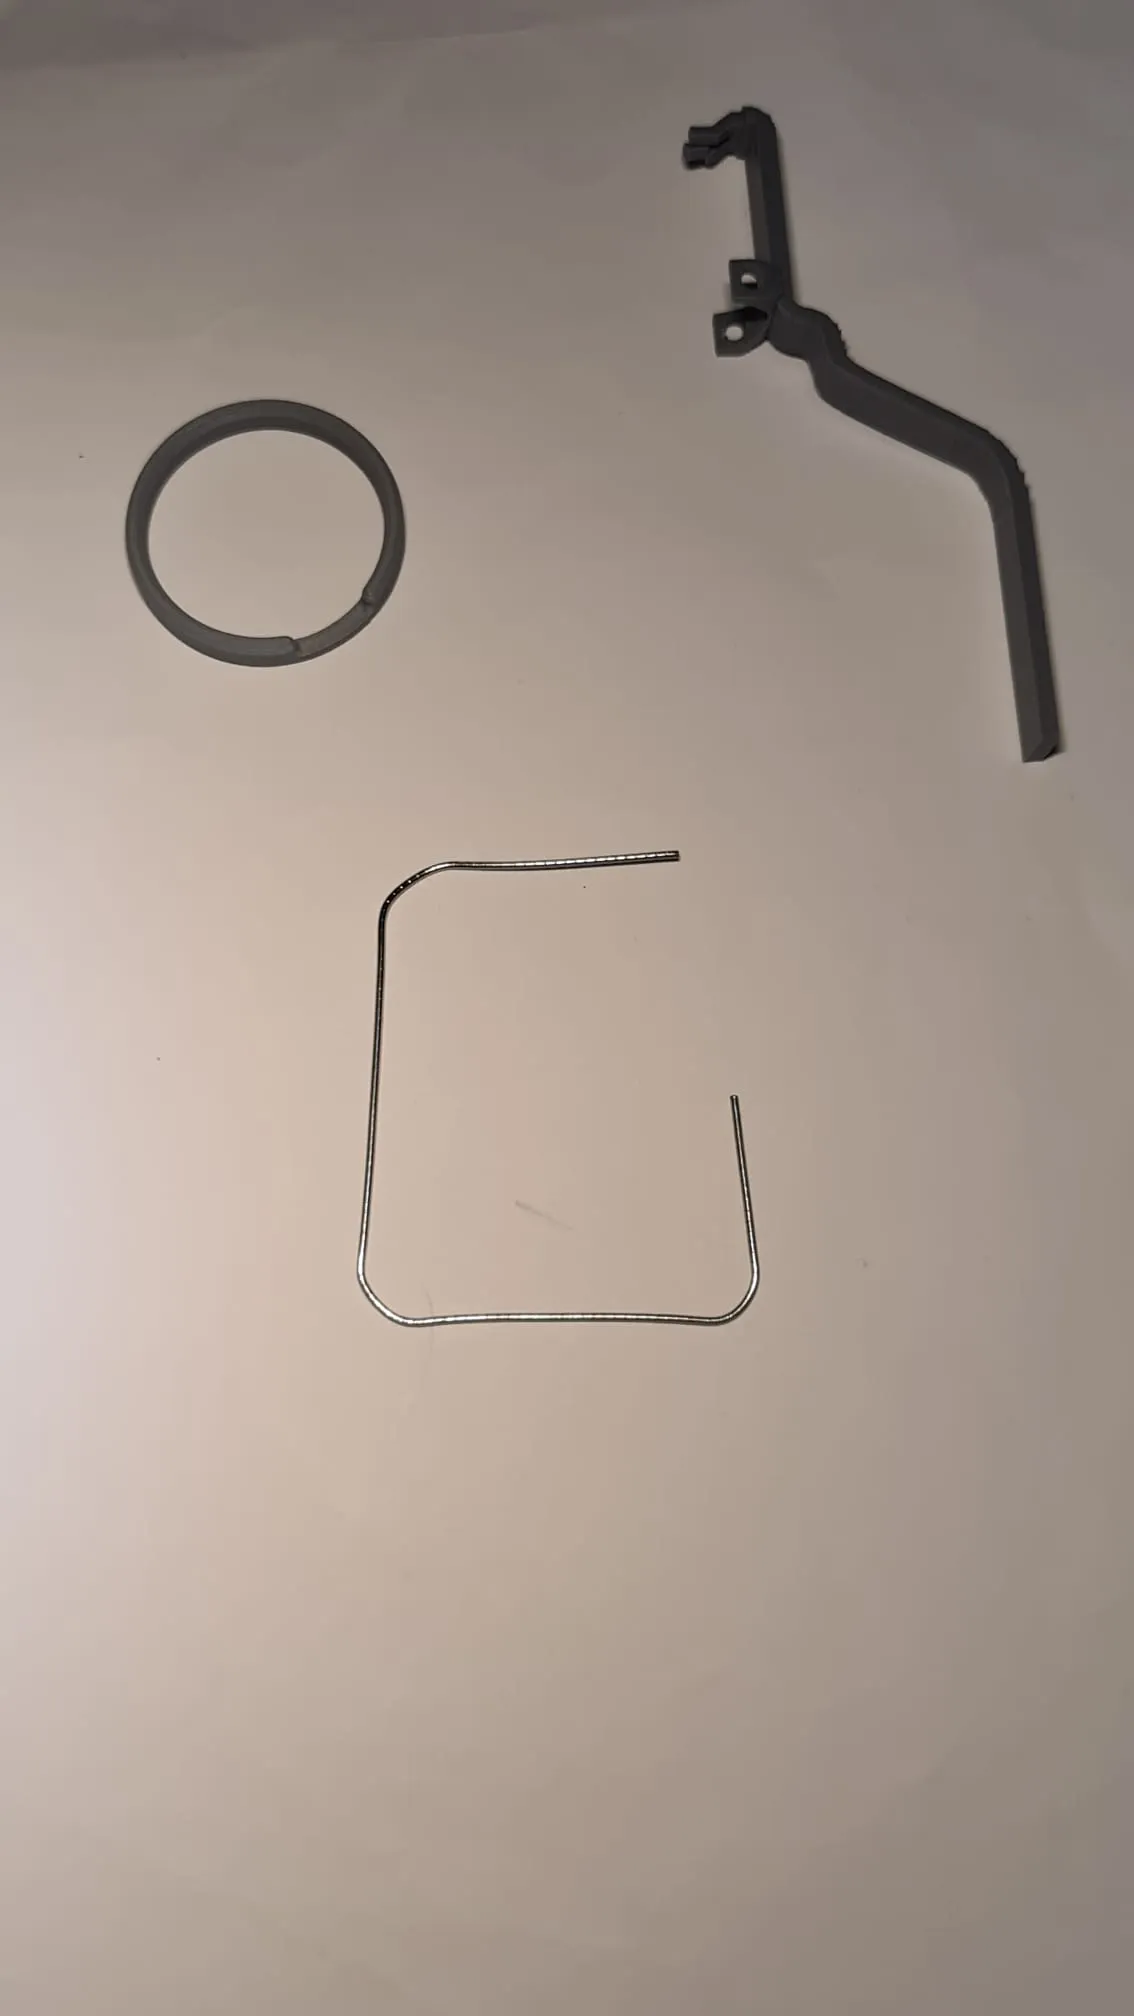
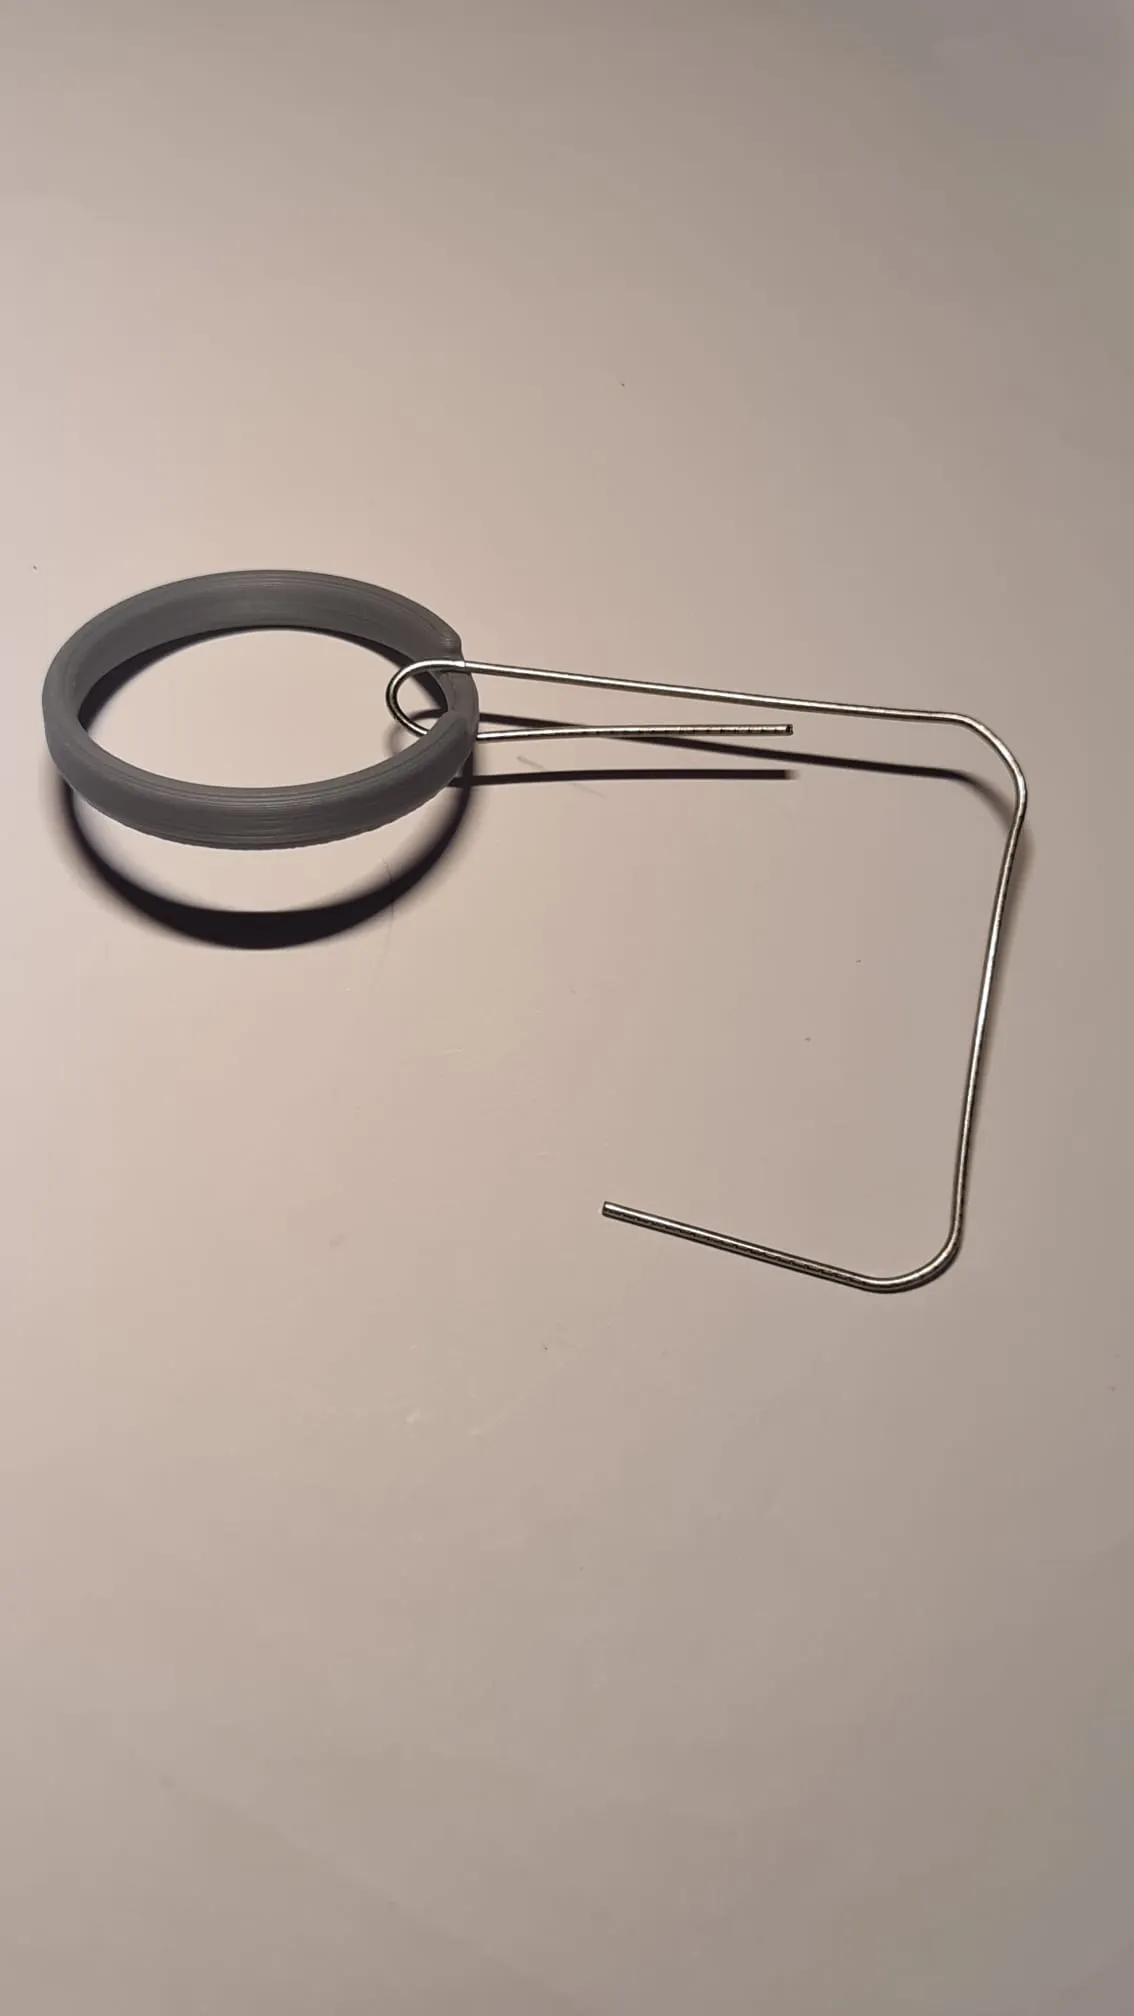
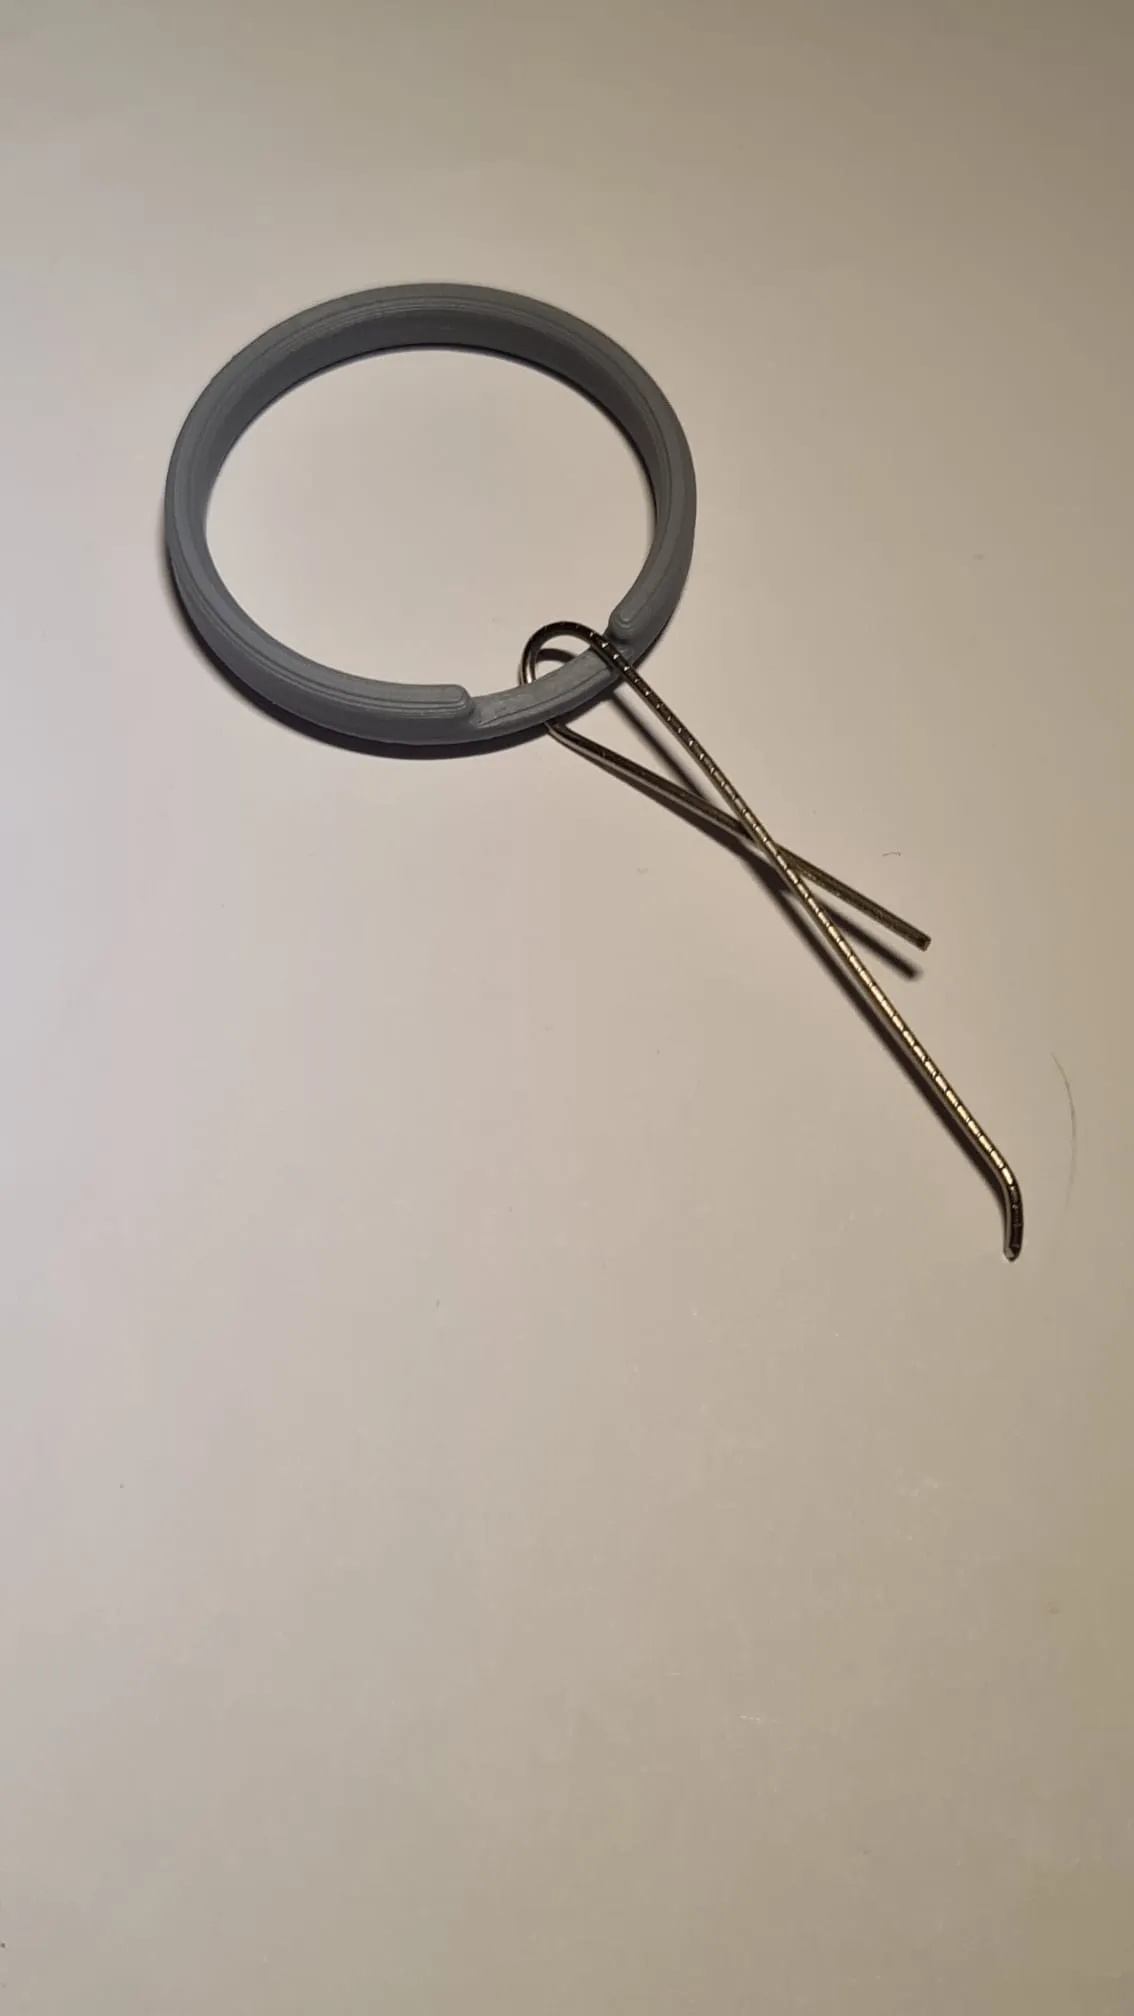
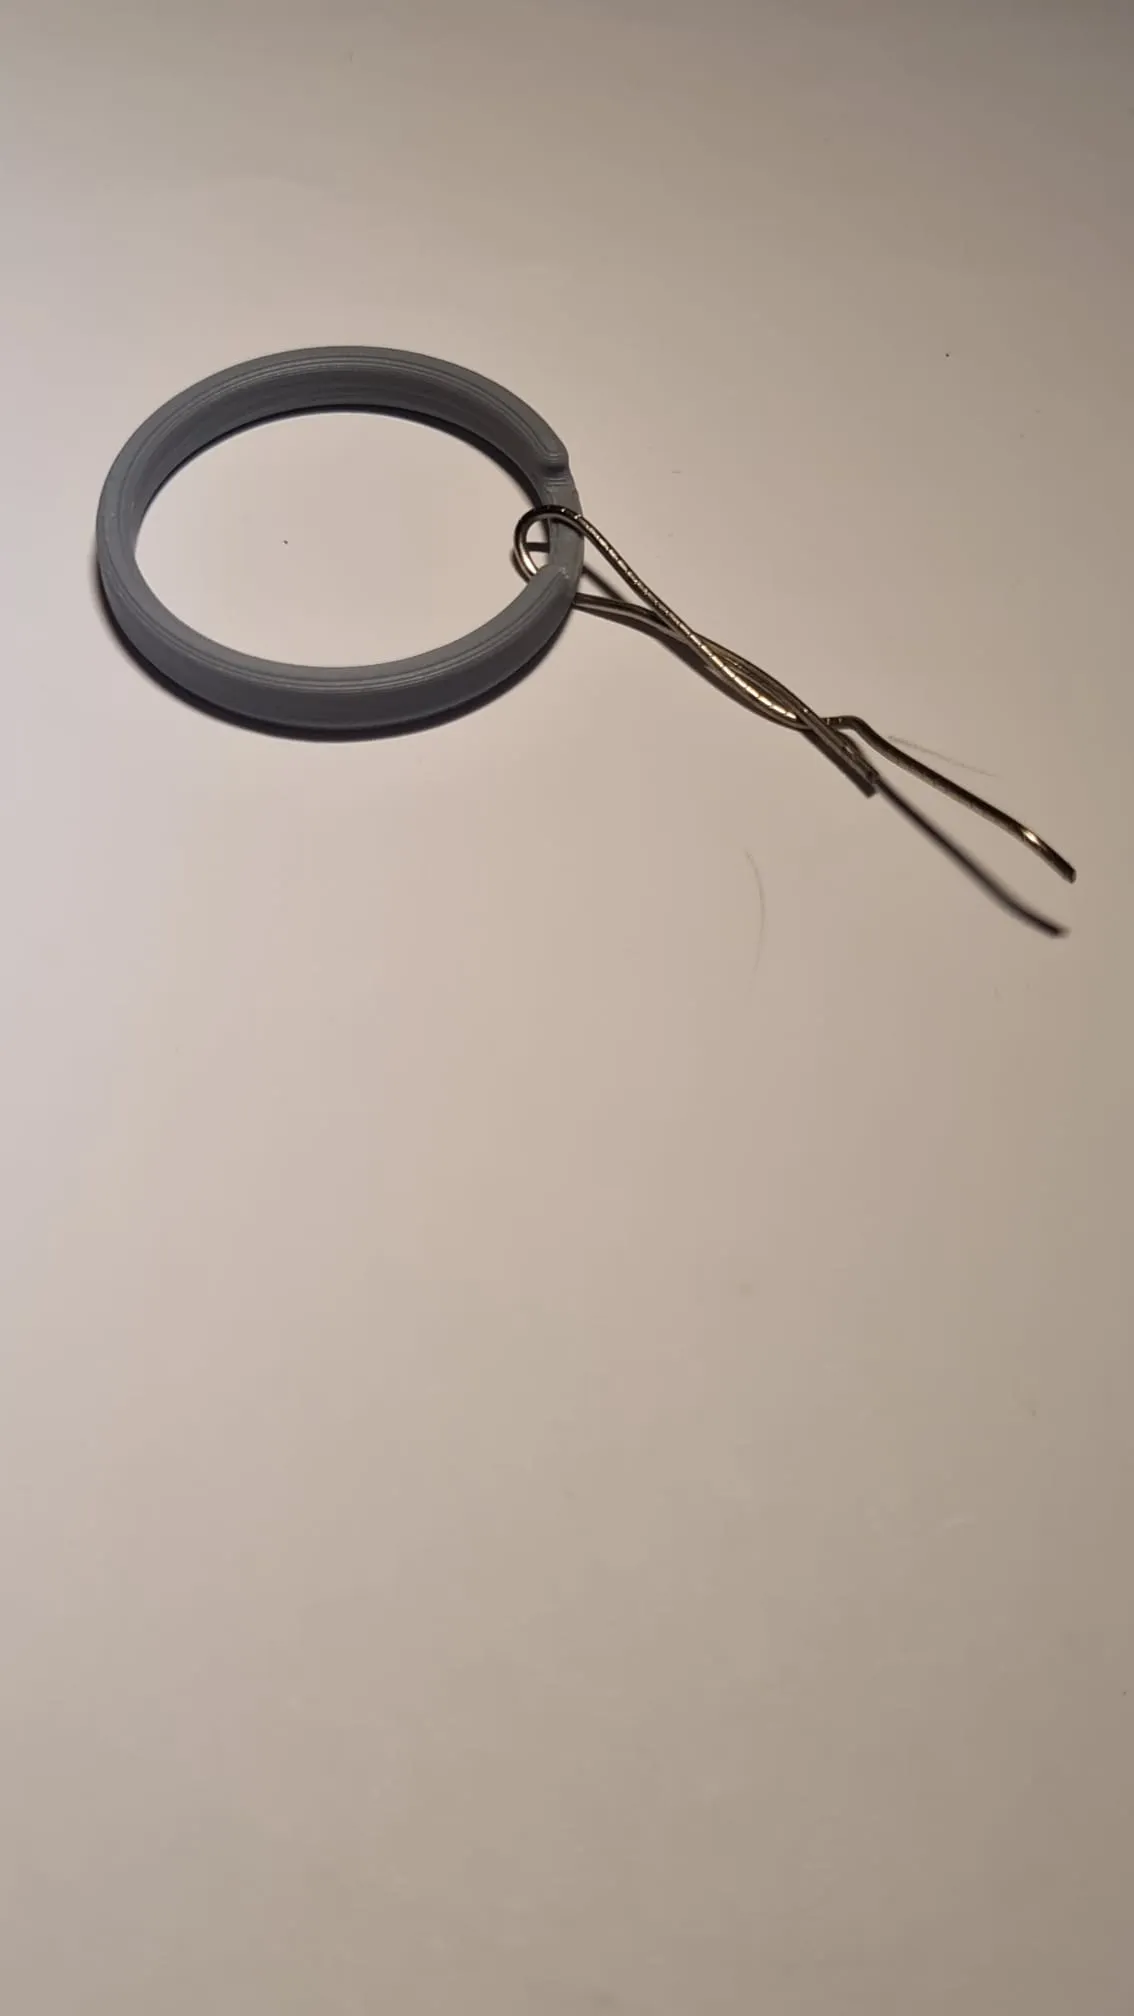
You will also need a paper clip for the safety ring. I choose this option instead of a 3D printed part to give it more realism. The assembly is down below and can be made easier with a set of pliers.
Assembly :
The safety ring instructions are down below. After that is done follow these steps :
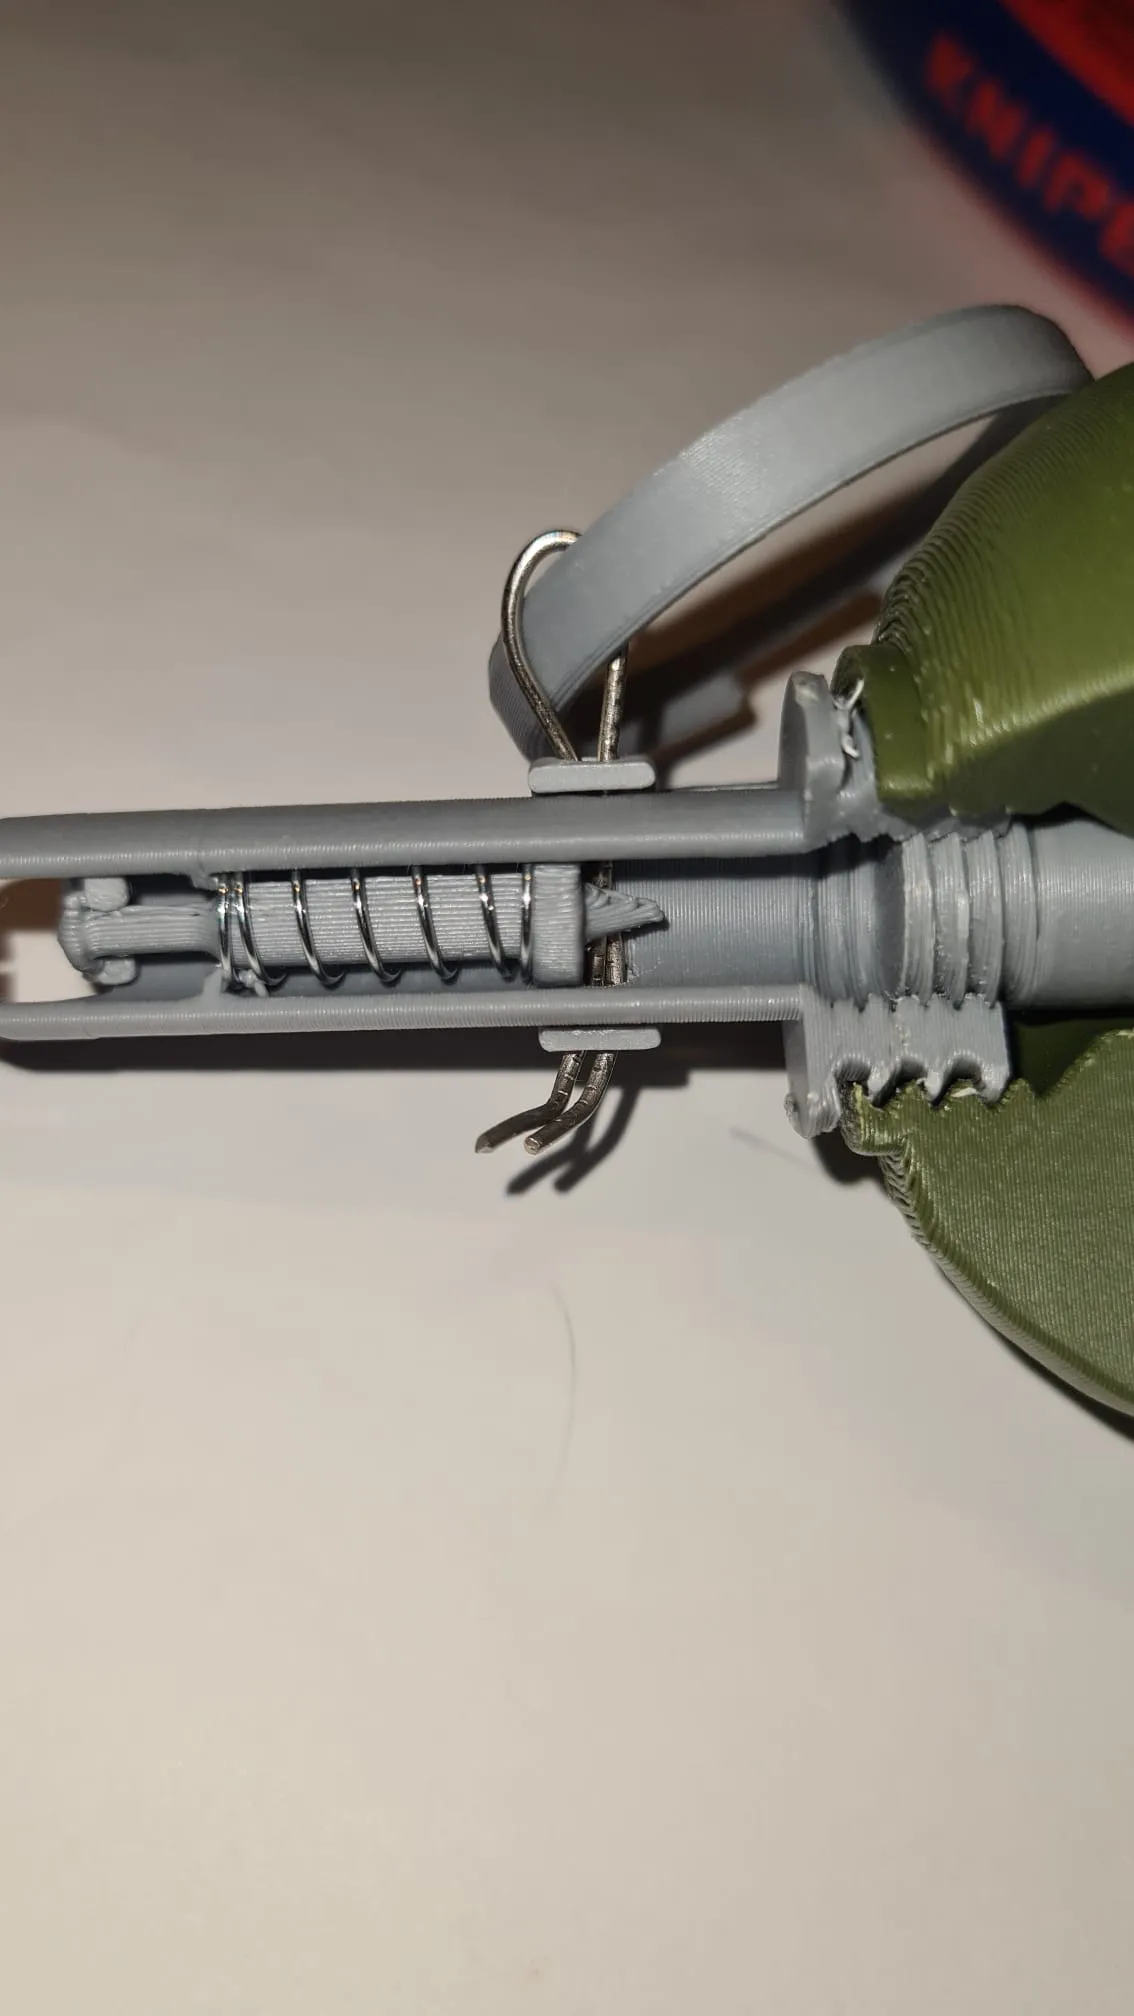
- Place the spring and the striker in the designated spot in the UZRGM fuse.
- After that screw in the explosive case in the UZRGM fuse body.
- Next screw in the fuse body in the grenade shell.
- Finally place the spoon in the designated spot and secure it with the safety ring.
Notes!!!
Be careful when screwing in the UZRGM fuse because the top part can break. You can screw it in using some pliers to make it easier.
If you don't know the name of each individual grenade part they can be found in Bambu Lab Studio, when preparing for printing.
| 
| 
| 
|  |
Notes :
This is my first model designed in CAD software so feel free to tell me if I have made any mistakes and maybe give me some tips. Also tell me if you want to see any specific military models so perhaps I can make it happen.
Boost Me (for free)
If you want to see more models like please tell me
License



Comment & Rating (12)