
Complete Rod Cleaner Z-Axis Version No.1


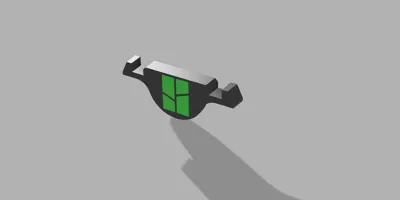


Print Profile(8)



Description
Complete Rod Cleaner Z-Axis Version No.1 with Logo (simple and fast) Single Version
★ New ★ Update from 29.12.2023 Automatic Z-Axis Lube Helper ★ here is the link https://makerworld.com/de/models/112326#profileId-120249
★ New ★ Update from 21.12.2023 Rod Cleaner V2 Set + Lid + Toolcase Magnet Version ★ here is the link https://makerworld.com/de/models/102023#profileId-108654
★ New ★ Update ★ Rod Cleaner Set + Tool Case here is the link https://makerworld.com/de/models/99424#profileId-105992
★ Dont forget o clean your X-Axis ★ here is the link Carbon Rods Cleaner V2 X-Axis (simple and fast) https://makerworld.com/de/models/89719#profileId-96043
Based on the Carbon Rods Cleaner V2 X-Axis (simple and fast) , I have now designed a Rod Cleaner for the Z-Axis. Again, it's Simple and short time to print.
Of course, there is also a version that is a bit smoother but takes a little longer.
LET'S GET STARTED!


2. Take a sponge and cut 2 pieces to the size of 20mm x 30mm, just like with the Carbon Rods Cleaner V2 X-Axis (simple and fast) , and press them into the designated openings. Now soak them with ISO


3. Let's start the cleaning!
Place the small box around the Z-Axis, hold it with your fingers, and press the desired direction on the display... the cleaning begins :-) Pay attention to the final distance of the Z-Axis Top and Bottom . Do not drive too far, as you could otherwise damage your printer.
Cleaning the rear Z-Axis is also possible without disassembling the entire printer. For this, I recommend the Rod Cleaner Z-Axis Complete Version (what a name) here you dont need to hold it all the time, the tweezer makes it for you :-)


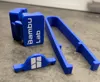
4. The tweezer for the box with the spacer is very convenient. If you use this combination, you have your fingers free and can easily clean your Z-Axis as shown in the pictures. Of course, it can also be used without a spacer.


4. After you're done, it should look like this :-)


5. After cleaning, you should grease the Z-AXIS again. The included grease in the accessories should be sufficient; if not, purchase new grease.
easy to use, easy to clean
Have fun building and cleaning!
if you like my work/project consider supporting me with these options:
- leave a like
- leave a comment
- download the file
- or By me a Coffee
I also appreciate comments a lot.
License

You shall not share, sub-license, sell, rent, host, transfer, or distribute in any way the digital or 3D printed versions of this object, nor any other derivative work of this object in its digital or physical format (including - but not limited to - remixes of this object, and hosting on other digital platforms). The objects may not be used without permission in any way whatsoever in which you charge money, or collect fees.


Comment & Rating (1089)