
Fully 3D Printed Miniature Greenhouse V2 (SnapFit)
Print Profile(5)


Description
Boost Me (for free)
Leave A Boost To Support My Work!
* PLEASE READ INSTRUCTIONS BEFORE PRINTING OUT THE GREENHOUSE *
*****About this model*****
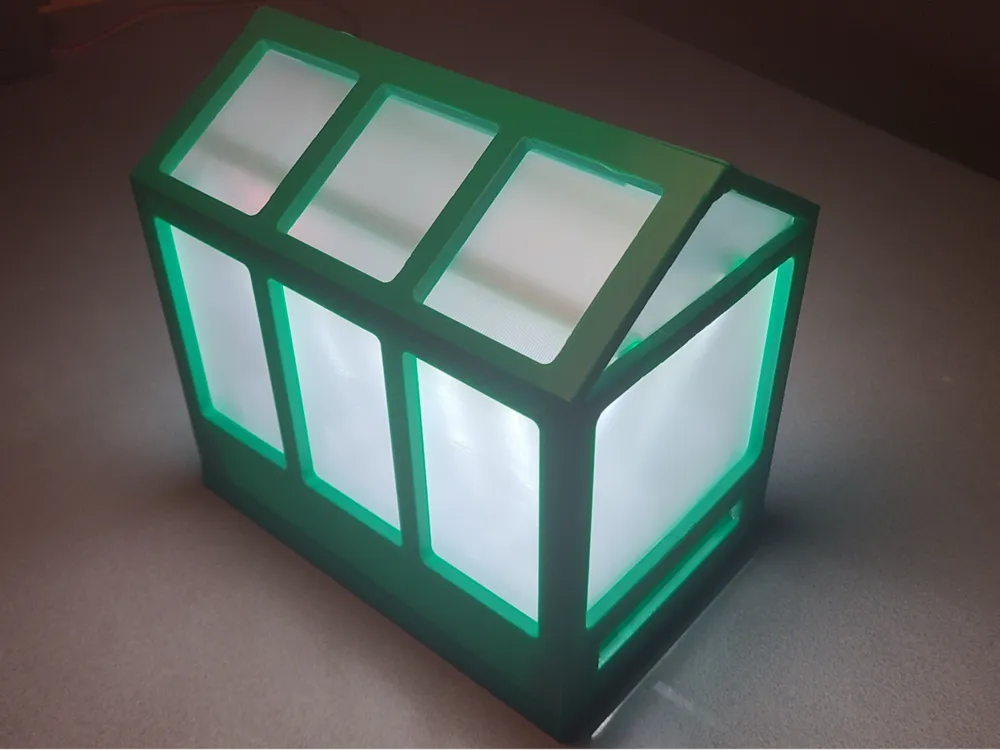
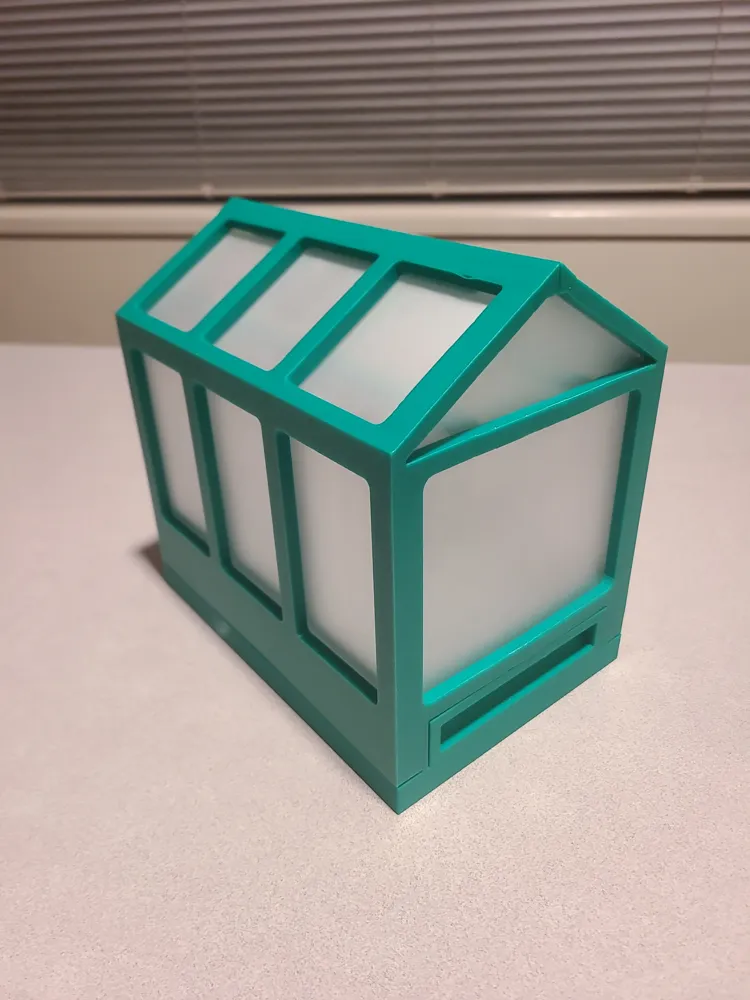
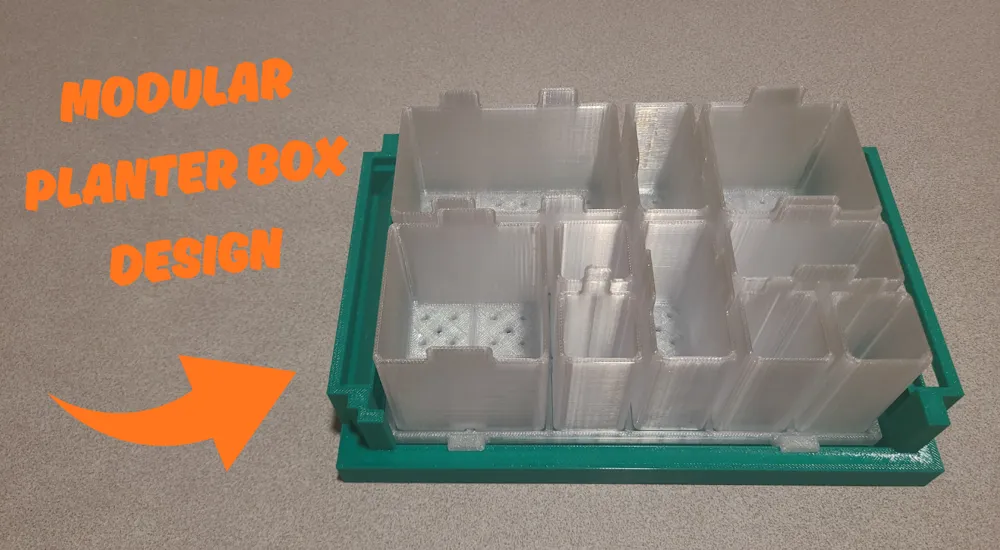
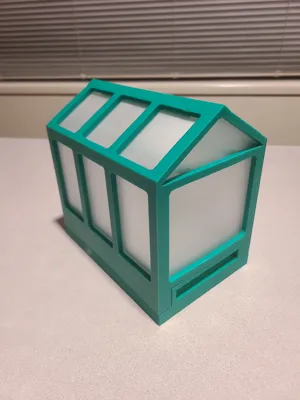
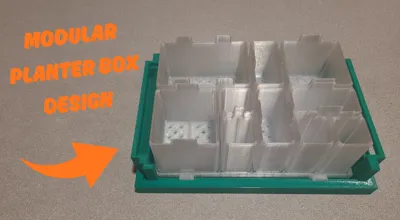
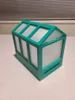
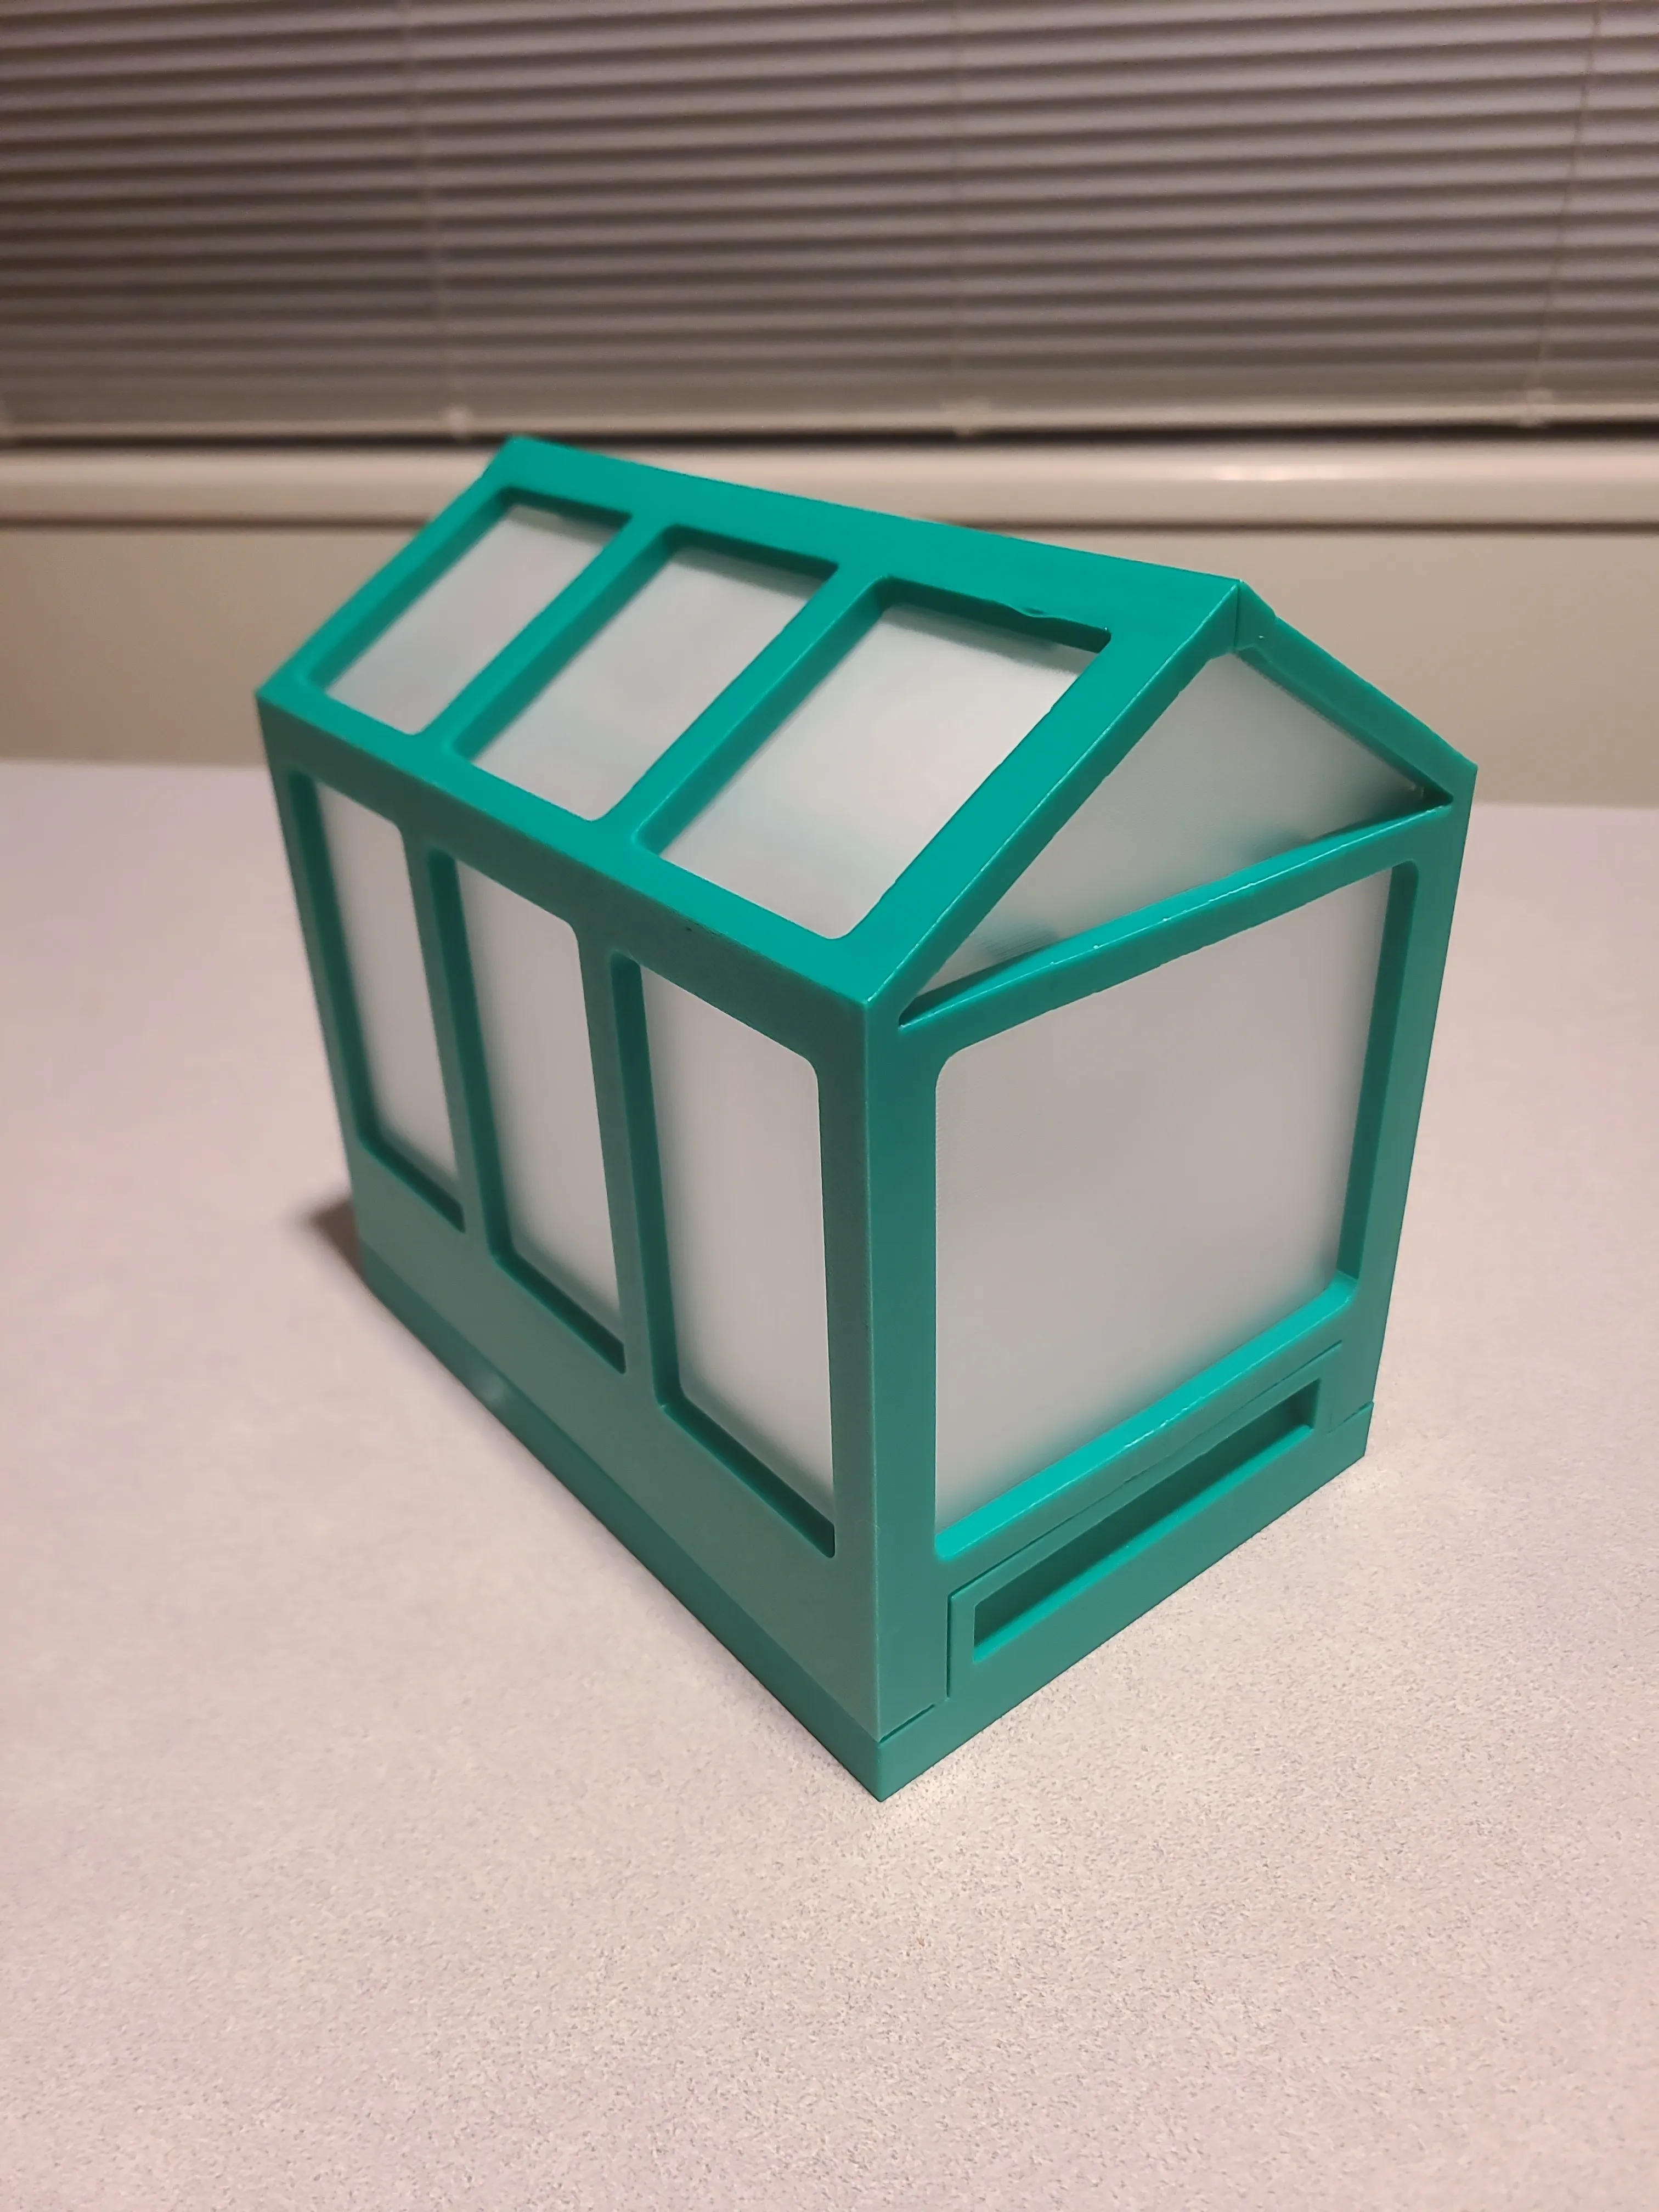
The new and improved Version 2 of my miniature greenhouse model, now featuring snapfit connection and printed windows, allowing for a fully printed process and simplifying the assembly. It is designed as a decorative model that houses a variety of plants, with custom planter boxes, layouts and sizes. The base now features ventilation/humidity control with a simple tab that slides up/down, and an excess water reservoir, holding roughly 200ml of water.
( Will be working on an A1 mini version in the mean time )
TL;DR - Improvements made in V2
Fully 3D Printed Greenhouse Design: Additional items such as acrylic panels and pots aren't needed at all in Version 2
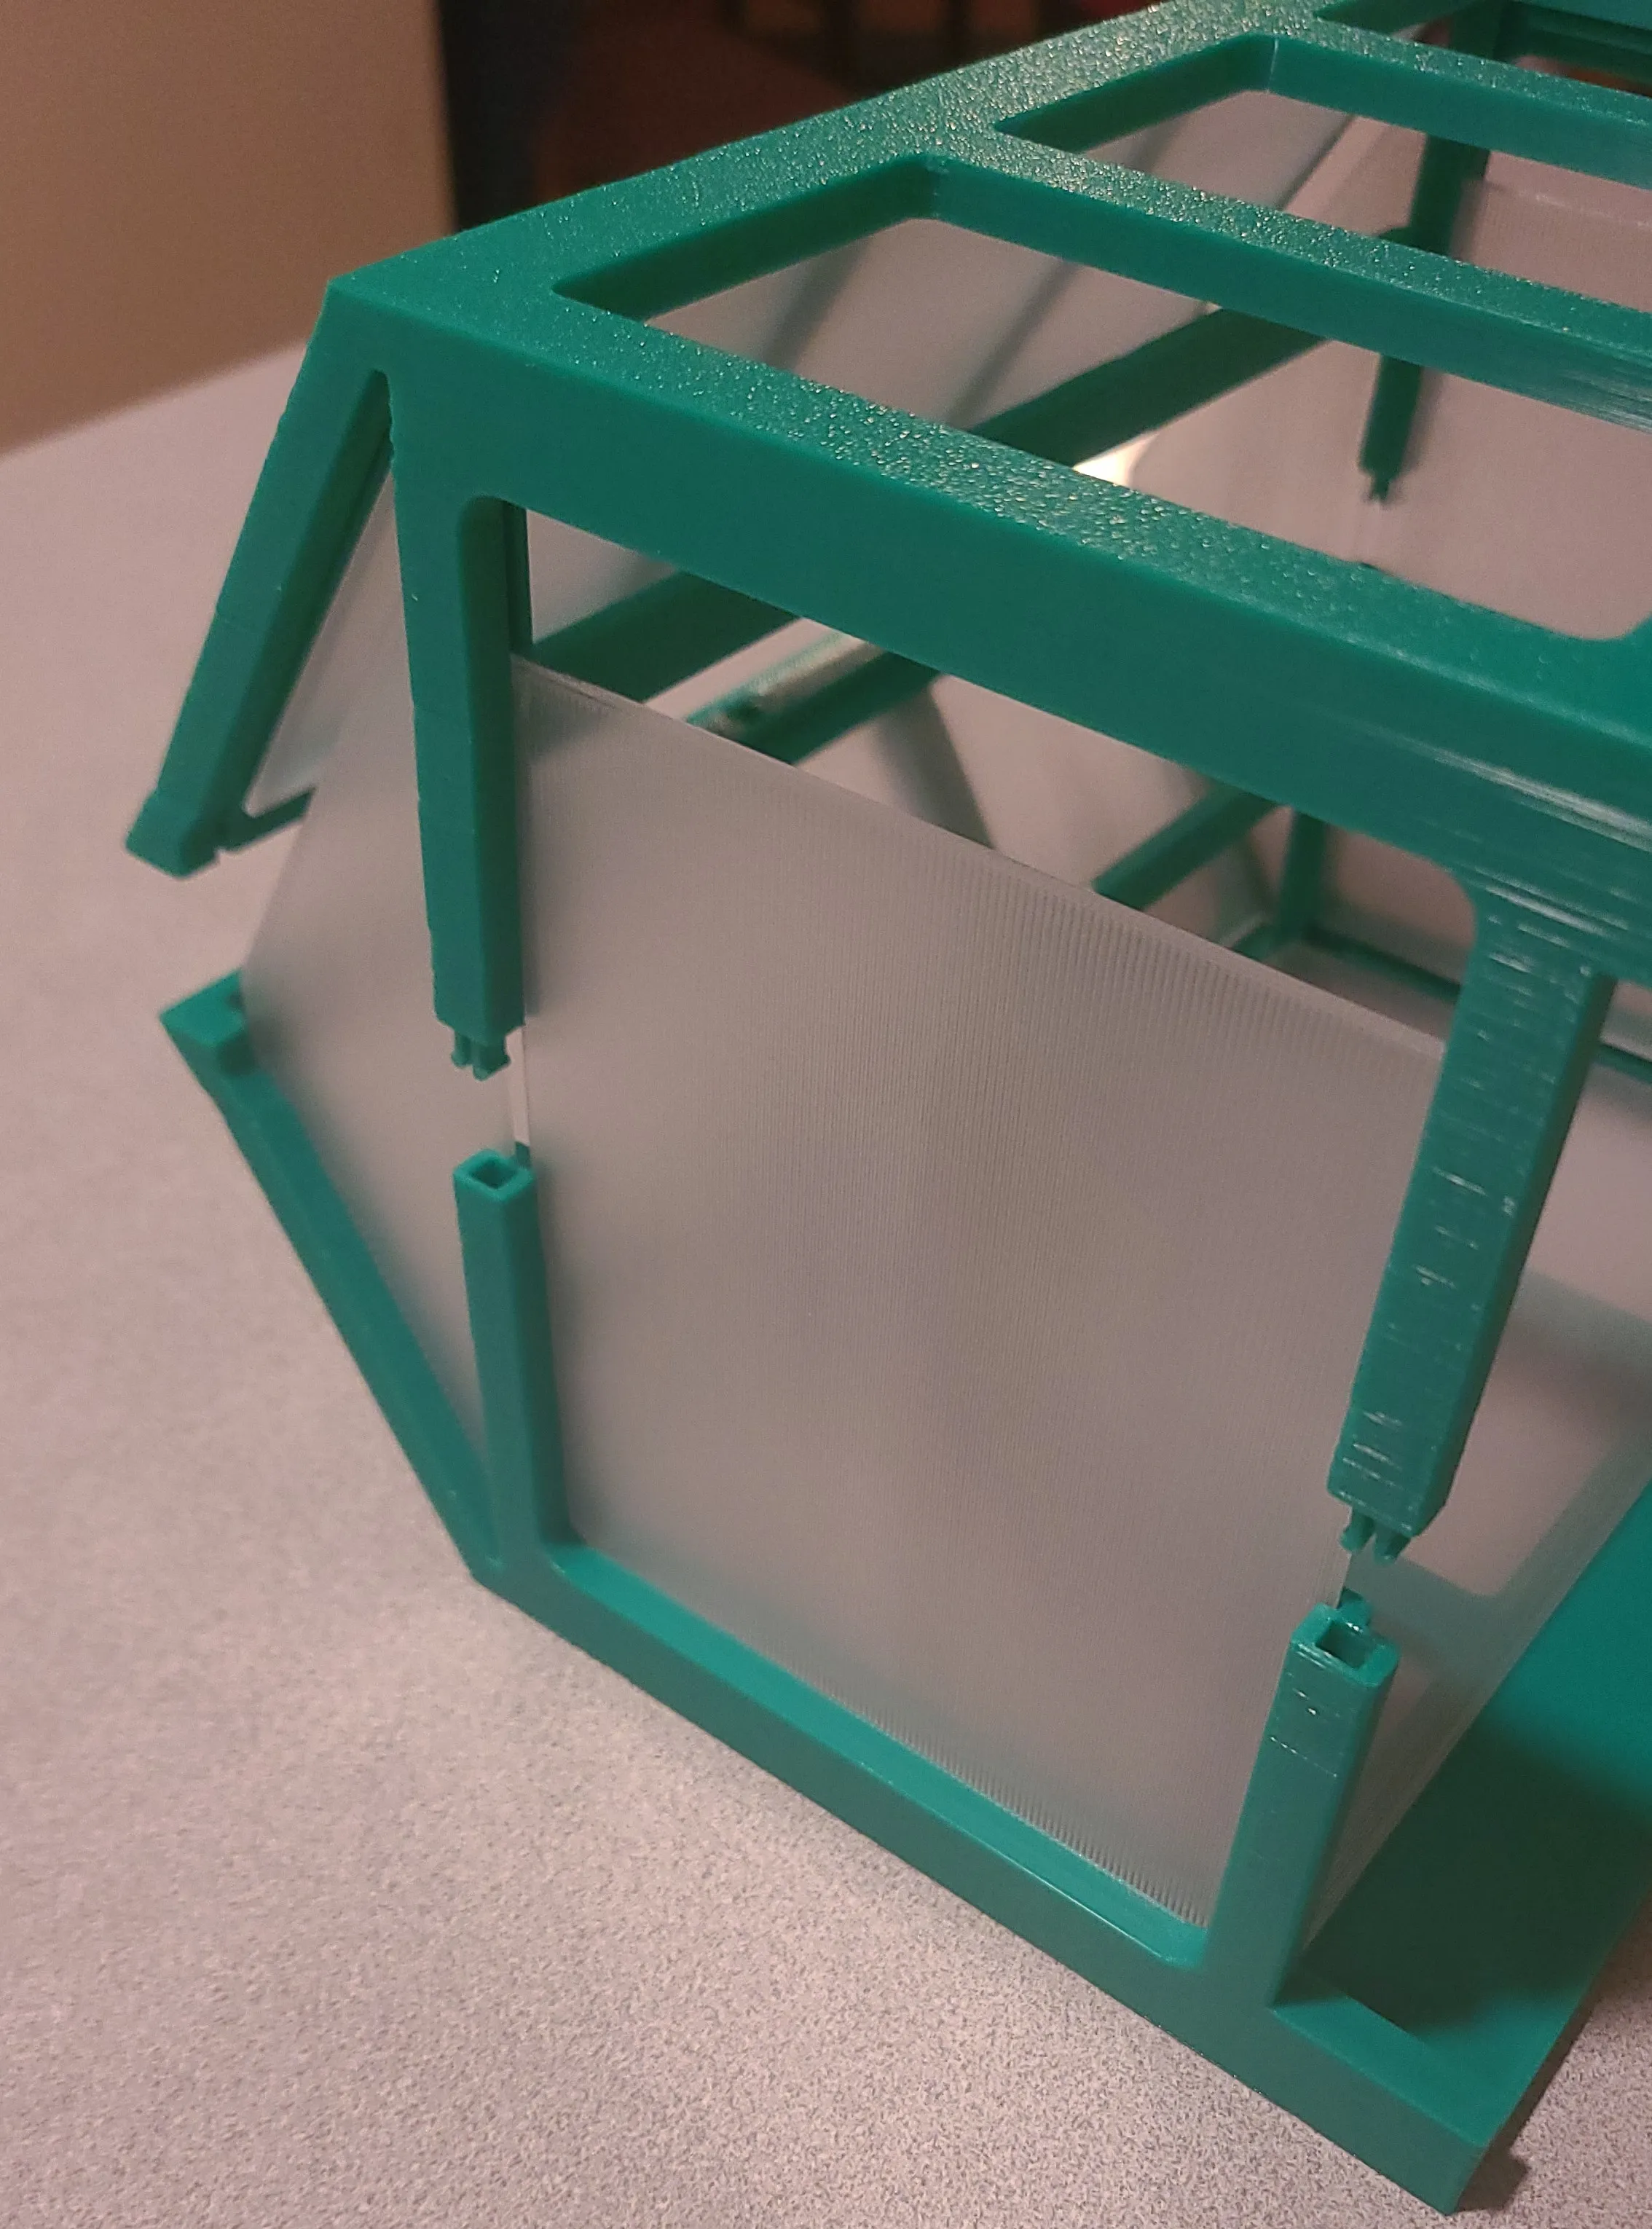
100% Snap-Fit Assembly: No glue or screws needed for assembly.
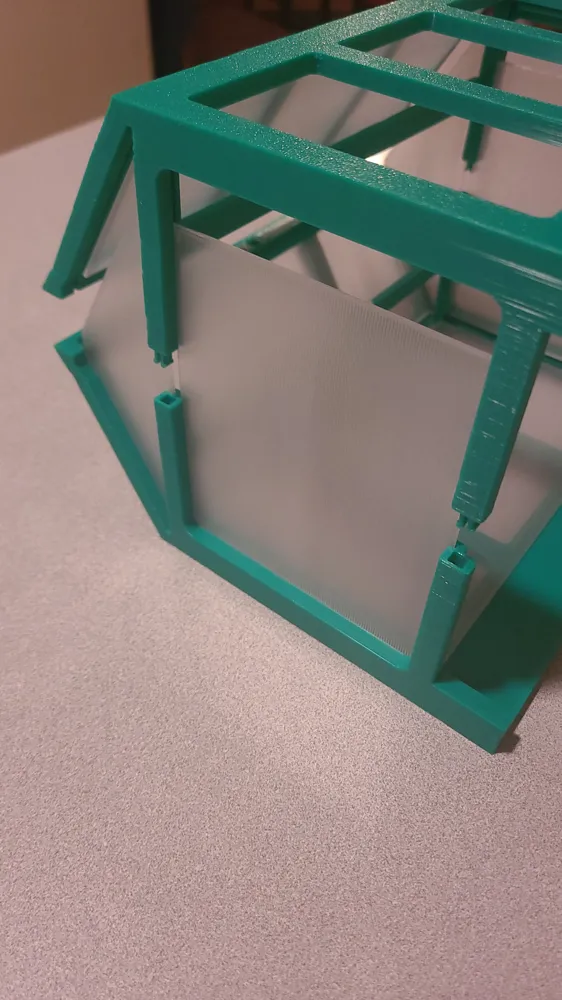
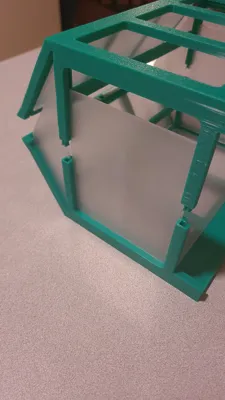
3D Printed Slide-in Windows: Two premade print profiles for either High Transparency (Much longer print time) or Low Transparency (Shorter print duration)
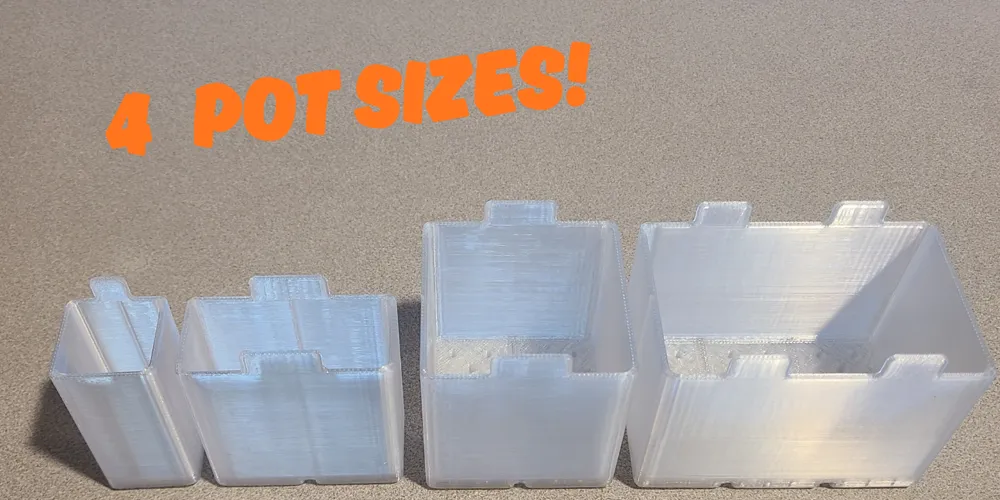
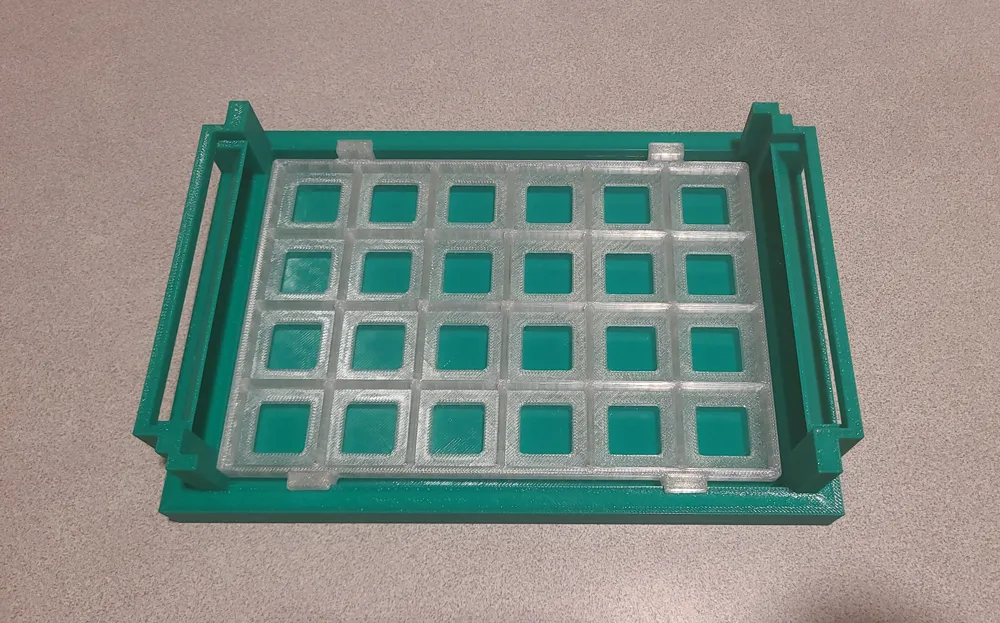
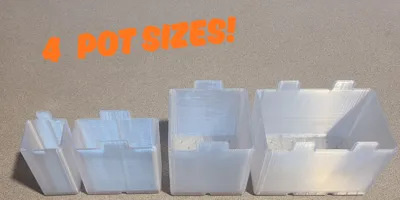
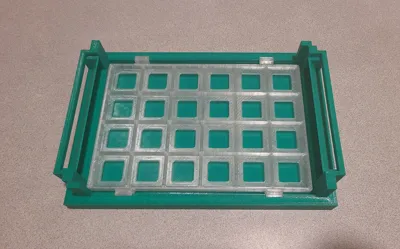
Modular Planter Box Layout: Customizable layout with pot sizes ranging from (2 X 3) (2 X 2) (1 X 2) (1 X 1) and a tray size of 6 X 4
Ventilation Control: Added a working slider tab on the base to open/close air vents.
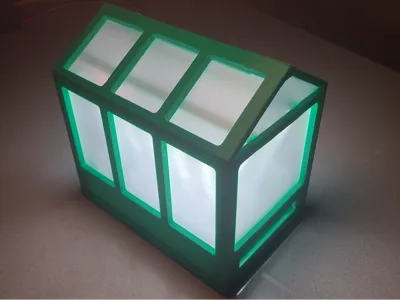
Optional LED Strip Mount for Additional Plant Growth: Added two led bars at the top (May require basic soldering skills and spare wire depending on the layout)
*** Printing Instructions ***
Material: Due to PLA material's lower heat and uv endurance, it will warp in direct sunlight and become brittle much faster. Therefore it's recommended to print the model with PETG or stronger materials like ABS and ASA
Additionally, please make sure you print the high transparency windows profile with the smooth PEI plate for best results and ensure your printer is calibrated before printing. There are a lot of features in this design that use tight tolerances.
The windows need to be printed out of Clear PETG for them to function properly.
*** Skip this if using the print profile ***
Support:
Enable tree supports (auto) for the greenhouse cover and base
Enable Normal supports with snug style (auto) for the modular planter box tray or drain tray.
Threshold angle 35°
On build plate only is checked
Remove small overhangs is checked
Brims:
5mm brim for all connectors and window spring
Parts needed for greenhouse structure:
Print 1x base and 2x greenhouse covers, the four long + three short connectors, the two vent latches (one with holes for LED wiring if using LED Illumination, otherwise print the one without holes twice) and optionally the roof louver for slight improvement of water proofing. You can print either the drain tray if wanting to use your own pots or the modular planter tray which supports the pots included in the print profile.
The high transparency windows allow for more light to enter the greenhouse with the cost of a much longer print duration. Its important you use the smooth PEI plate when printing the high transparency profile, as the textured plate makes the windows hazy.
The low transparency windows let less light into the greenhouse but prints much faster than the high transparency profile. Either a textured PEI or smooth PEI plate can be used for this profile.
(An image of both profiles for the window will be uploaded to display the result.)
(Optional)
********** LED Strip Installation Guide **********
Continue as is if you prefer to have LED Lighting installed, otherwise skip past this section to the cover assembly.
Start with measuring the length of the strip and performing a cut at the nearest exposed pad and LED
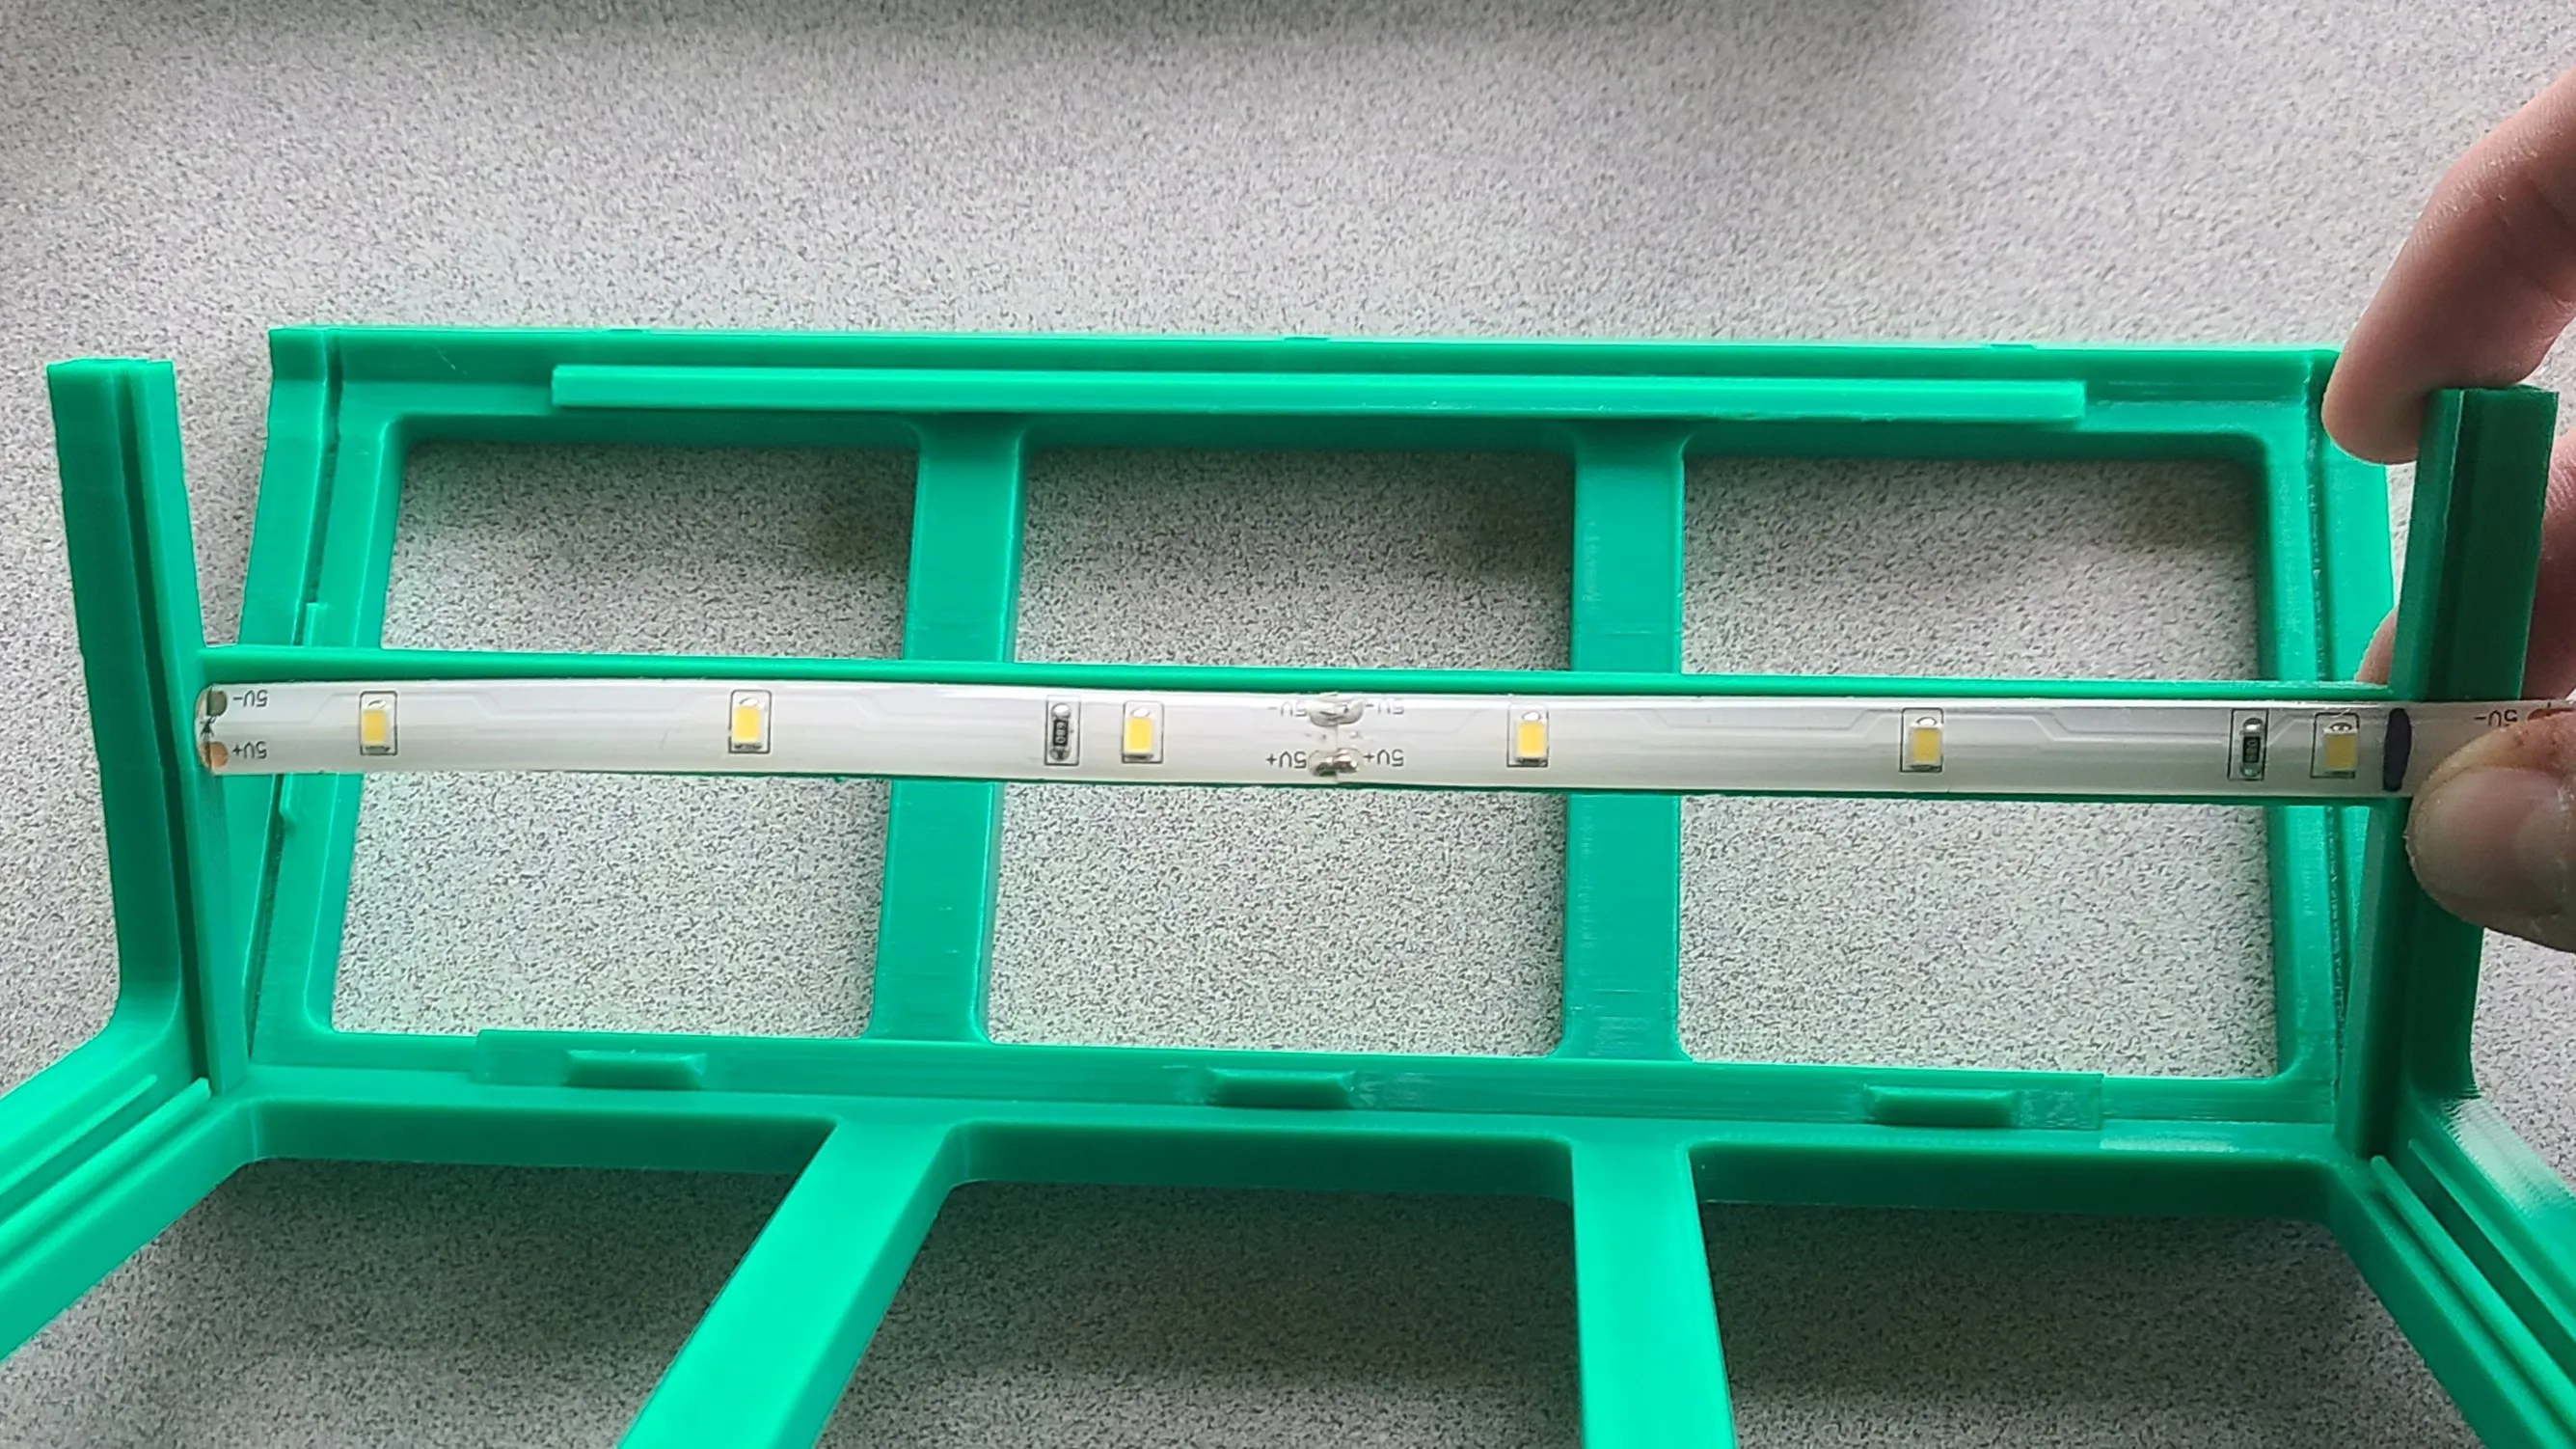
Then solder some wires to the corresponding pads, ensuring they stick out vertically, not horizontally ( The wires need to be a decent length as they will be routed out the vent later )
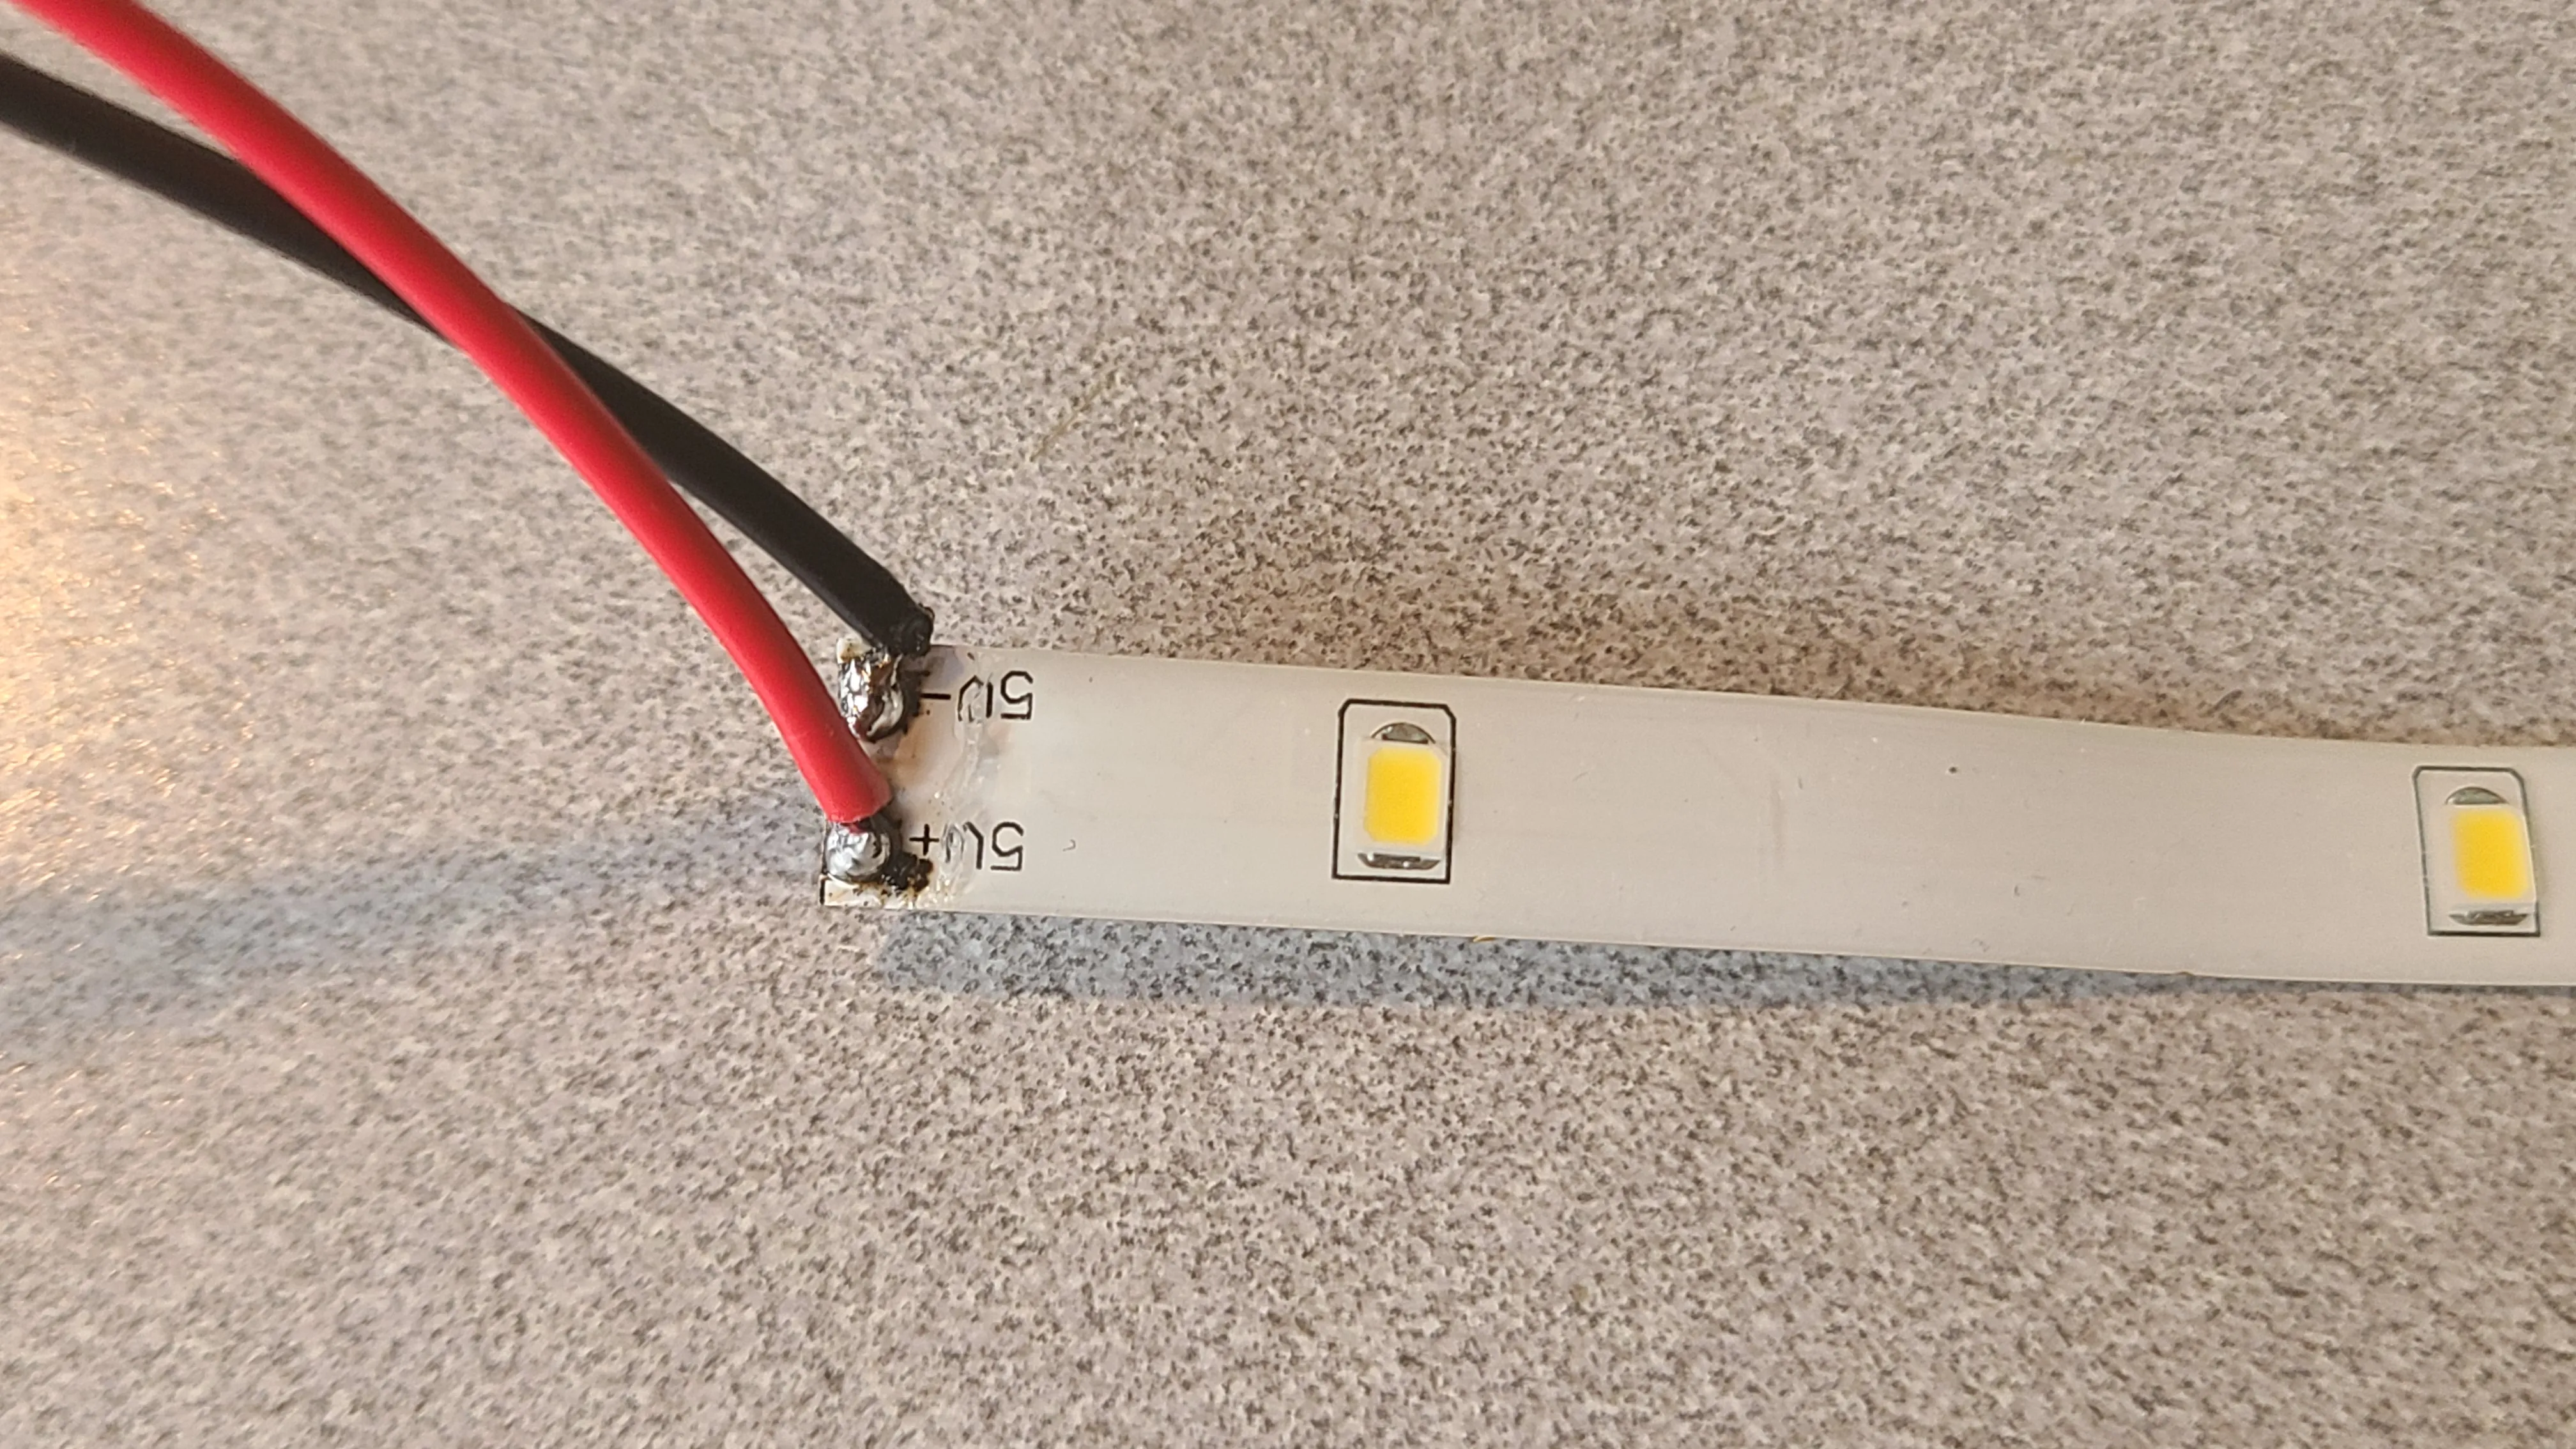
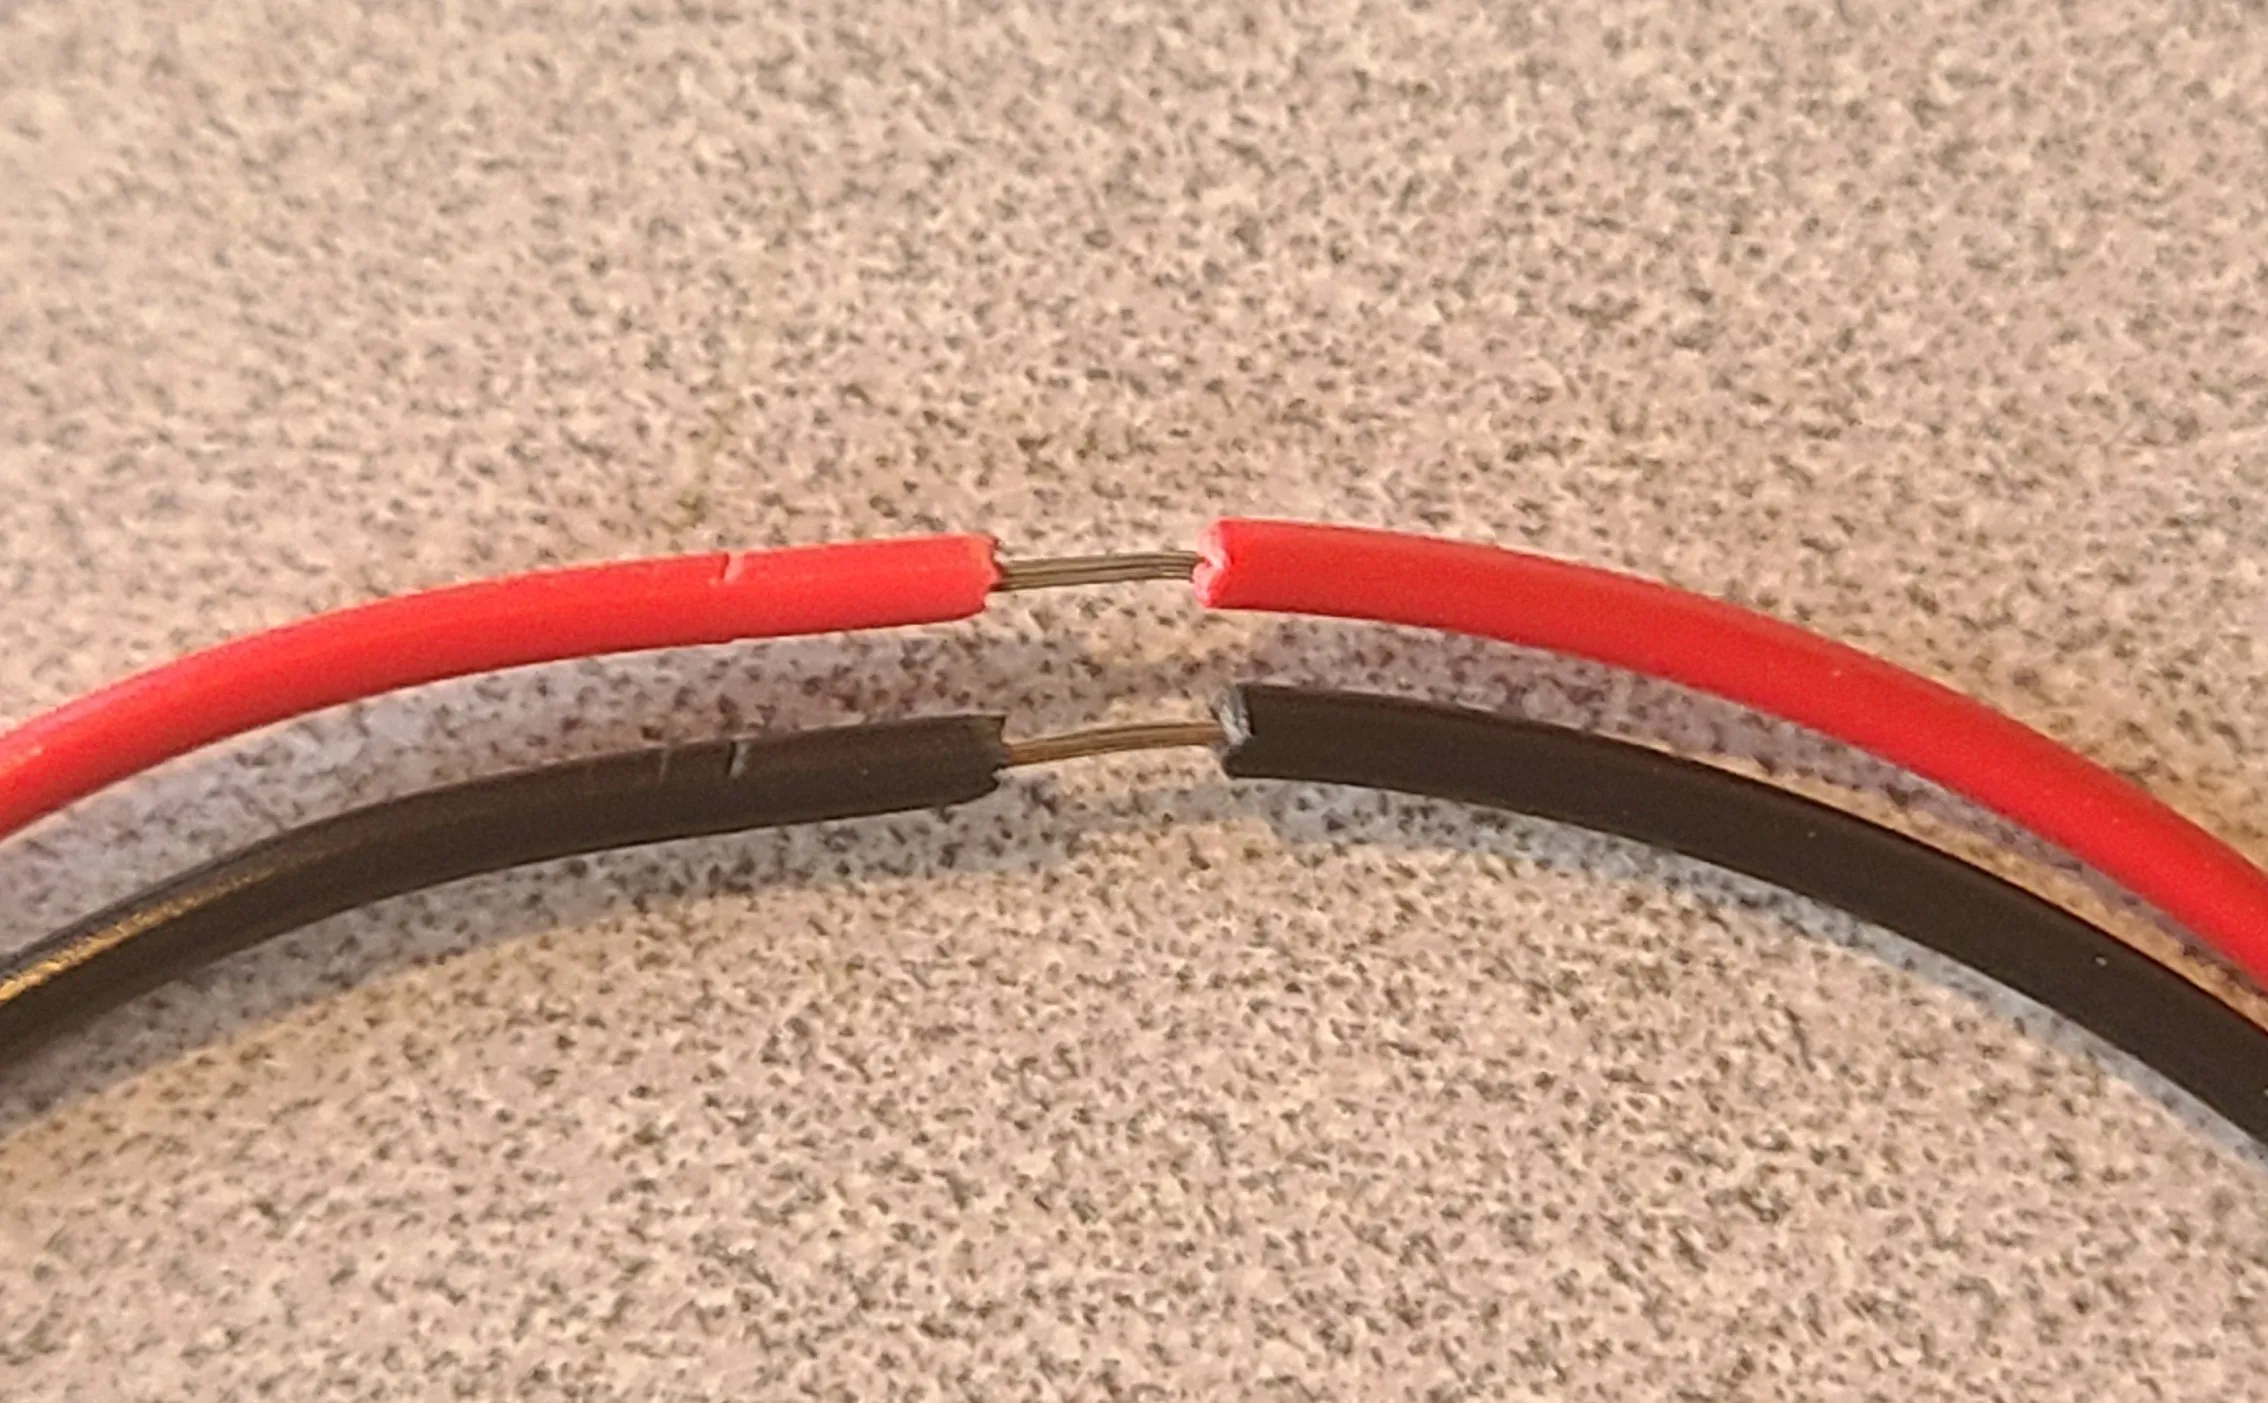
Split the wire about 15cm from the solder joint and solder the exposed copper to the second strip. (Any shorter may restrict you from being able to separate the two cover halves.)
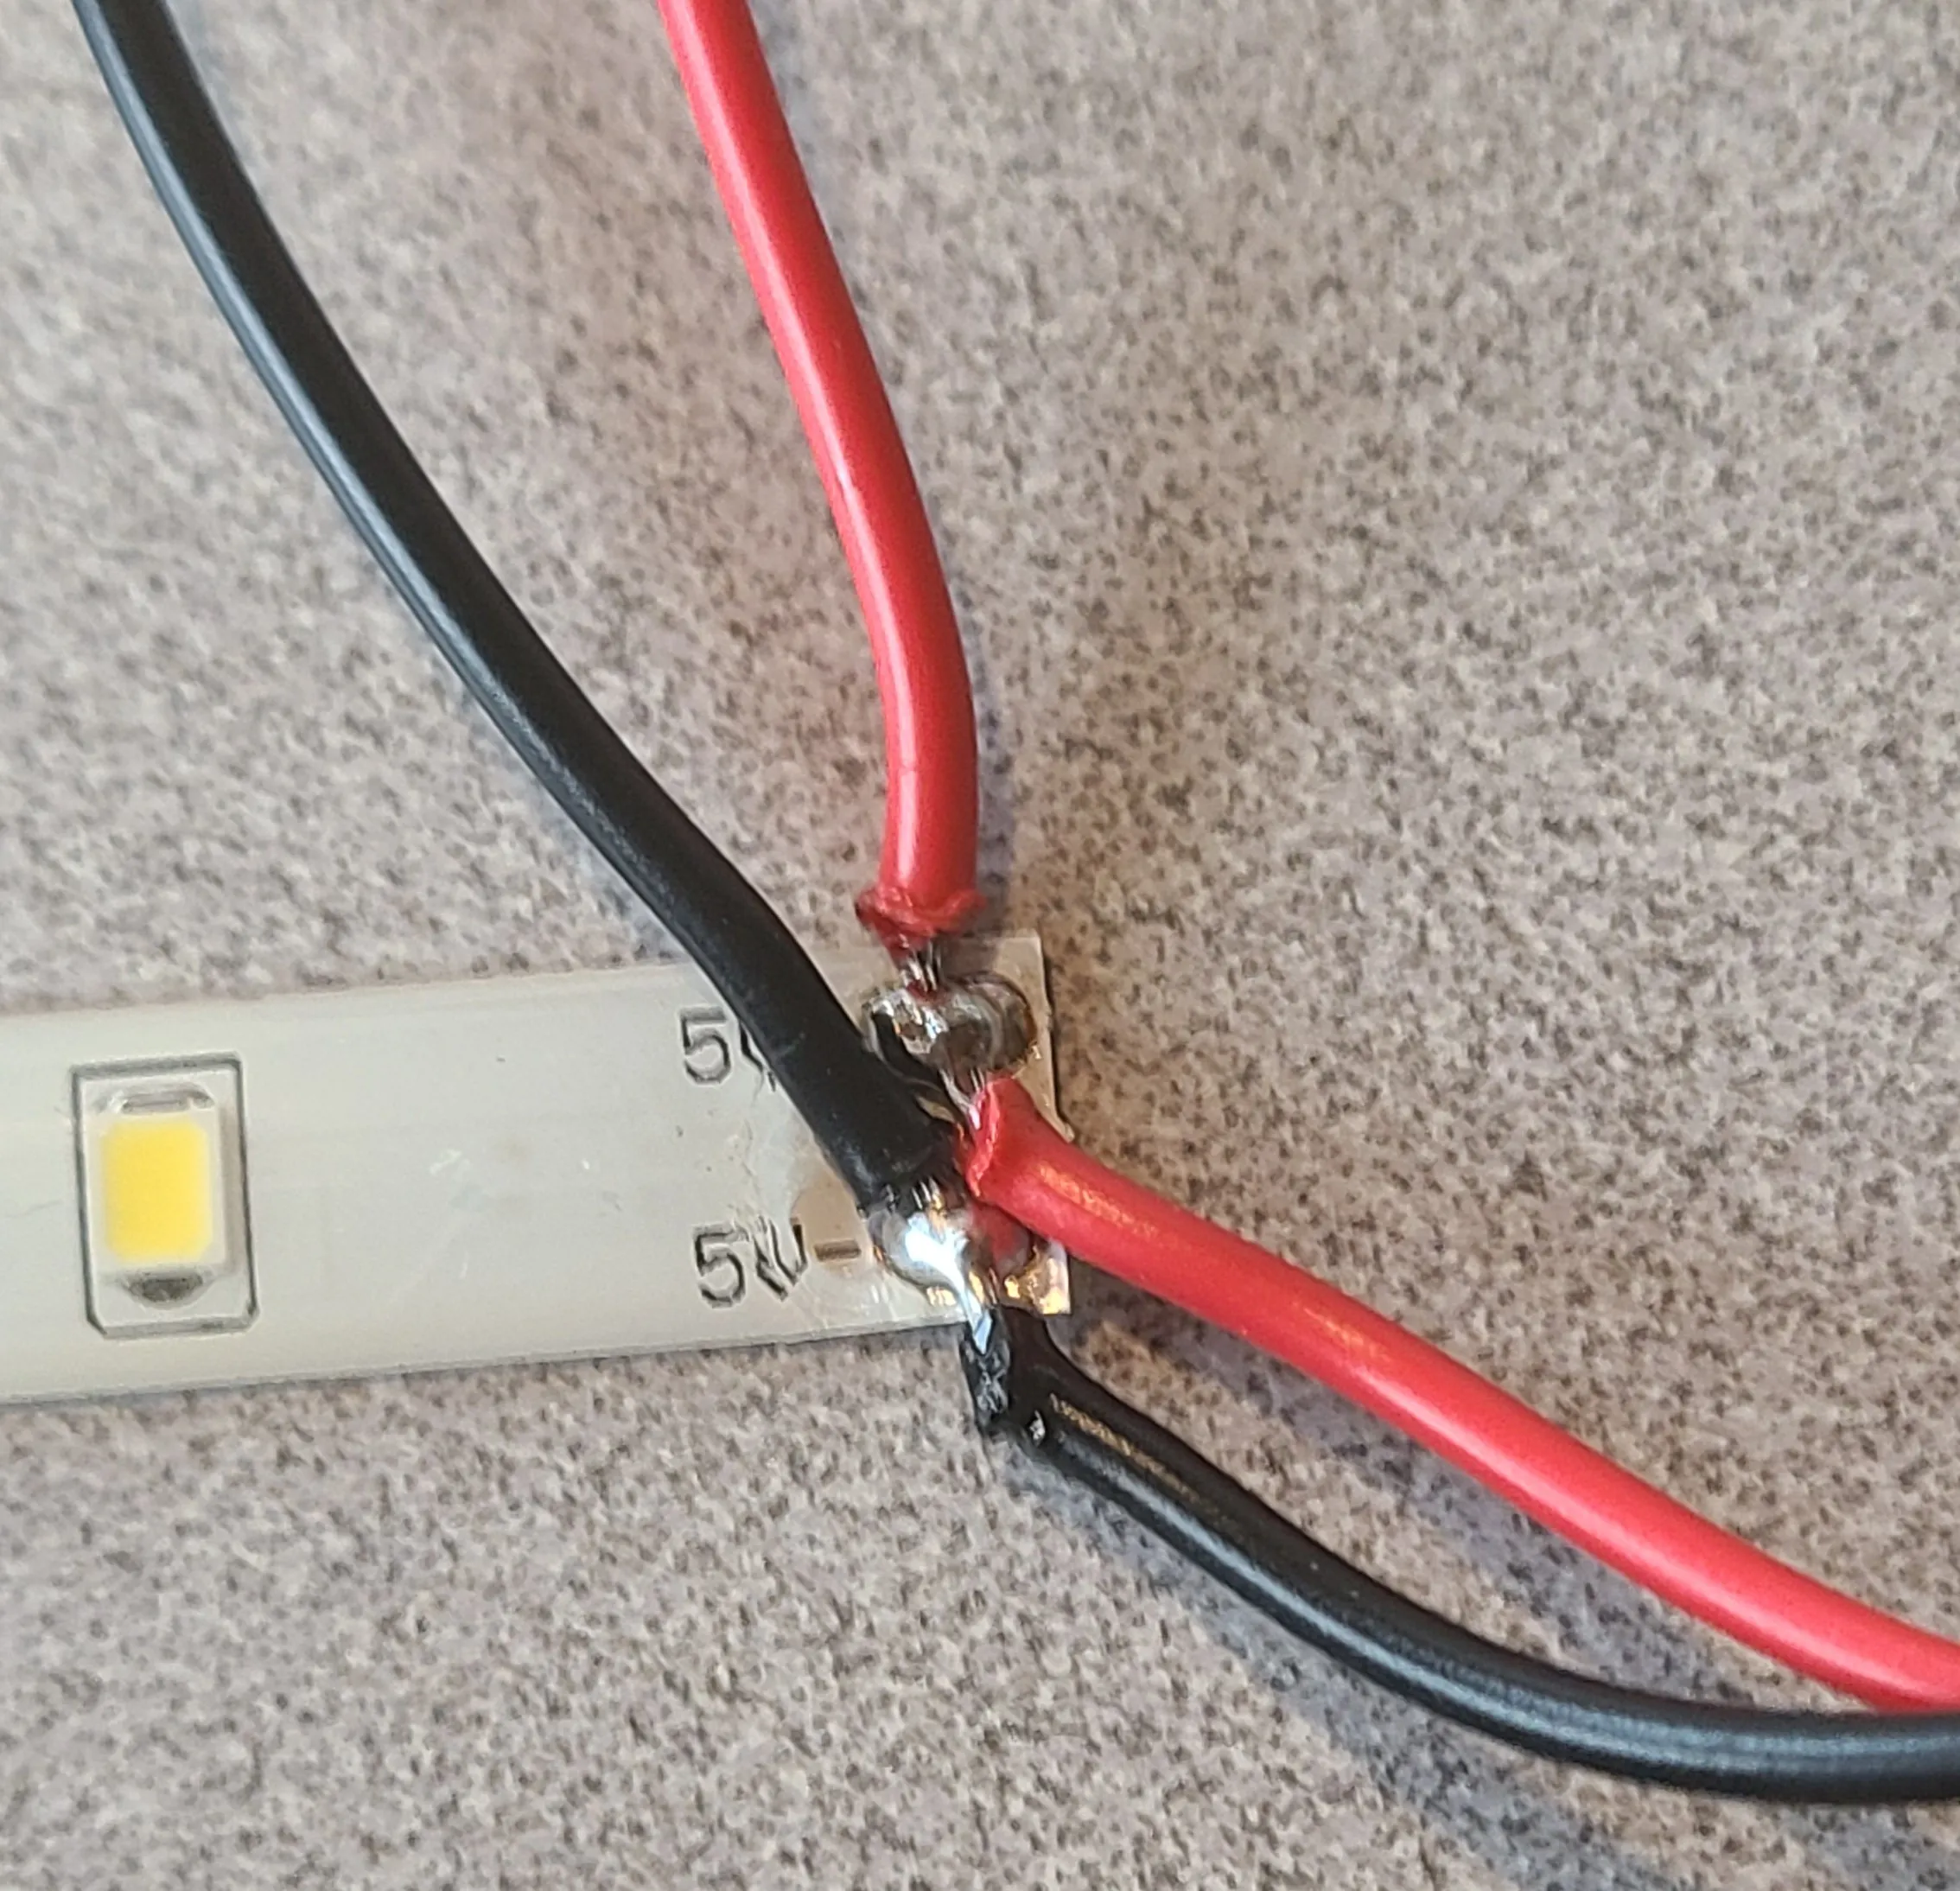
Peel Back the adhesive strip and mount onto the greenhouse. Your setup should look something like this.
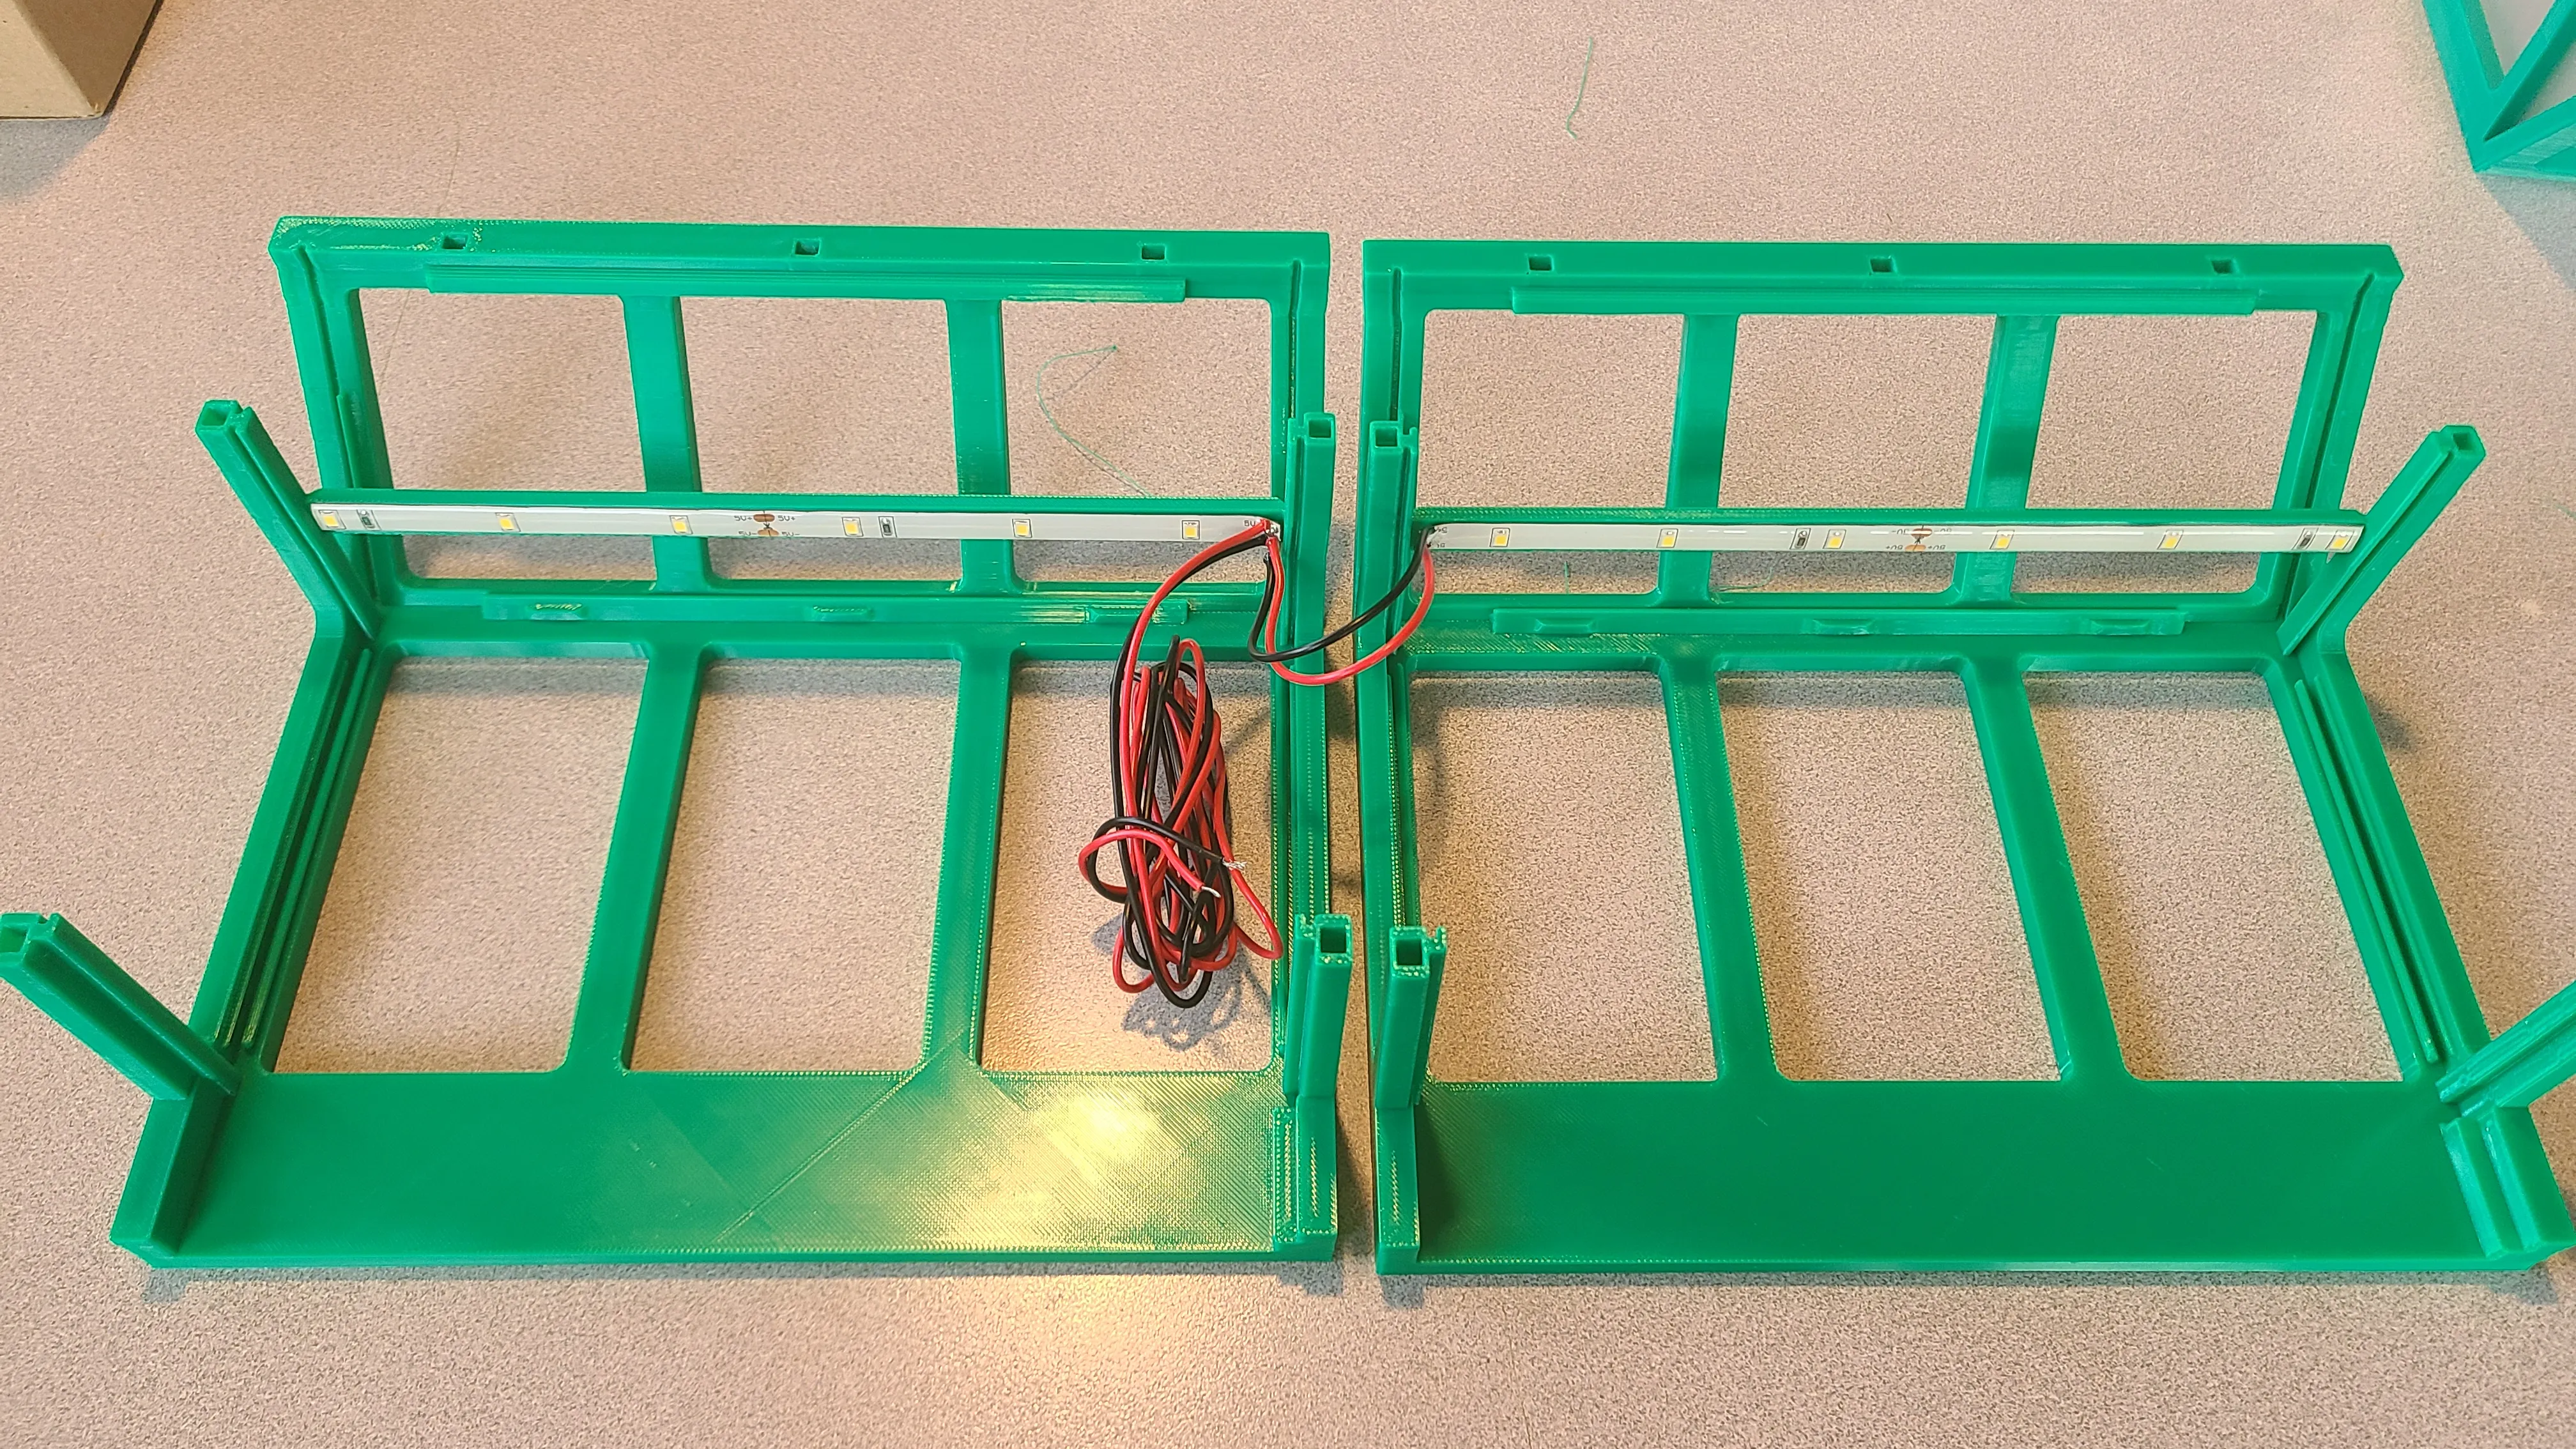
Route the wire to the closest vent and power your strips with its designed voltage to test.
After verifying strips function properly, continue the assembly process.
********* ASSEMBLY INSTRUCTIONS OF COVER *********
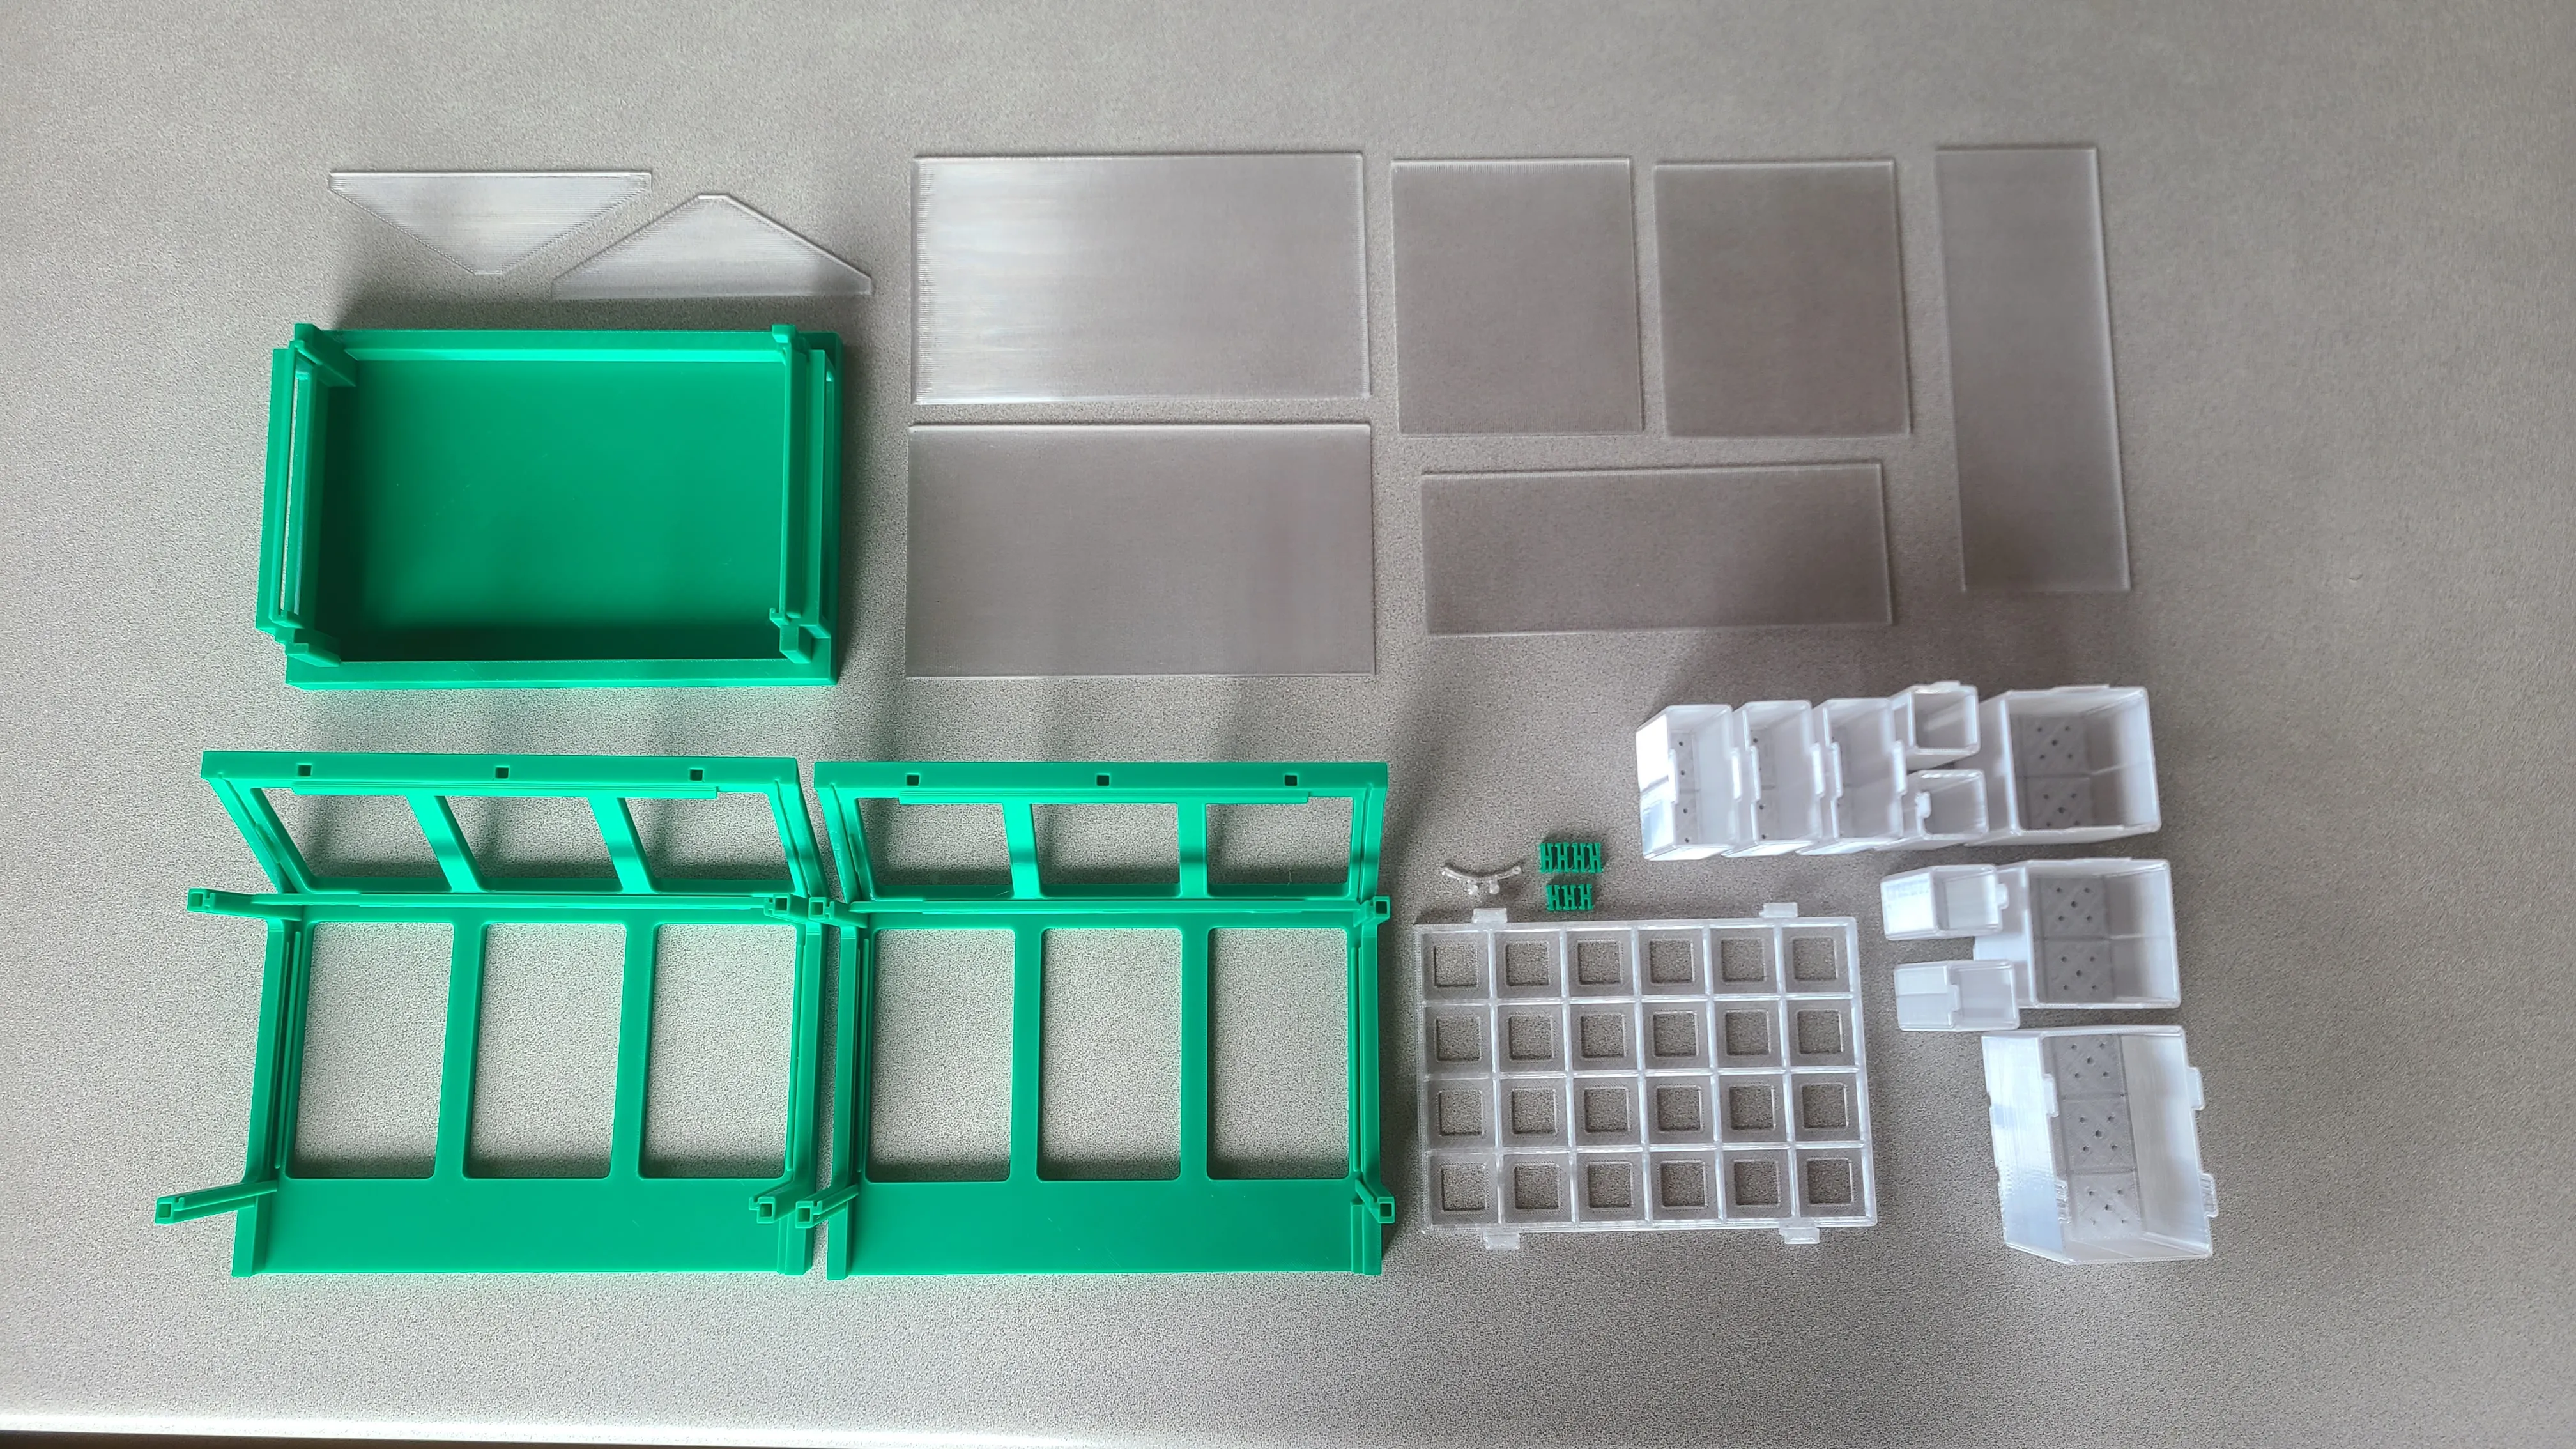
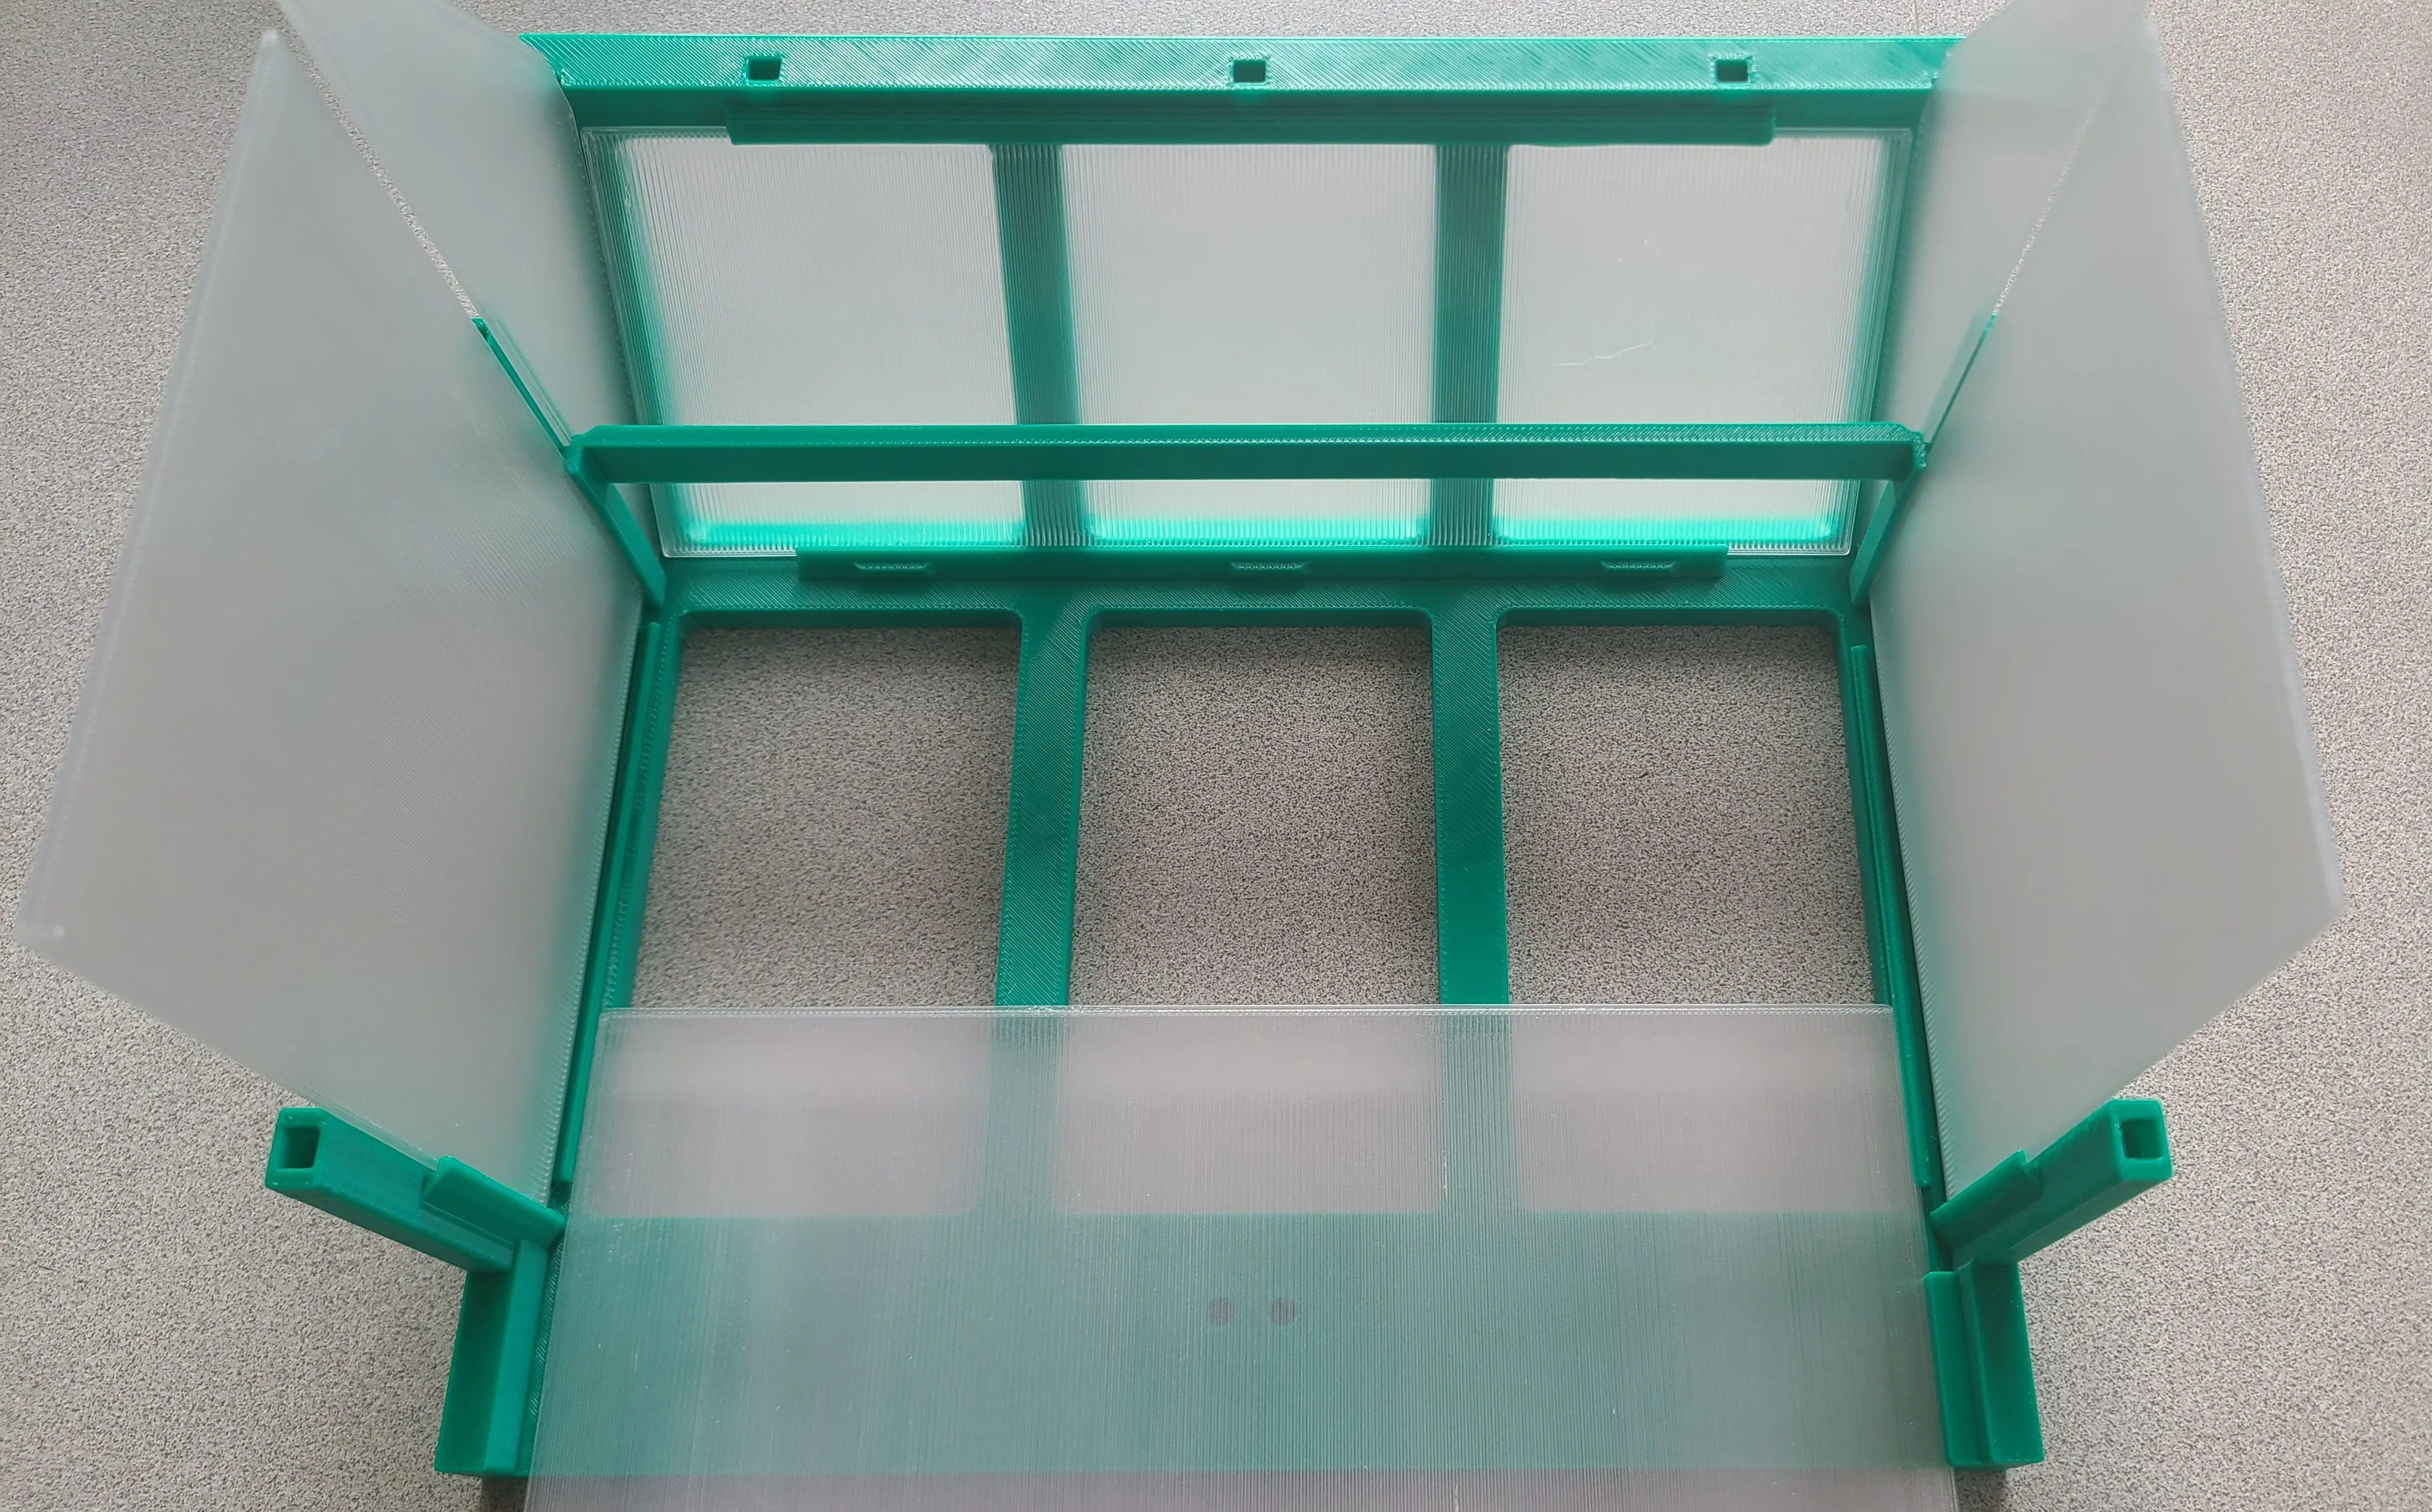
All parts needed to assemble V2 of the Greenhouse
( Planter Box sizes and amount are optional )
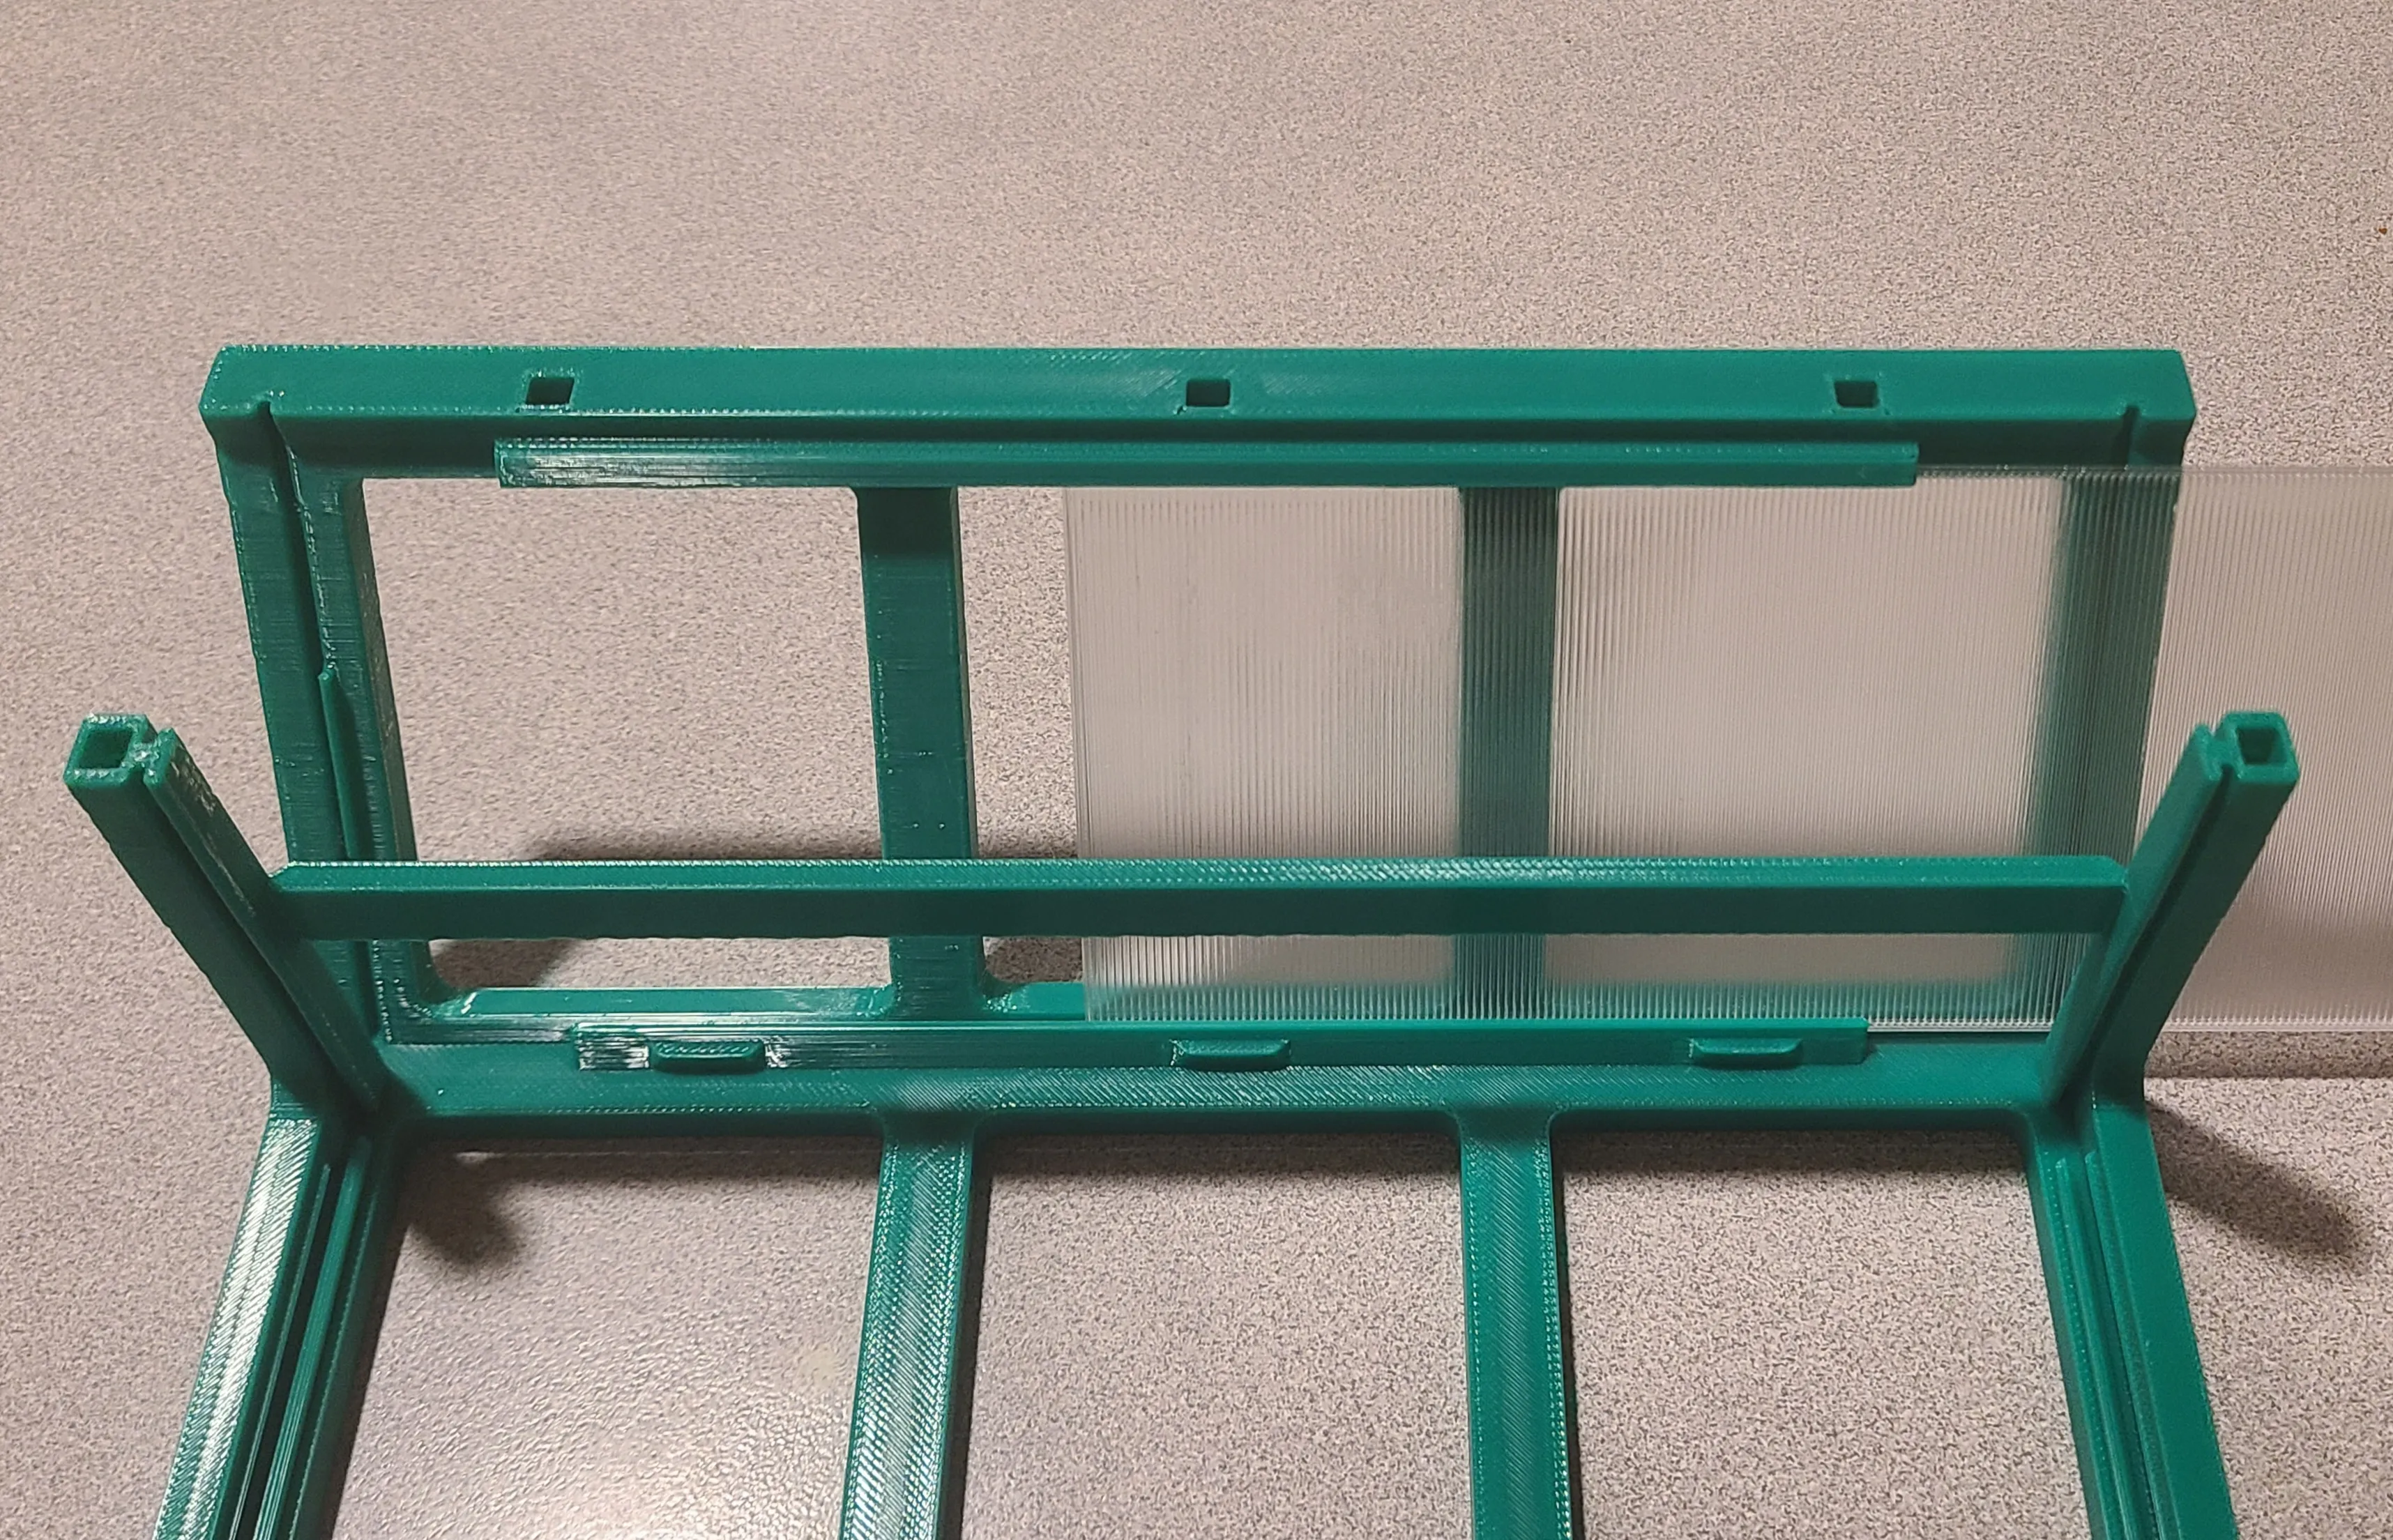
Start with inserting both the top panels on both cover halves
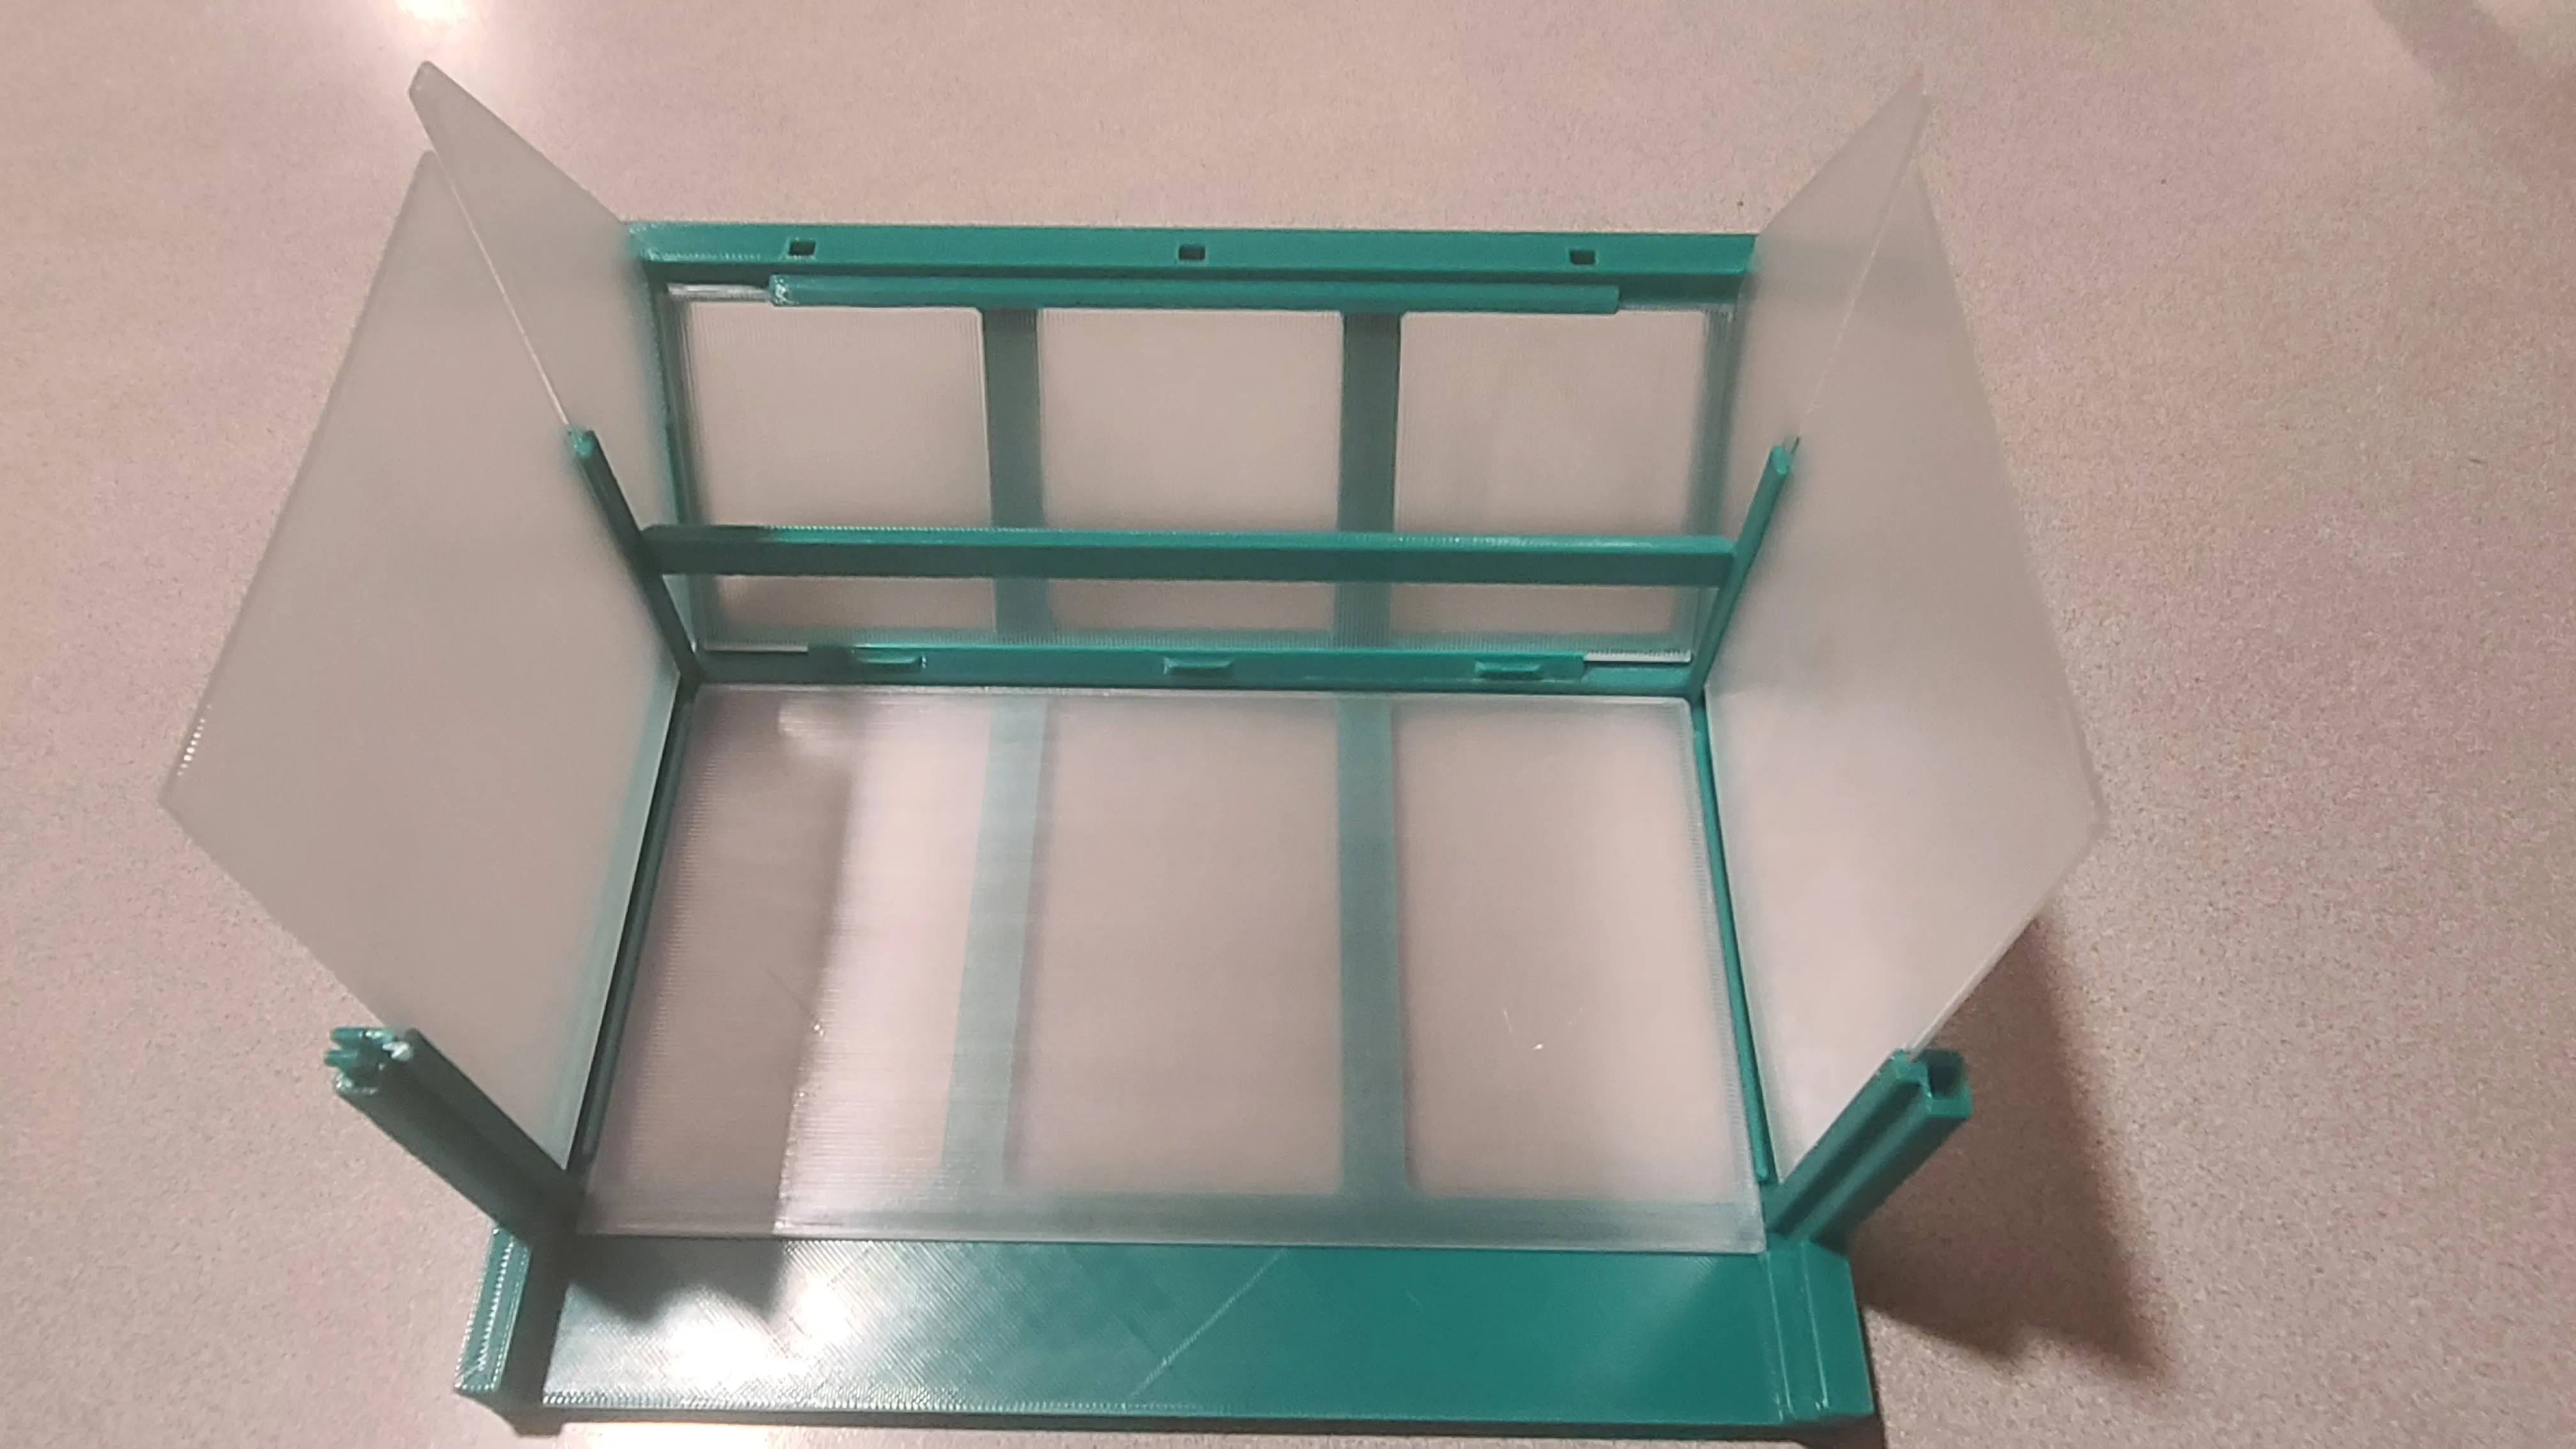
Then insert both triangle windows and both short side windows on one of the covers
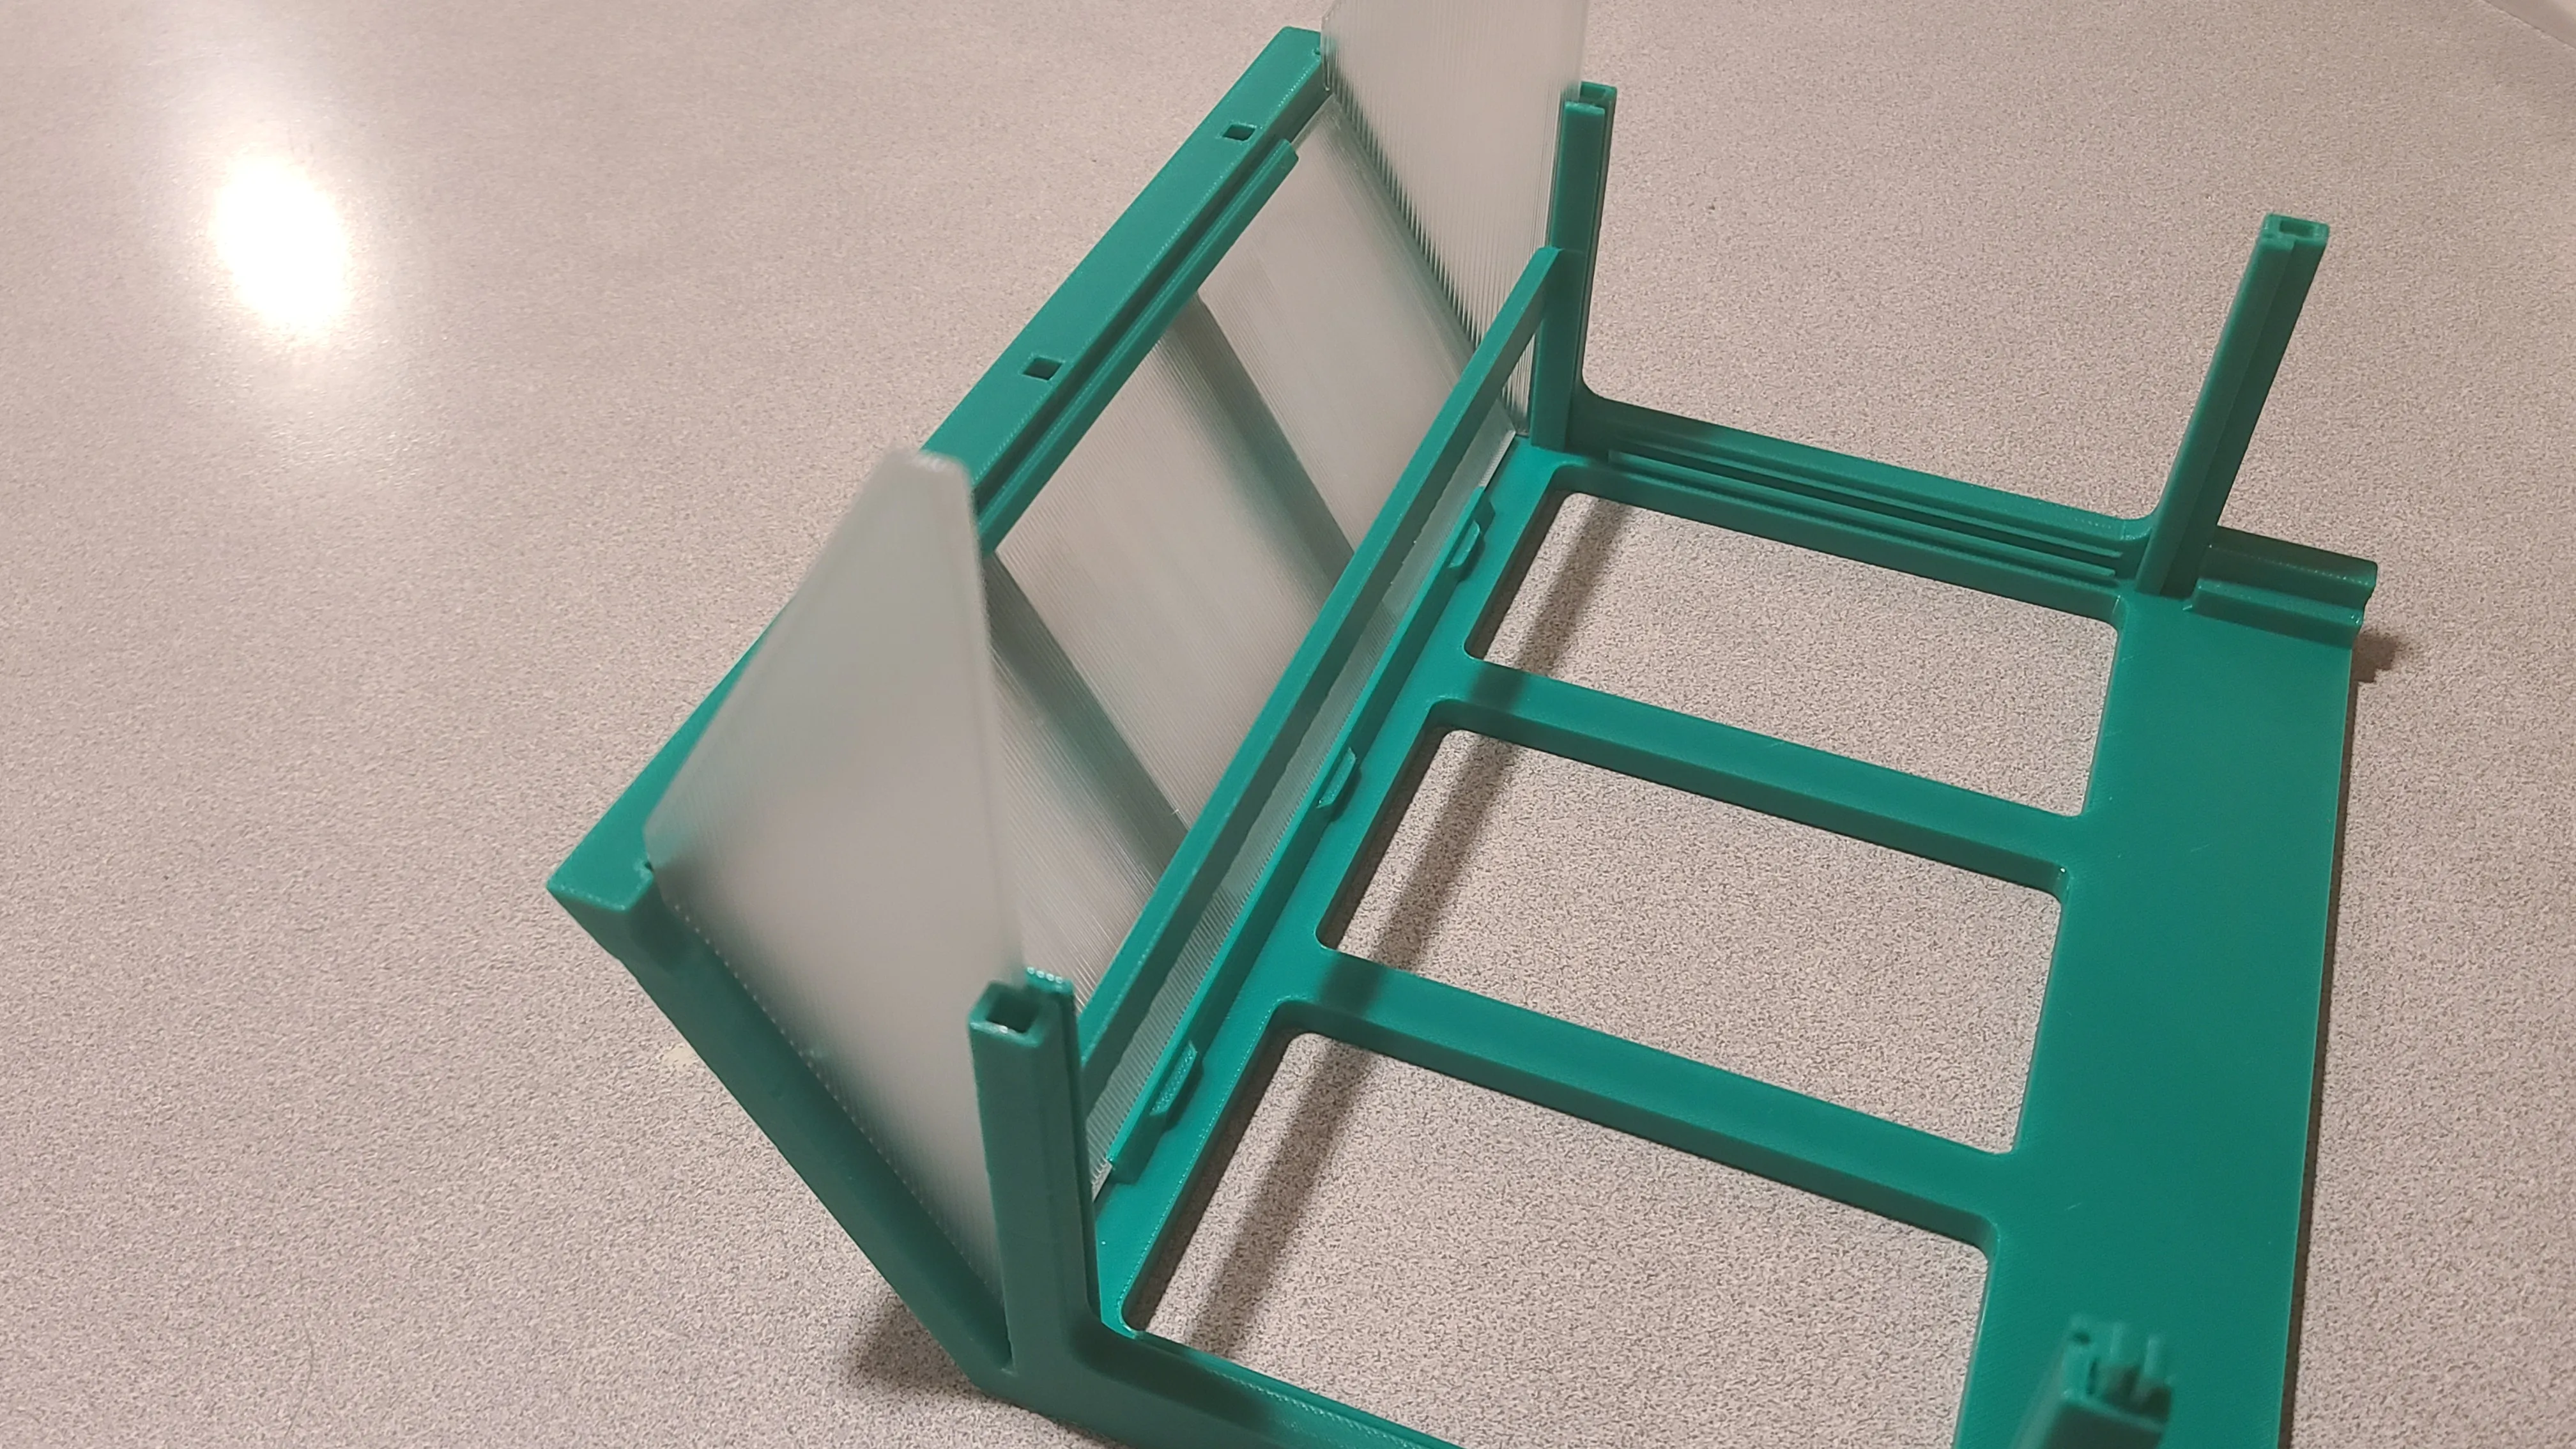
Then slide in the main window from the bottom and install the spring if the window is loose
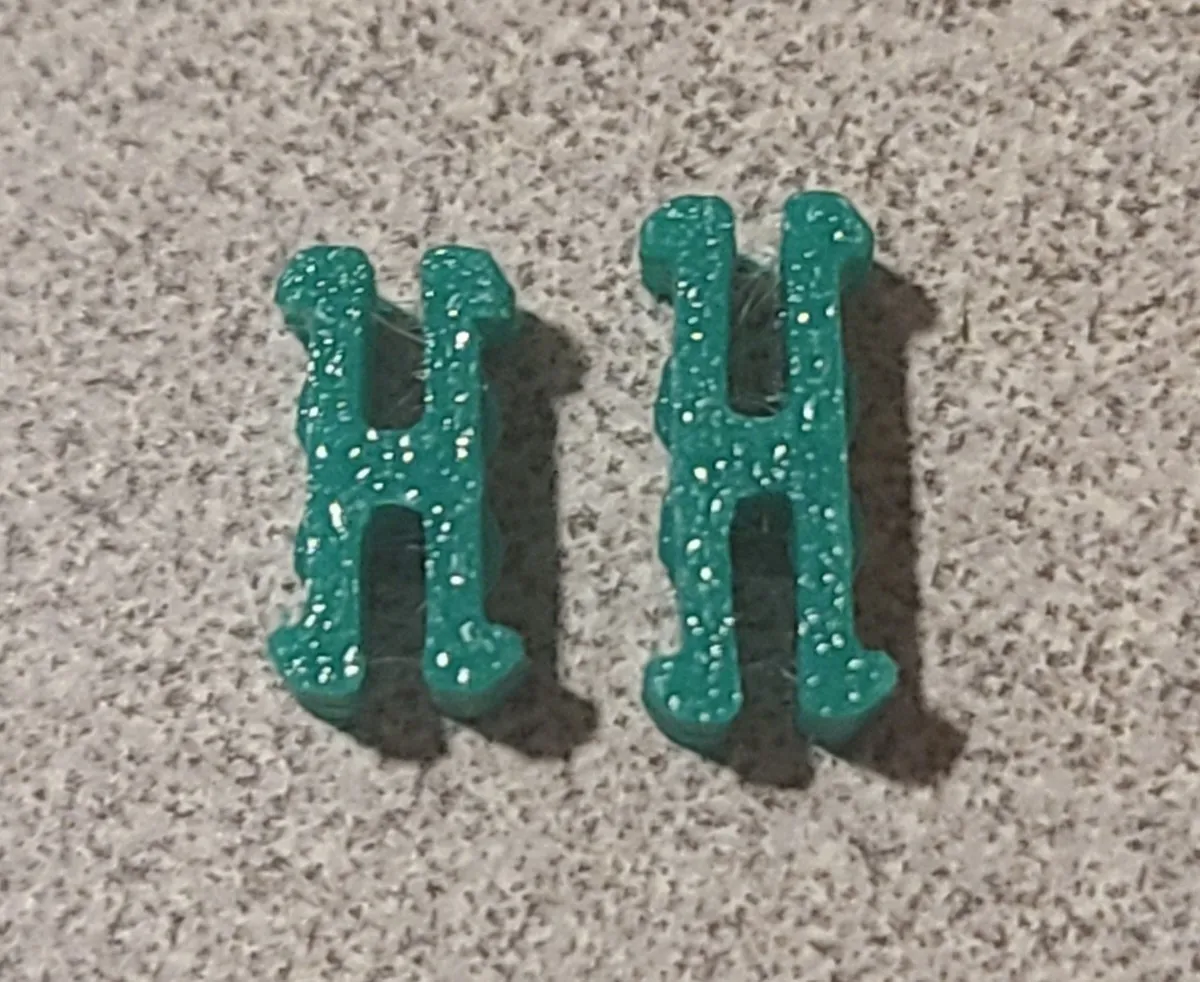
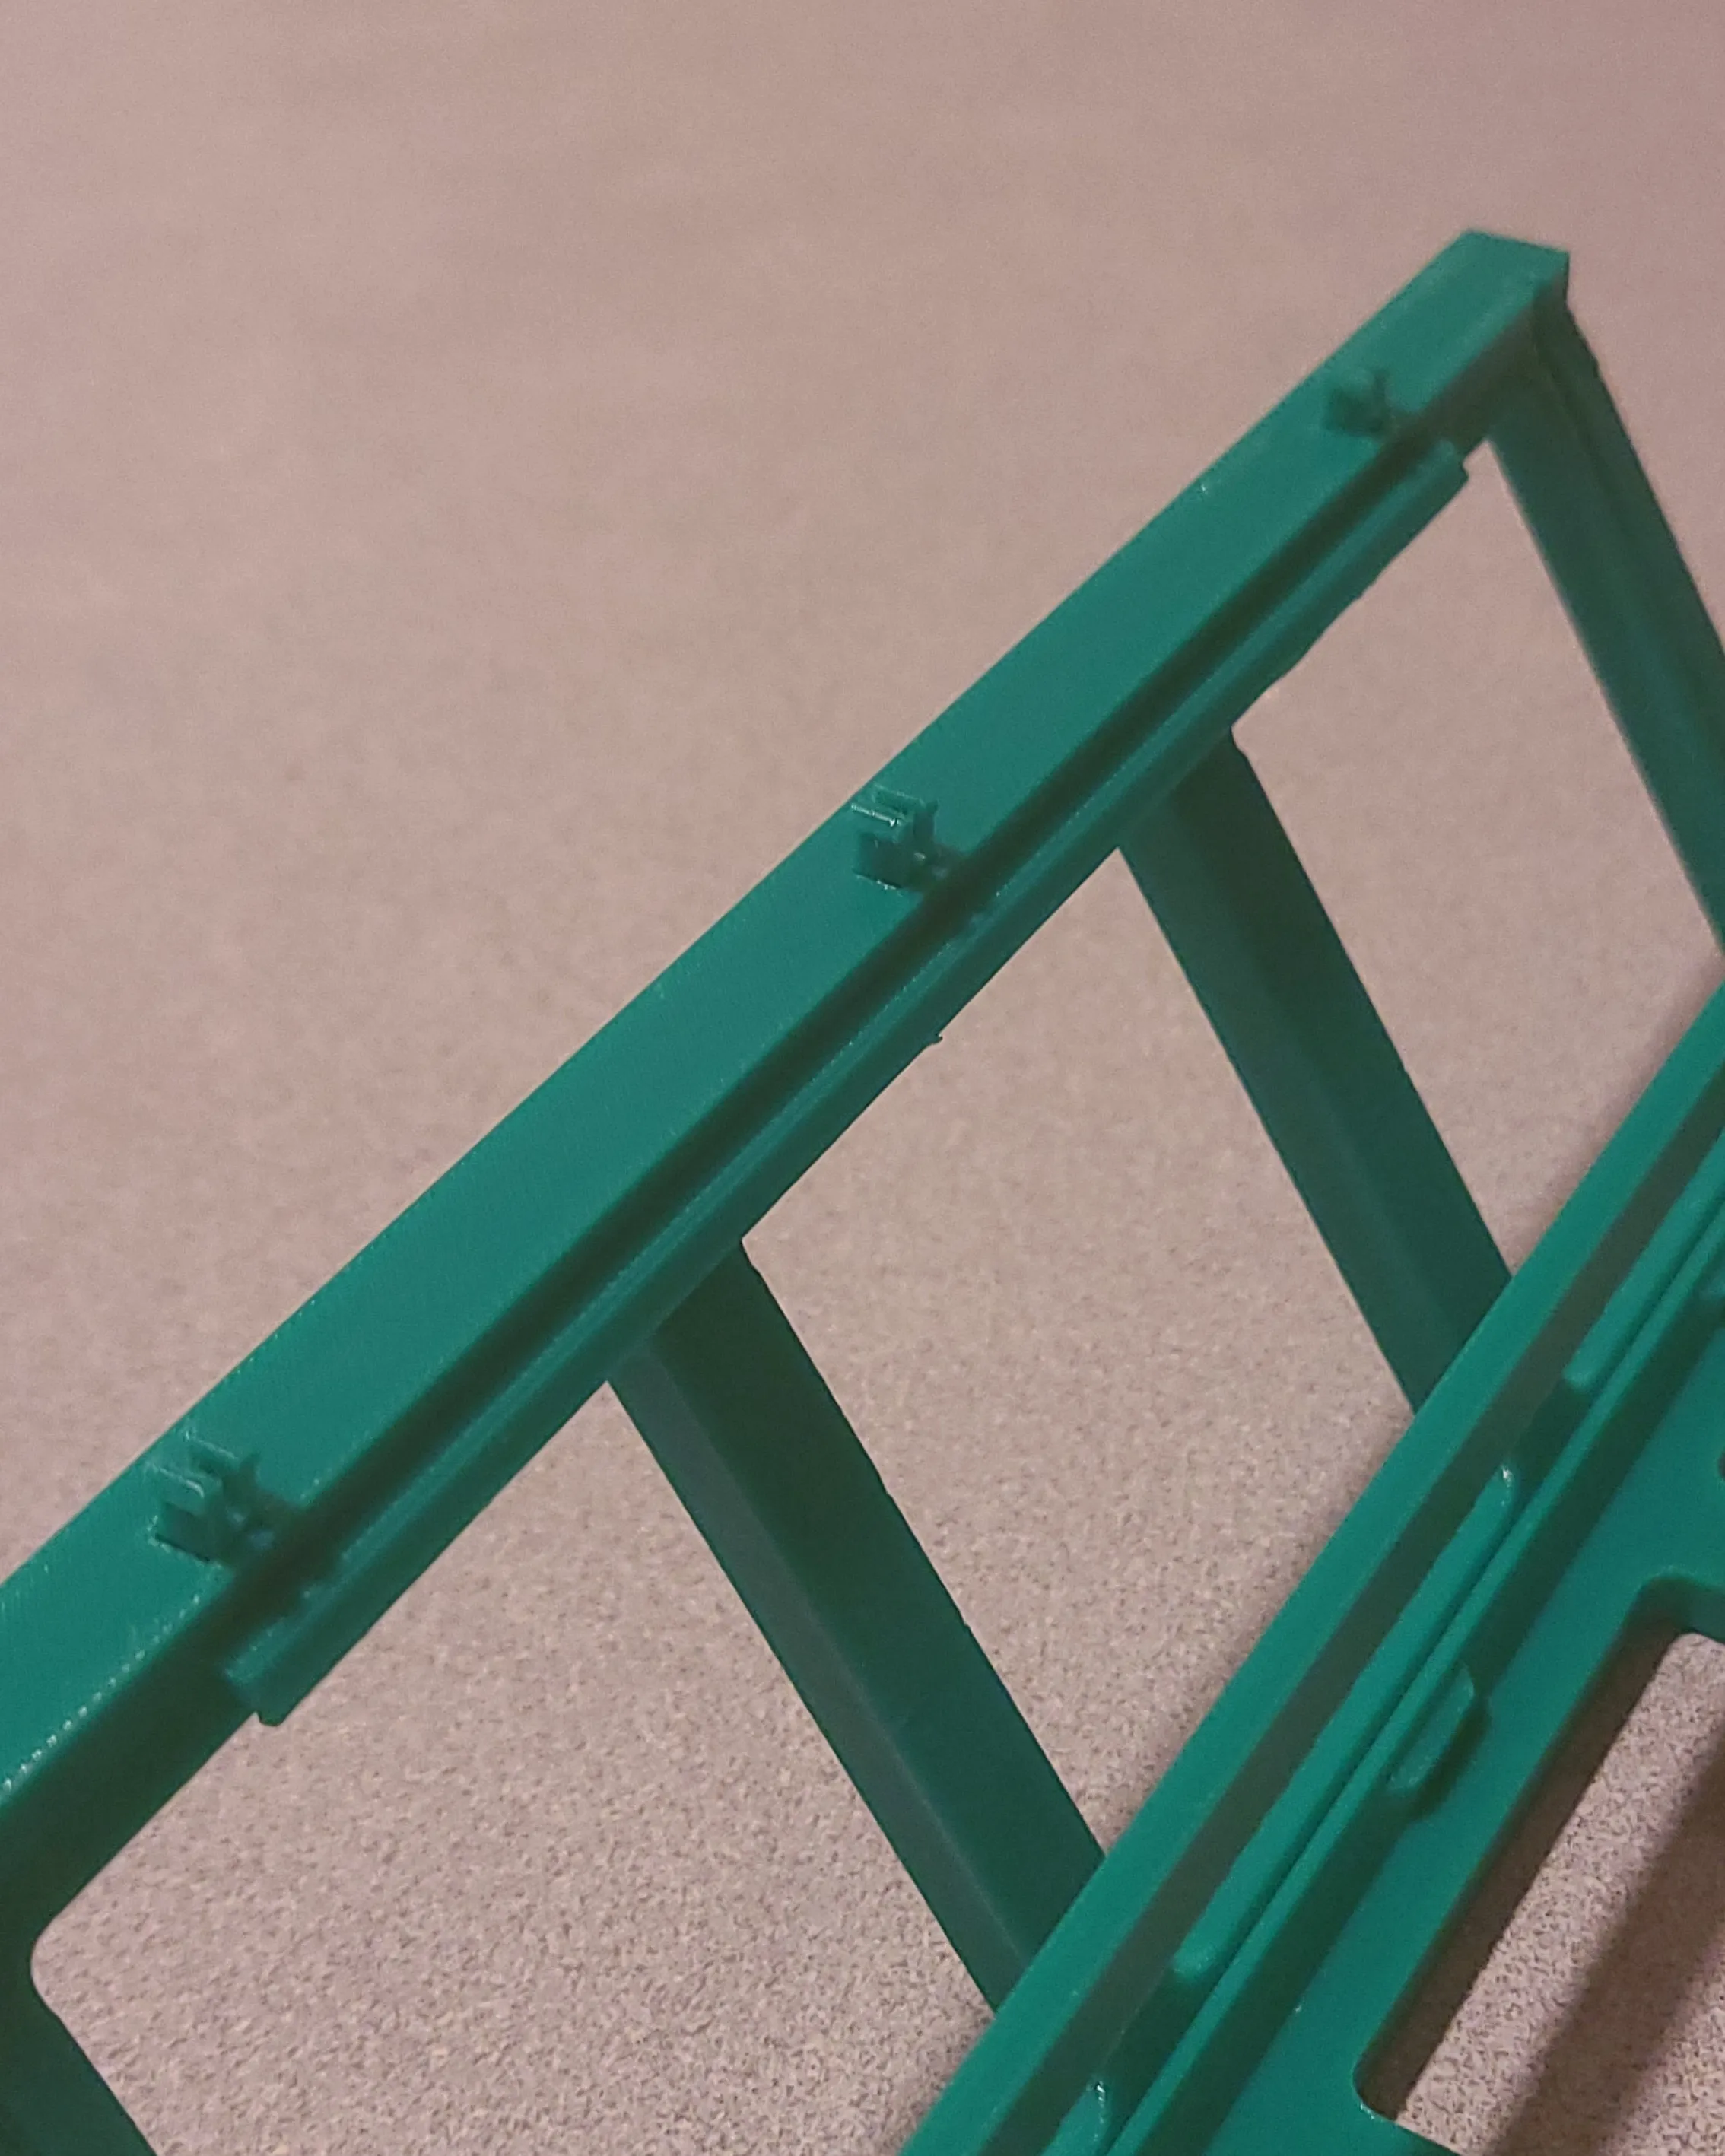
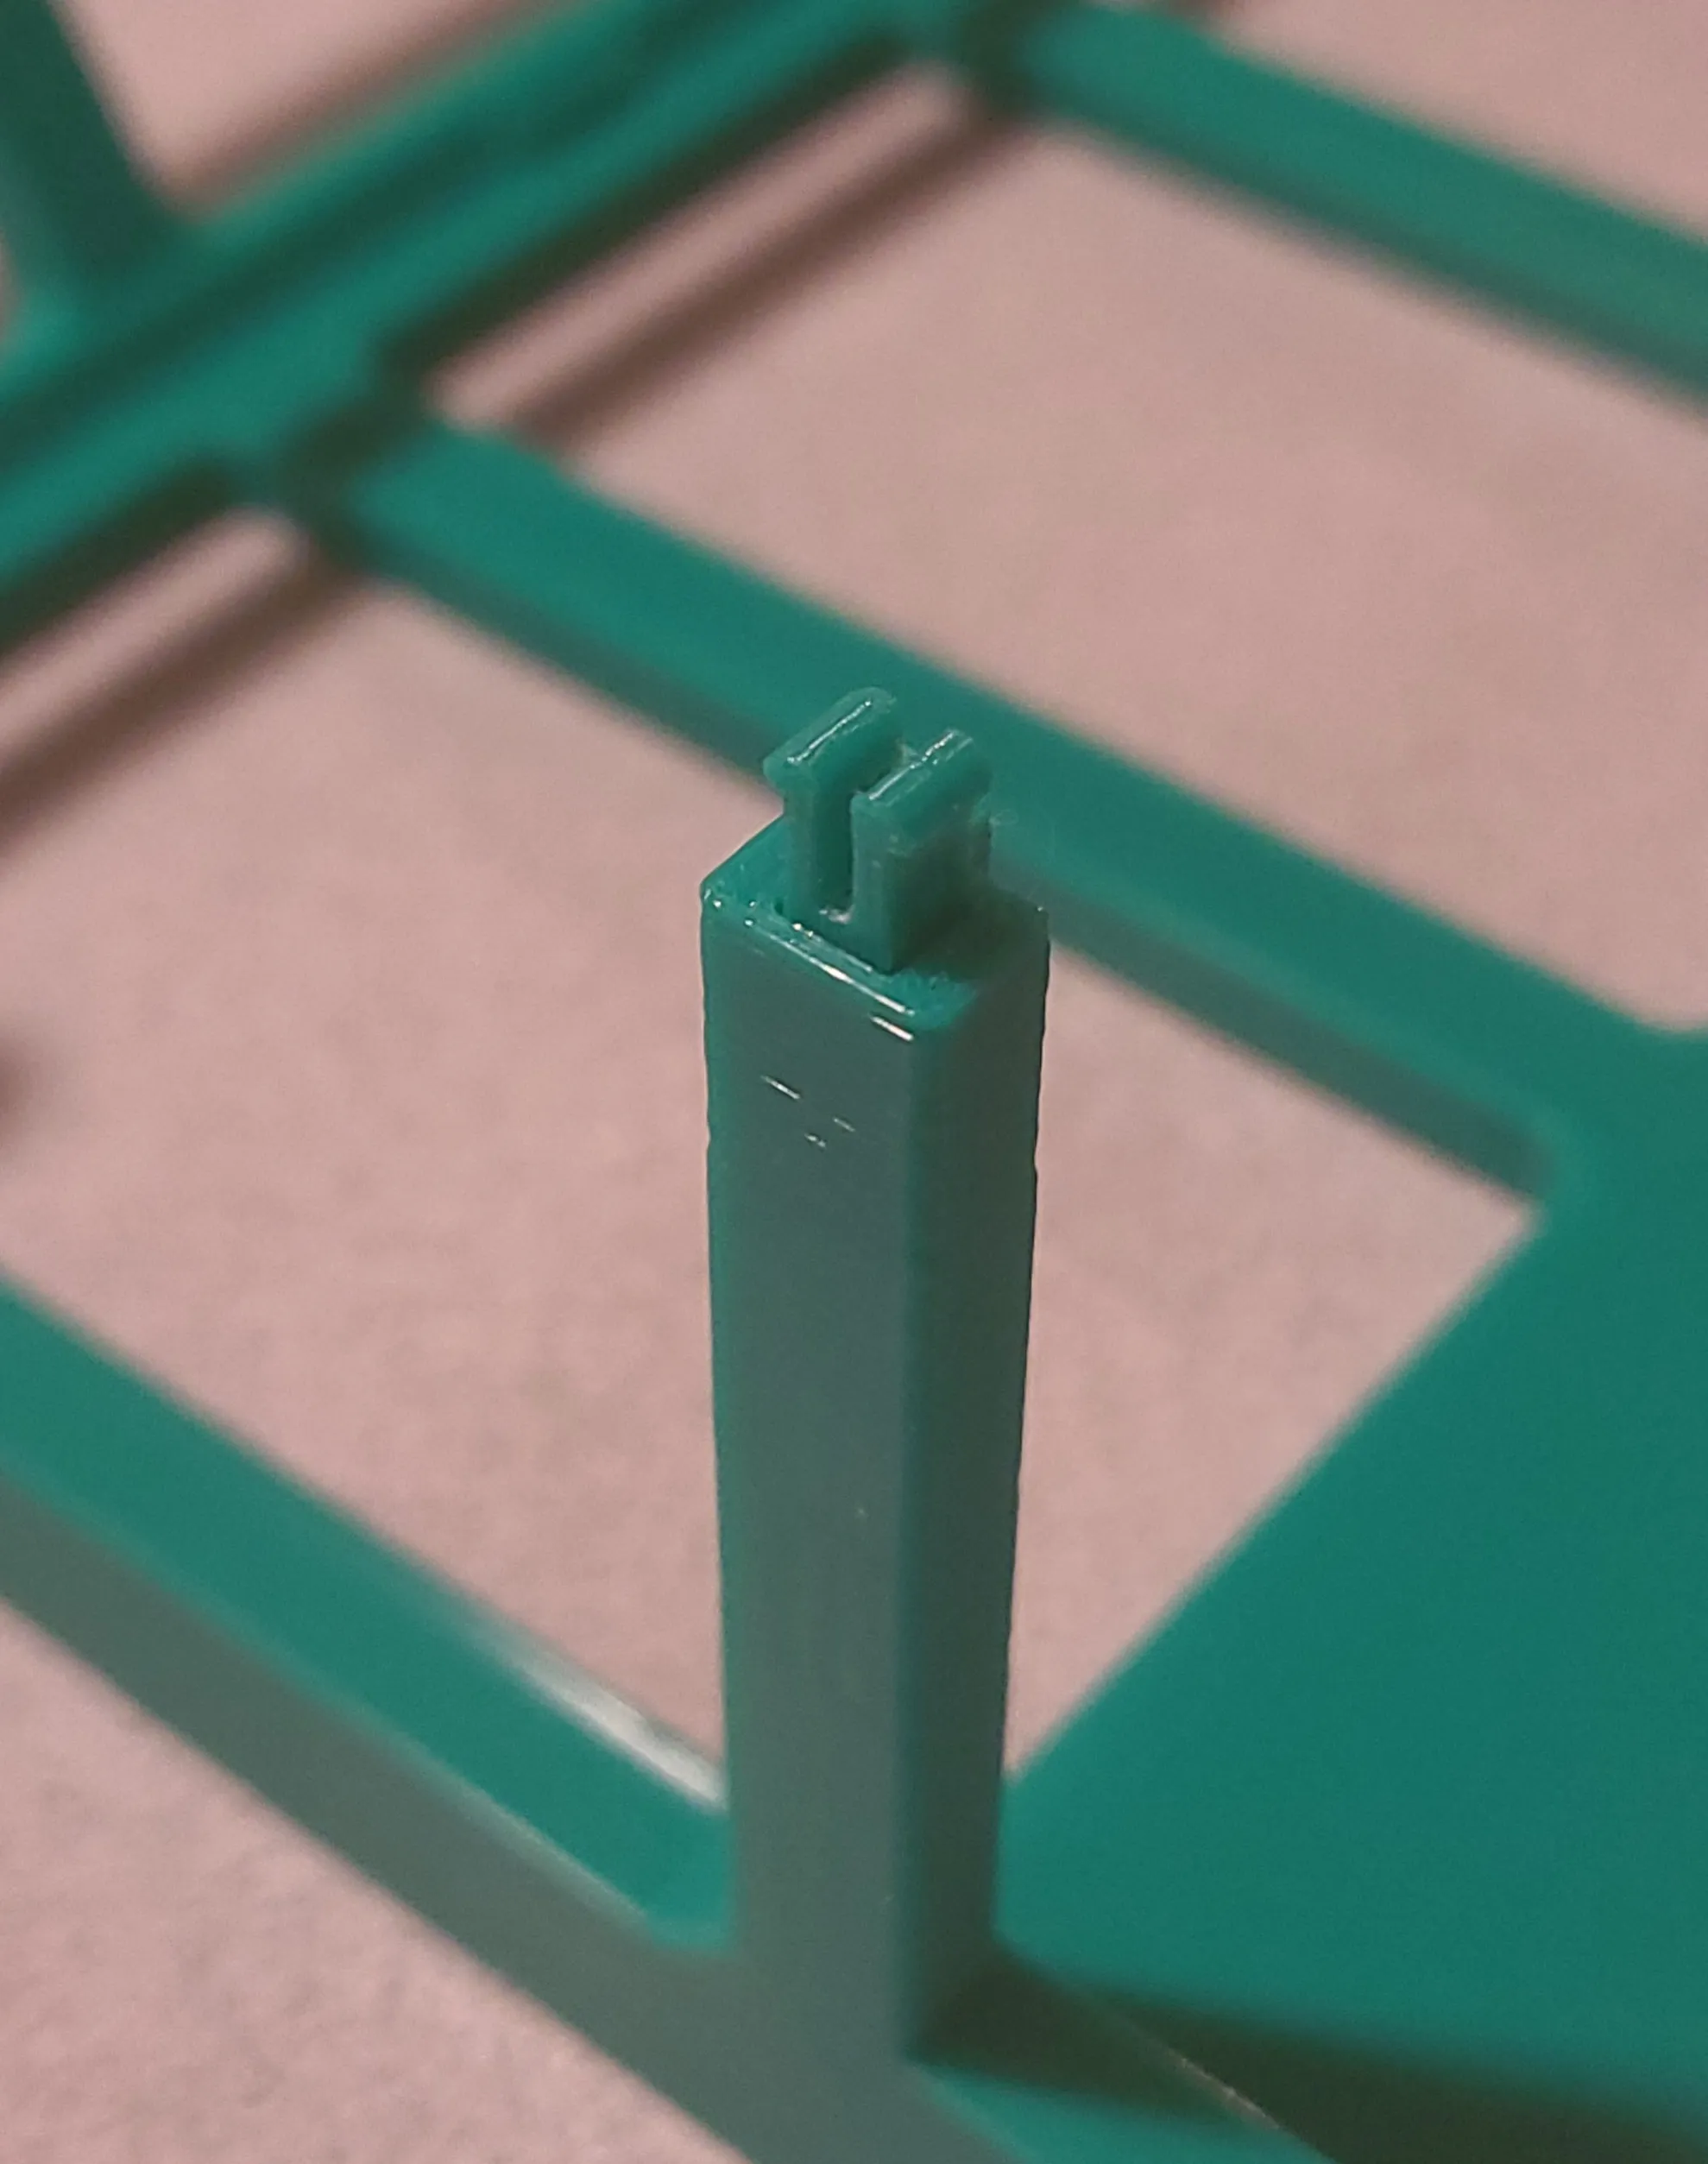
Install the four long connectors into the skinny beams and the three short connectors into the top long beam on one of the covers
Finally, align the two covers so each window slides into its corresponding slot, and click the greenhouse together to complete assembly of the cover, which can then slide onto the base.
Please leave a rating and upload an image of your completed model! I would love to hear your thoughts and any ideas for improvements that could be made for future updates. If you like the design, please don't forget to drop a Boost! 😊
******** Credits & Attribution ********
The high-transparency window print settings profile used in the V2 model was inspired by and adapted from @TheIceBurge and his excellent slicer settings used in his model: (https://makerworld.com/en/models/414482-ic3d-petg-glass-profile-print-ice-cubes?from=search#profileId-854448)
License

You shall not share, sub-license, sell, rent, host, transfer, or distribute in any way the digital or 3D printed versions of this object, nor any other derivative work of this object in its digital or physical format (including - but not limited to - remixes of this object, and hosting on other digital platforms). The objects may not be used without permission in any way whatsoever in which you charge money, or collect fees.


Comment & Rating (15)