
A1 & A1 Mini anti-vibration denoise foot pad TPU

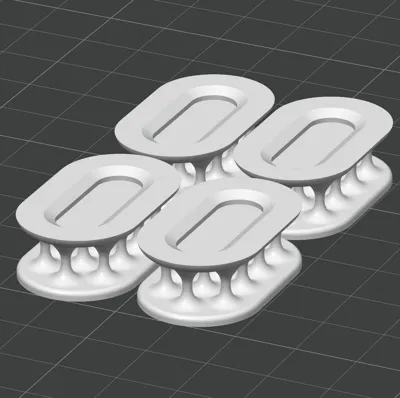
Print Profile(7)


Description
TPU filament only. Use 95A or harder
To get a better result, make sure your filament is dry (even a brand-new spool might already be damp from the factory)
If your print is done well, you should hardly be able to tear it apart by hand.
If you find it fragile, your filament or print setgs may be at fault.
You can dry or replace your filament, run some calibrations, or add XY Contour compensation.
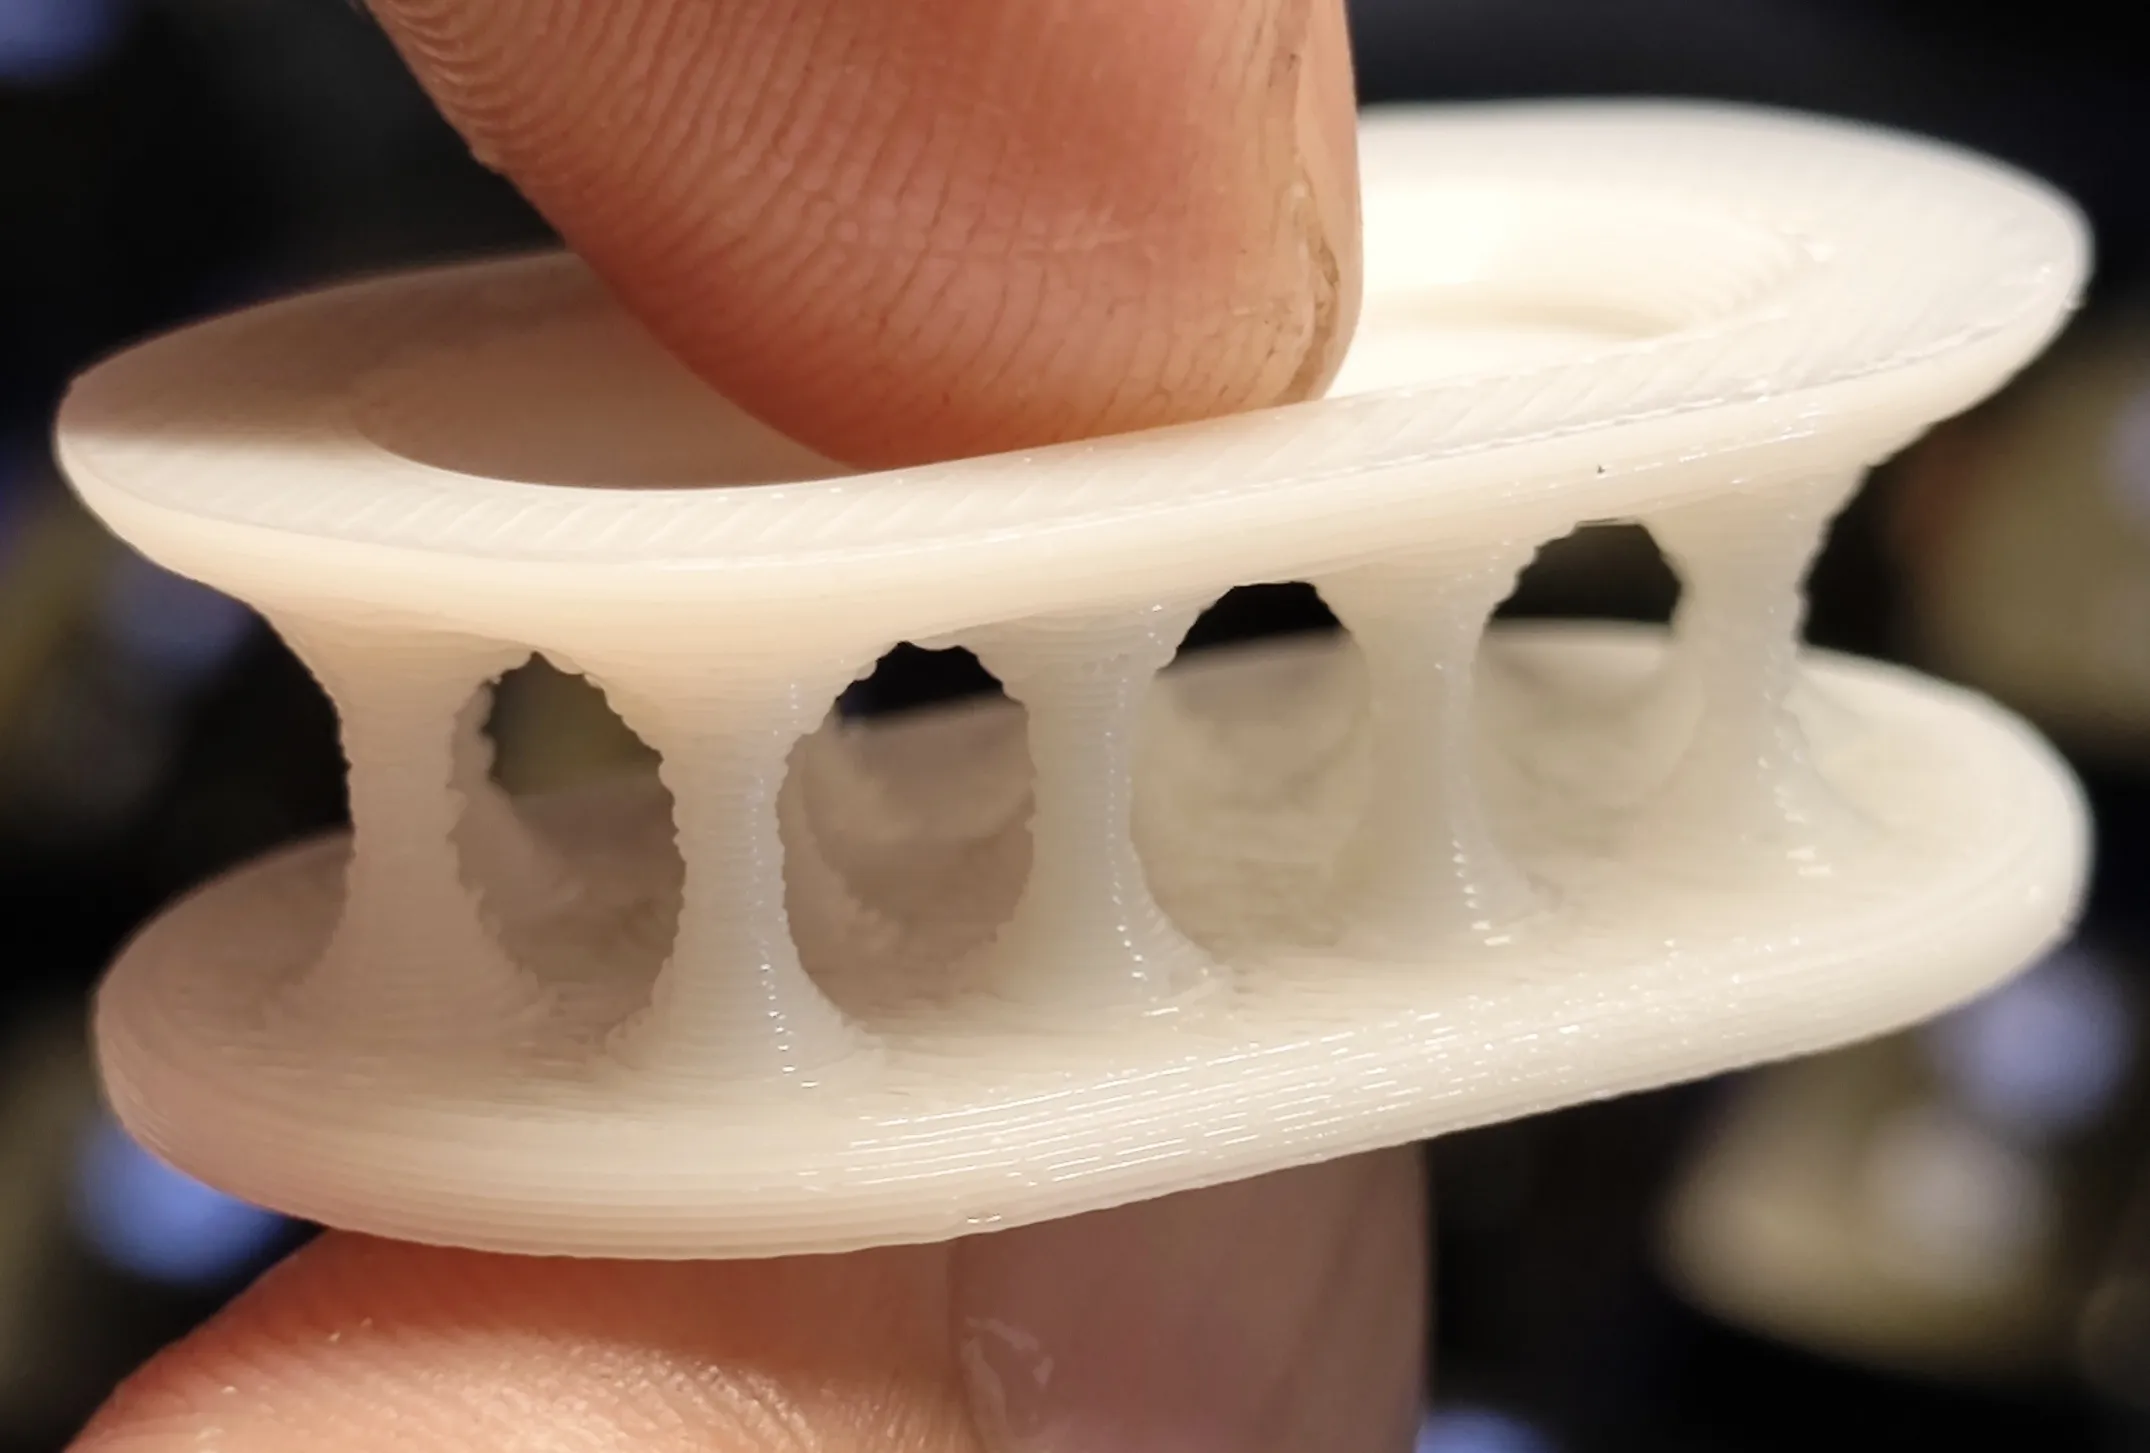
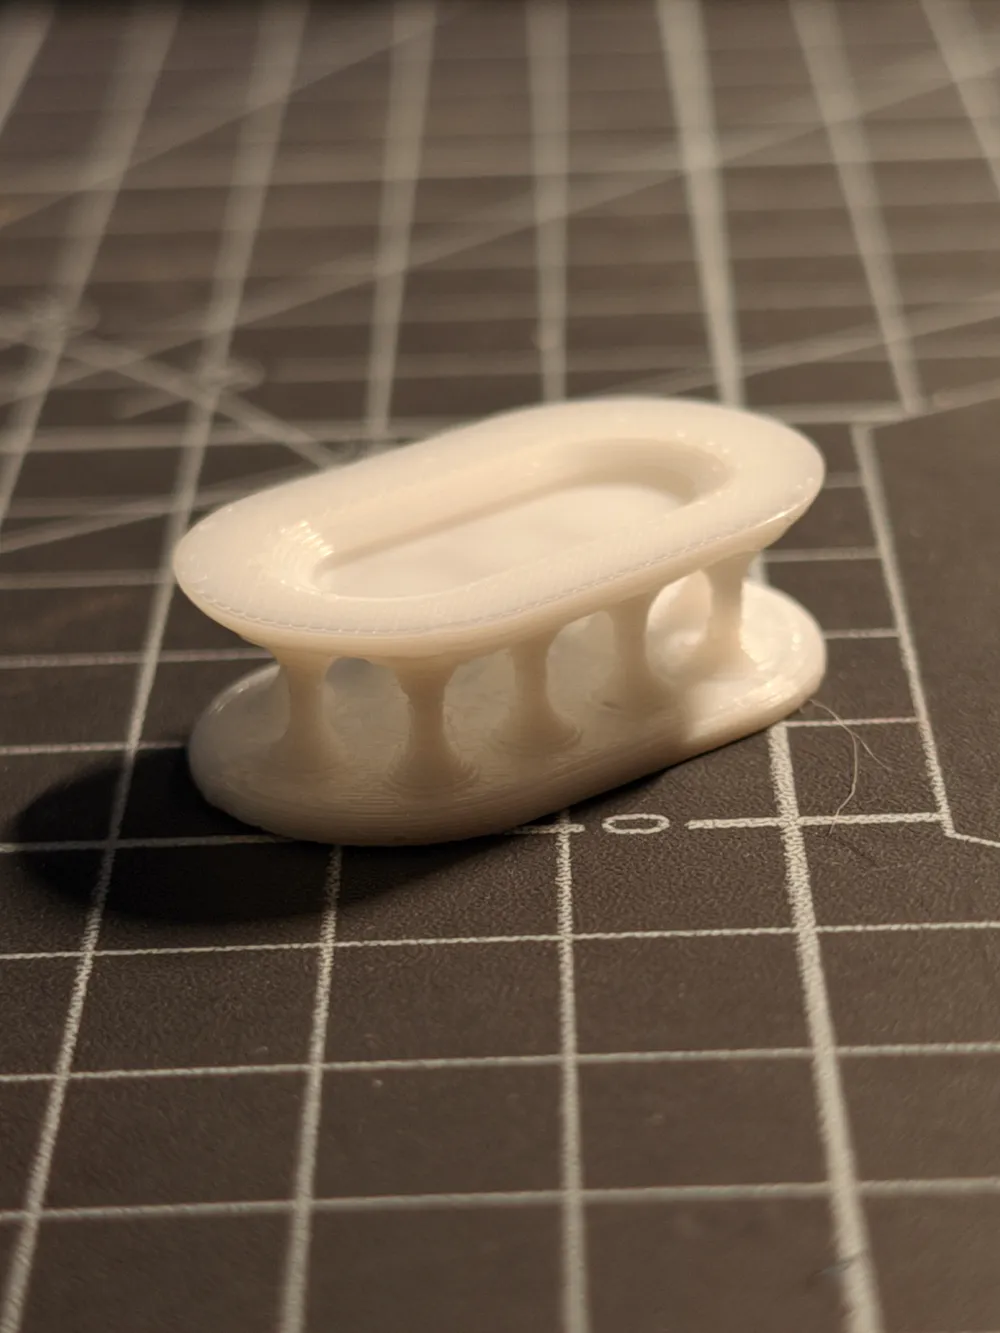
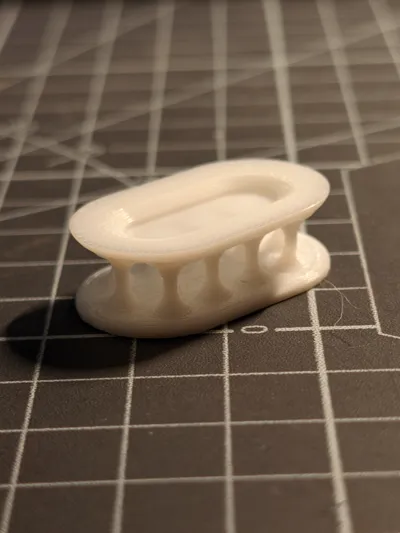
Here’s a sample for reference. It's not a perfect printing but good enough for use.
A little stringing is acceptable, it won't affect much. I cleaned up the stringing by lightly passing a lighter over it.
----------------------
There are already several A1 & A1 mini anti-vibration pads available on the website, but but many of them share a common issue: they focus solely on Z-axis vibration reduction, while the main vibrations of the printer occur along the X and Y axes.
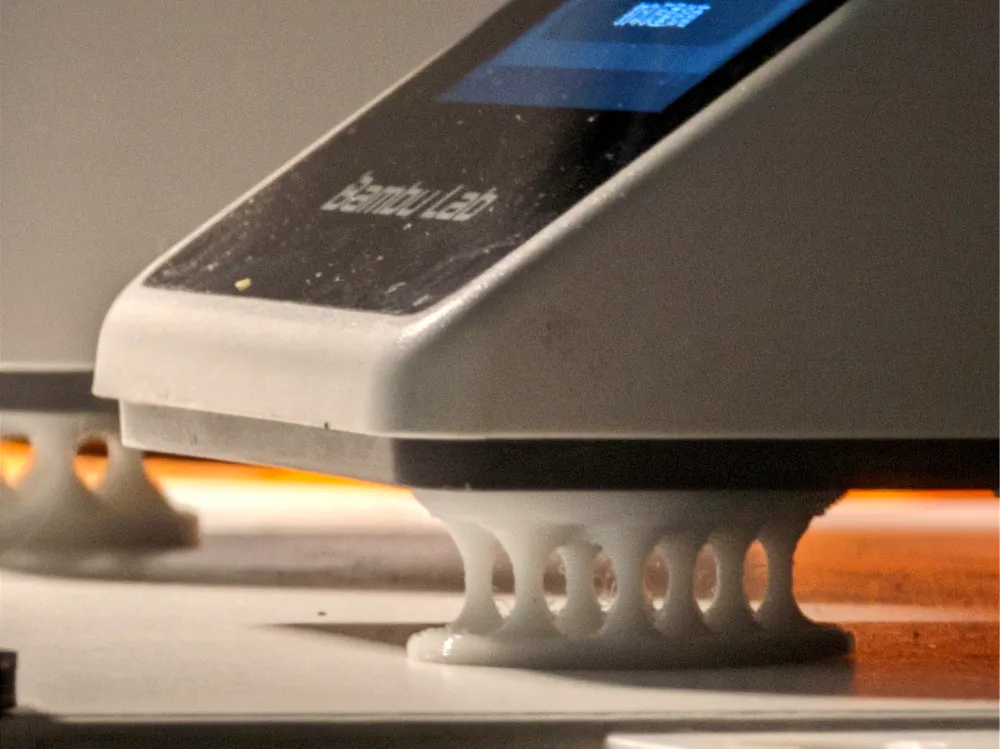

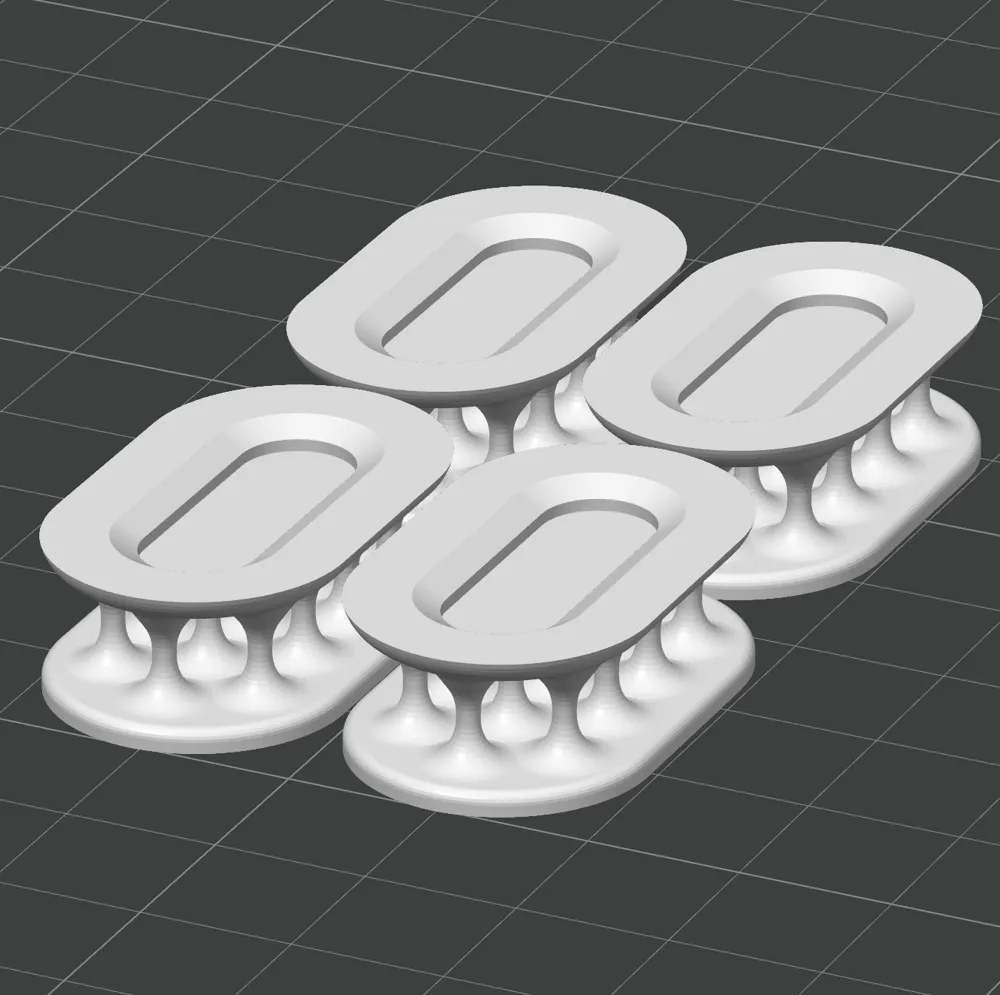
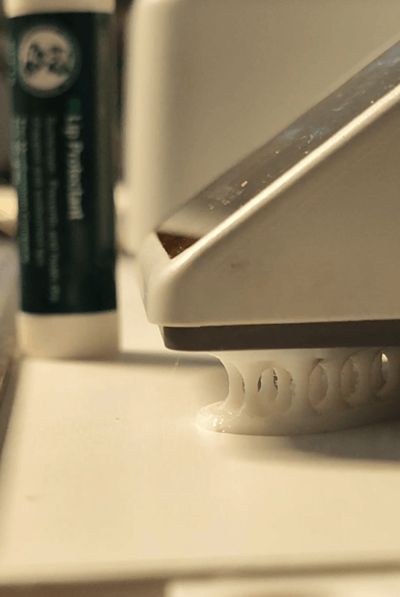
So I designed this foot pad, which can effectively mitigate X and Y axis vibrations. During high-speed printing, the monitor on my desk hardly shakes anymore.
Using my configuration profile, you can achieve good print results.
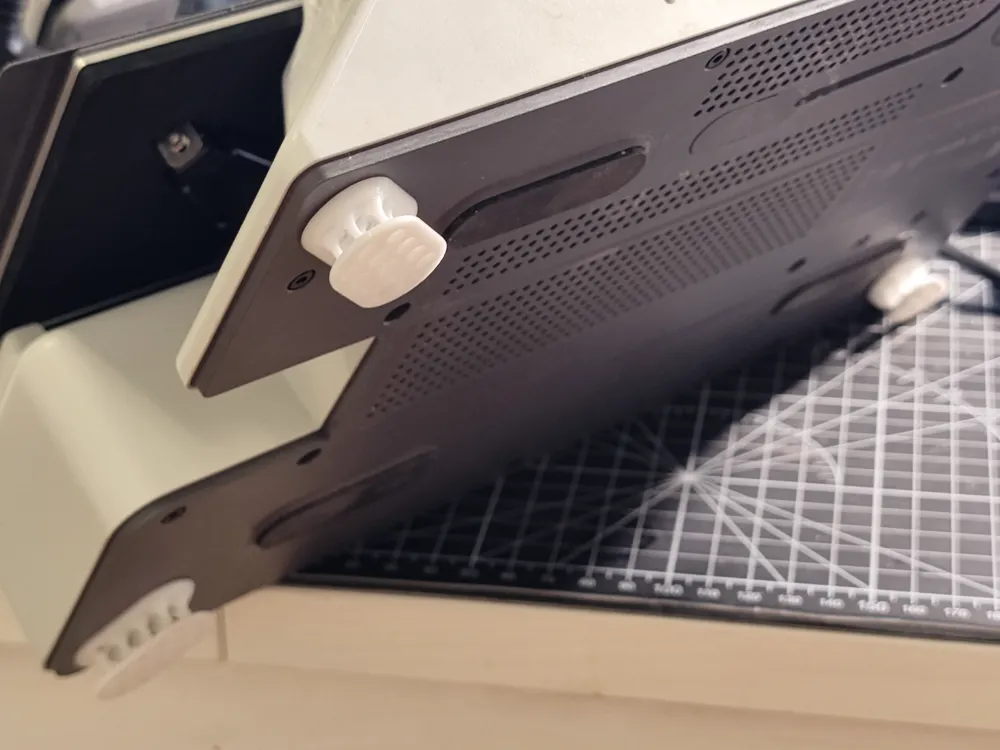
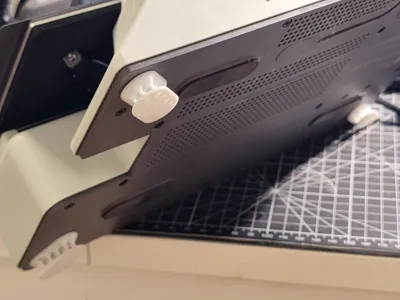
For A1 mini, place them below the four corners. For A1 it requries at least 2 more below the center. It is recommended to use double-sided tape to stick it on, but not neccesary.
Then do a vibration calibration in settings.
If you want all or one of them to be softer or harder, slightly adjust the XY Contour compensation. For the heaviest corner of the printer, you can print a harder one or put one more piece underneath.
Update:
I've uploaded two printing profile, both of them are 2mm higher to make them more flexible. If you want to use it, it's recommended to print extra 1-3 pieces to set them under the middle of the printer to provide more support, especialy for A1.
Boost Me (for free)
Thank you for your boost 🙂
License

You shall not share, sub-license, sell, rent, host, transfer, or distribute in any way the digital or 3D printed versions of this object, nor any other derivative work of this object in its digital or physical format (including - but not limited to - remixes of this object, and hosting on other digital platforms). The objects may not be used without permission in any way whatsoever in which you charge money, or collect fees.


Comment & Rating (1115)