
F-16 Fighting Falcon Kit Card - No Tool or Glue!

Print Profile(1)

Description
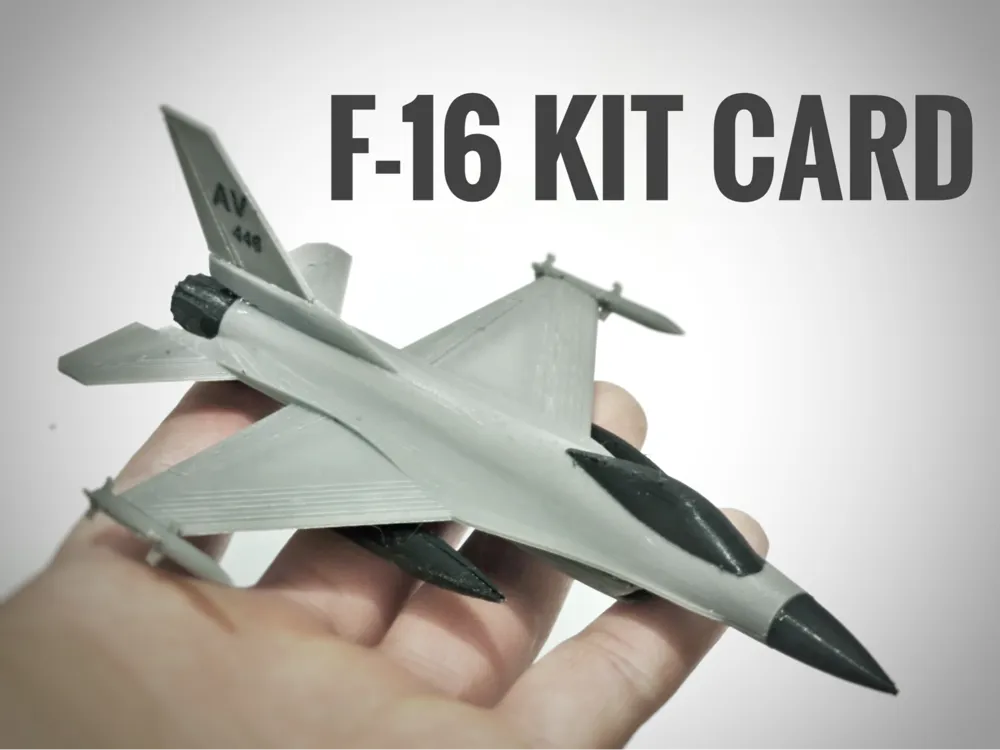
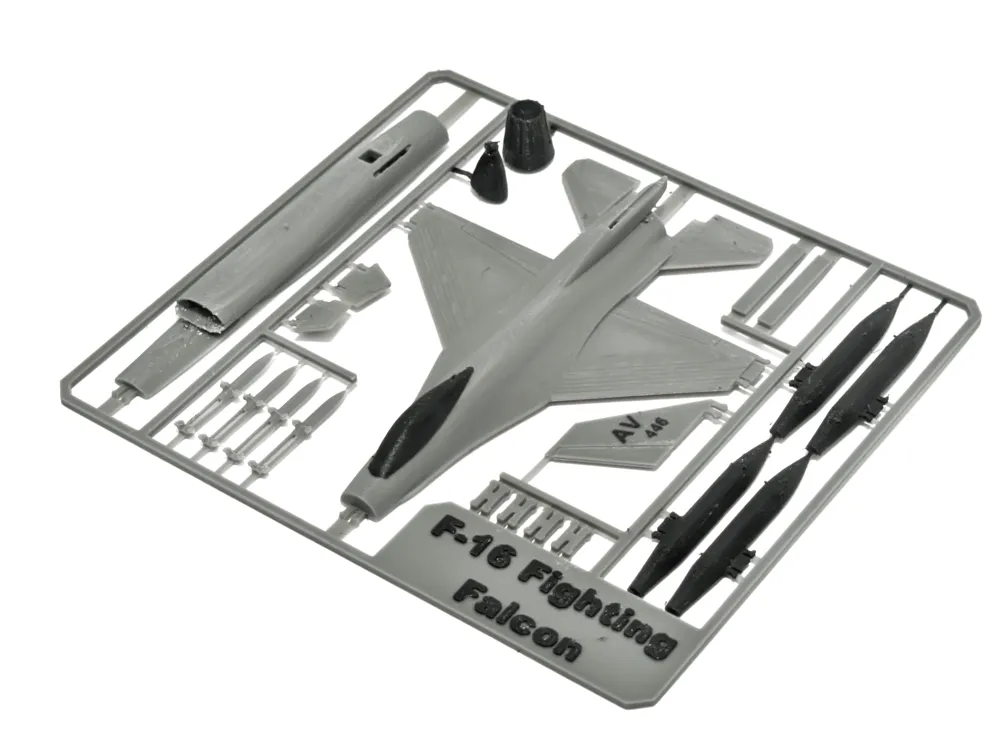
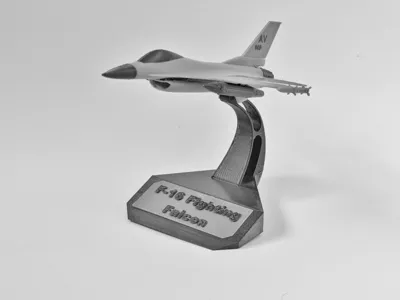
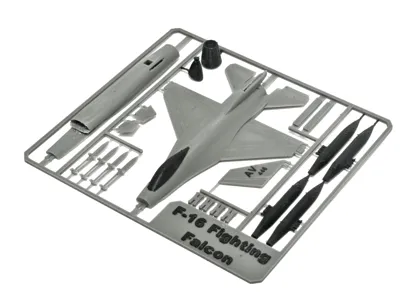
Bring precision, realism, and innovation to the world of fighter jets with the F-16 Fighting Falcon Kit Card—a tool-free, glue-free 3D model that combines remarkable design with effortless assembly. This model strikes the perfect balance between technical accuracy and creative customization, making it a standout addition to any aviation enthusiast's collection.
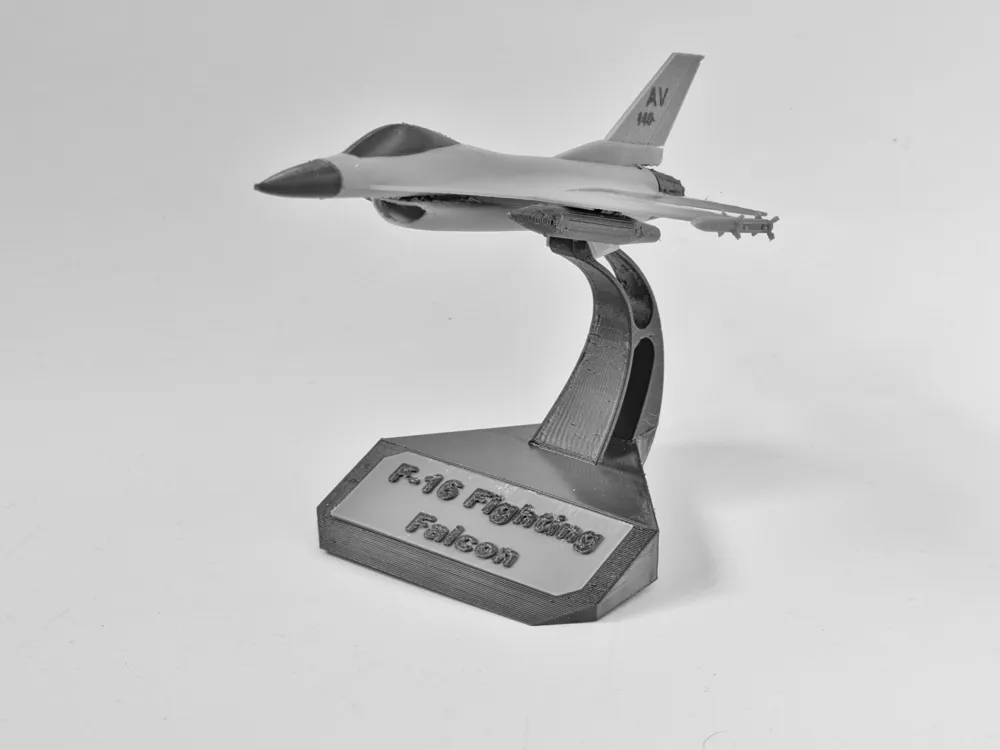
Stand can be found here
Why It's Remarkable:
- Tool-Free, Glue-Free Precision: The F-16 Kit Card sets itself apart with its innovative snap-together design—a true testament to cutting-edge modeling techniques. Enjoy a seamless building process while preserving the fighter jet's iconic aerodynamic form.
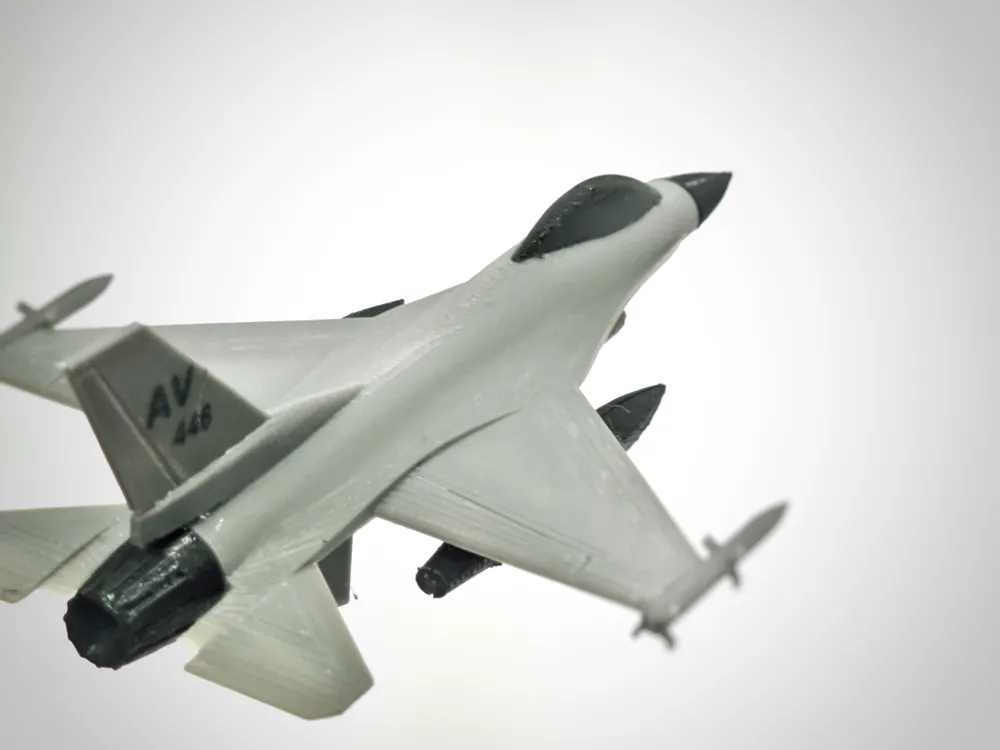
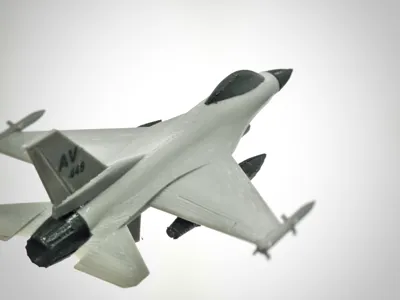
- Customizable Details: Add a personal touch to the tail with customizable text in Bambu Studio, making each model unique and adding an extra layer of individuality.
- Accurate Design: Every element of the F-16, from its sleek fuselage to detailed weapons and fins, is modeled with realism in mind to reflect the jet’s legacy as a dominant force in modern air combat.
- Compact Yet Detailed: Despite its compact size, this model boasts impressive attention to detail, including a finely sculpted cockpit—a nod to the technical intricacies of real fighter jets.
This project captures the essence of fighter jet design, blending cutting-edge imagination with technical craftsmanship. Whether you're celebrating the past, present, or future of aviation, the F-16 Fighting Falcon Kit Card is a showcase of what makes fighter jets truly remarkable.
Build Guide:
Step 1:
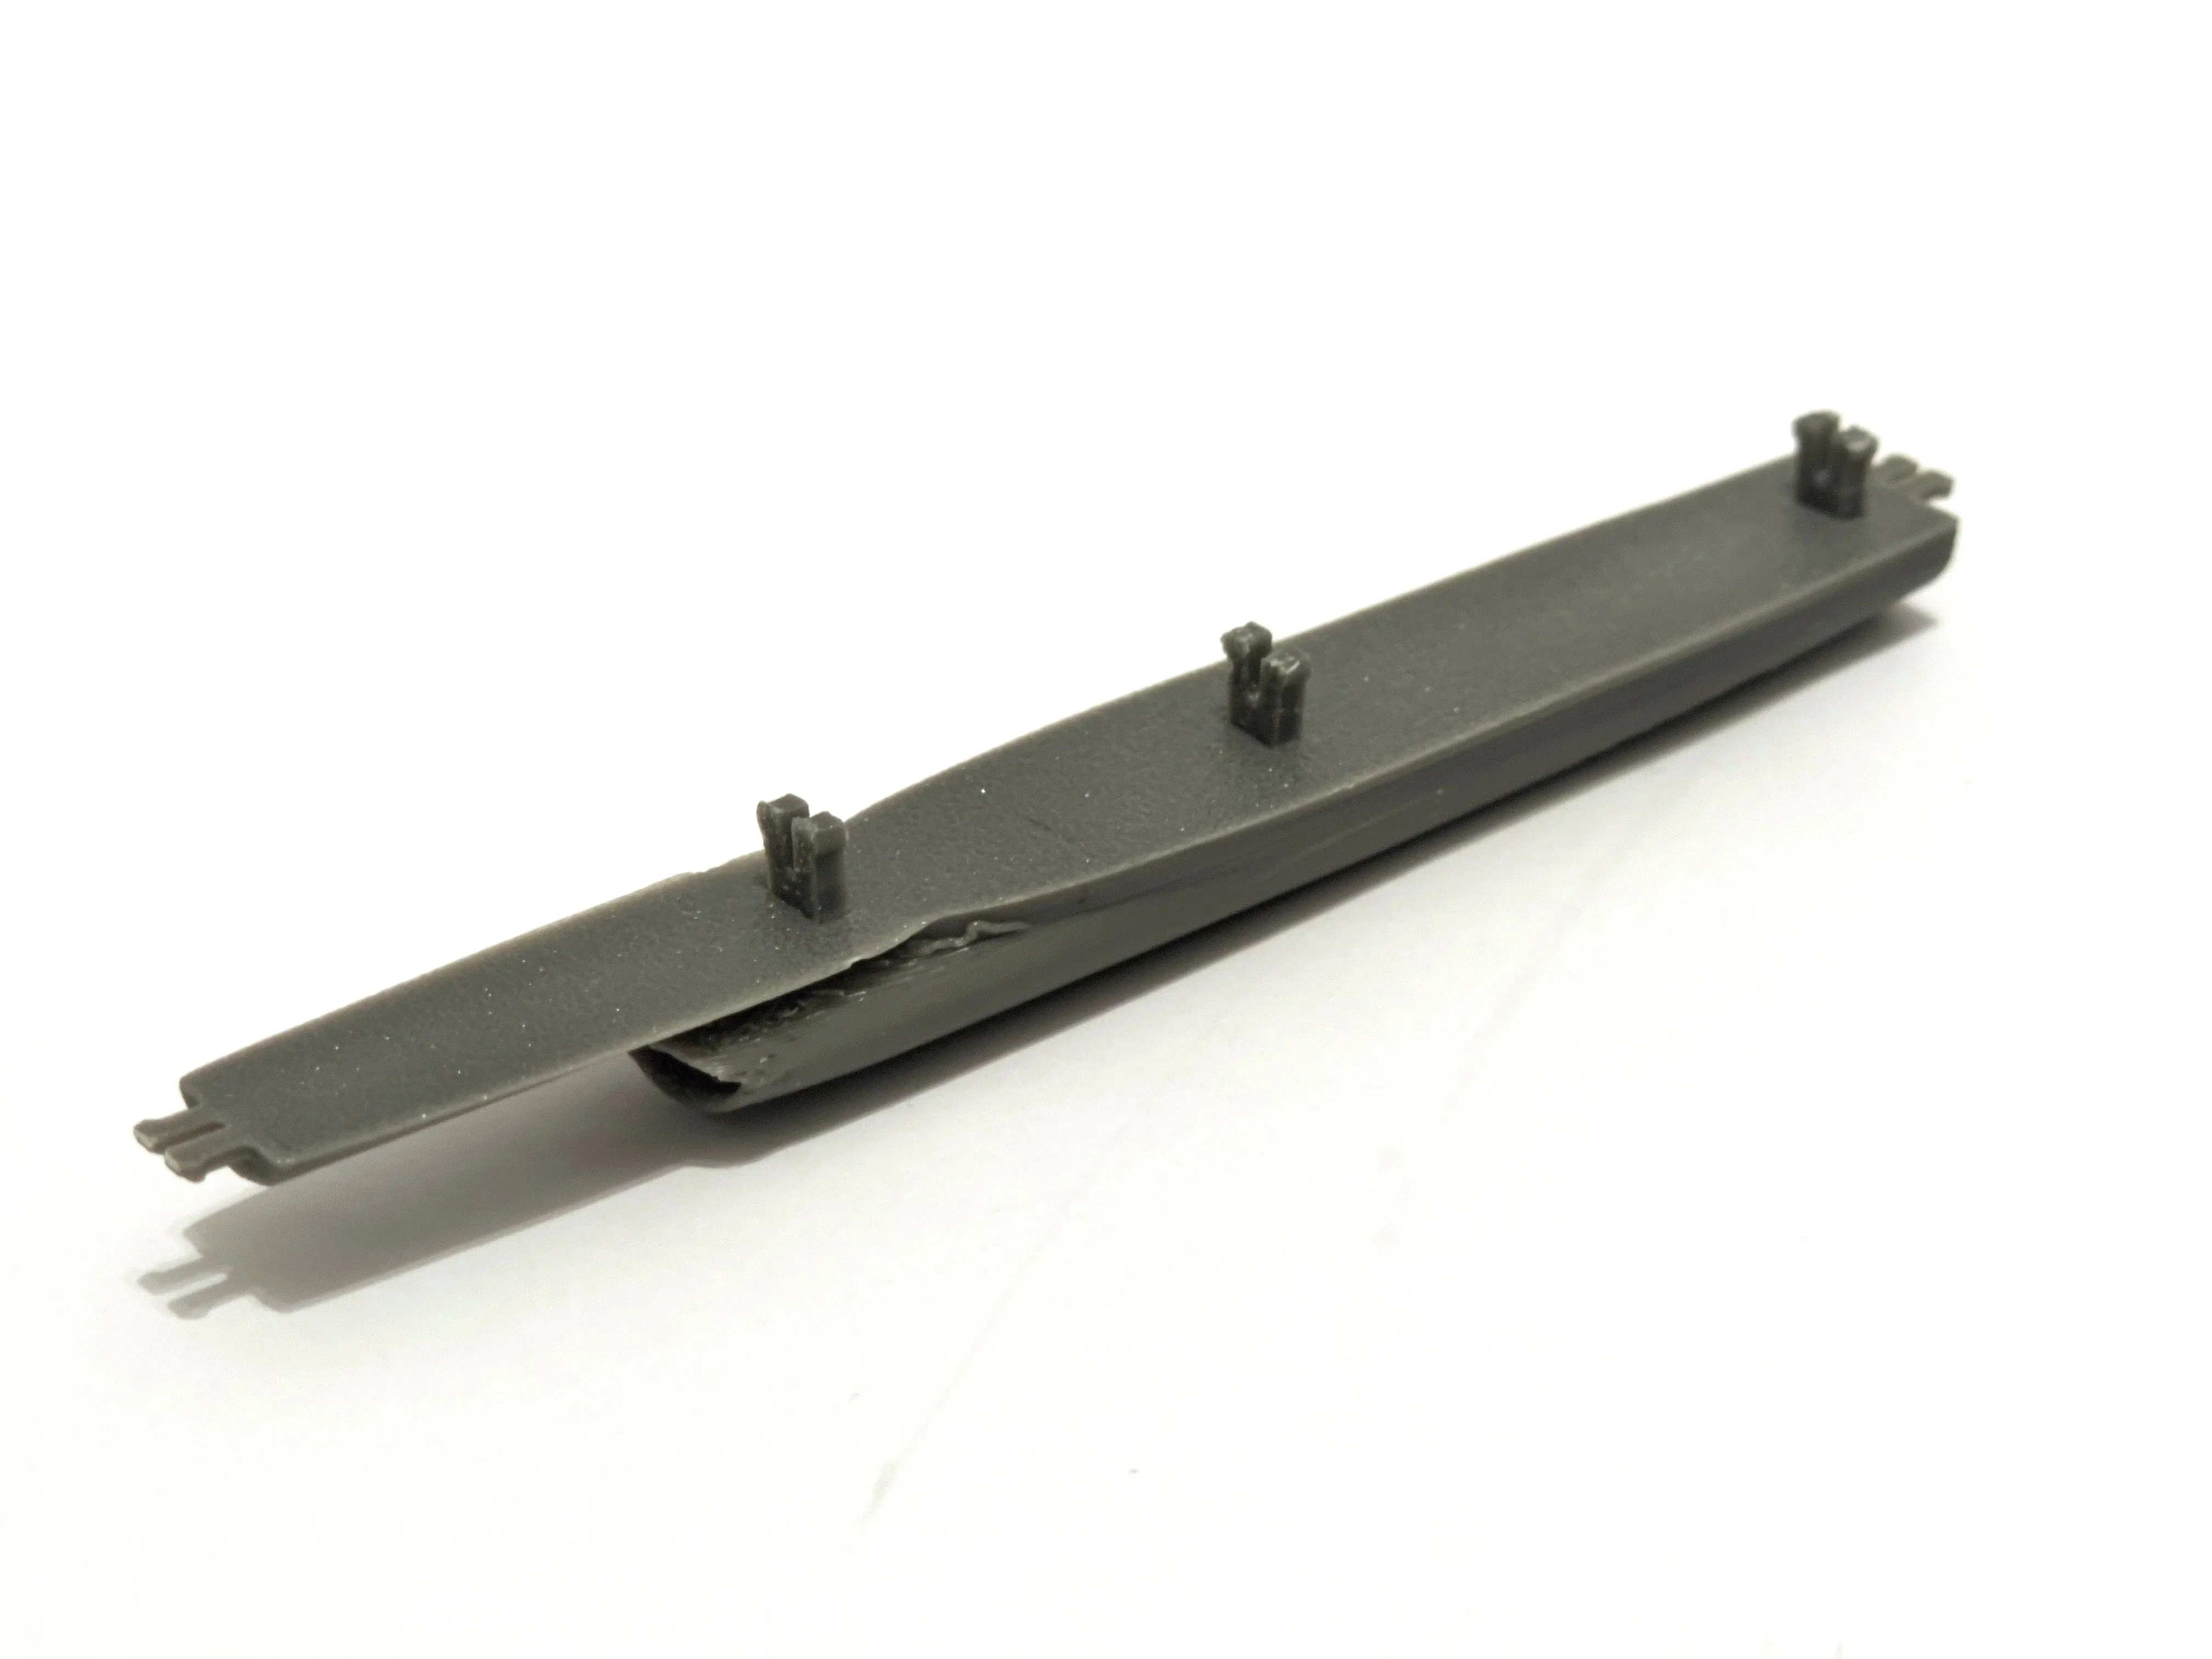
Insert the pins into the lower fuselage piece, ensuring they are securely in place.
Step 2:
Carefully align the upper fuselage piece with the pins and press it down firmly until it snaps into place.
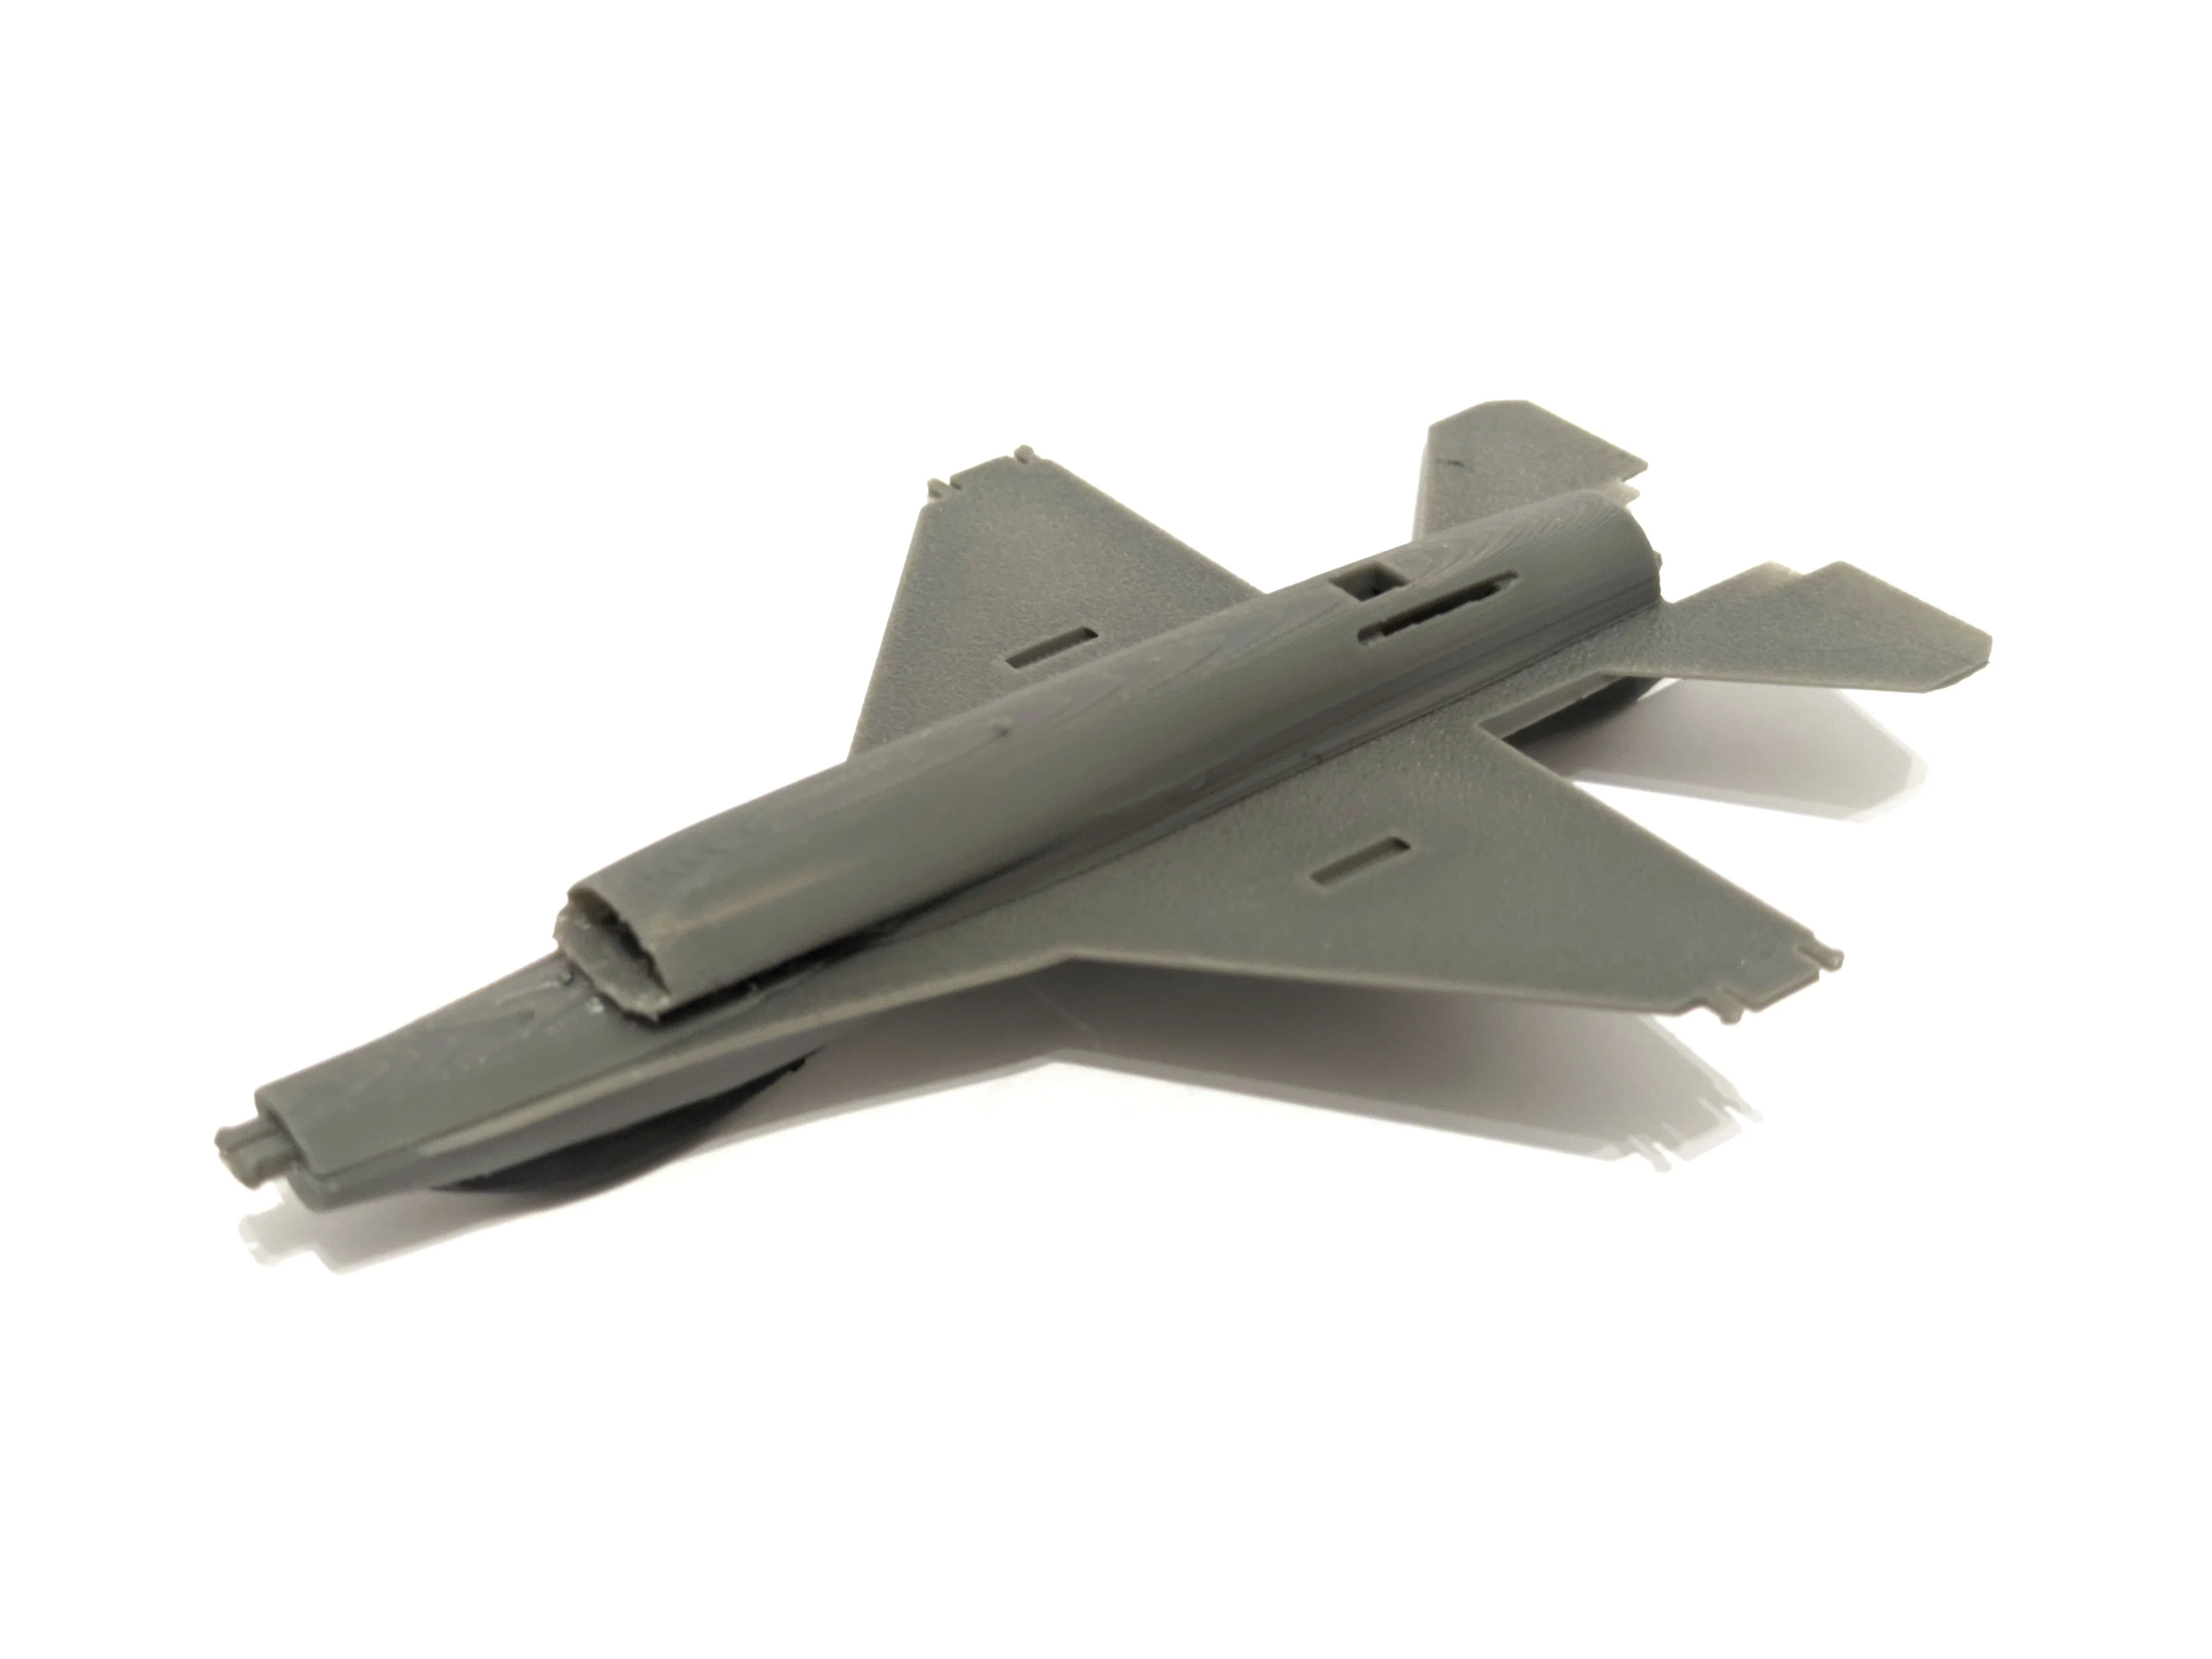
Step 3:
Attach the rear wings by aligning them with their designated slots and pressing them firmly into place.
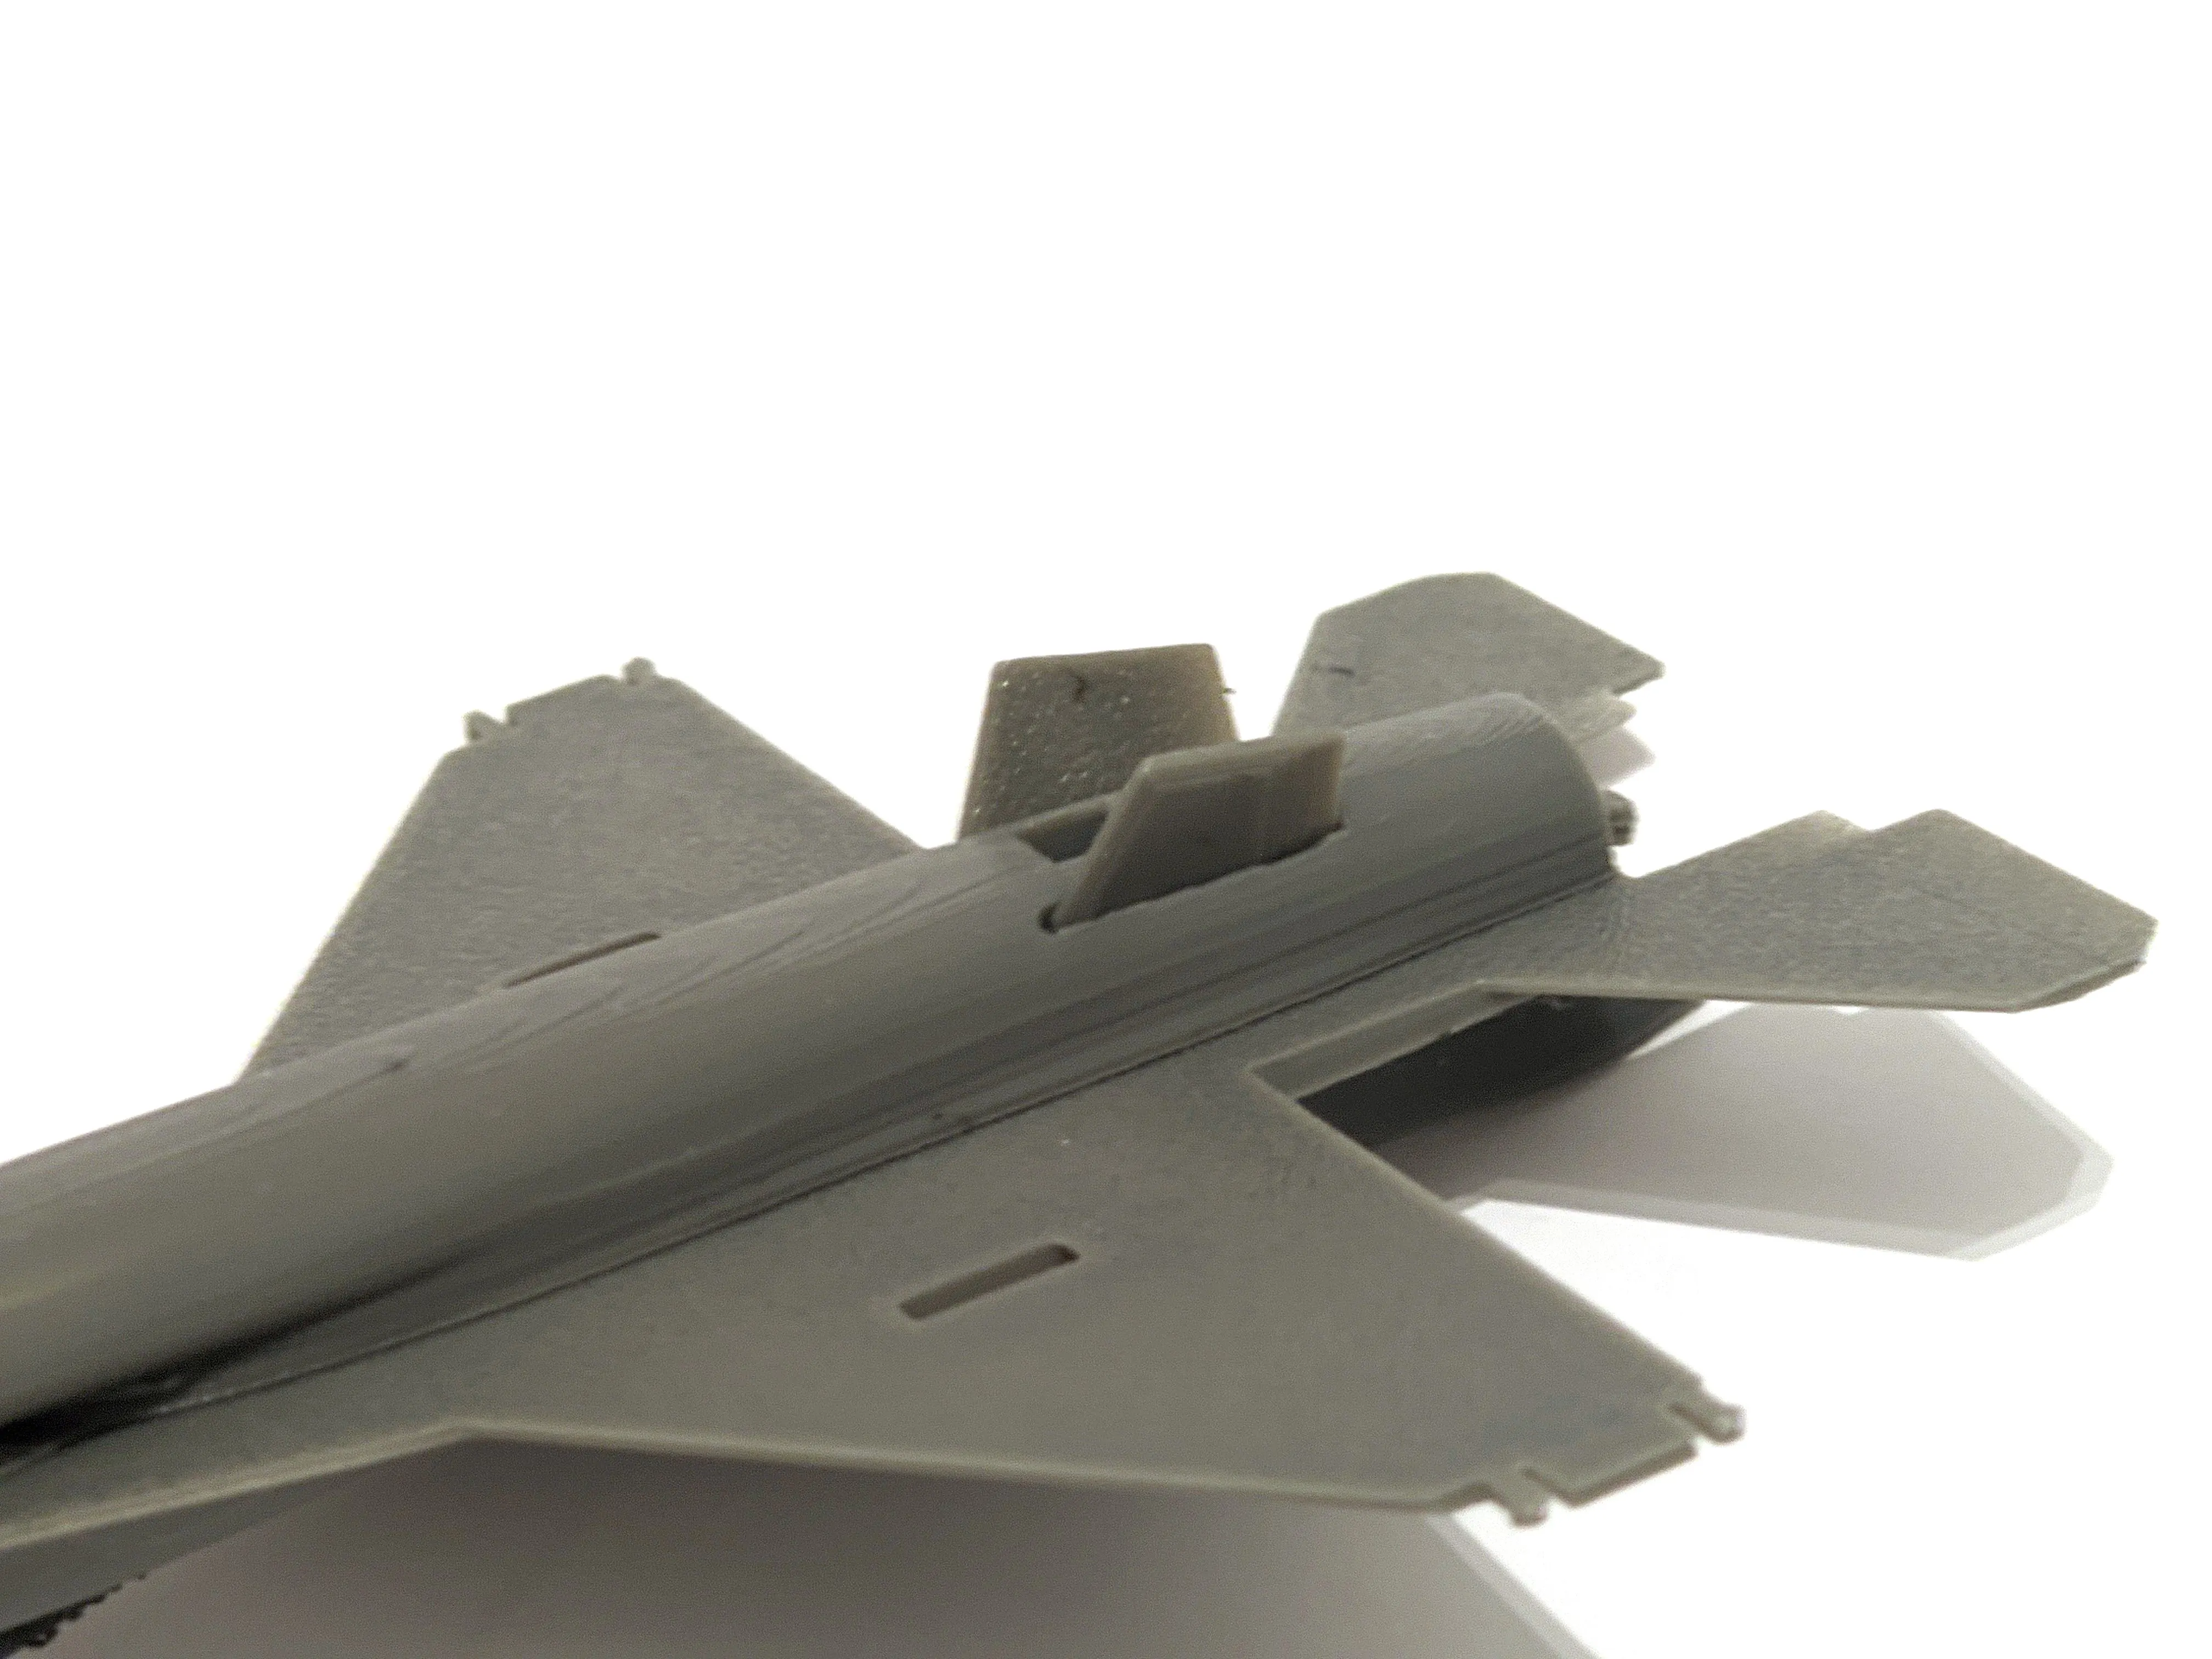
Step 4:
Push the nose cone onto the front of the fuselage and the thruster nozzle onto the back.
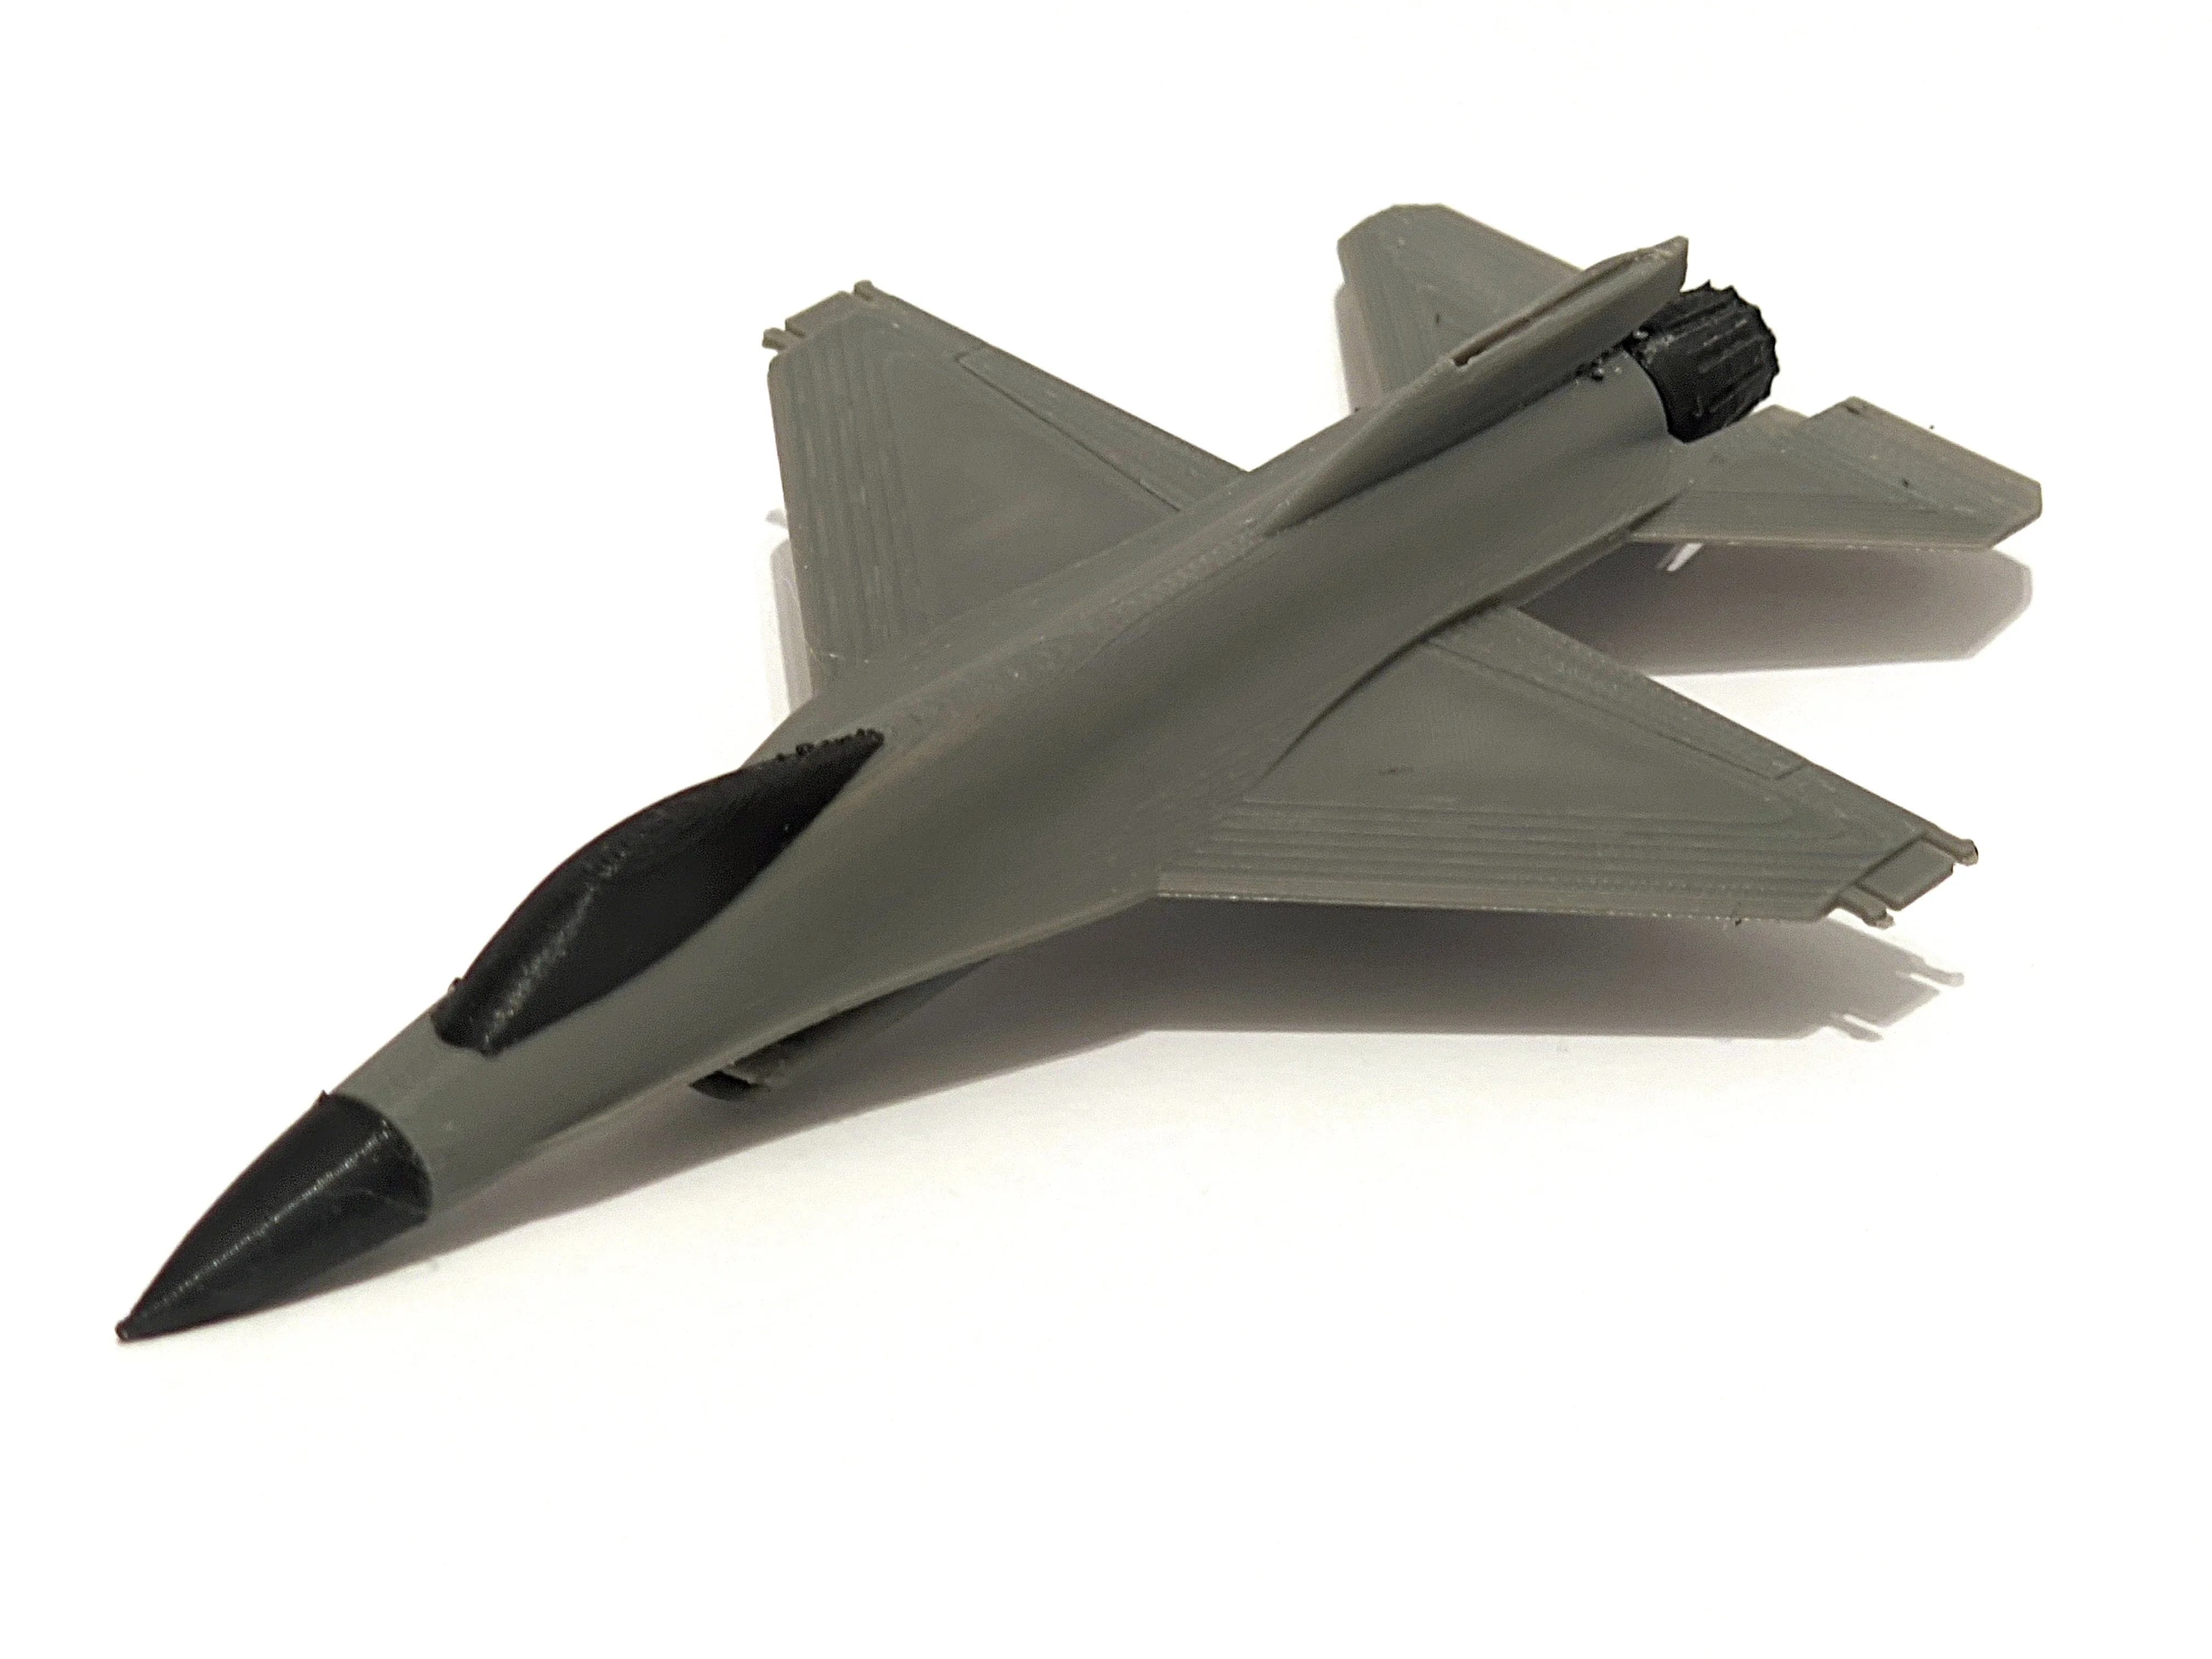
Step 5:
Insert the vertical stabilizer (upward-standing rear wing) into its designated slot on the top rear of the fuselage. Press it down firmly to ensure it is secure.
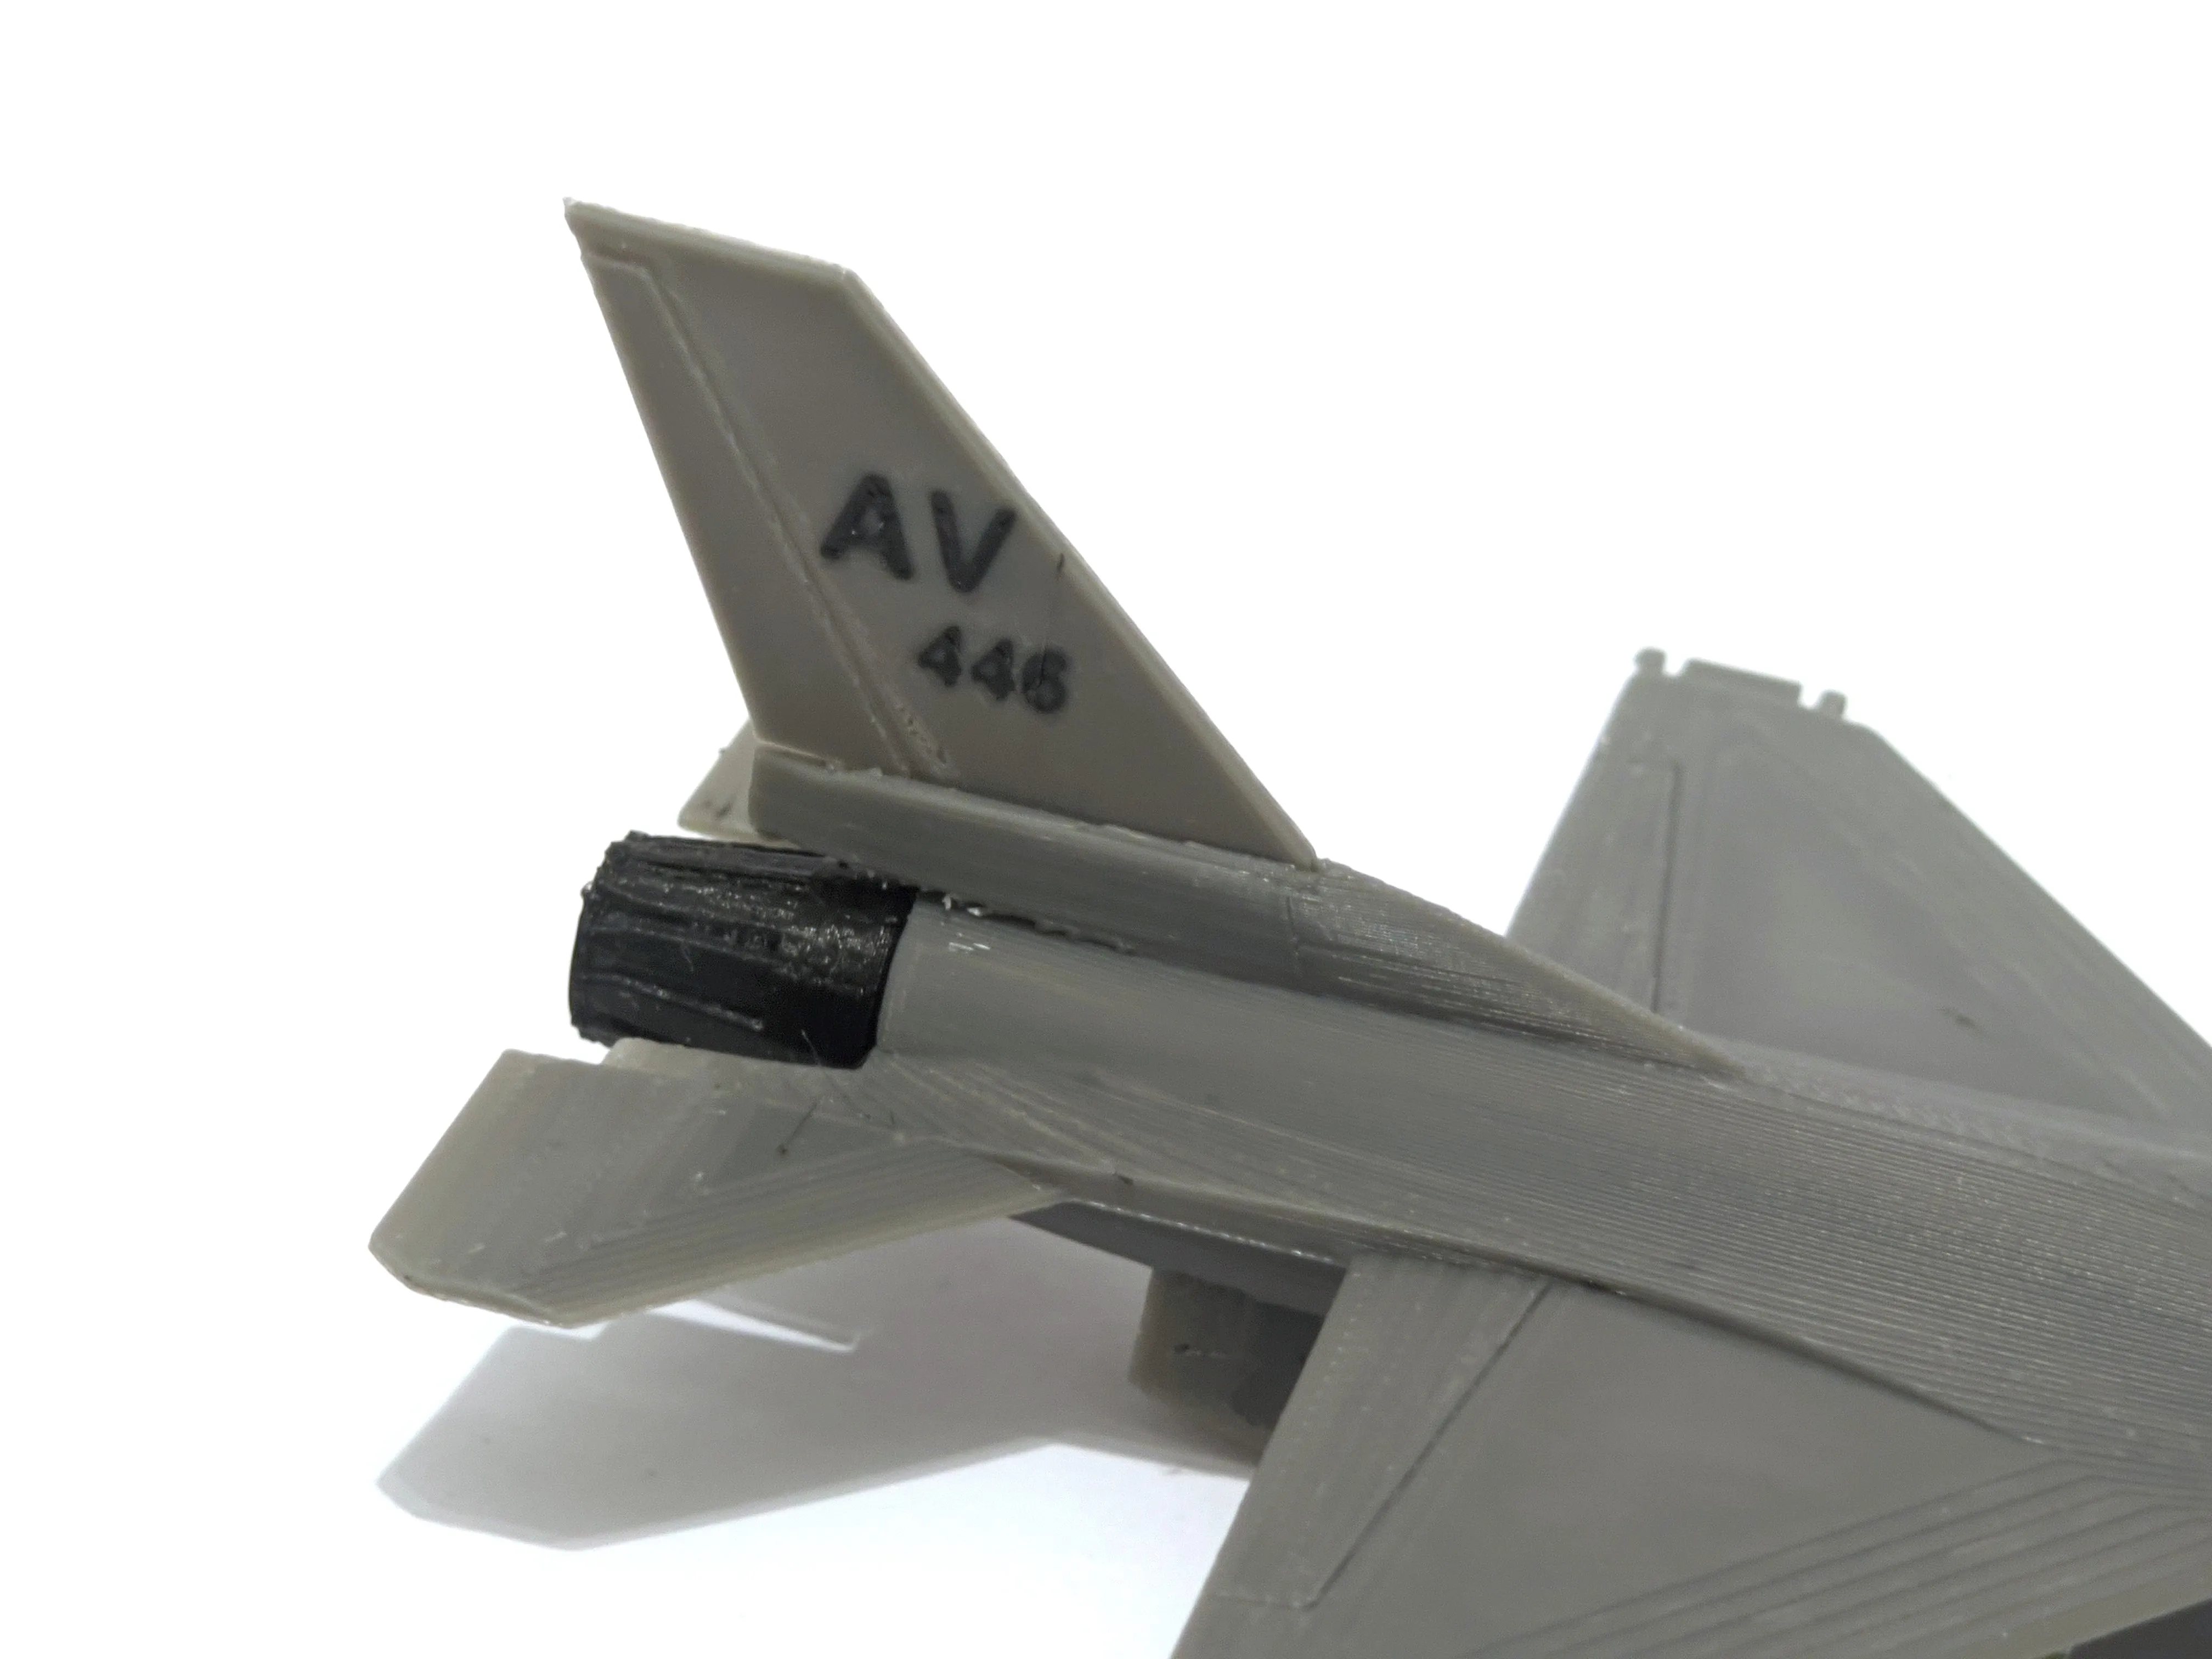
Step 6:
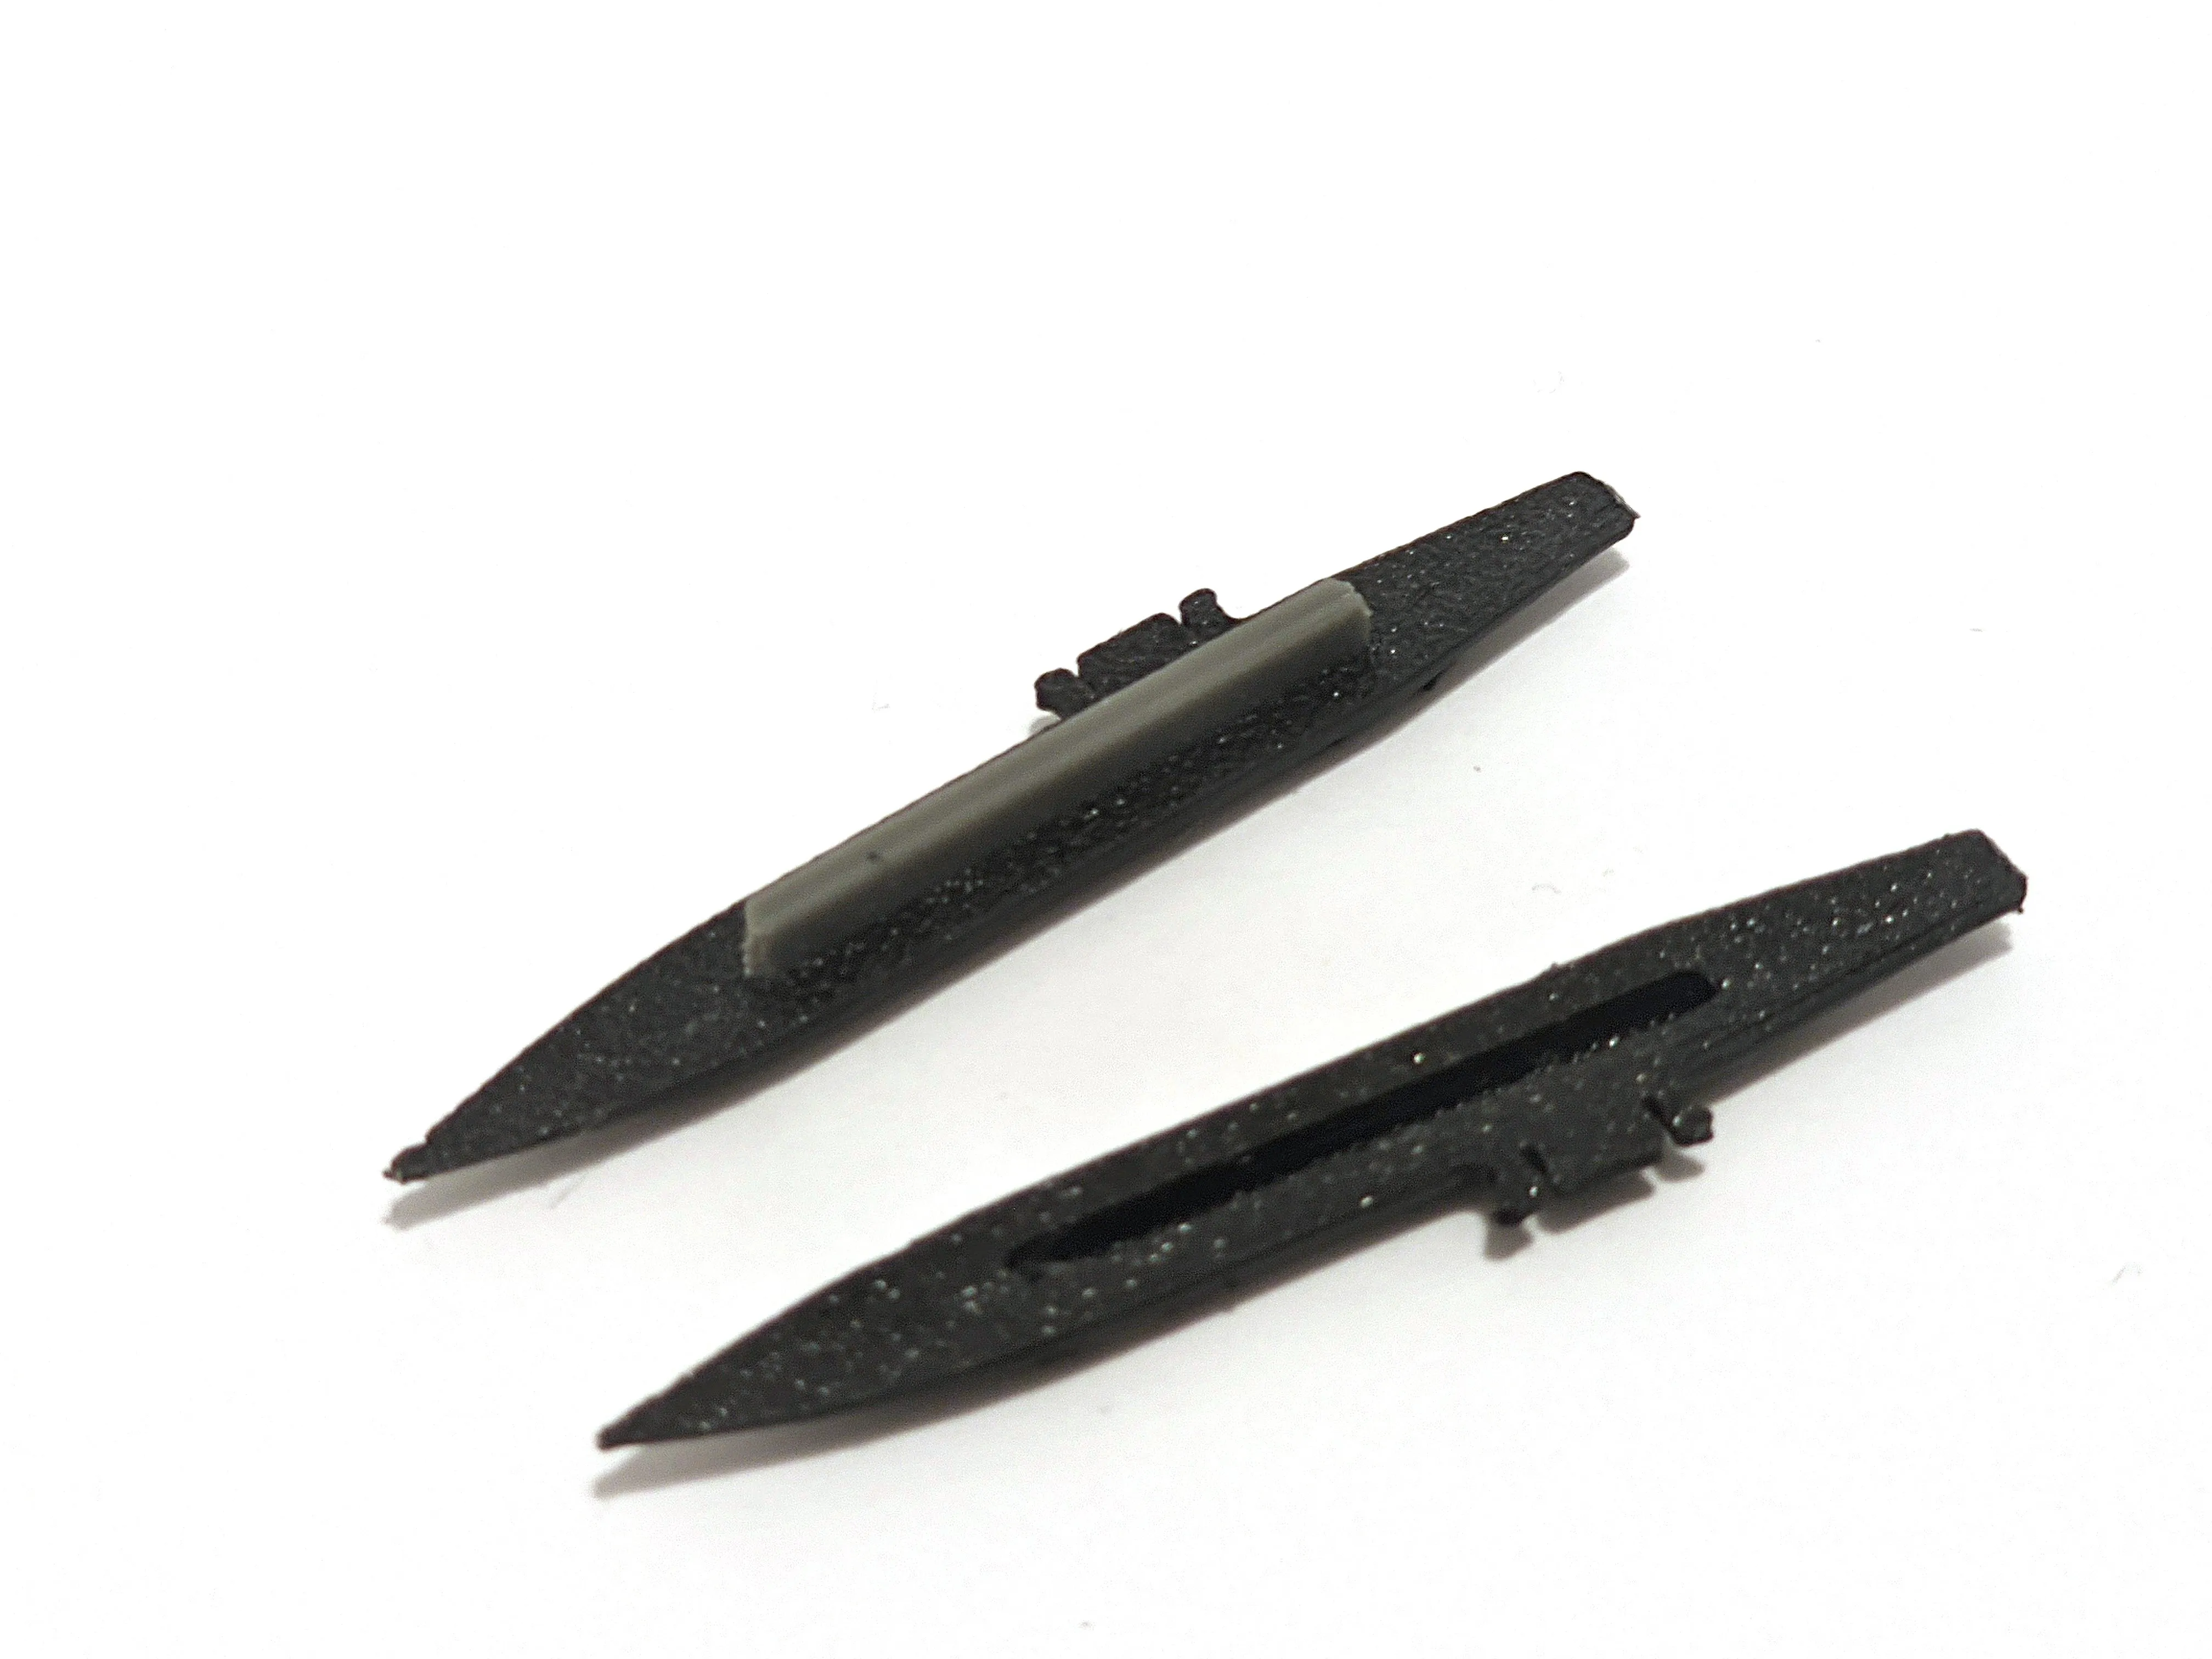
Assemble the fuel tanks:
- Place the gray insert into the hollow section of one fuel tank half.
- Align the other half of the fuel tank and press the two pieces together until they snap securely.
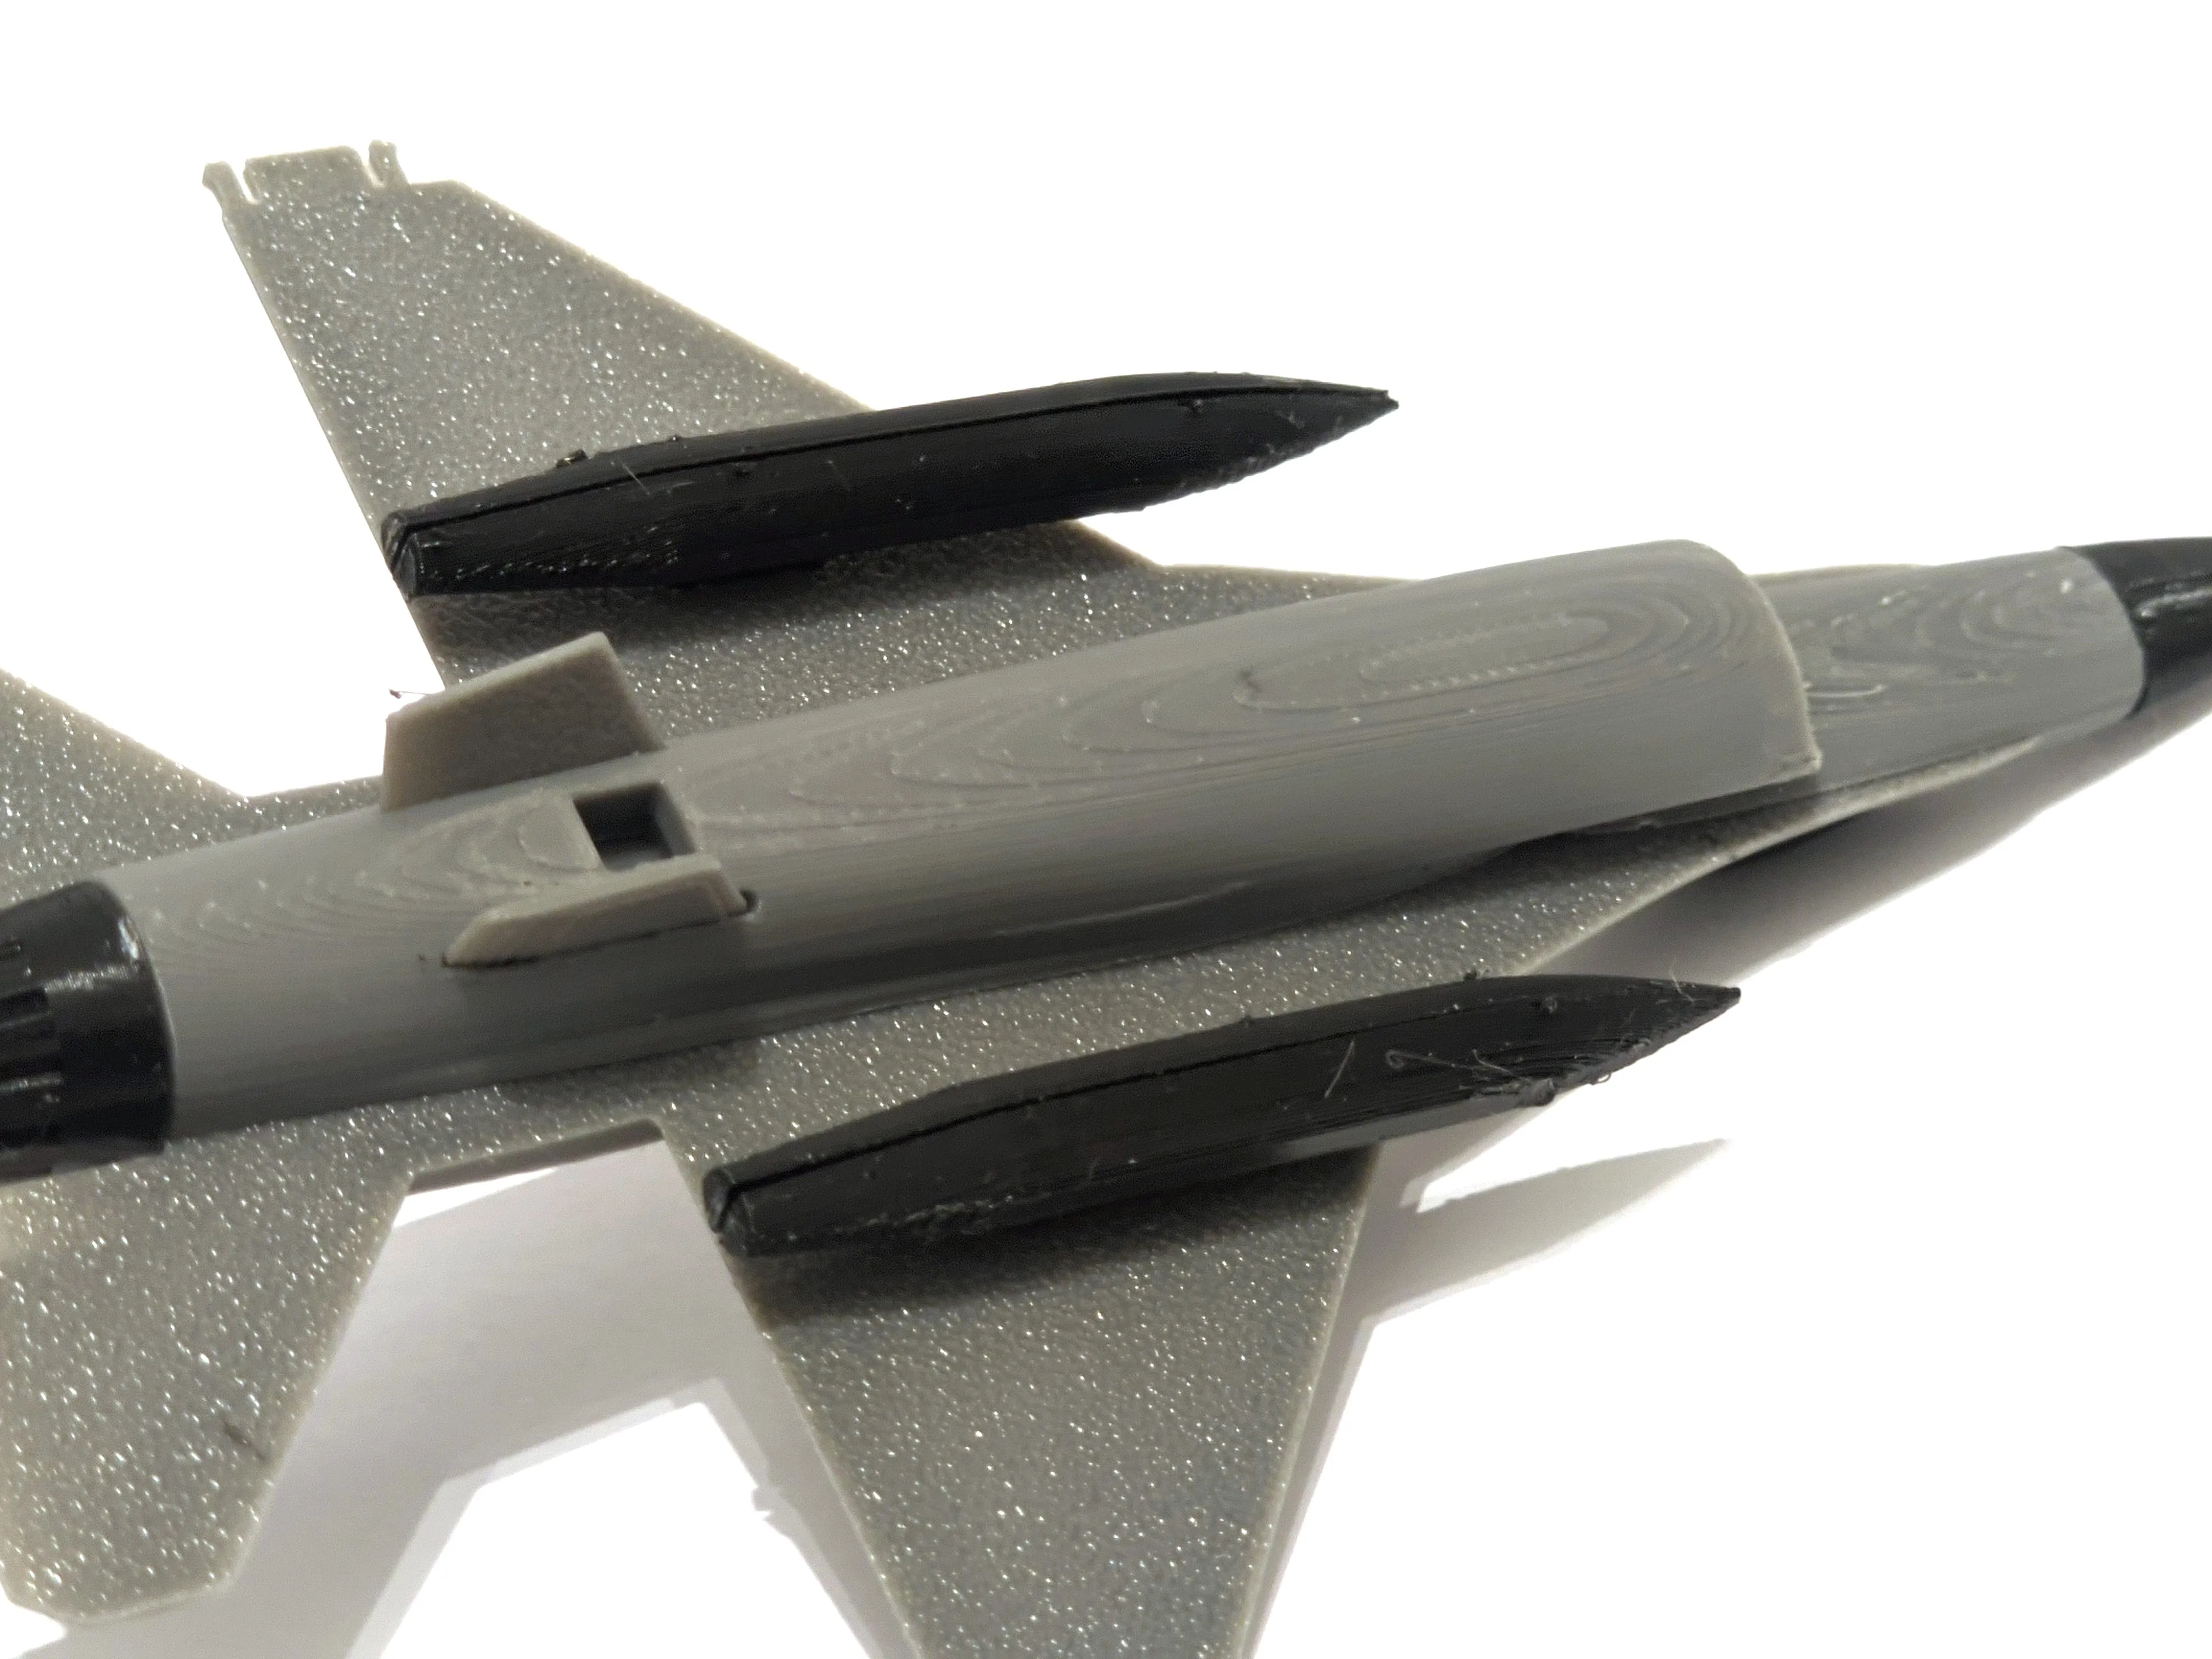
- Push the assembled fuel tank into the underside slot of the main wing. Repeat for the second tank. Ensure both tanks are properly attached.
Step 7:
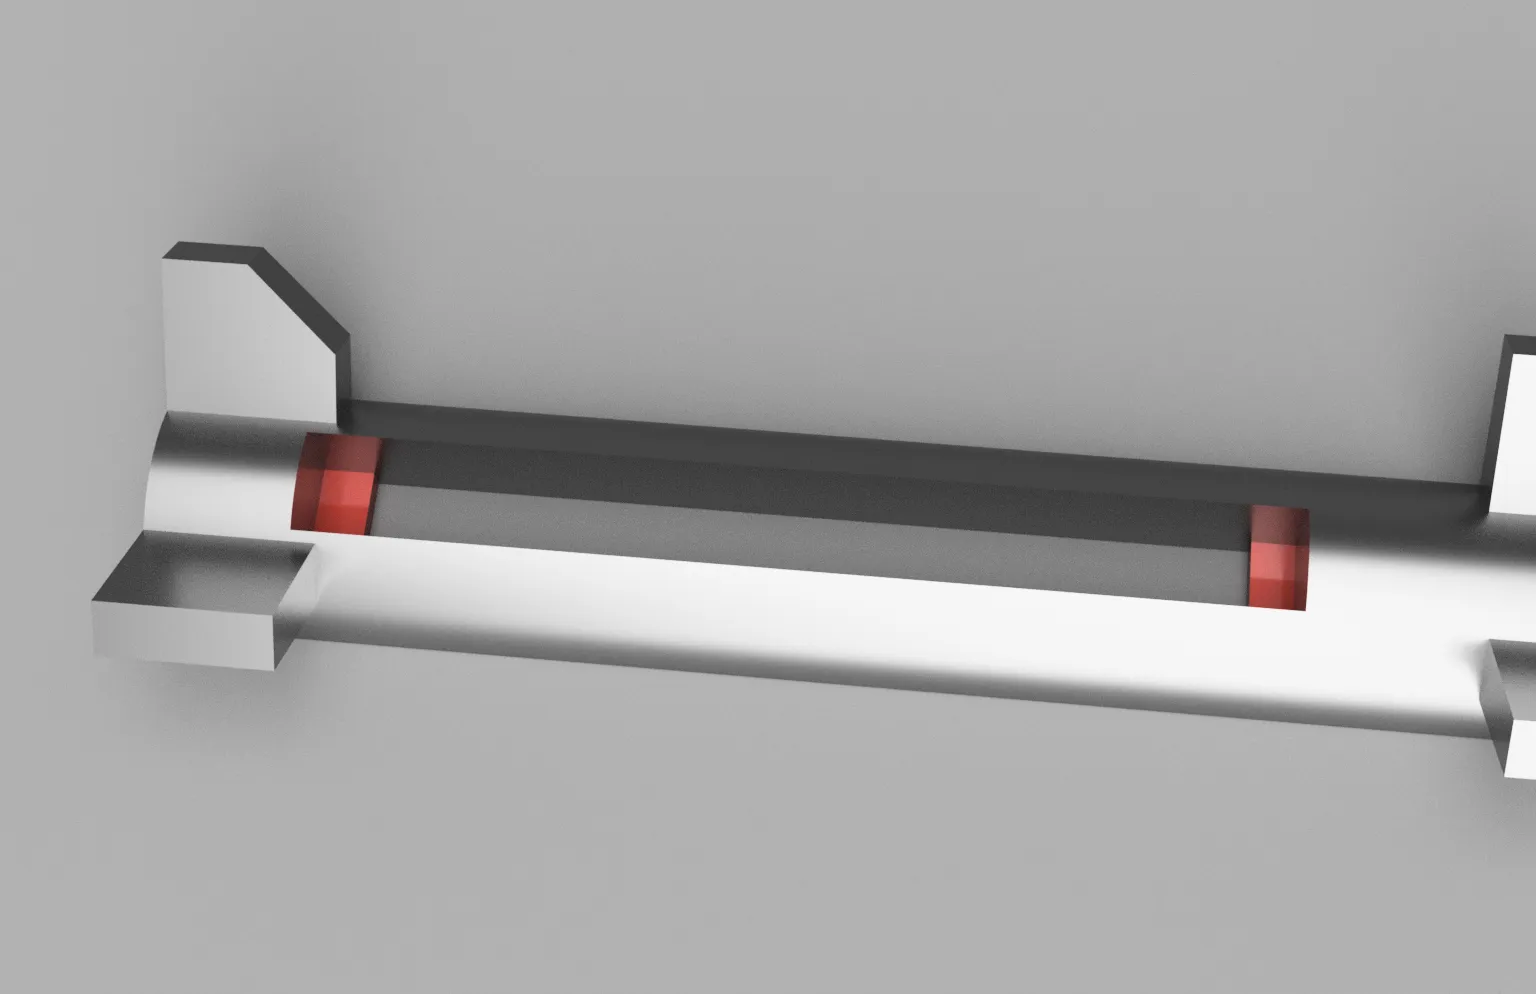
Attach the side rockets to the wings:
- The rocket without tabs goes in the inner position on each wing. Ensure all rockets are securely pushed into place.
- The two rockets with tabs go on the outer positions of each wing. Align the tabs with their respective slots.
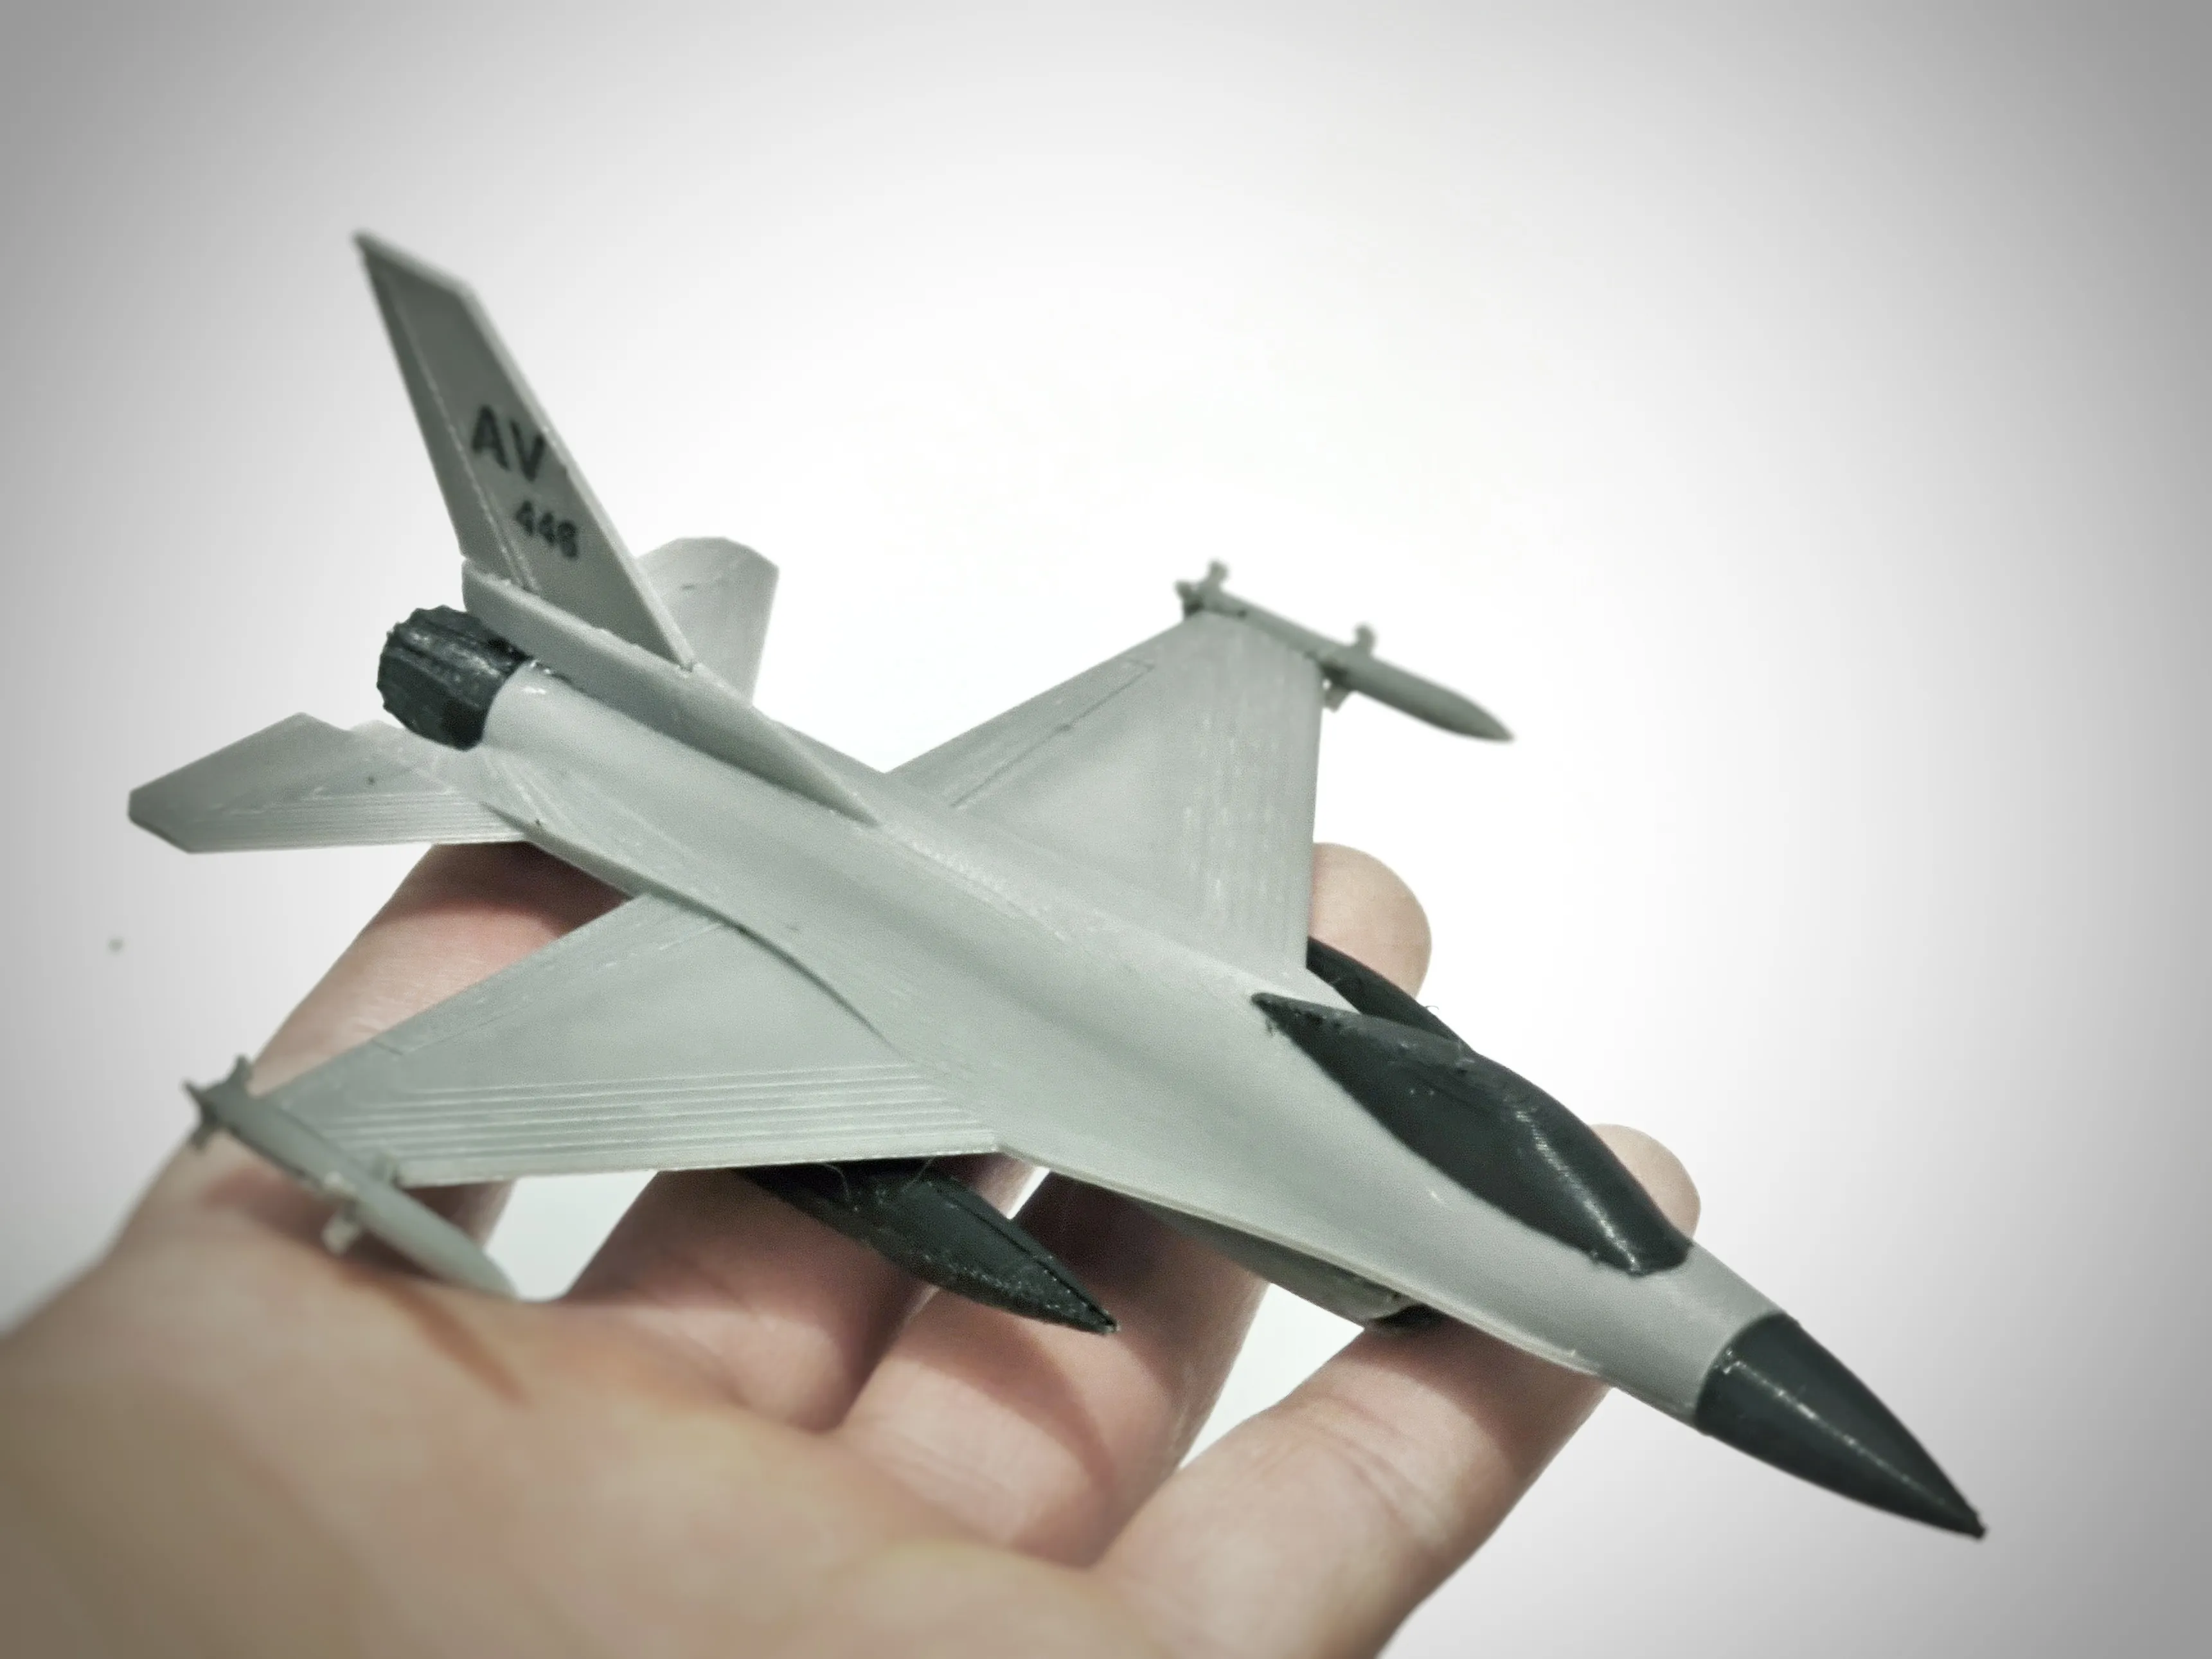
You’re done!
Congratulations! Your F-16 model is complete and ready for display. Enjoy your finished build!
License

You shall not share, sub-license, sell, rent, host, transfer, or distribute in any way the digital or 3D printed versions of this object, nor any other derivative work of this object in its digital or physical format (including - but not limited to - remixes of this object, and hosting on other digital platforms). The objects may not be used without permission in any way whatsoever in which you charge money, or collect fees.


Comment & Rating (61)