
xTool S1 Handle for 40W Module / IR Module

Print Profile(3)


Description
Project Description
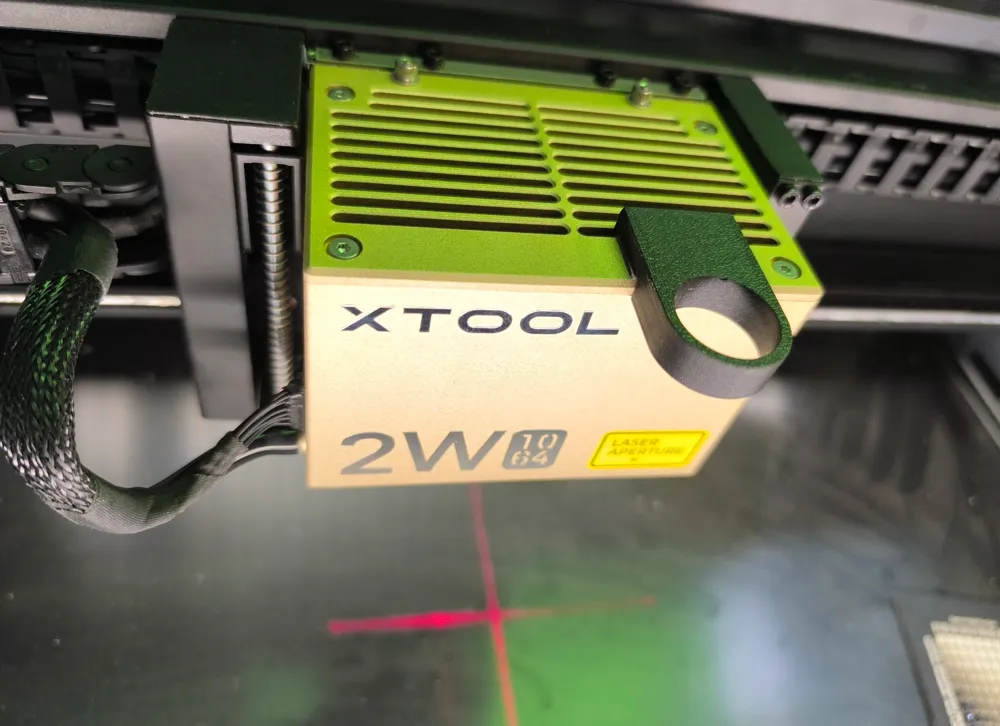
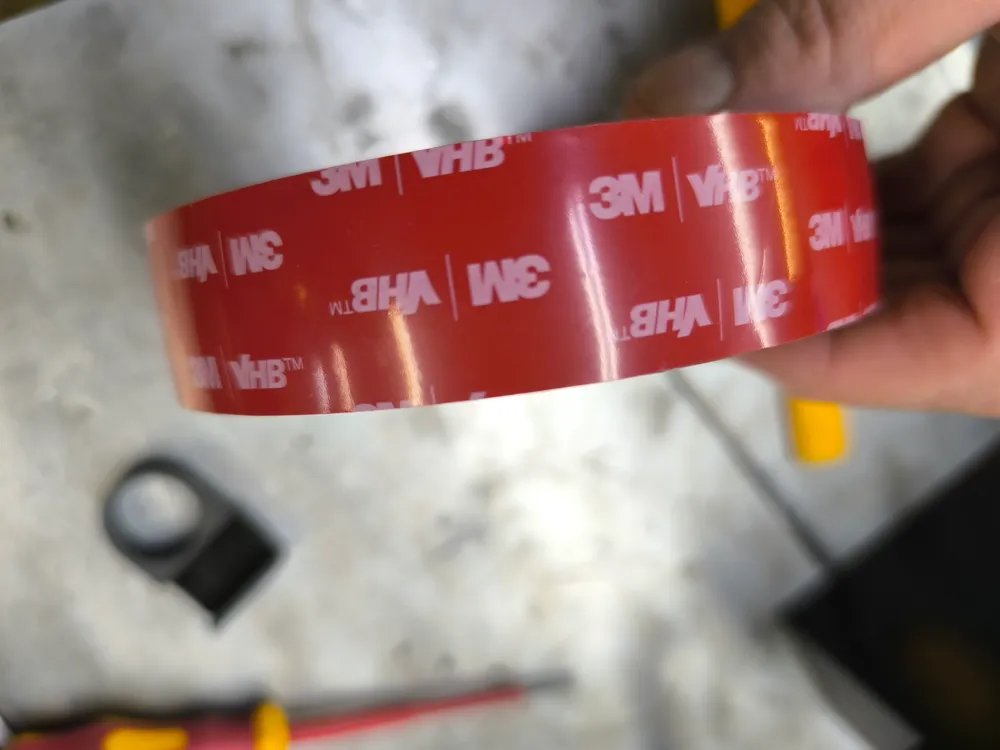
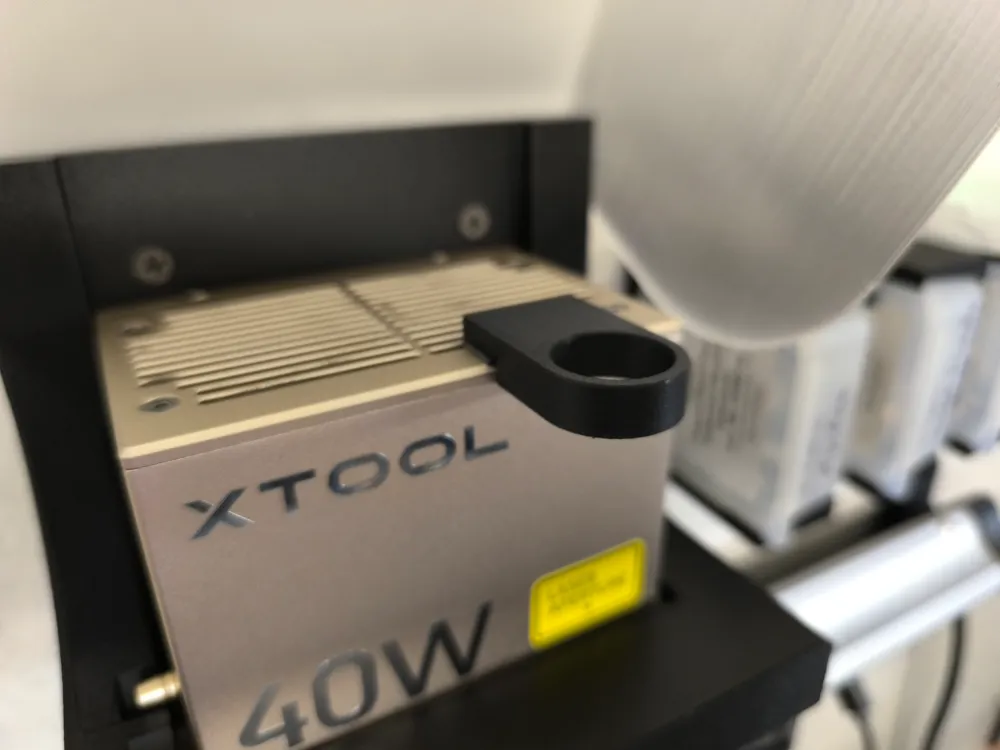
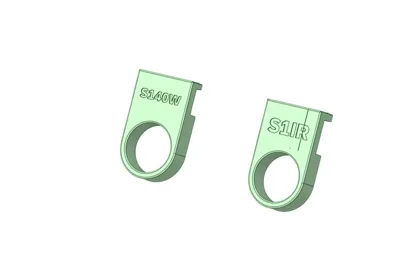
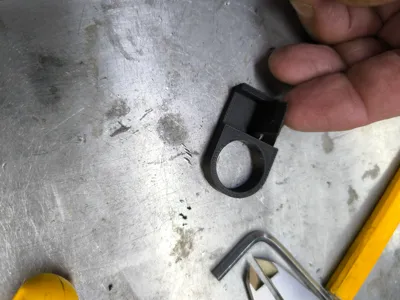
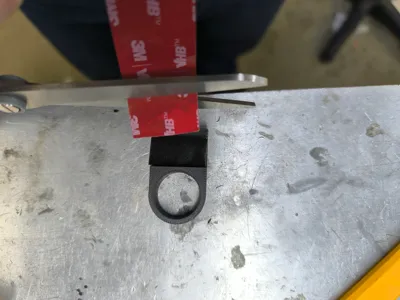
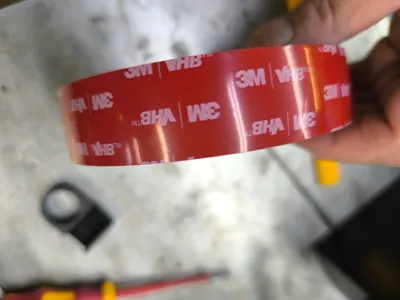
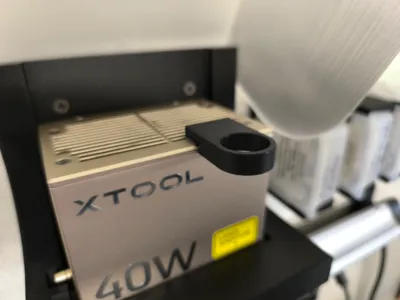
This project provides a specially designed handle that simply snaps into the ventilation grille of the S1 laser diode modules (40W and 2W IR module). Additionally, the handle can be secured with 3M double-sided adhesive tape (extra strong, waterproof, and high-temperature resistant) to further increase stability.
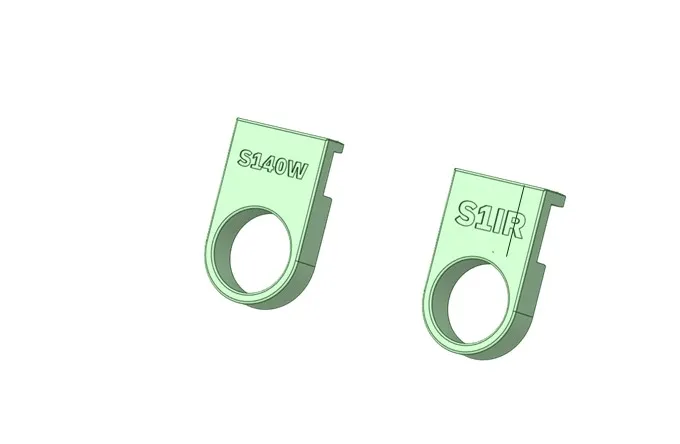
Please note that the two modules have different dimensions and this project is exclusively suitable for the 2W IR module and the 40W module of the XTool S1.
Technical Details
Compatible Modules: XTool S1 40W and 2W IR Module
Material: PLA CF (carbon fiber reinforced) or ASA CF (carbon fiber reinforced, UV-resistant)
Attachment:
Snap-fit mechanism for the ventilation grille
Additional fixation with 3M double-sided adhesive tape (extra strong, waterproof, high-temperature resistant). 3M Double-Sided Adhesive Tape Extra Strong, Waterproof and High-Temperature Resistant for Automotive, Home and Office Use (2.5cm x 4.7m)
https://amzn.to/3W9Vx0y
Required Components
1. 3D printer with a print area of at least 100 x 100 mm
2. Filament: PLA CF or ASA CF
3. 3M double-sided adhesive tape (extra strong, waterproof, high-temperature resistant) https://amzn.to/3W9Vx0y
3D Printing Parameters
Layer height: 0.2 mm
Infill: 35% (for increased stability)
Print speed: 40–50 mm/s
Temperature:
PLA CF: 210–230°C (nozzle), 60°C (bed)
ASA CF: 250–270°C (nozzle), 90–110°C (bed)
Supports: Not required
Adhesion: Brim recommended
Note:
Make sure the material is correctly set (PLA CF or ASA CF).
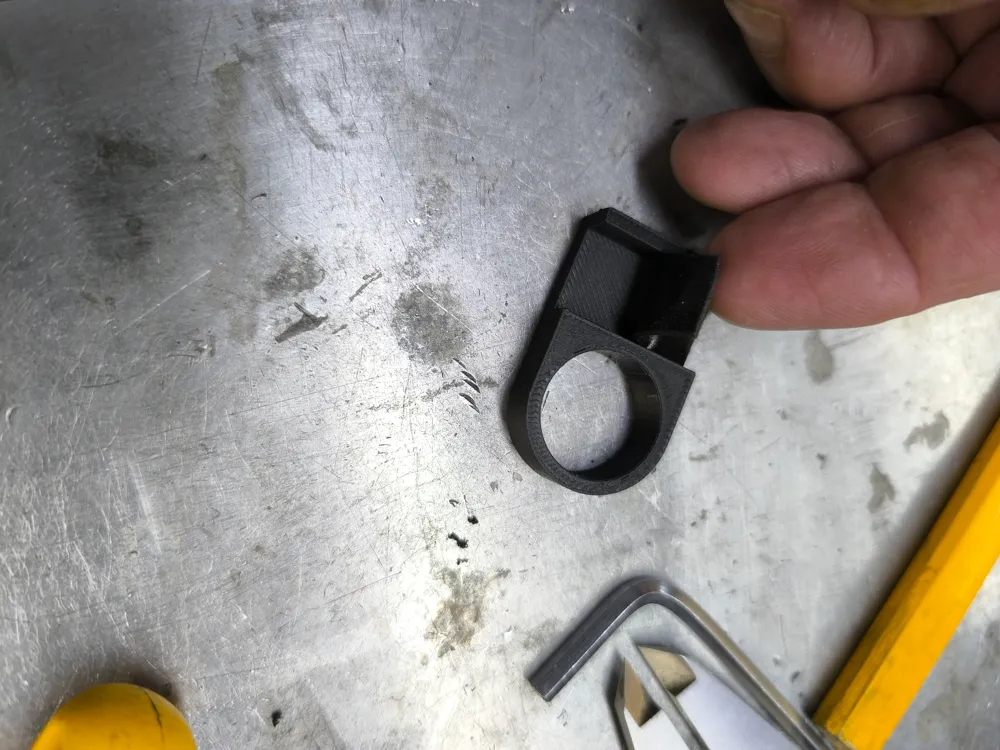
Check after printing that the handle has printed cleanly and without overhangs.
Assembly:
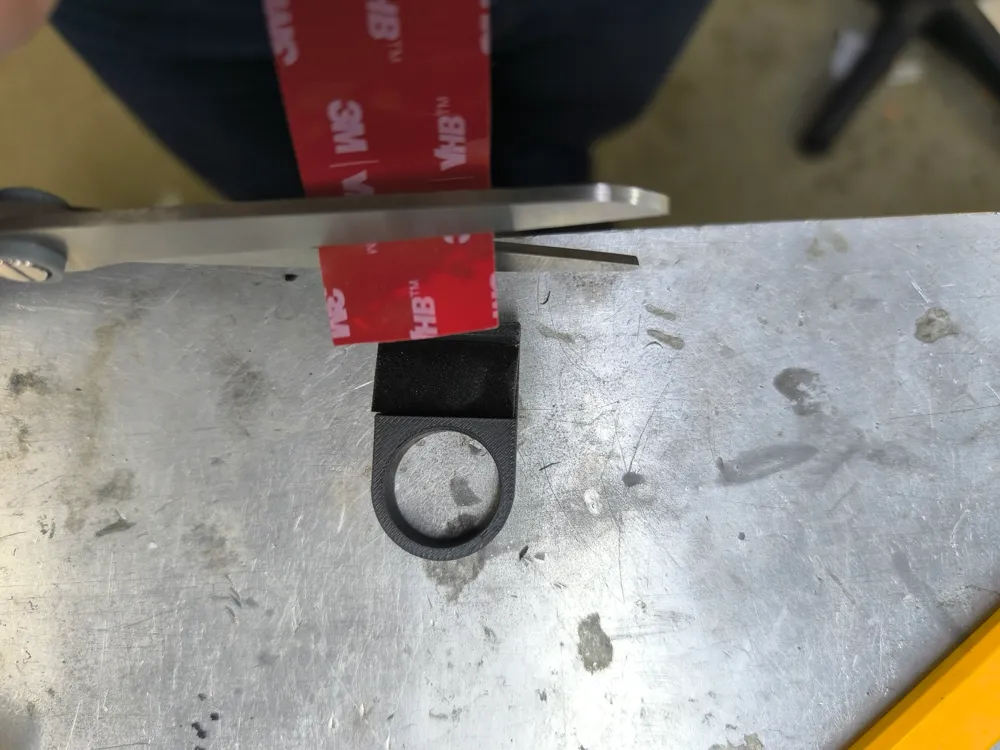
1. Cut a piece of the 3M adhesive tape to size and attach it between the handle and the module for additional stability.
2. Carefully snap the handle into the module's ventilation grille.
3. Press the handle firmly to ensure optimal adhesion of the adhesive tape.
3. Note:
Regularly check the stability of the handle and replace the adhesive tape if necessary.
Important Notes
Consider dimensional differences: This project is specifically designed for the 2W IR module and the 40W module of the XTool S1. Even the 20W module has different dimensions!
Material selection: Use PLA CF or ASA CF for maximum stability and durability.
Disclaimer:
Commercial use of the files is prohibited.
I assume no responsibility for damage or problems that may arise from the use of the files.
Use at your own risk.
Happy printing and assembling! Feedback and suggestions for improvement are welcome.
License

You shall not share, sub-license, sell, rent, host, transfer, or distribute in any way the digital or 3D printed versions of this object, nor any other derivative work of this object in its digital or physical format (including - but not limited to - remixes of this object, and hosting on other digital platforms). The objects may not be used without permission in any way whatsoever in which you charge money, or collect fees.


Comment & Rating (83)