
Alchemist's Cube 2: The Philosopher's Key
Print Profile(8)




Description
Membership
Sell your prints of The Alchemist's Cube 2: The Philosopher's Key! Check out my Commercial Membership for a licence to sell all my models!
Alchemist's Cube 2: The Philosopher's Key
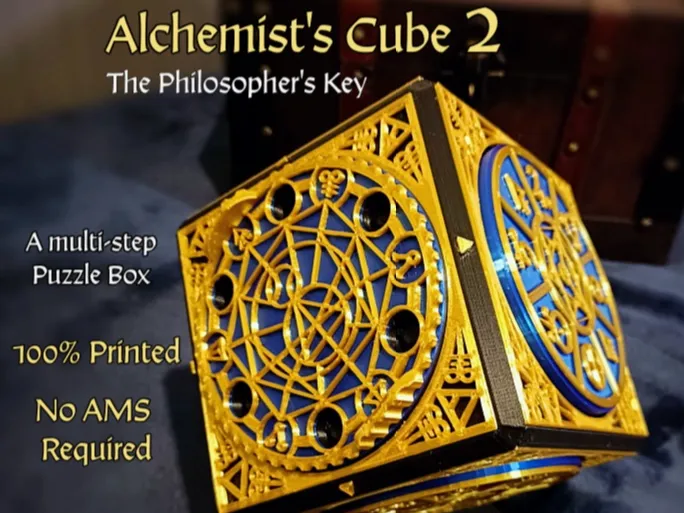
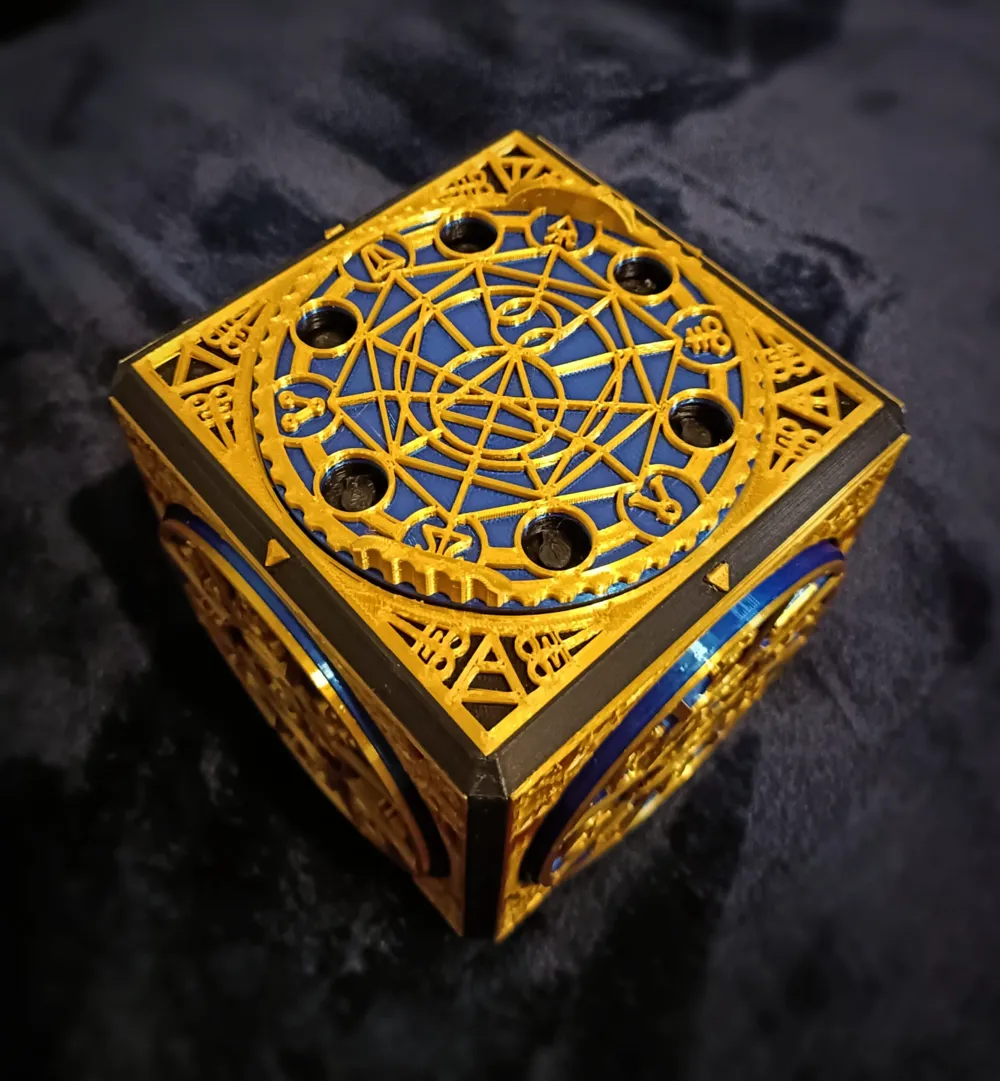
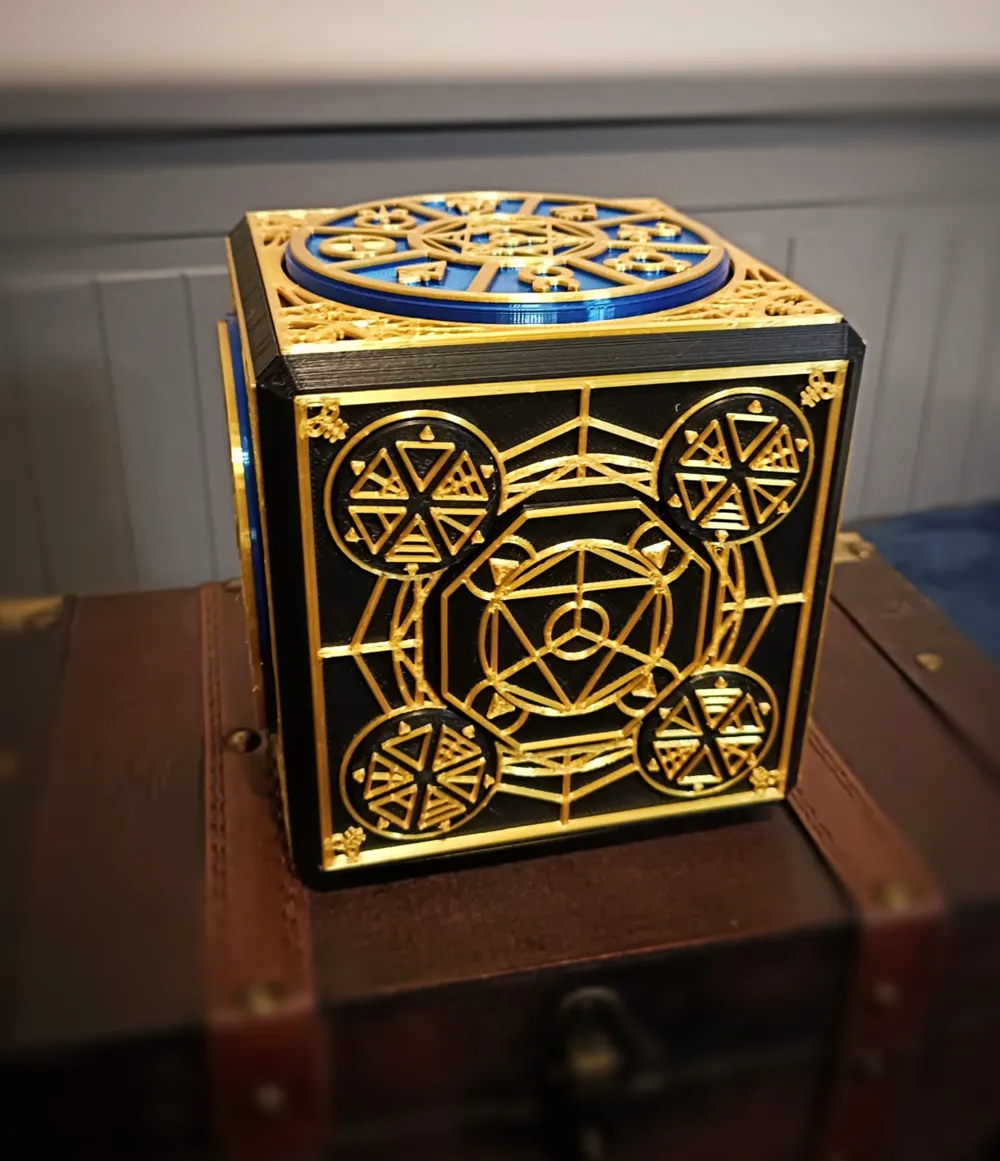
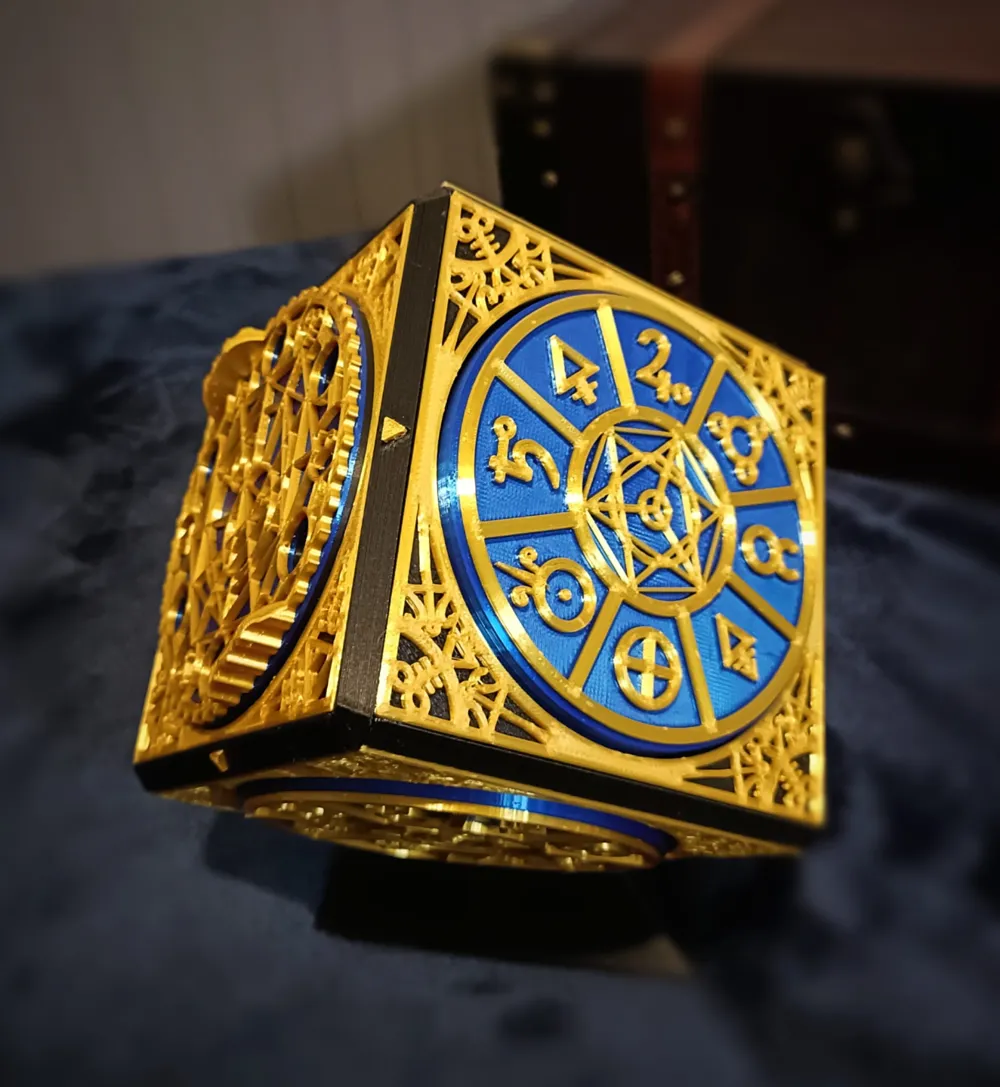
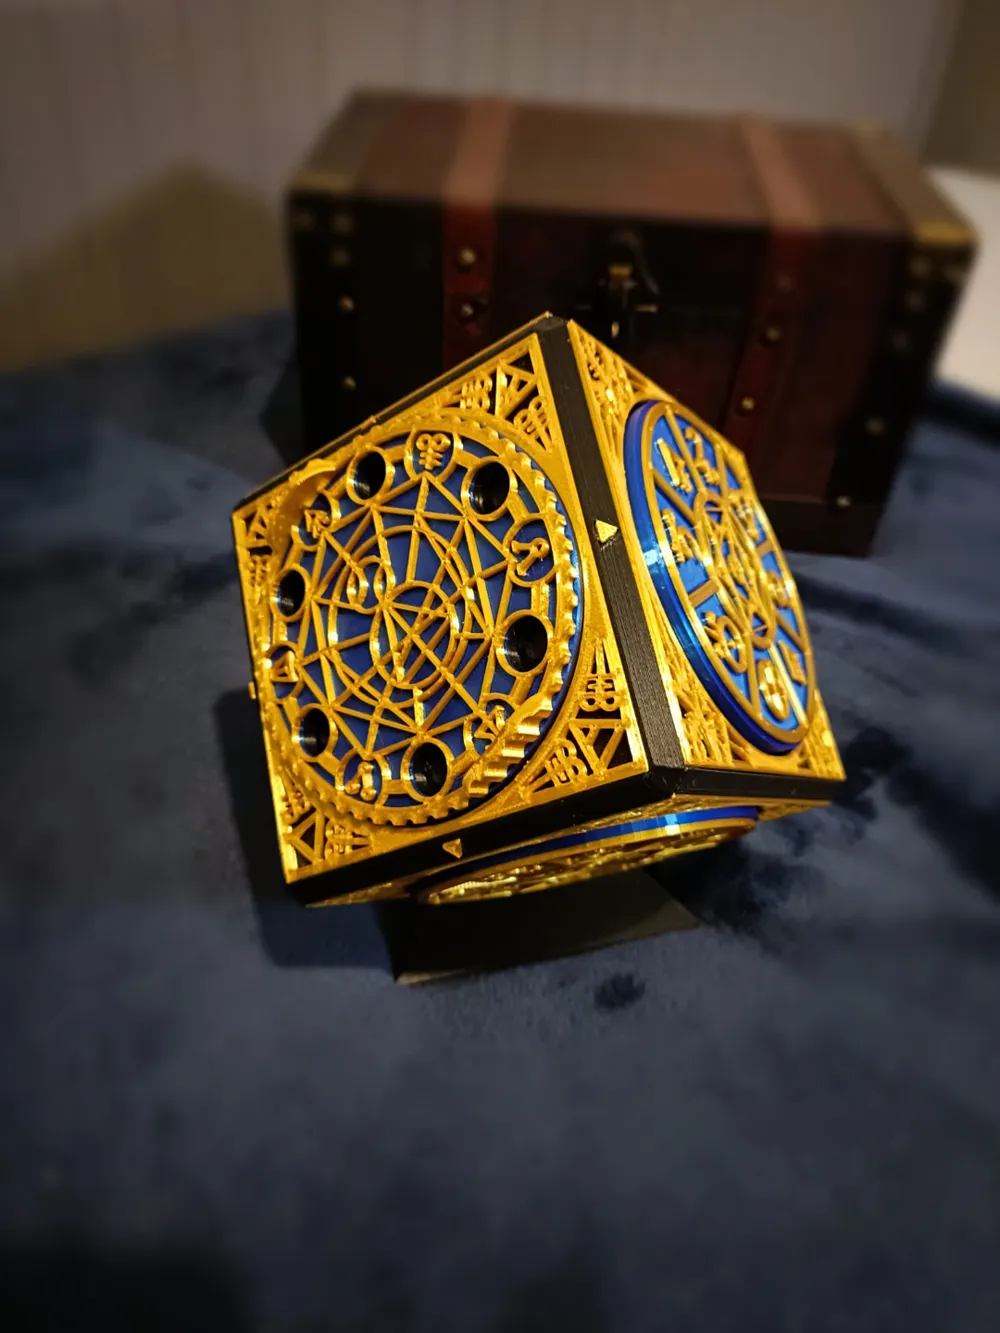
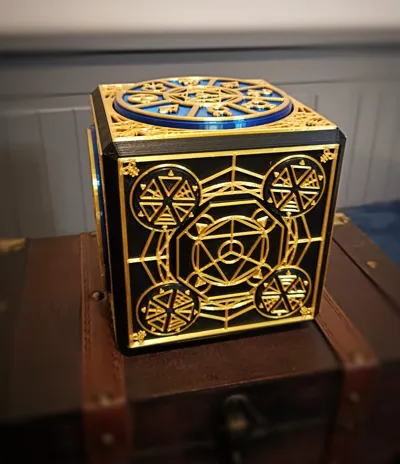
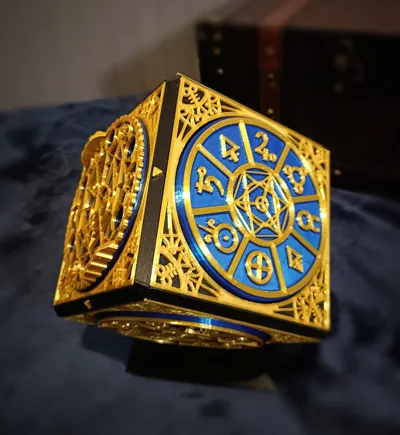
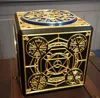
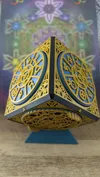
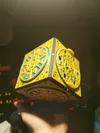
Following the popularity of the original Alchemist's Cube, I decided to design a puzzle cube that plays like an escape-room game. When built as instructed by the PDF guide, the player needs no prior knowledge of combinations or codes to solve the Alchemist's Cube 2, as all the clues are cleverly hidden, and are revealed as you play. You may also build the cube in a different configuration to the default one given in the guide and make your own clues… or keep it a secret just for you.
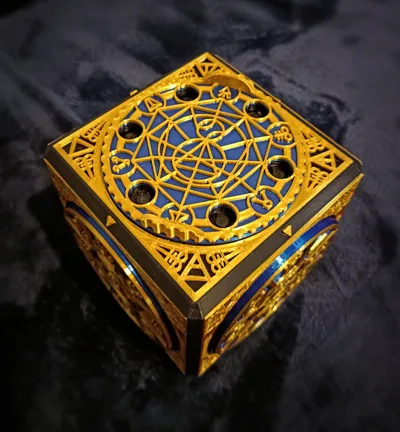
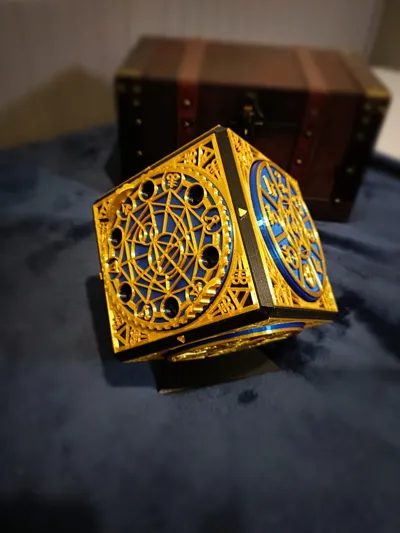
The Alchemist's Cube 2 is bigger than the original Alchemist's cube but maintains the 4 iconic symbol wheels. It also features 3 Additional puzzle steps, for a total of 4 independent puzzles. Including a 4 wheel puzzle on the base face, a devious tool based puzzle on the top face, the classic 4 symbol wheel locking mechanism, and finally a confounding maze lock. The main vault is larger than the original Alchemist's Cube, allowing you to store a bigger prize, or hide your largest philosopher's stone. As well as the main vault, the Alchemist's Cube 2 features 3 additional secret compartments which are hidden within the cube, in which puzzle clues are concealed.
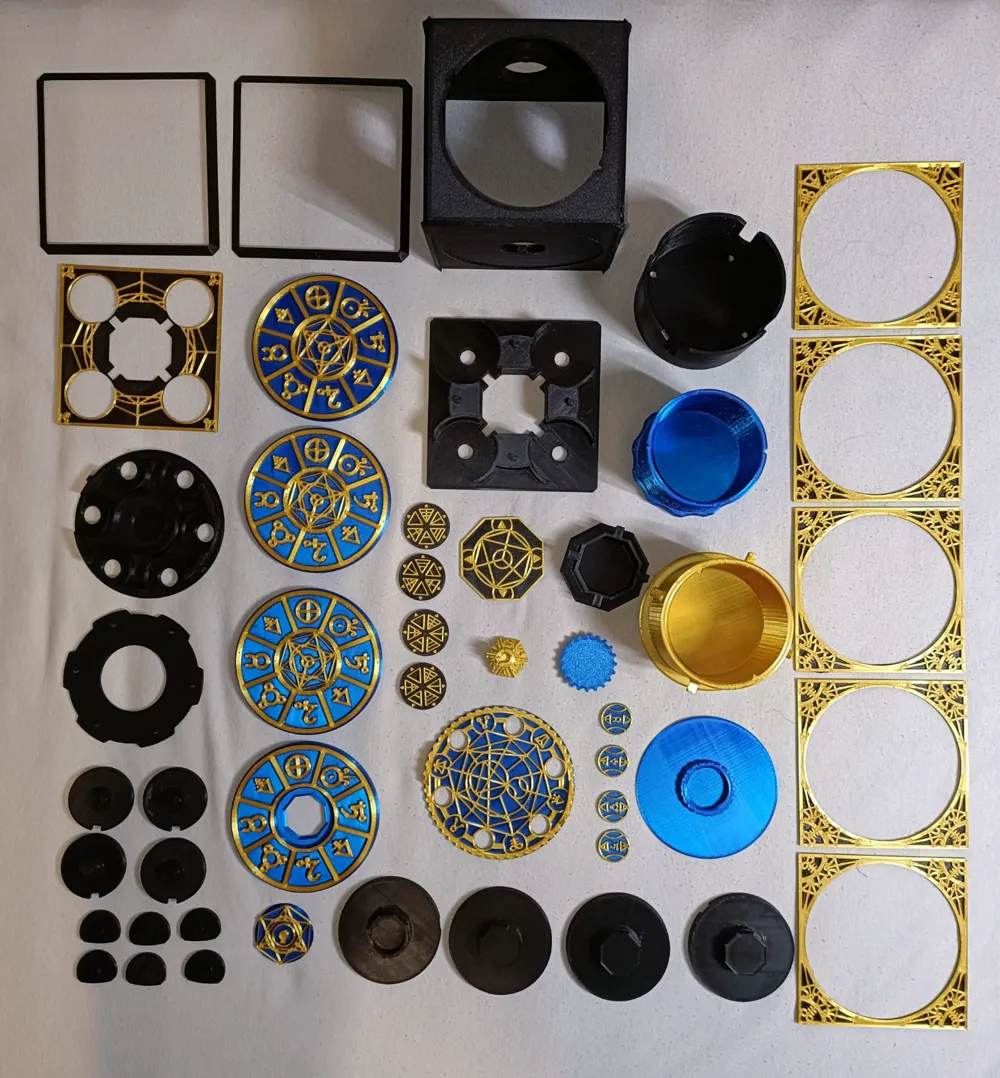
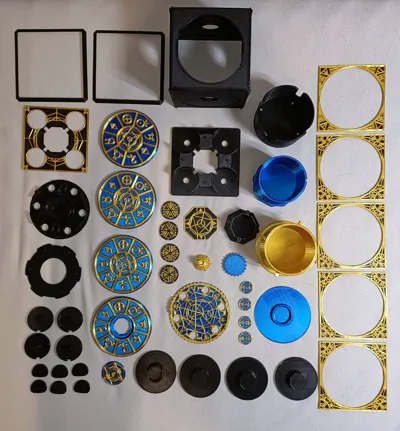
Printing the Alchemist's Cube 2 requires no AMS, although colour changes achieved by swapping filaments can really make this model pop! Many Parts print without supports but for some parts, minimal supports are required. The PDF guide includes a part list that describes which parts require supports, and which parts do not.
Printing The Alchemist's Cube 2 is quite a challenging project; although each part is designed with ease of printing in mind, there are a large number of parts to keep track of and close attention to detail is need to ensure proper assembly. The PDF guide includes a detailed assembly guide with pictures, however, assembling the Alchemist's Cube 2 will unfortunately spoil the puzzle's solution, so it is better as a gift or challenge to present to friends and family. Once assembled, the Alchemist's Cube 2 is intended to be an easy to moderate difficulty solve, with multiple steps and hidden clues along the way.
Please Read the PDF Guide for Printing and Assembly instructions
- Spoiler Warning - The PDF Guild contains the solution to the Alchemist's Cube 2
Boost Me (for free)
Boost this box to the moon! 🚀
Documentation (1)
License

You shall not share, sub-license, sell, rent, host, transfer, or distribute in any way the digital or 3D printed versions of this object, nor any other derivative work of this object in its digital or physical format (including - but not limited to - remixes of this object, and hosting on other digital platforms). The objects may not be used without permission in any way whatsoever in which you charge money, or collect fees.


Comment & Rating (1029)