
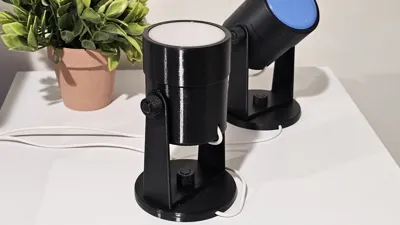
LED Spotlight with USB LED light (w/diffusers)

Print Profile(1)

Bill of Materials





Description
Boost Me (for free)
Please boost this design if you like it!
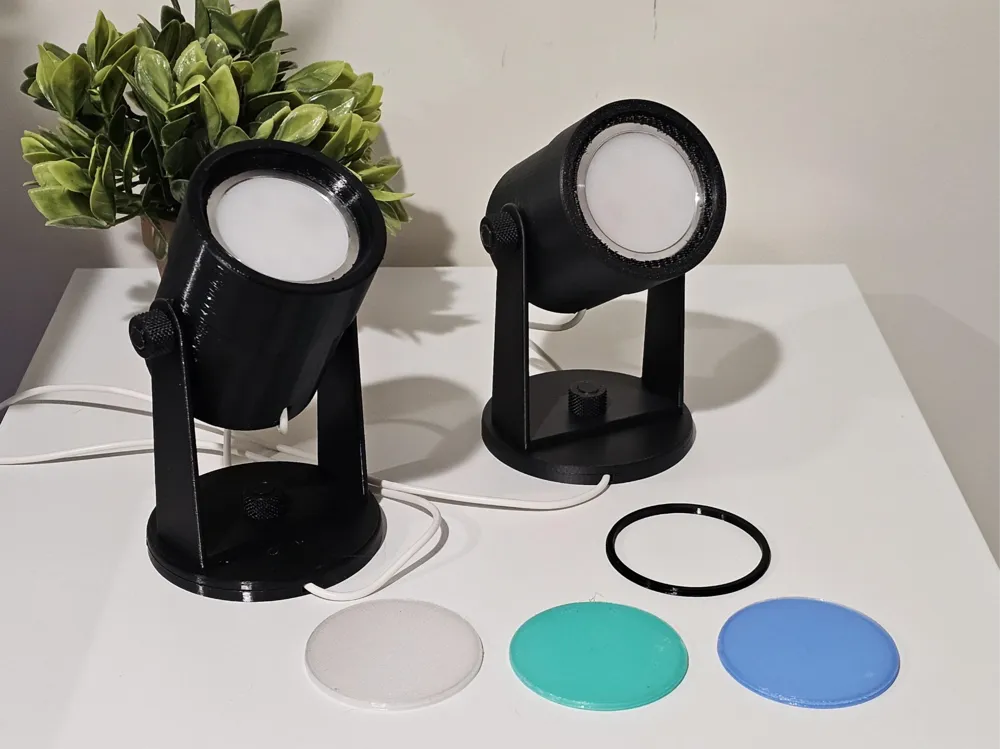
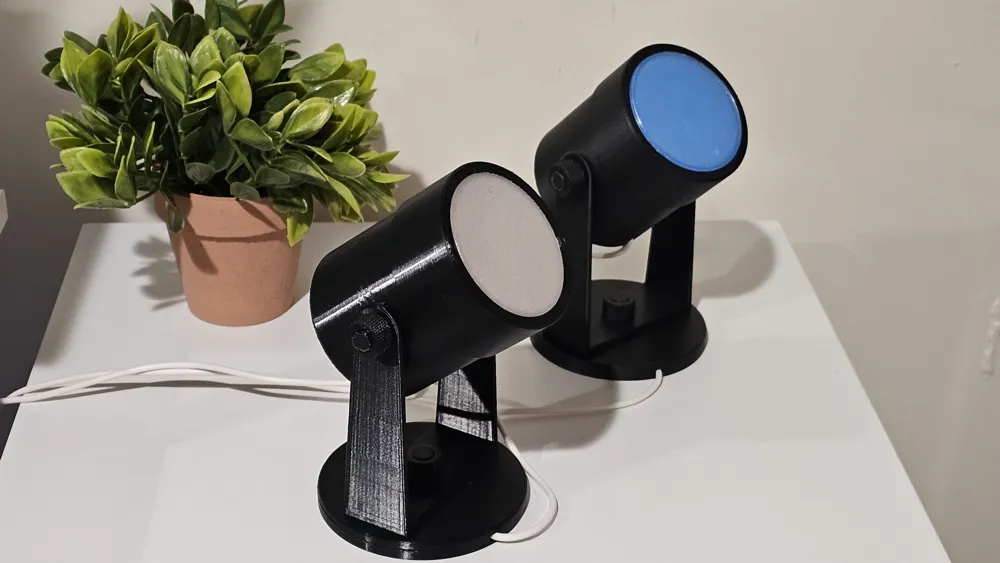
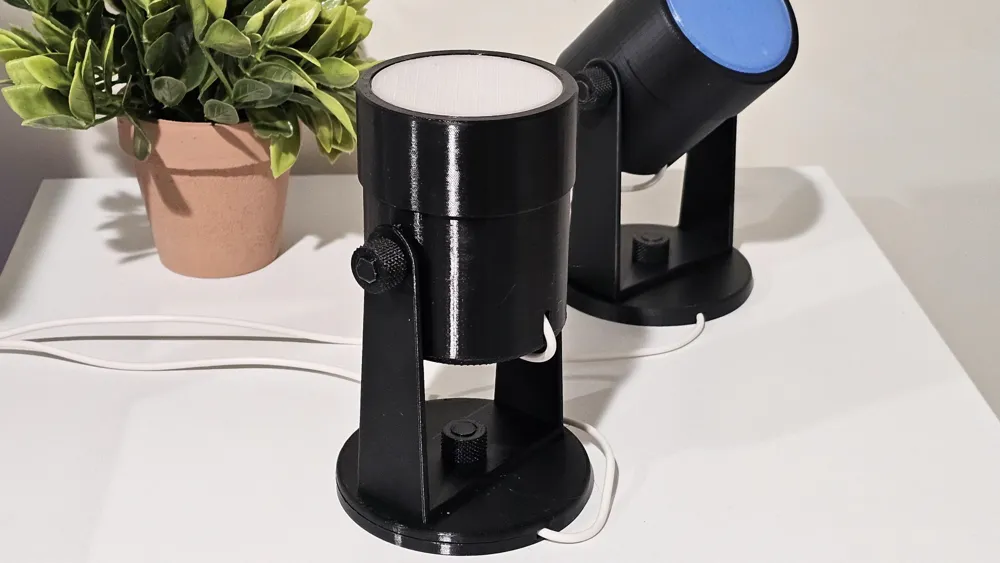
Versatile and easy to use spotlight for adding light in just about any space, whether it's to show off artwork on your wall, shelf or other collectables in a room! It prints in one simple plate with minimal supports (you can turn supports off, but there may be some stringing).
I recommend using the Maker's Supply LED Lamp light or one equivalent between 55 and 60 millimeters in diameter. You can of course extend the USB cord with any USB-A Extension or use DC12V lights with the same diameter.
IMPORTANT NOTE: As the USB Light puck emits some heat, I would recommend printing this in PETG, but you can print it in PLA. Be aware the if printing in PLA that there could be warping/sagging over the long-term depending on the environment it's in from the heat and especially if mounted where it will get direct sunlight at times. You could also print it in a more durable ABS or ASA (for better UV Resistance) for use outdoors or on a patio.
You can get creative and print the base in colors and print different lenses from plate 2 using translucent filament instead of just using the small filler ring on the main plate to customize lighting colors/appearance.
ASSEMBLY INSTRUCTIONS and NOTES: Print plate 1, assemble the light by taking the main body and a puck light to place it in with the lights facing toward the end. Secure the light in place by threading the USB cord though the inner locking ring and spin the main body on to the locking ring. This will lock the puck light into place. Thread the cord into the slot and secure the back cover in place. Take the small lens ring and attach to the front to cover the threads if you wish to have no lens cover.
With the light main body assembled, use the support rod (the rod that prints with thread on both ends) to assemble the mount to the light main body and lock in to place with the nuts. Note that these nuts may be tight or difficult to start at first, once you work them on back and forth, they should spin easier. Please ensure that the brim is fully removed from the rod or use clipper to clip it back so you can thread it on to the end of the support pin. With the light main body attached, now attach it to the mounting base with the base plate cover and secure with the last nut. Note that you can mount the base where needed with command strips (and poke the end through the back plate for later removal) or use two small 3/16" screws and attach the light with the cover and nut after mounting the plate to the wall or ceiling. You can route the USB cord through the base plate if desired for cable management. Optional - Print plate 2 if you wish to have a lens diffuser/cover.. note that when using a cover the light will be softer as a result! Now assembled and mounted, plug it in and enjoy!
Feedback is welcomed! If you appreciate my designs, please consider buying me a coffee!
License

You shall not share, sub-license, sell, rent, host, transfer, or distribute in any way the digital or 3D printed versions of this object, nor any other derivative work of this object in its digital or physical format (including - but not limited to - remixes of this object, and hosting on other digital platforms). The objects may not be used without permission in any way whatsoever in which you charge money, or collect fees.


Comment & Rating (8)