Purge container for the PWAS system


Print Profile(2)
Bill of Materials


Description
Boost Me (for free)
👋 Hello!! I'm new to 3D printing. If you enjoy my models, please boost me to help me continue growing and designing more useful objects.
Hello everyone!!
I have devised an accessory system for the purge wiper based on interchangeable magnetic accessories (PWAS - Purge Wiper Accessories System). All accessories attach to a small adapter containing two 8x3 mm magnets (https://makerworld.com/en/models/1006029#profileId-984479).
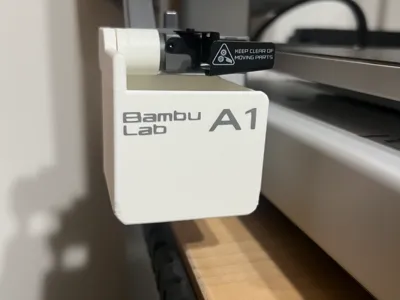
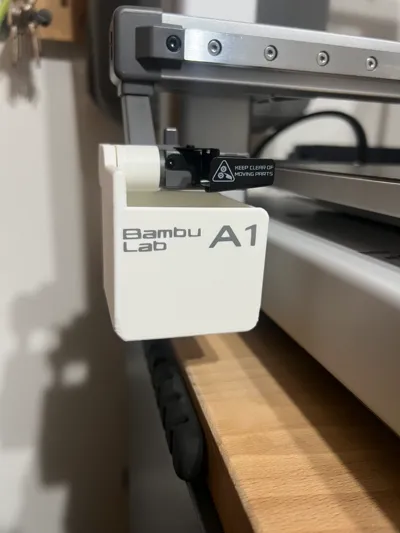
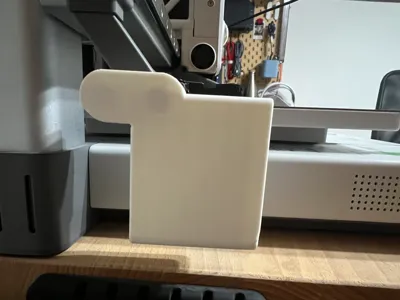
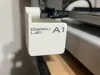
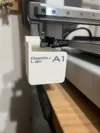
On this occasion, I present my version of a purge container for the Bambu Lab A1/A1 mini.
After extensively searching for a purge container that met my needs and failing to find one that fully satisfied me, I decided to create my own version.
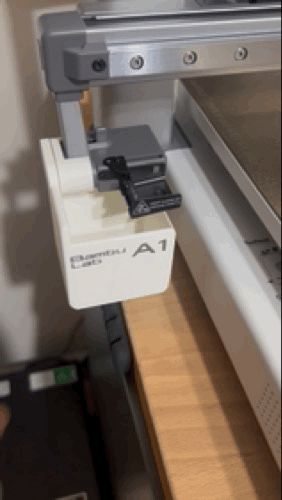
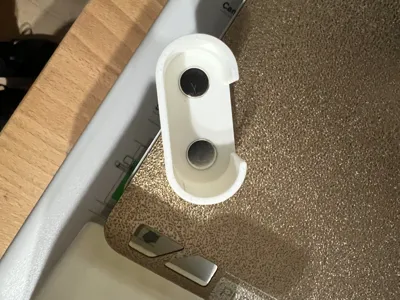
It is a container that magnetically attaches to the printer using a coupling accessory (PWAS system), which can be used to add other types of accessories besides the purge container (I have some in my profile and I am designing more).
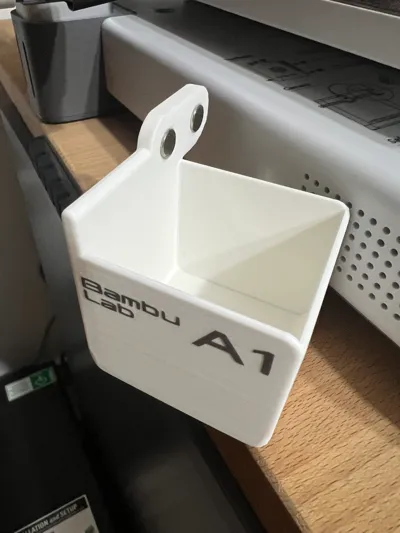
For this attachment, four 8x3mm round magnets are needed, two for the container and two for the attachment piece.
Assembly is very simple and everything snaps together, although the magnets may require a drop of glue to be perfectly fixed. I placed the magnets with opposing polarities in each pair so that, when joining the pieces, they autonomously seek their correct position, but you can place them as you see fit.
I designed it with an aesthetic that aligns with the printer's aesthetic to give the appearance of being part of it. Additionally, I added text with the brand and model and colored it in a shade similar to the original screen prints.
I've included two print profiles, one for two-color printing if you have an AMS and another for single-color printing with the text in bas-relief.
I hope you love it as much as I do.
PS: If you print it, I encourage you to comment on your impressions of the model, upload photos of the result, and give me a boost to help me create more models.
--
By the way, I used matte white PLA to give it a finish more similar to the casing.
Although I believe the light gray PLA Basic is the closest match, I didn't have any to test.
License
You shall not share, sub-license, sell, rent, host, transfer, or distribute in any way the digital or 3D printed versions of this object, nor any other derivative work of this object in its digital or physical format (including - but not limited to - remixes of this object, and hosting on other digital platforms). The objects may not be used without permission in any way whatsoever in which you charge money, or collect fees.
Comment & Rating (7)