
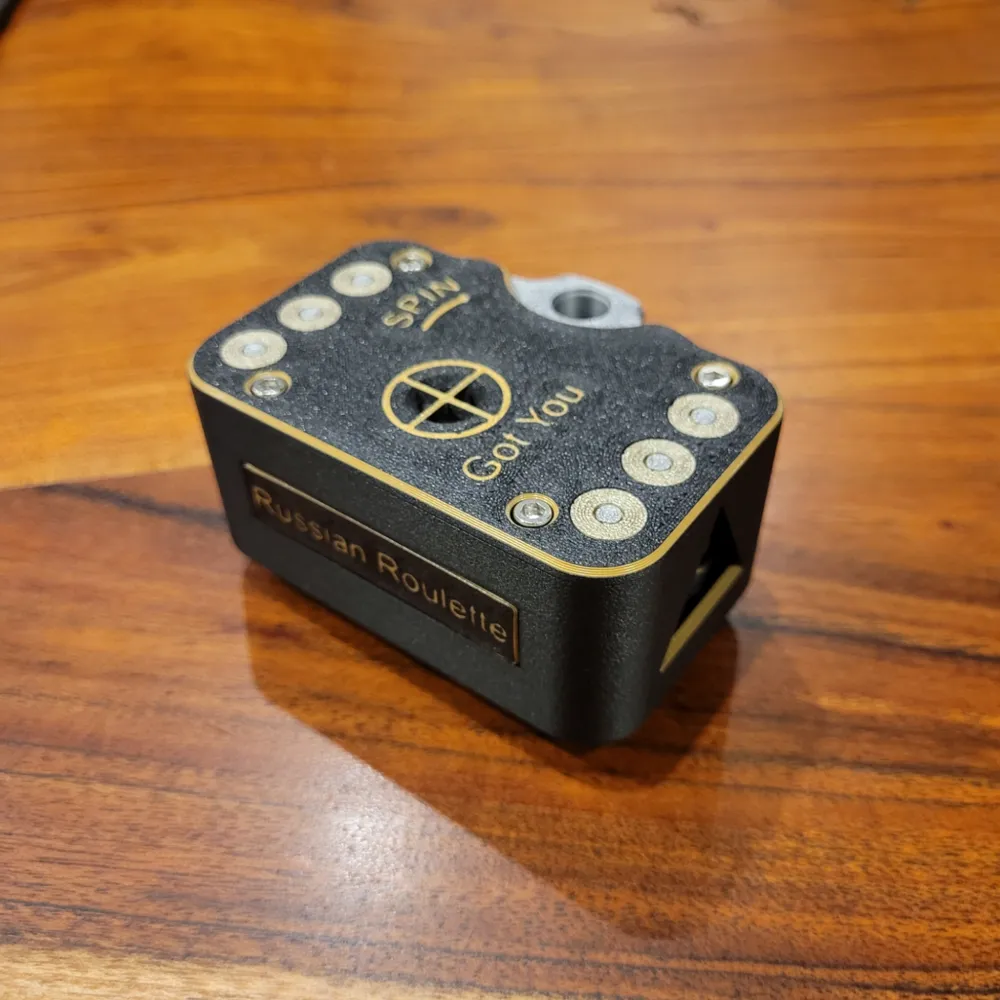
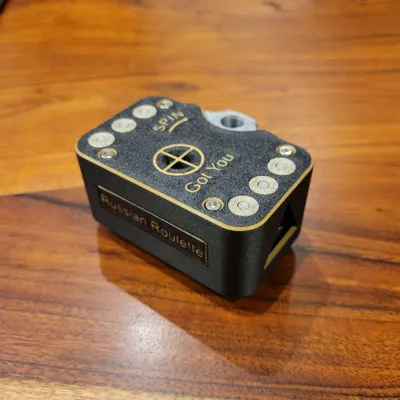
Russian Roulette Fidget Game

Print Profile(6)


Bill of Materials


Description
Hello my Friend and Welcome to my Page :) Have Fun with the choosen Model and let me know what you think after Printing it in the Comments. I appreciate every Feedback and hope you find something usefull for yourself. Enjoy
Russian Roulette decisionmaker:
Attention Guys, my new Table game Version of the Russian Roulette is now online :) Check it out
heres the Link to the Table game Version: https://makerworld.com/en/models/964591#profileId-934905
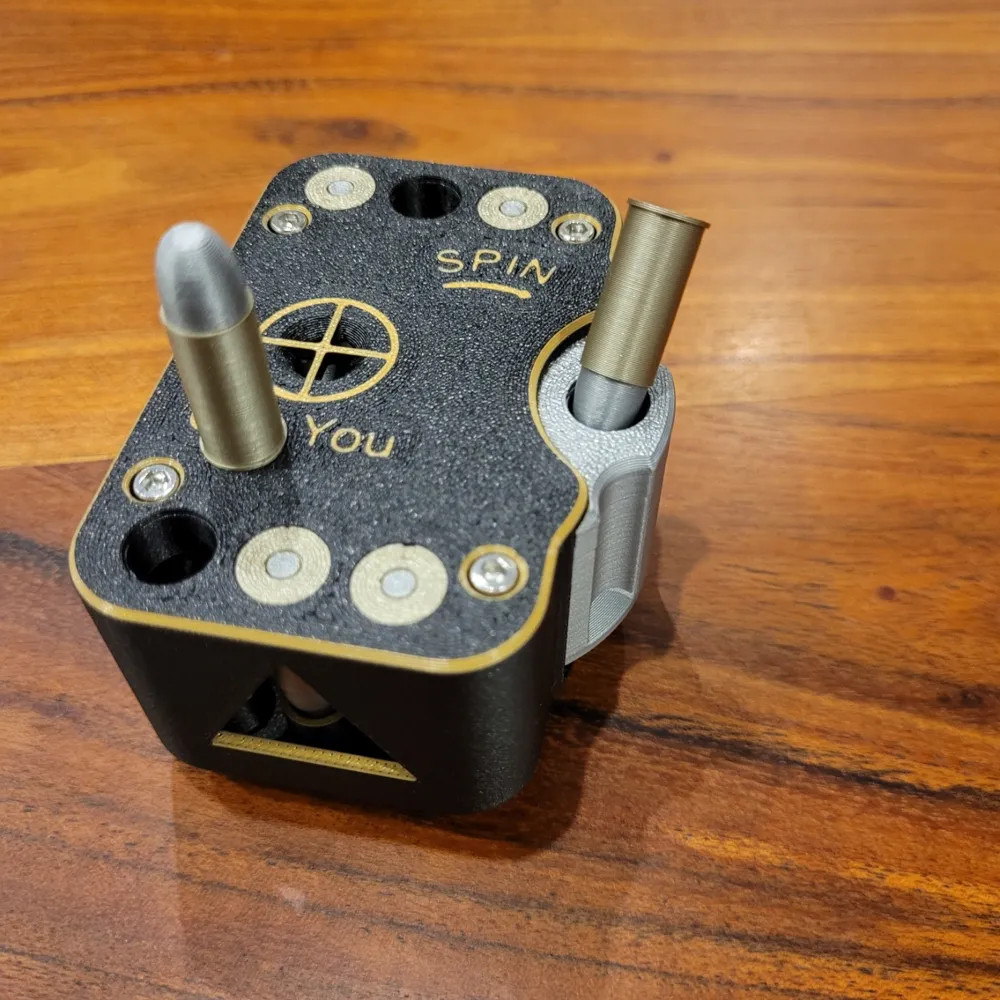
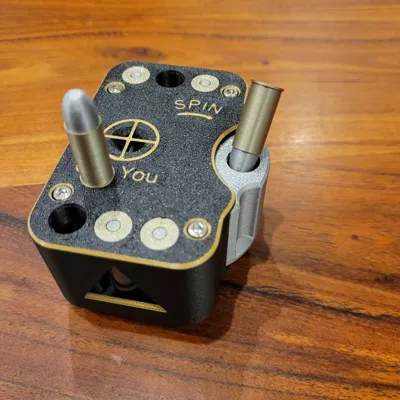
Hello Guys, who else knows the feeling when you try to decide whos gonna do the Dishes? Whos gonne do Laundry or similar things? Heres my solution where youre Luck decides for you :) The Russian Roulette Fidget toy.
ATTENTION! I just uploaded a second Printprofile which does not need Heated inserts! It uses instead 4 selftaping screws which i list in the BOM too.
ATTENTION 2! I just uploaded a Version which holds 6 REAL 357 Magnum Bullets! Please be carefull if you have access to such things. I am from Germany and in our Country we cant get such Bullets without some pretty heavy to get Paperwork. A fellow Makerworld User helped me to create this, he provided the Meassurements and did the Testprints to fit the Bullets properly. This is no Toy and should be handled carefully. Each and every single one of you who uses this needs to be carefull with it and i do not take any Responsibility for inadequate usage! Bullets are dangerous when not handled properly. This is more a Prop than a Toy so please use it as such!
My friend from MakeItSlow helped me with its meassurements for the 357 Bullets and did the Testprints for this Version. Please give his account some Love, hes a great guy and a cool Creator. Heres the Link to his Profile: https://makerworld.com/en/@MakeItSlow

It has 6 difficultys. From a chance of 1:6 to a chance of 6:6 if you really make shure :)
Boost Me (for free)
Like my Work? Support me with a comment, a Like, a make or even a boost, i appreciate every single one :)
Features:
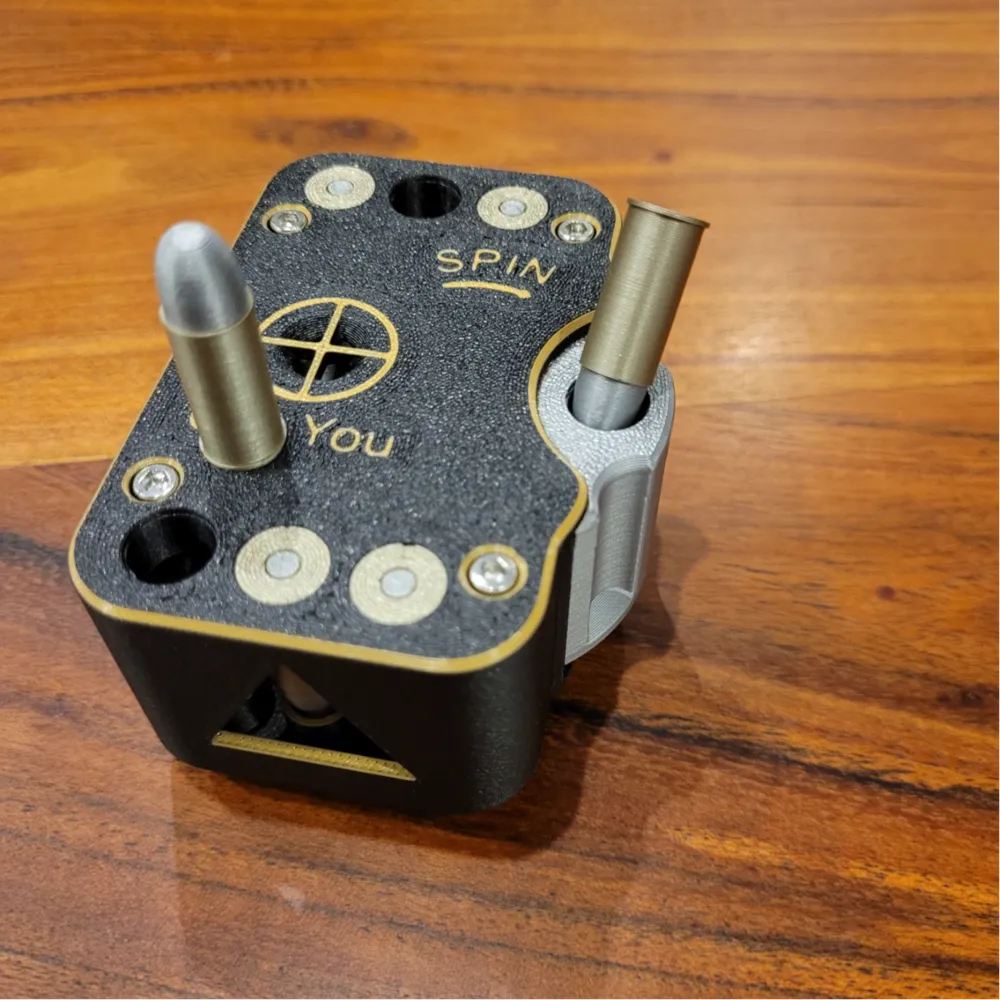


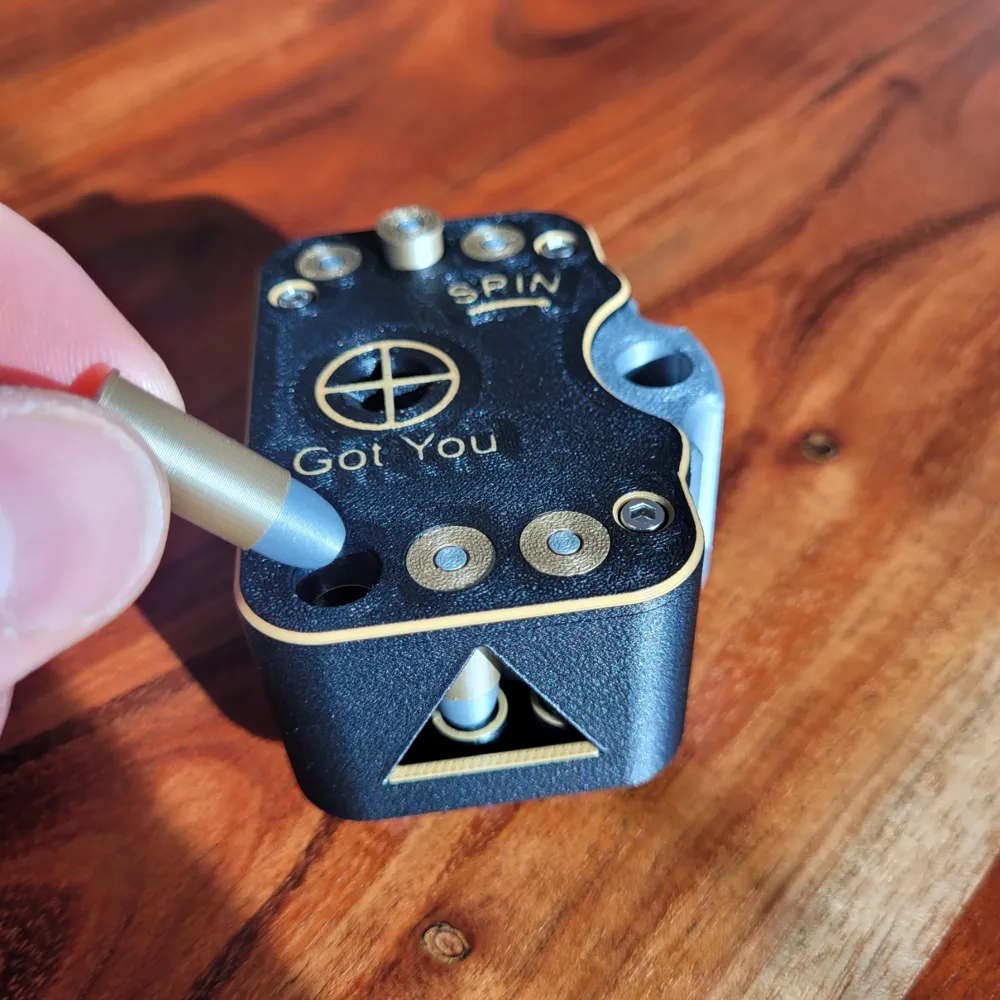
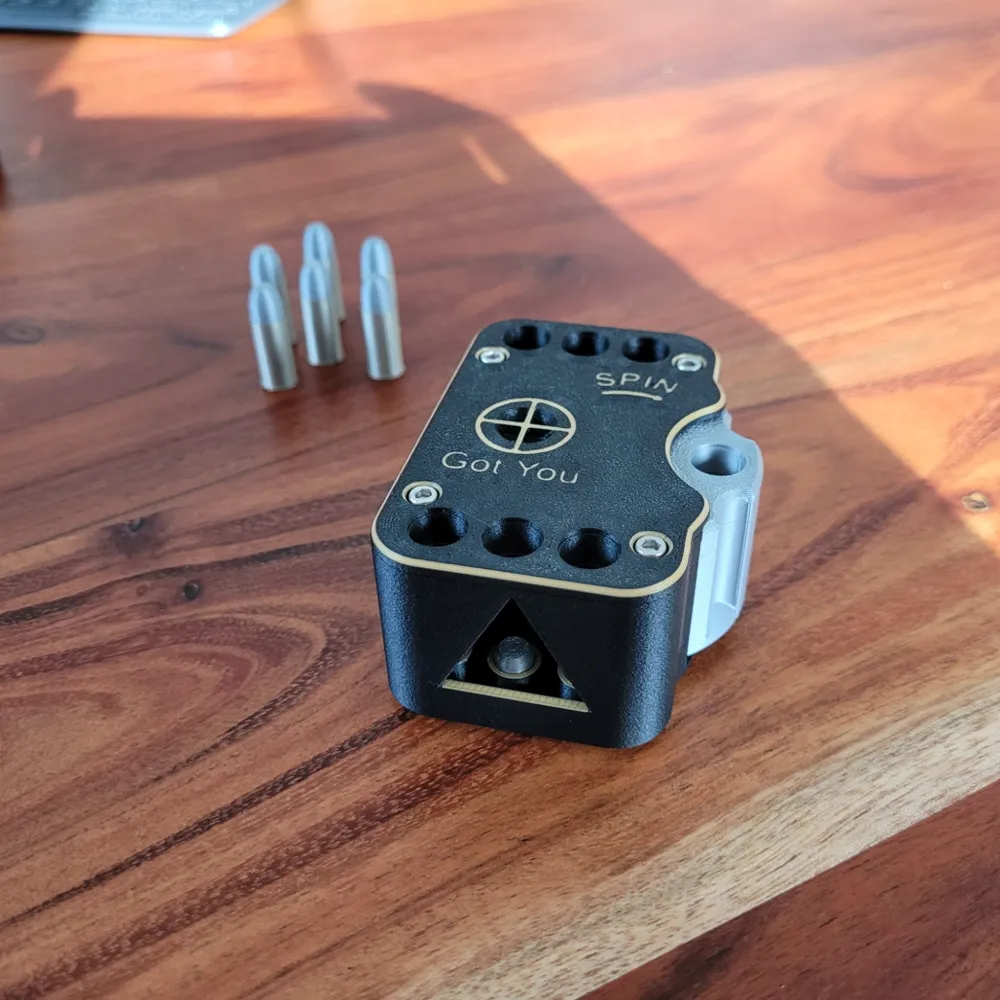
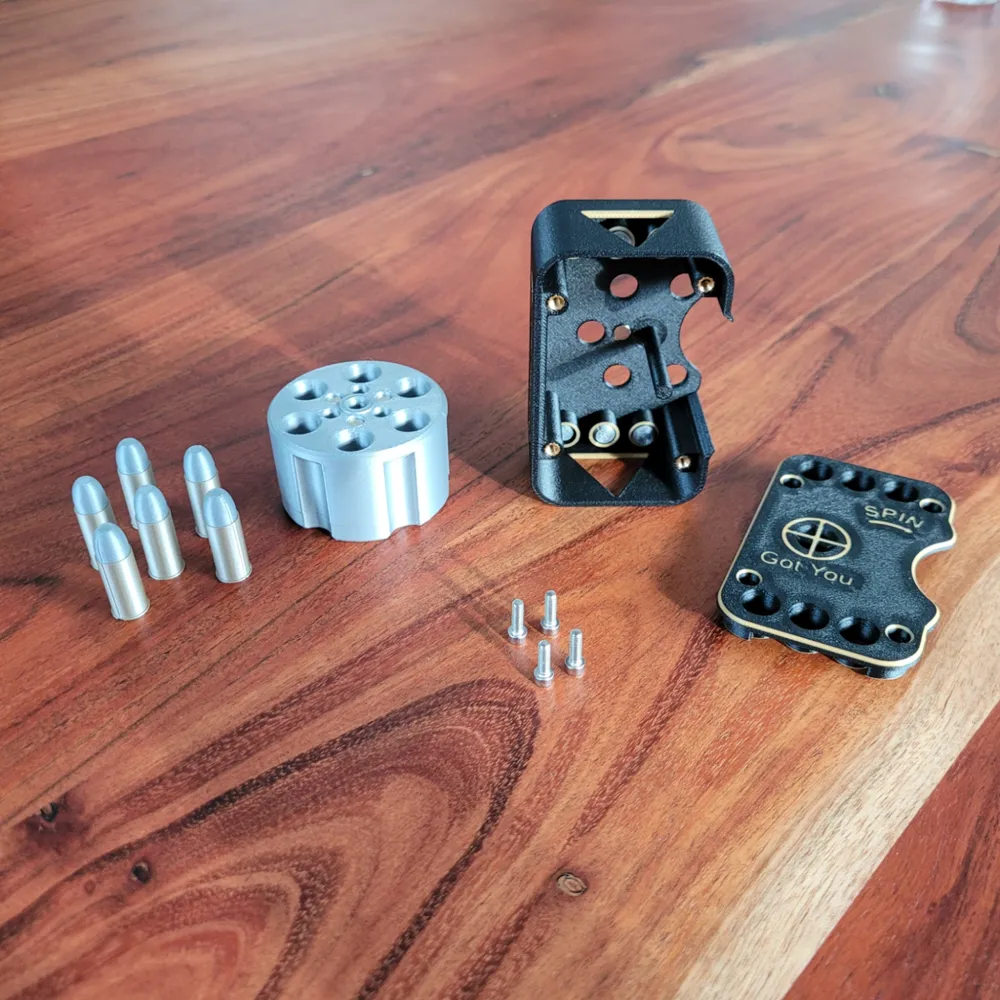
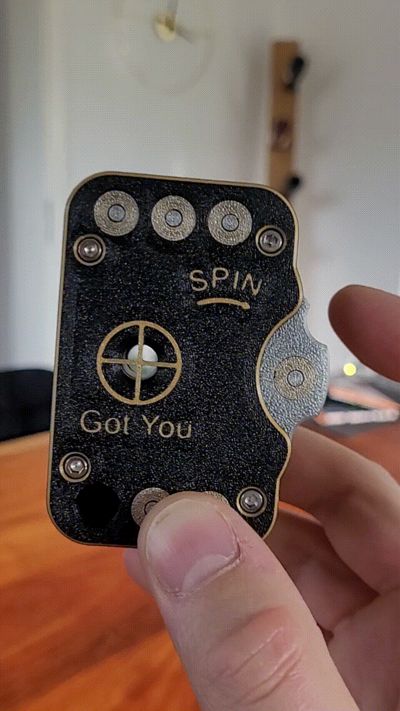
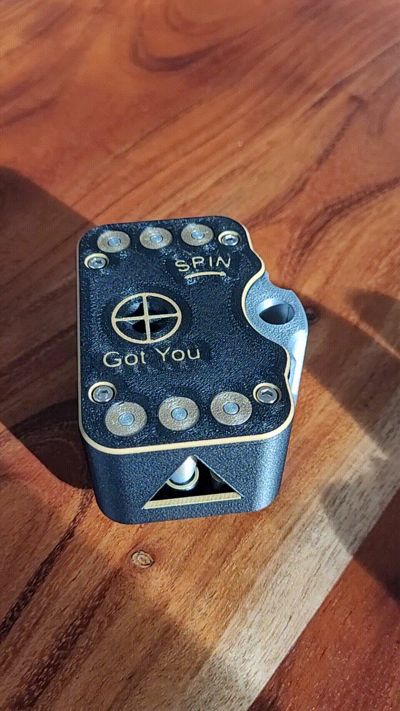
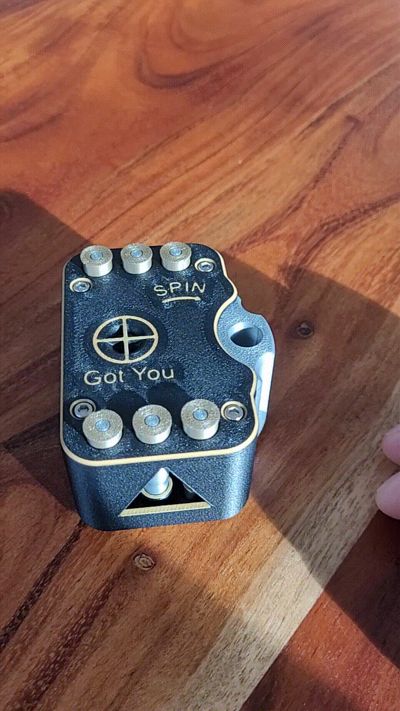
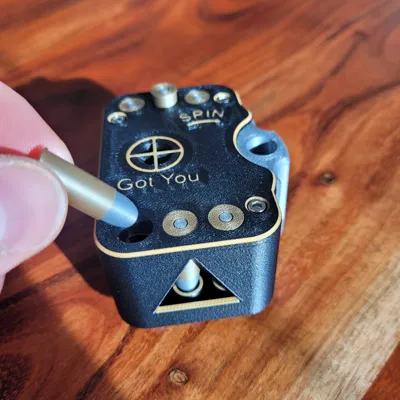
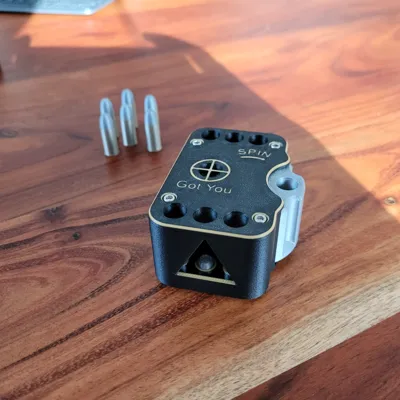
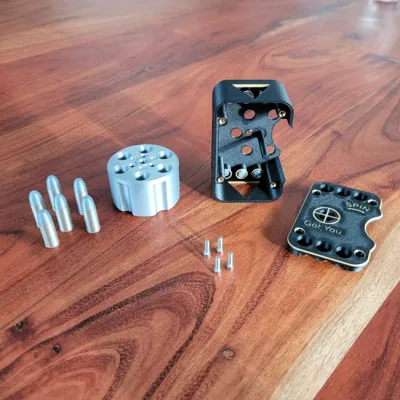
It is a small but intricate design. We have a big spinning Drum, a solid casing which gets screwed togehter, 6 Bullets, each has its own space in the Casing and for every Bullet an Ejectorbutton on the bottom to get them out easily.
To Build it you need some non 3D Printed parts which i list here and you can find them in the BOM (Bill of Materials) at the end of this side. All Parts can be purchased by Bambu Lab.
4x M3 Threated inserts
4x M3 Screws 3x10mm
7x Magnets 5x2mm
Some Filaments of your choice, i Link my used Filaments in the BOM too.
Assembly:
Step 1: At first, we put the Magnets in. 6 of the 5x2mm Magnets go in the Bottom of the Drum. They should fit very snug when pressed in. At least in my case, they do. The seventh Magnet goes in the Bottom of the Casing. There is one dedicated hole for the magnet near the Pole for the drum. Please make shure that all magnets in the Drum have the same orientation and get attracted by the Magnet in the Bottom. Thats essential for the Functioning of the Fidget.
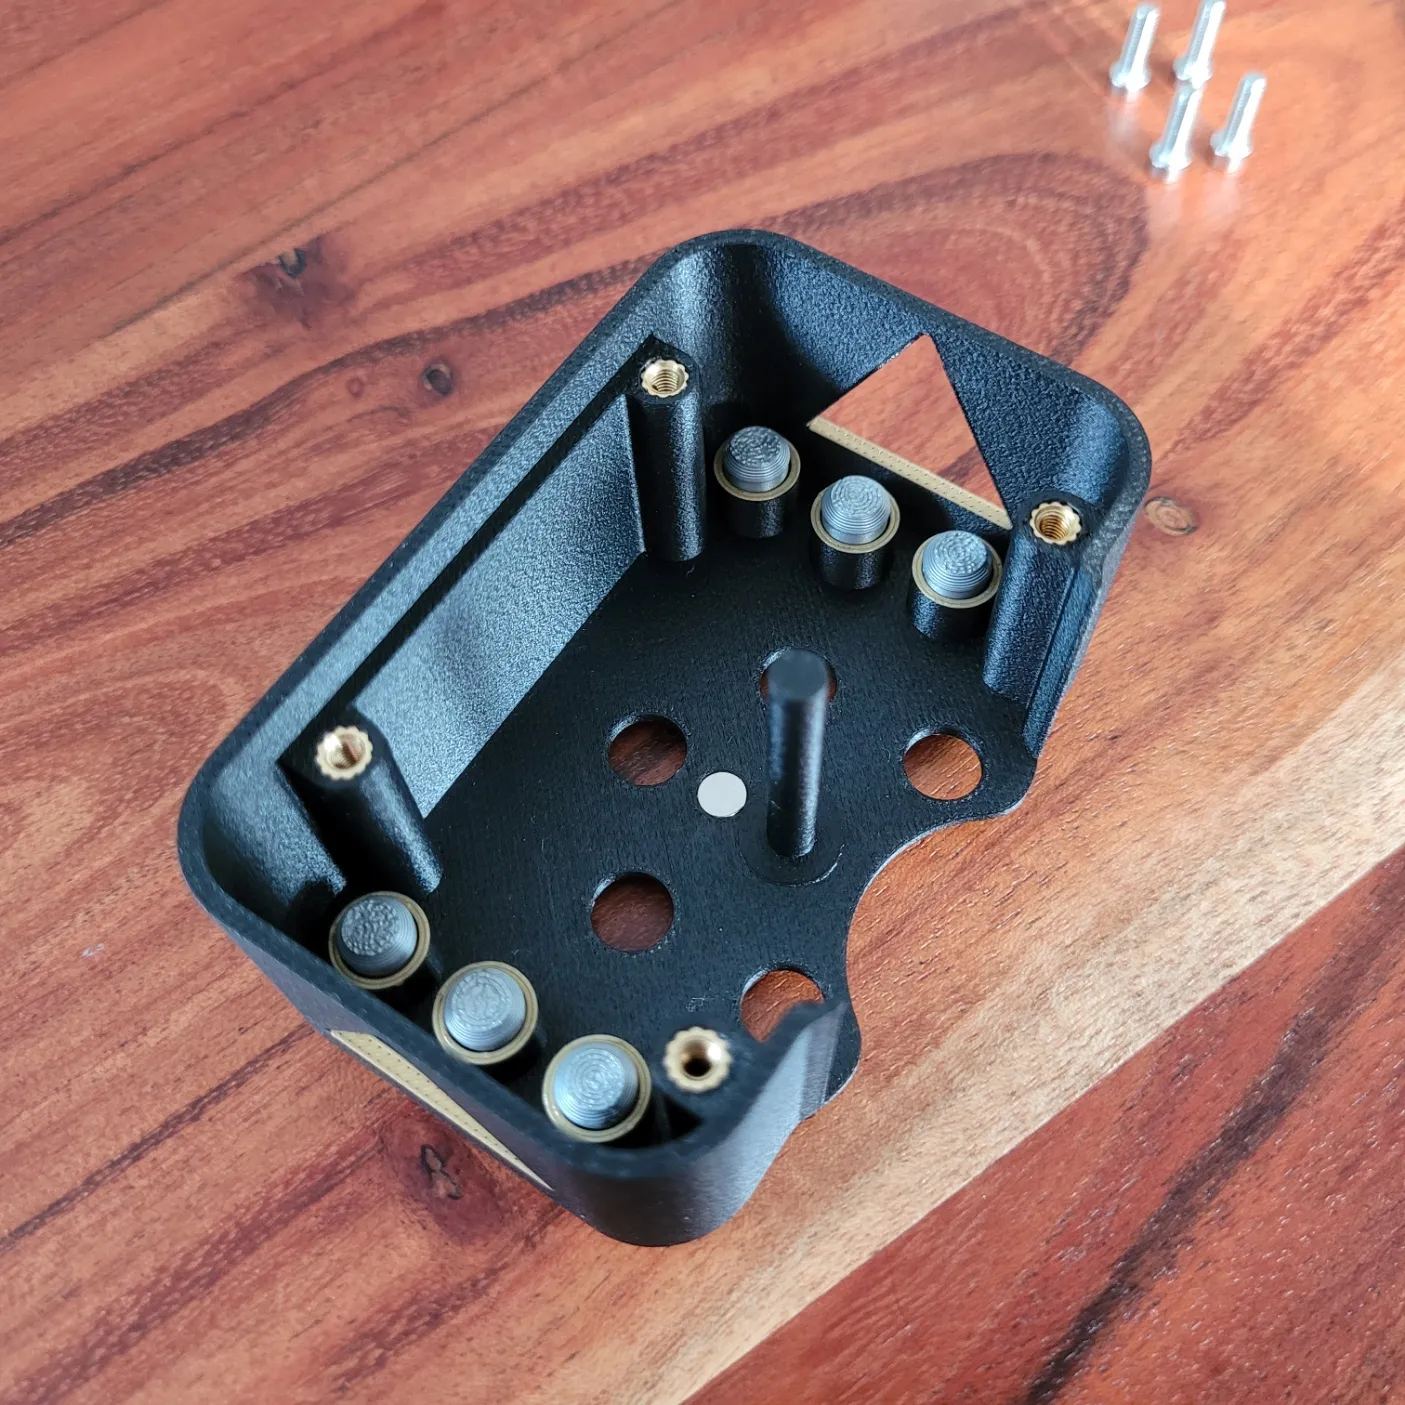
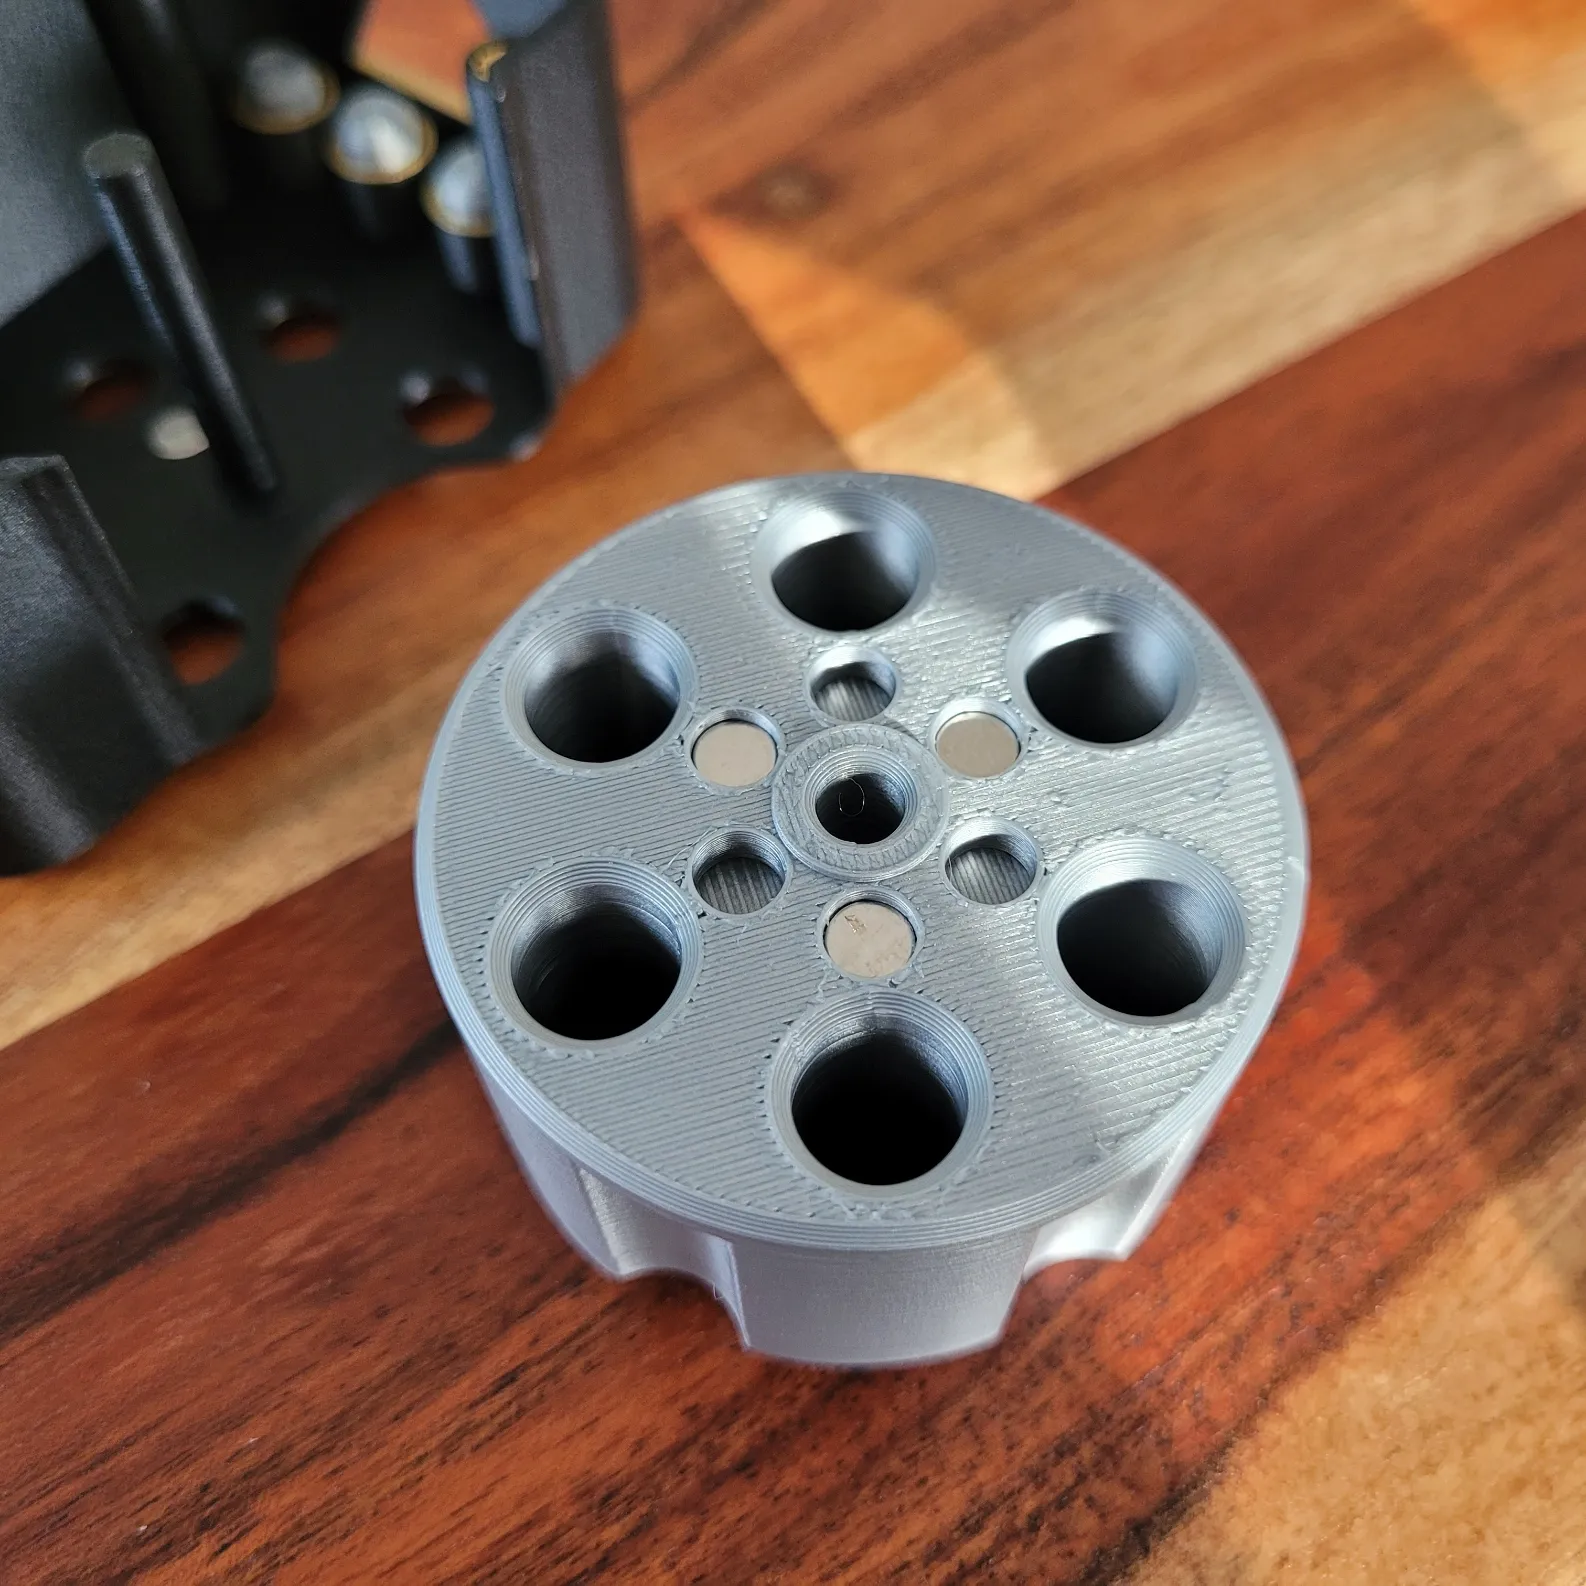
Note: In my Picture there are only three magnets in the Drum. Thats because i havent had more at that moment. There need to be 6!
Step 2: Melt the Threated inserts into the Bottomplate as shown in the Pictures. If you dont wanna Screw the Box together, it holds when pressed together too. I recommend screwing the box as it is way sturdier and the Metalscrews give a Quality touch to the whole Fidget.
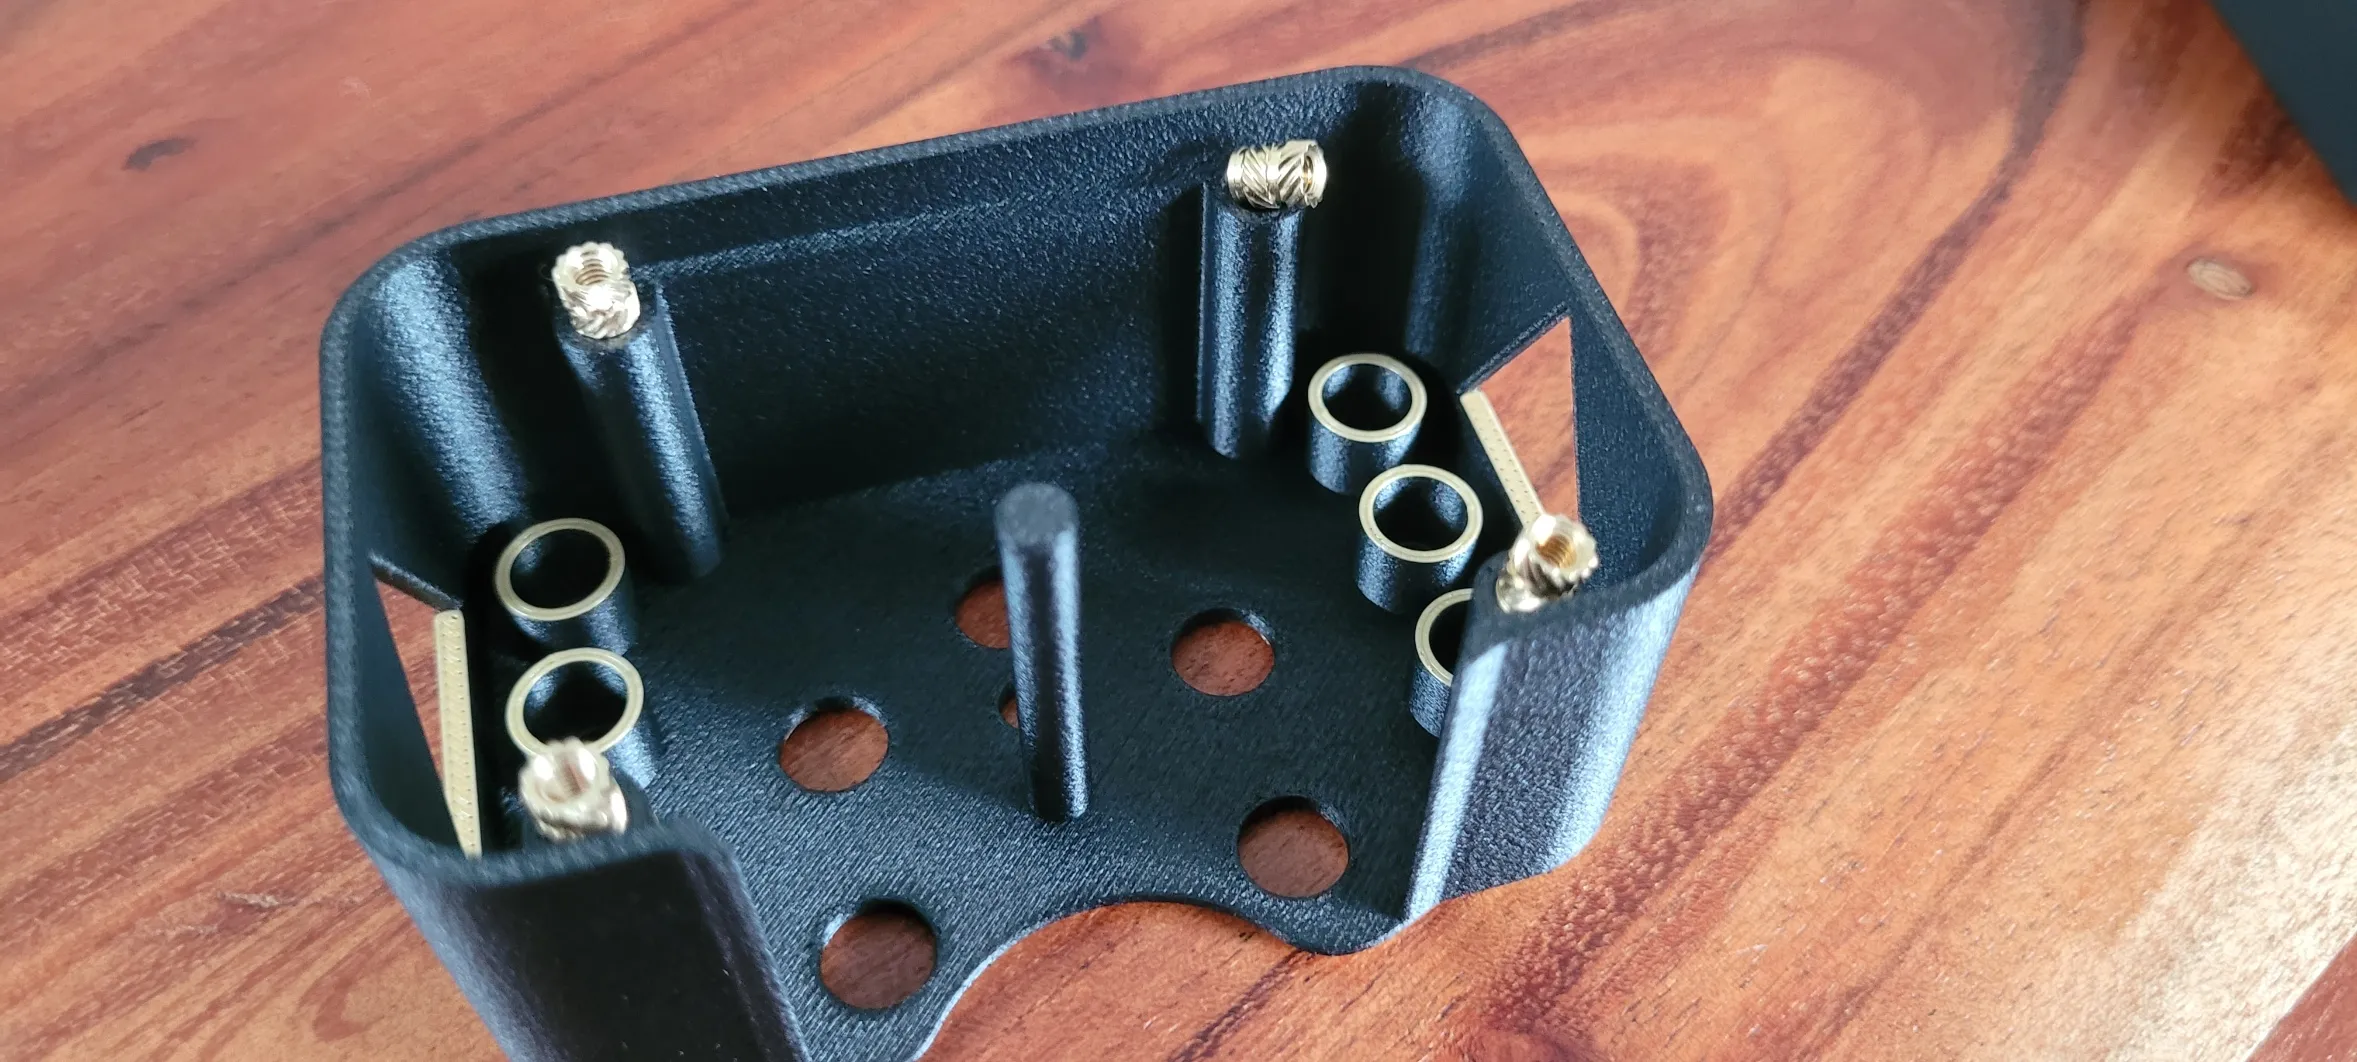
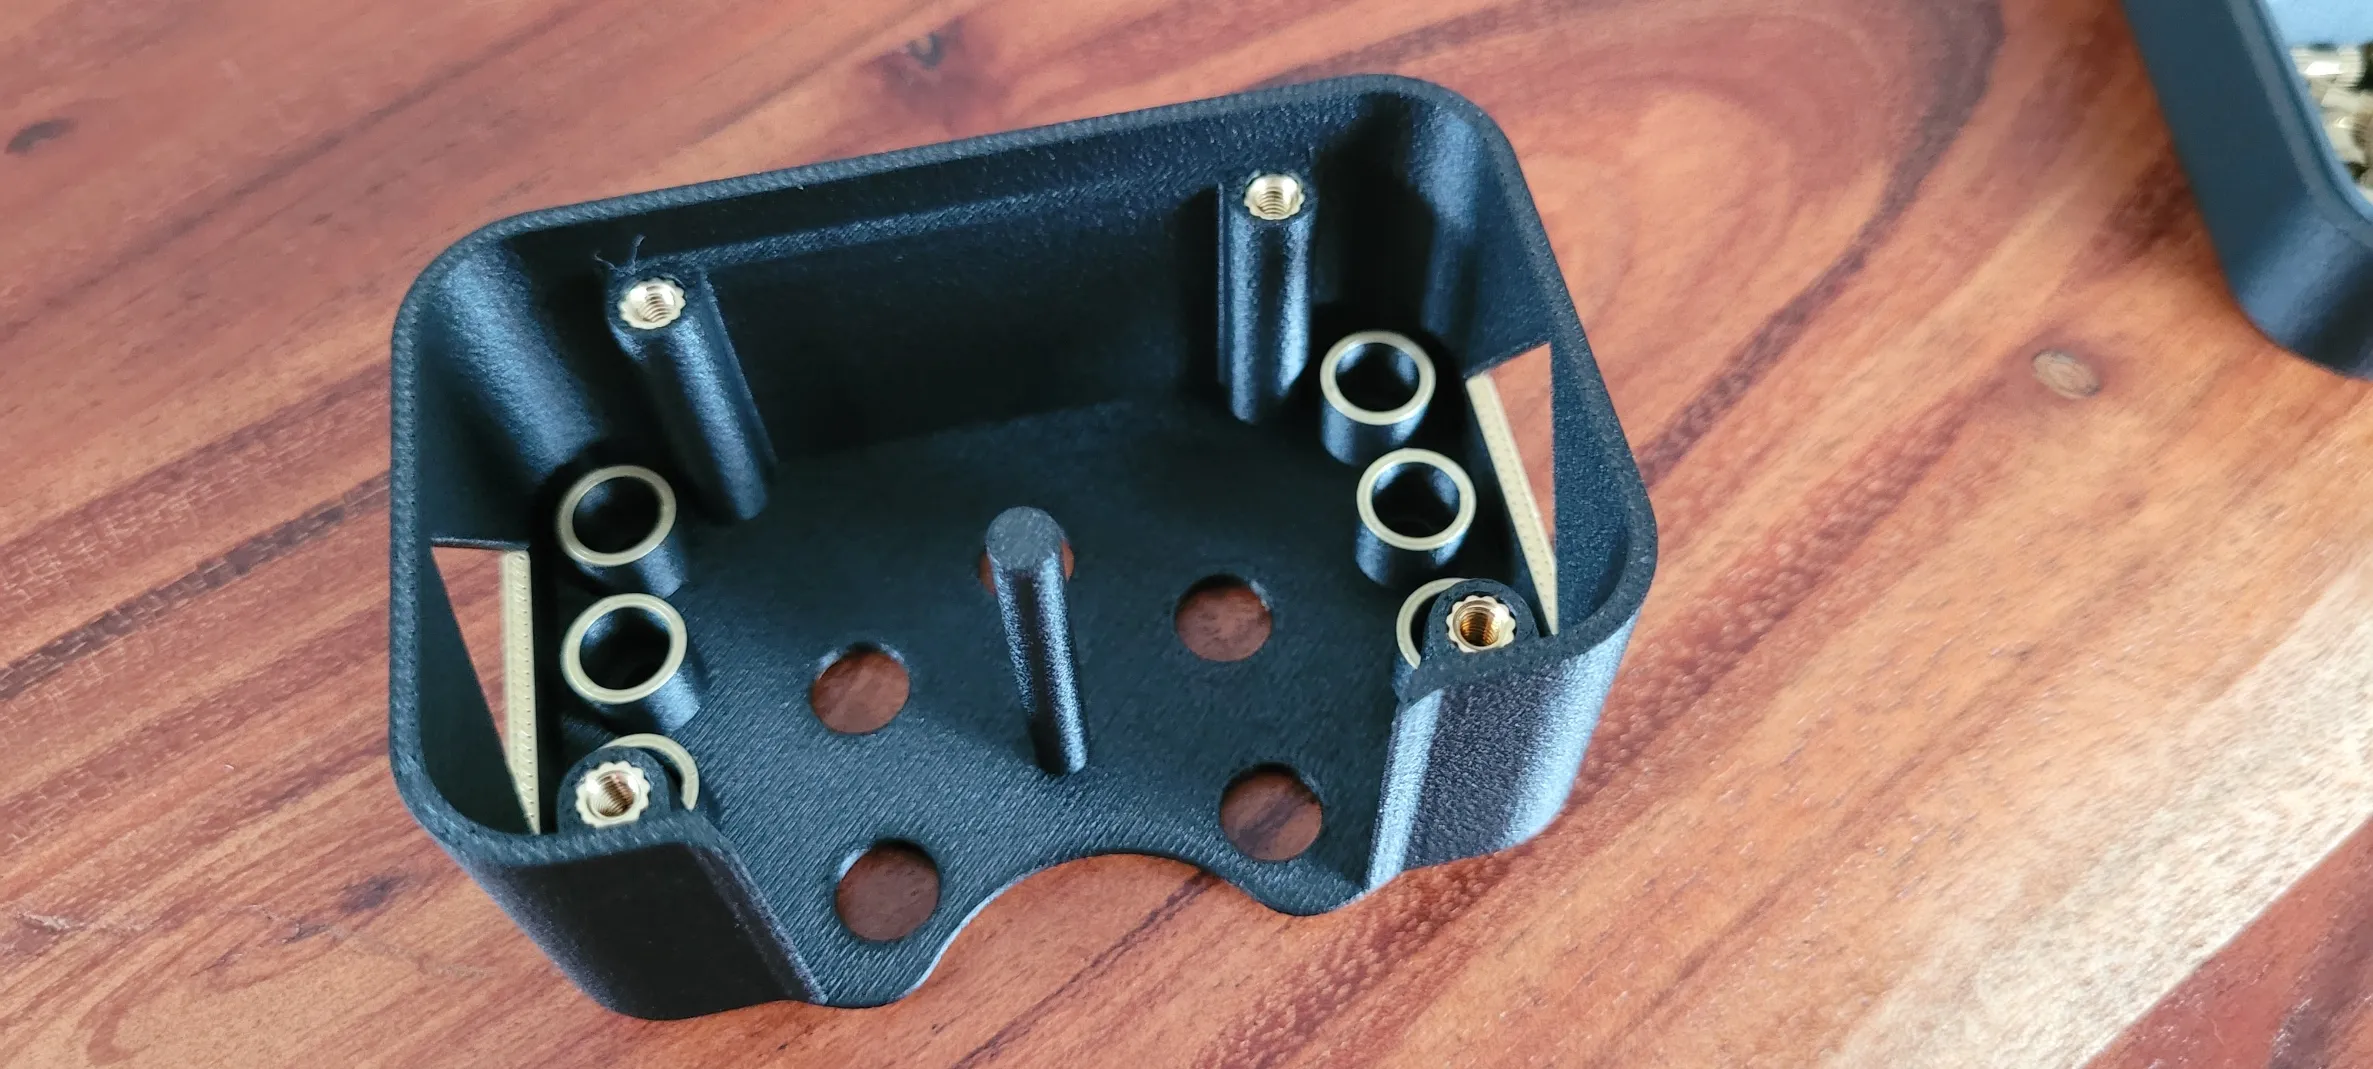
Step 3: Put the little Caps in the bottom of the Casing. When they are inserted you need to hold them in and then push the Rods from the underside of the Casing into them. Its a tight fit, you need force to get this done. This is intentionally so that they dont fall out.
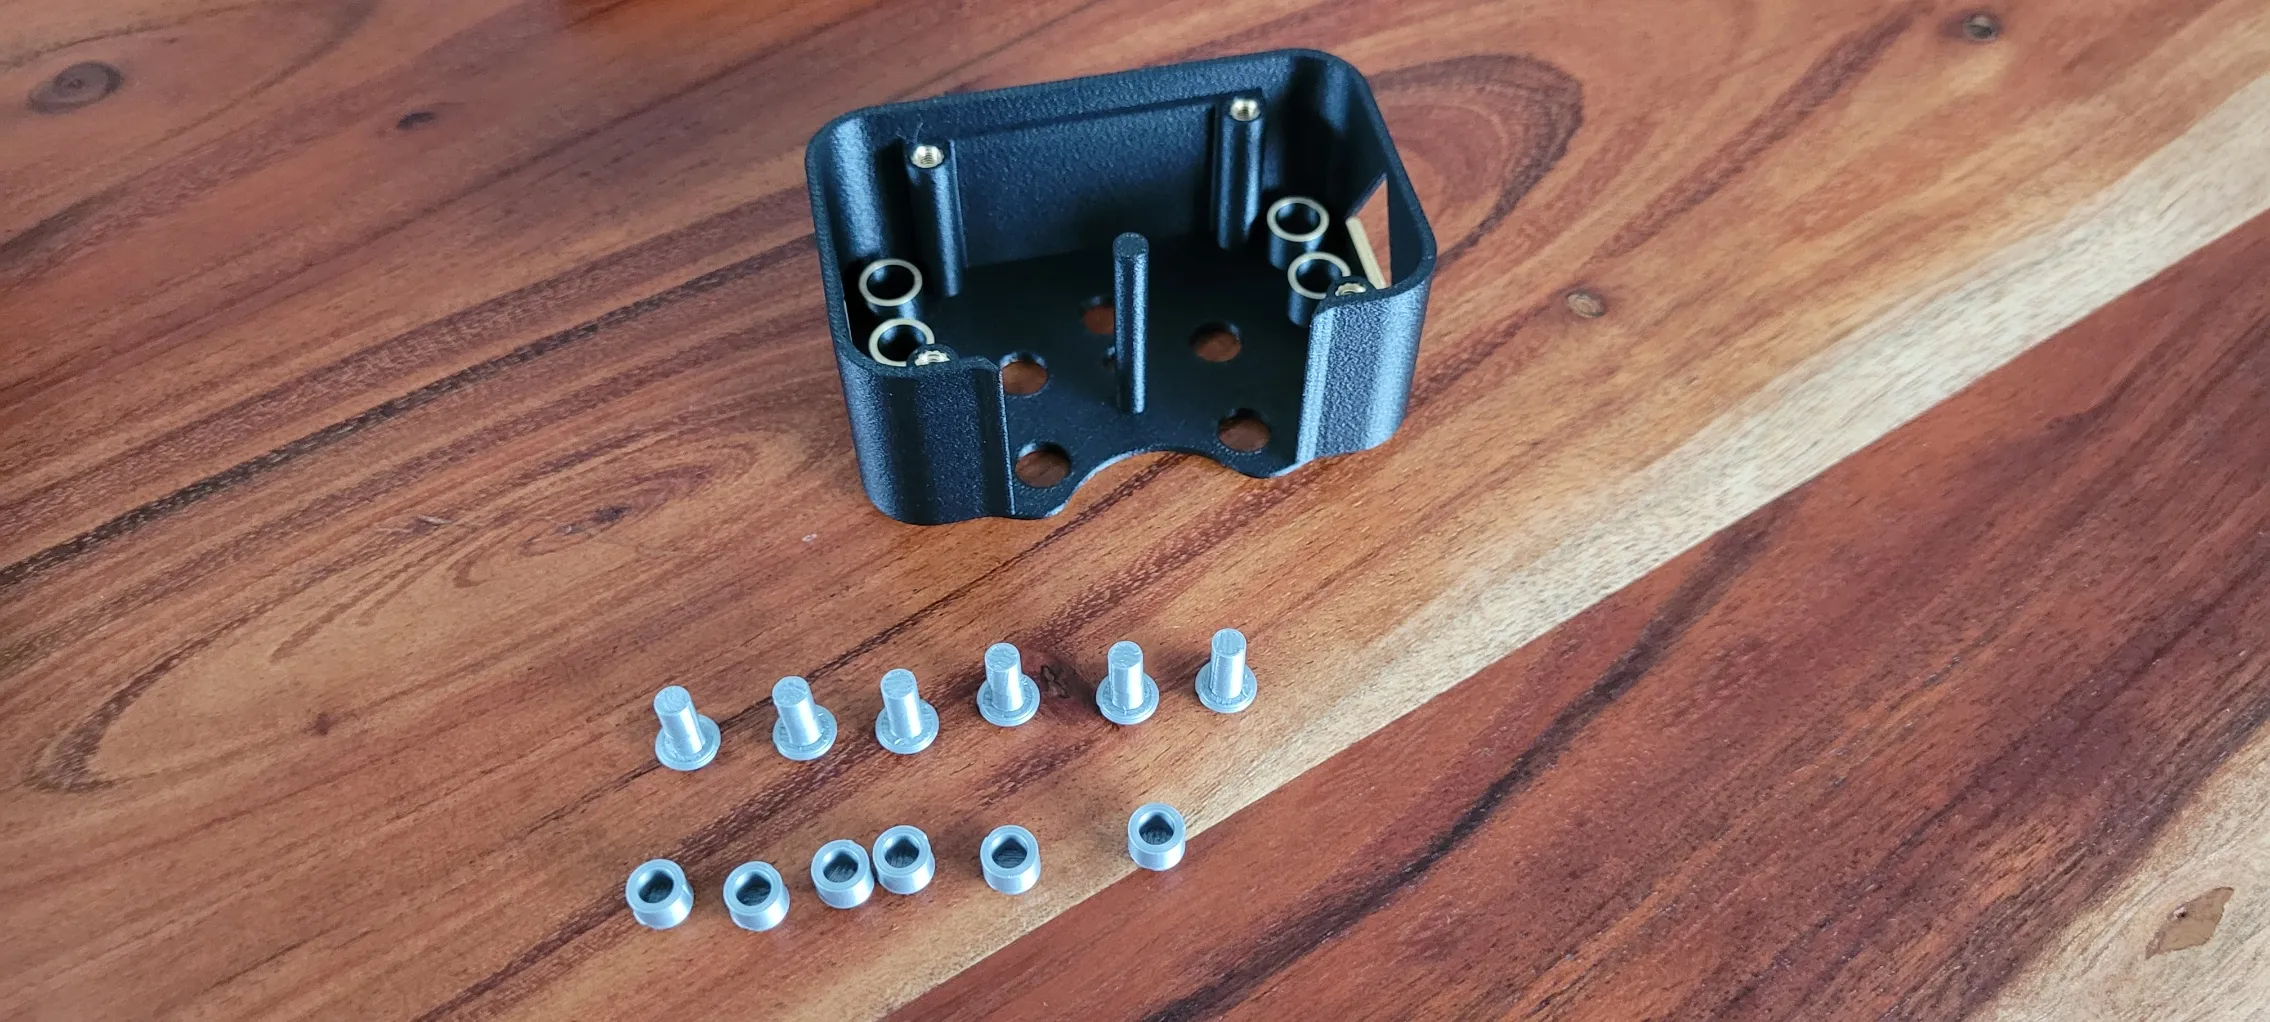
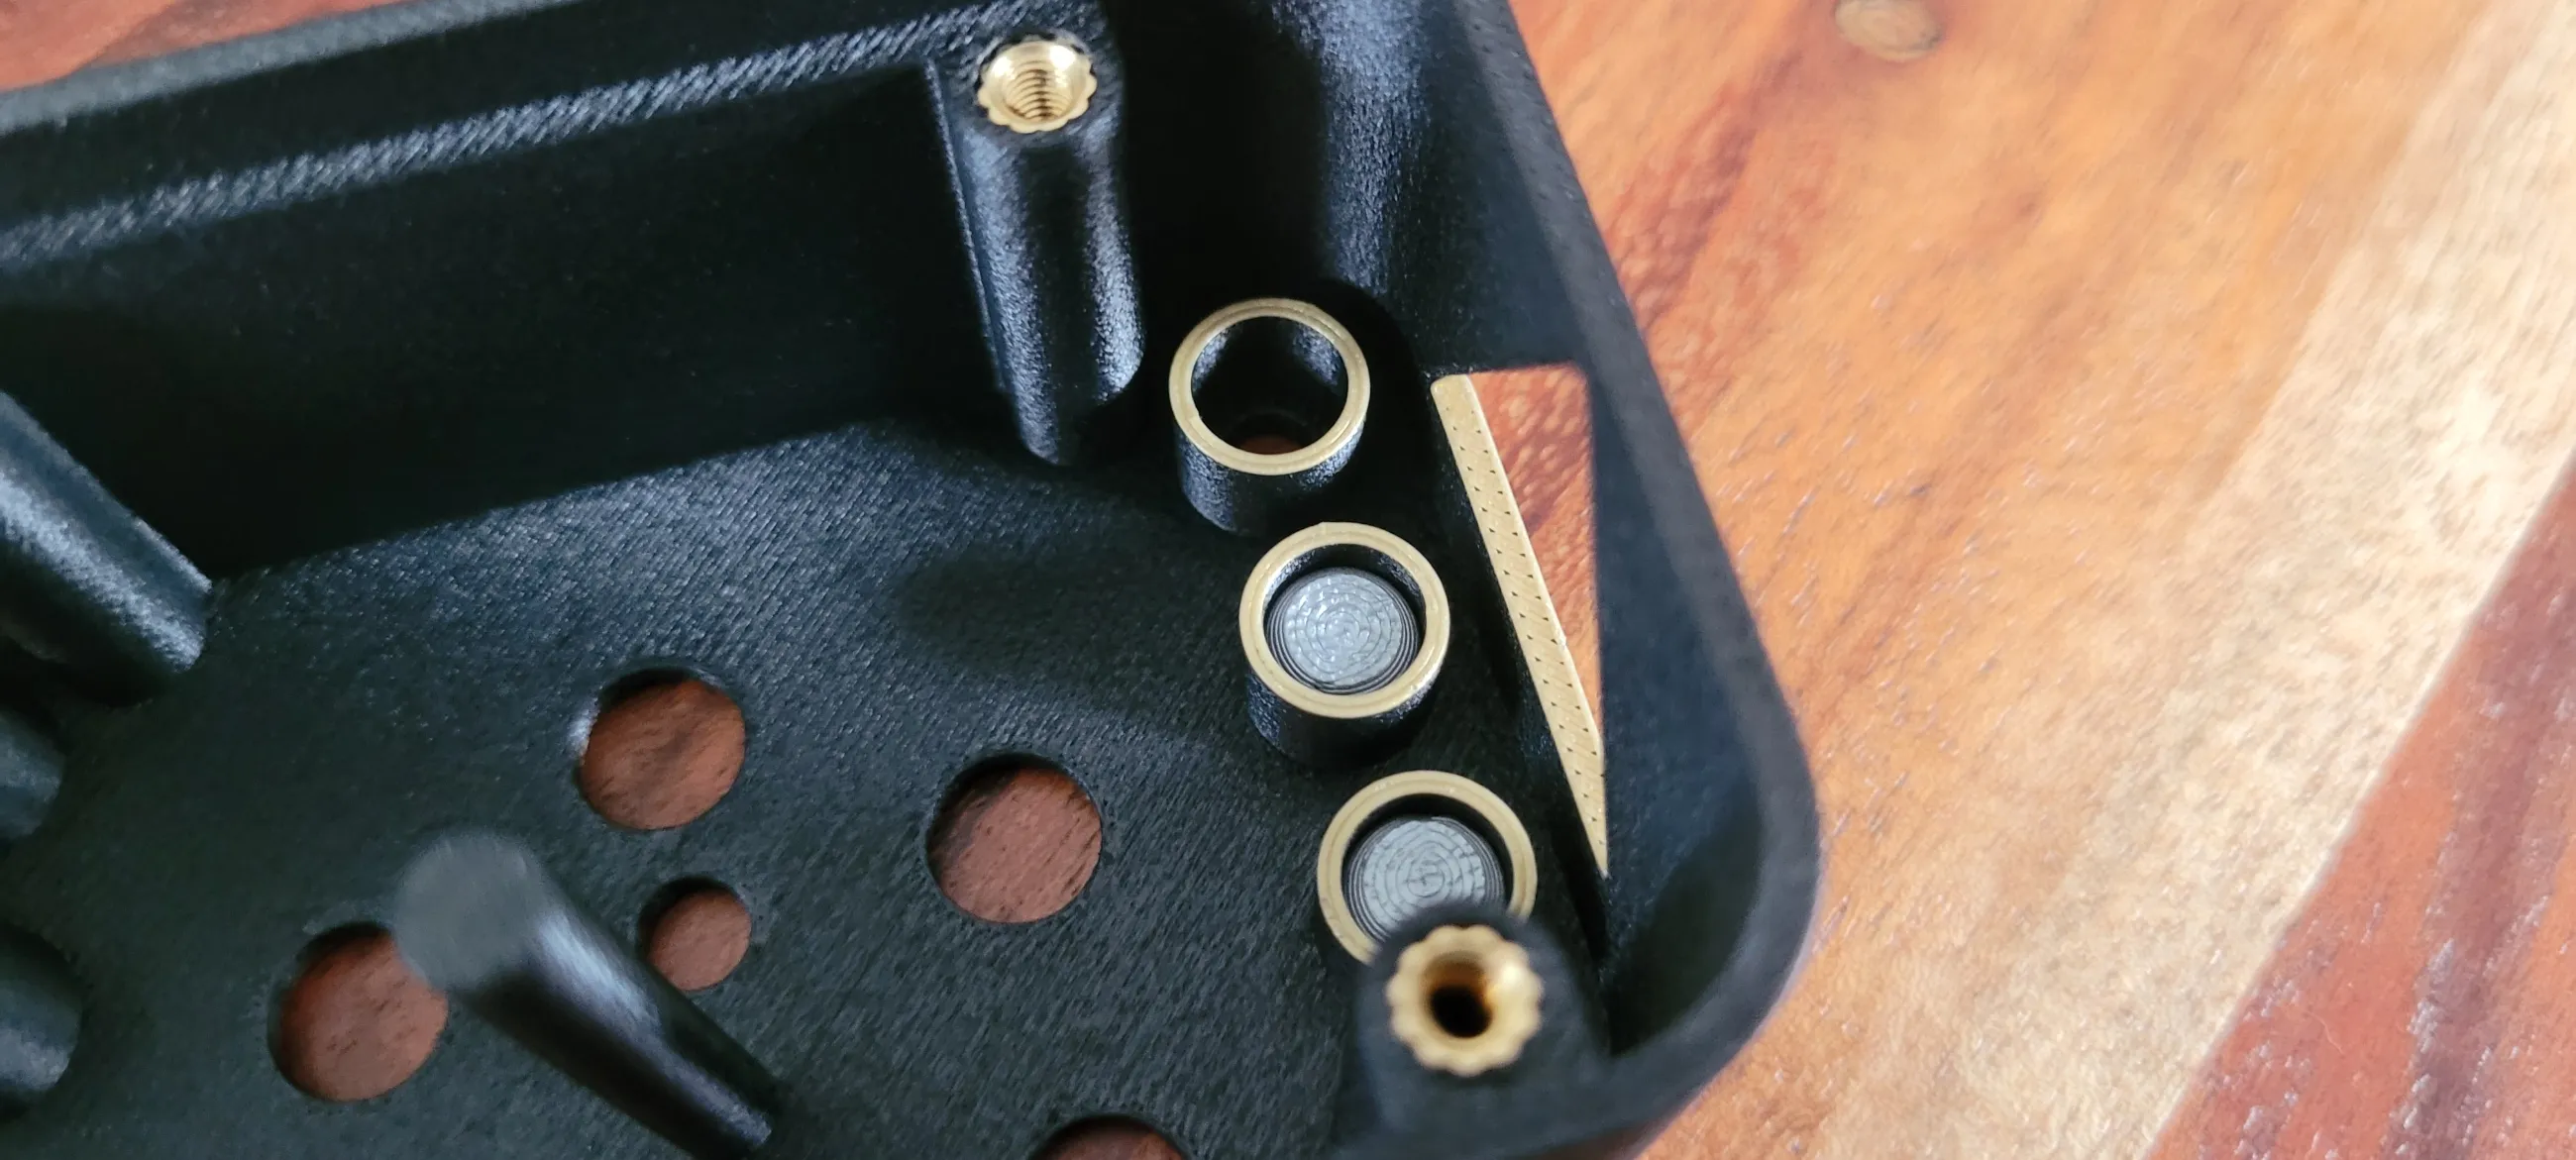
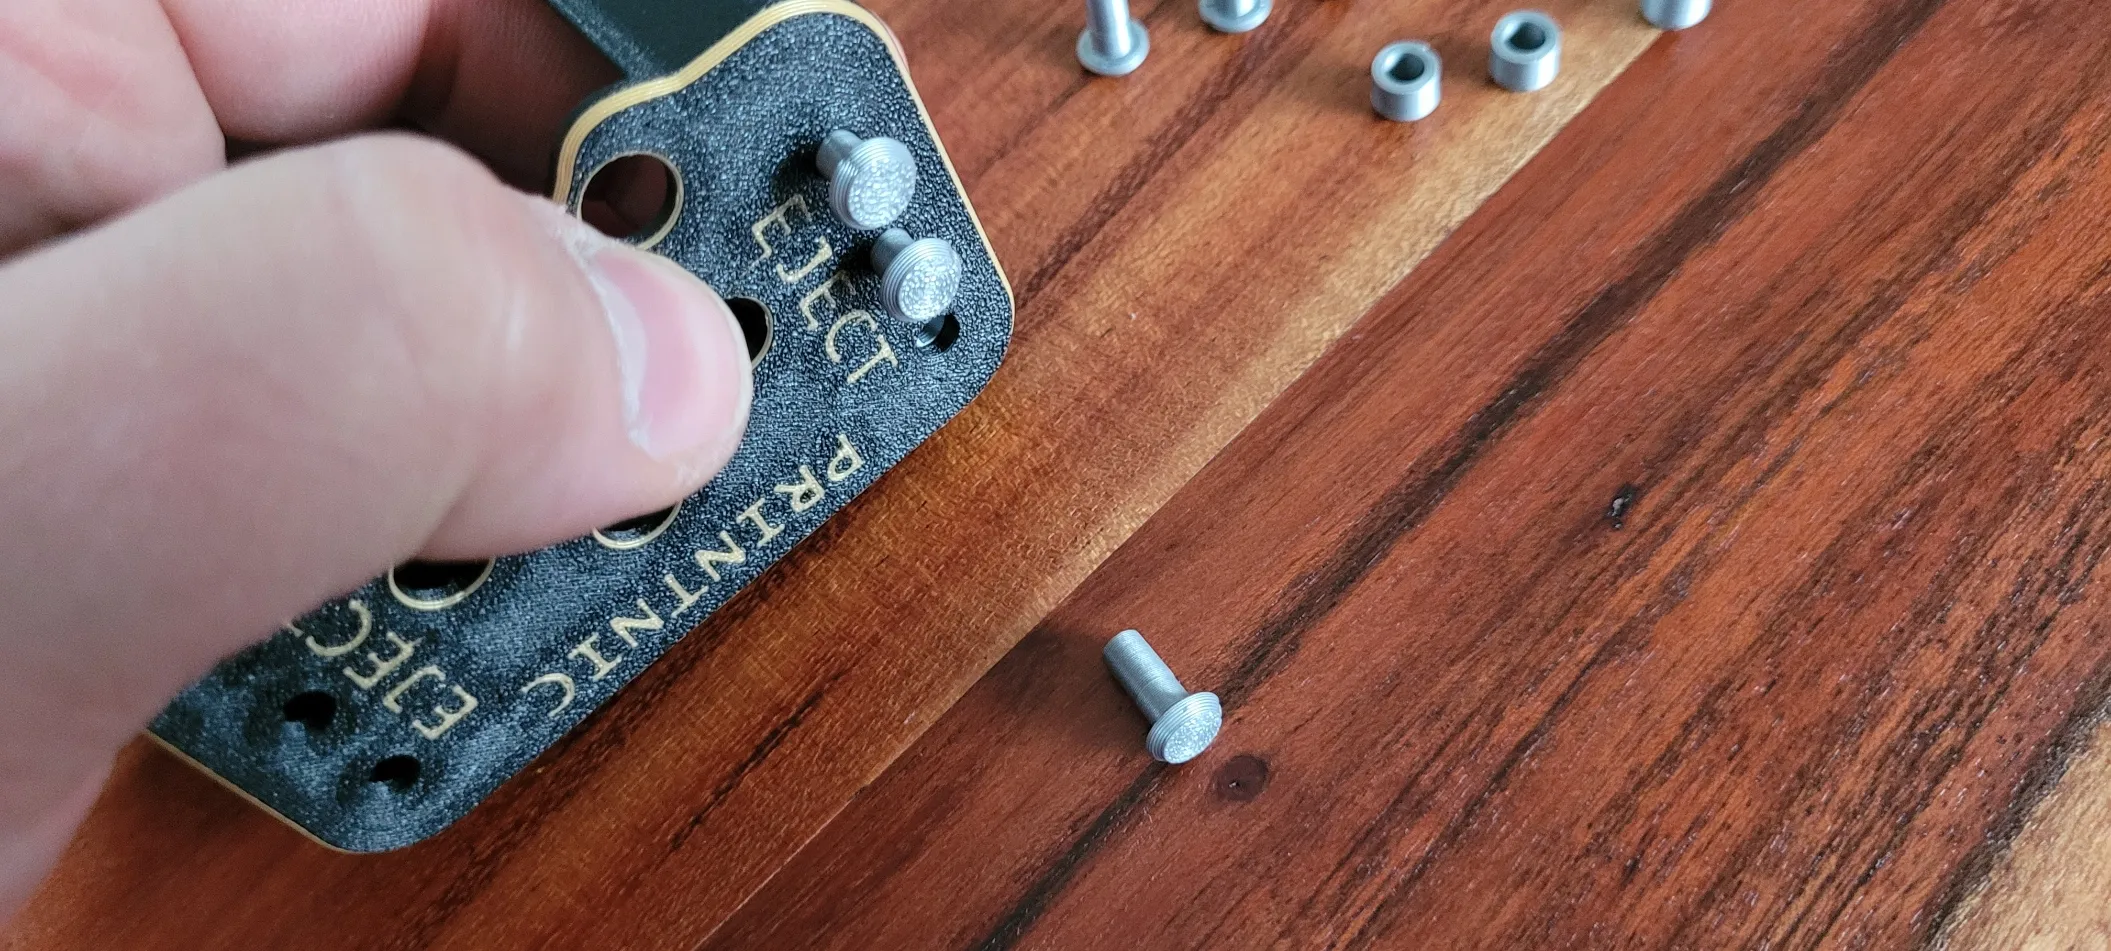
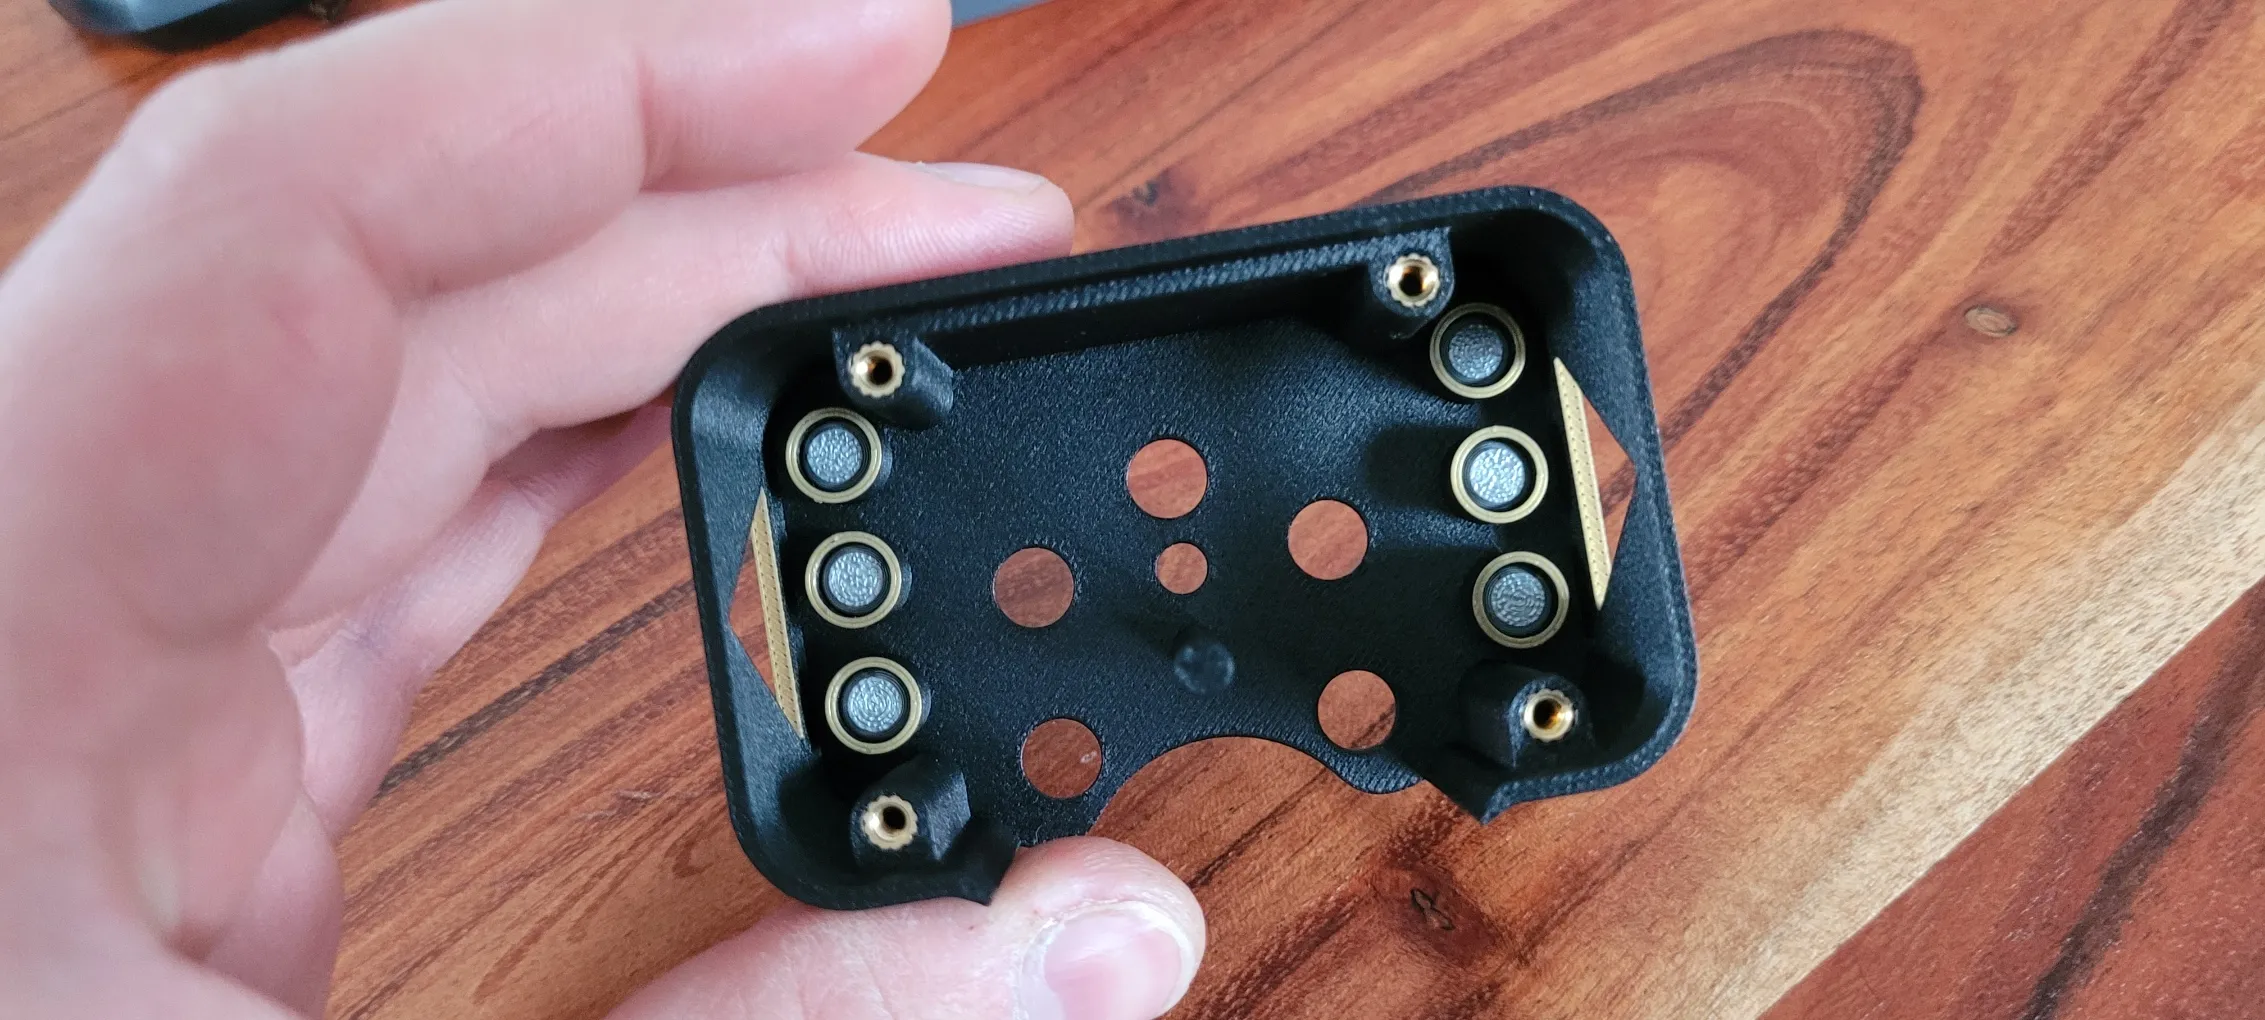
Step 4: Put the Drum on the Pole, if you like you can use a little Dish soap to make it spin a little better. A drop of dish soap is enough.
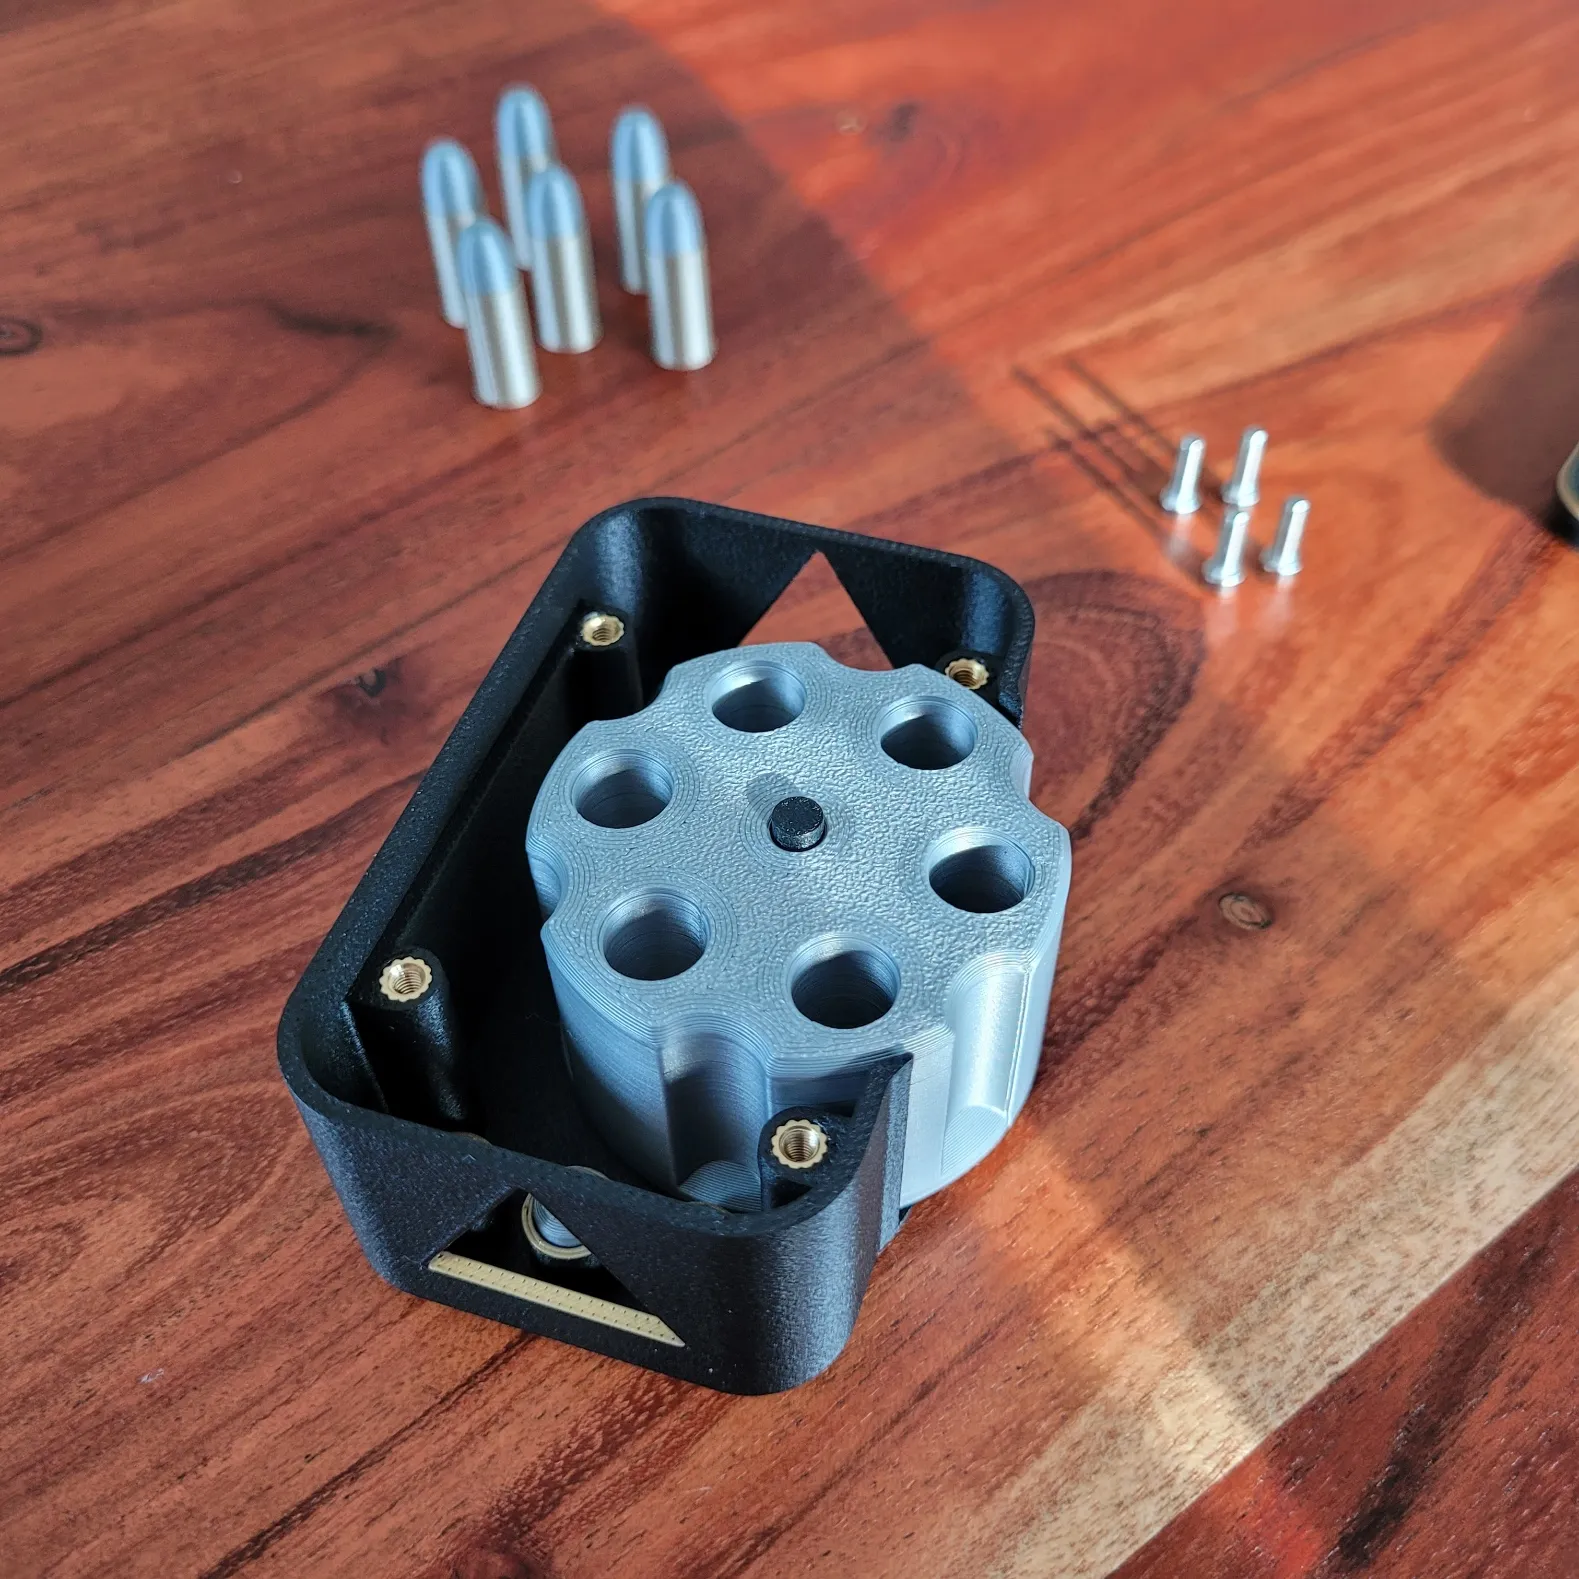
Step 5: Put the Lid in, press it tightly on the bottom plate as the Pole has to snap into the Lid. Then Screw the 4 Screws into the Lid. Not to tight, just so that it holds the Lid.
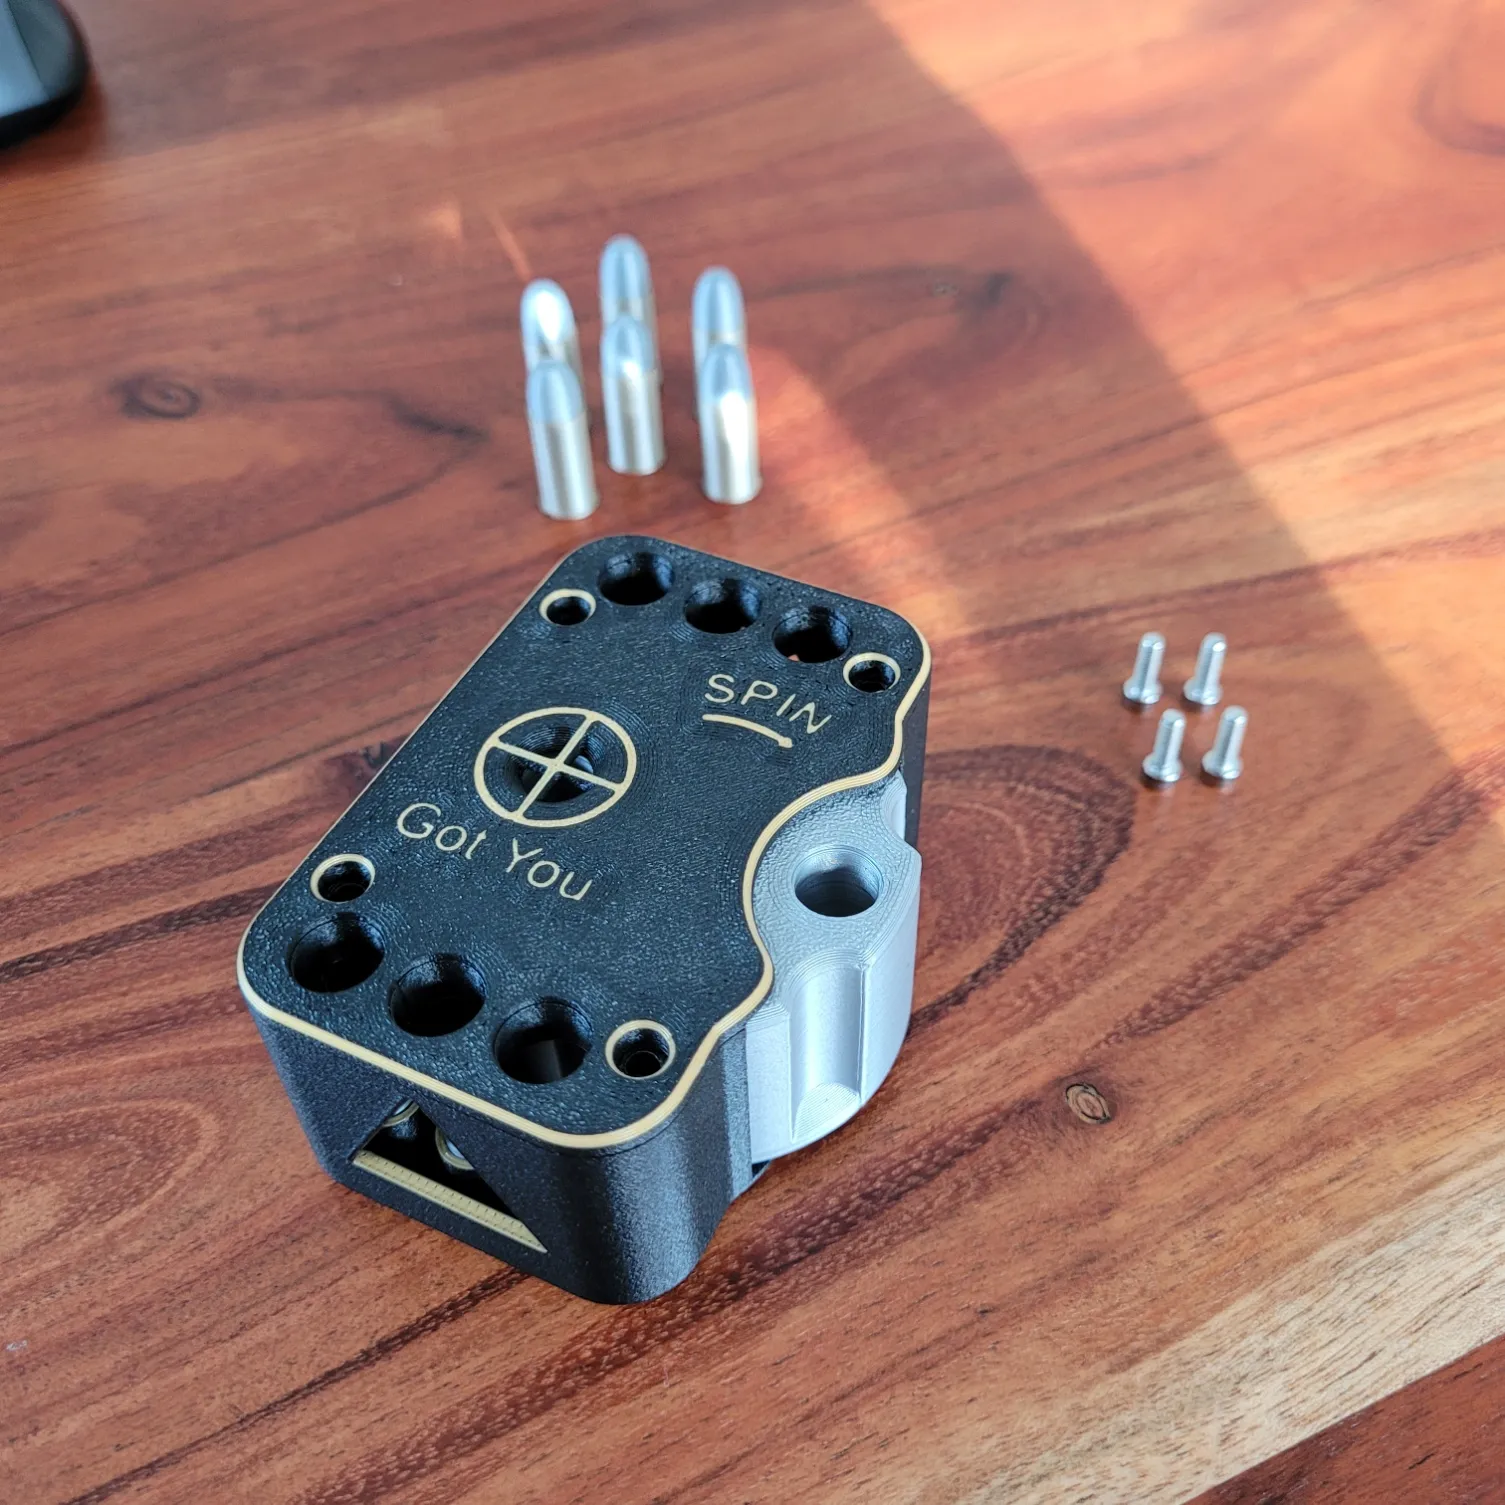
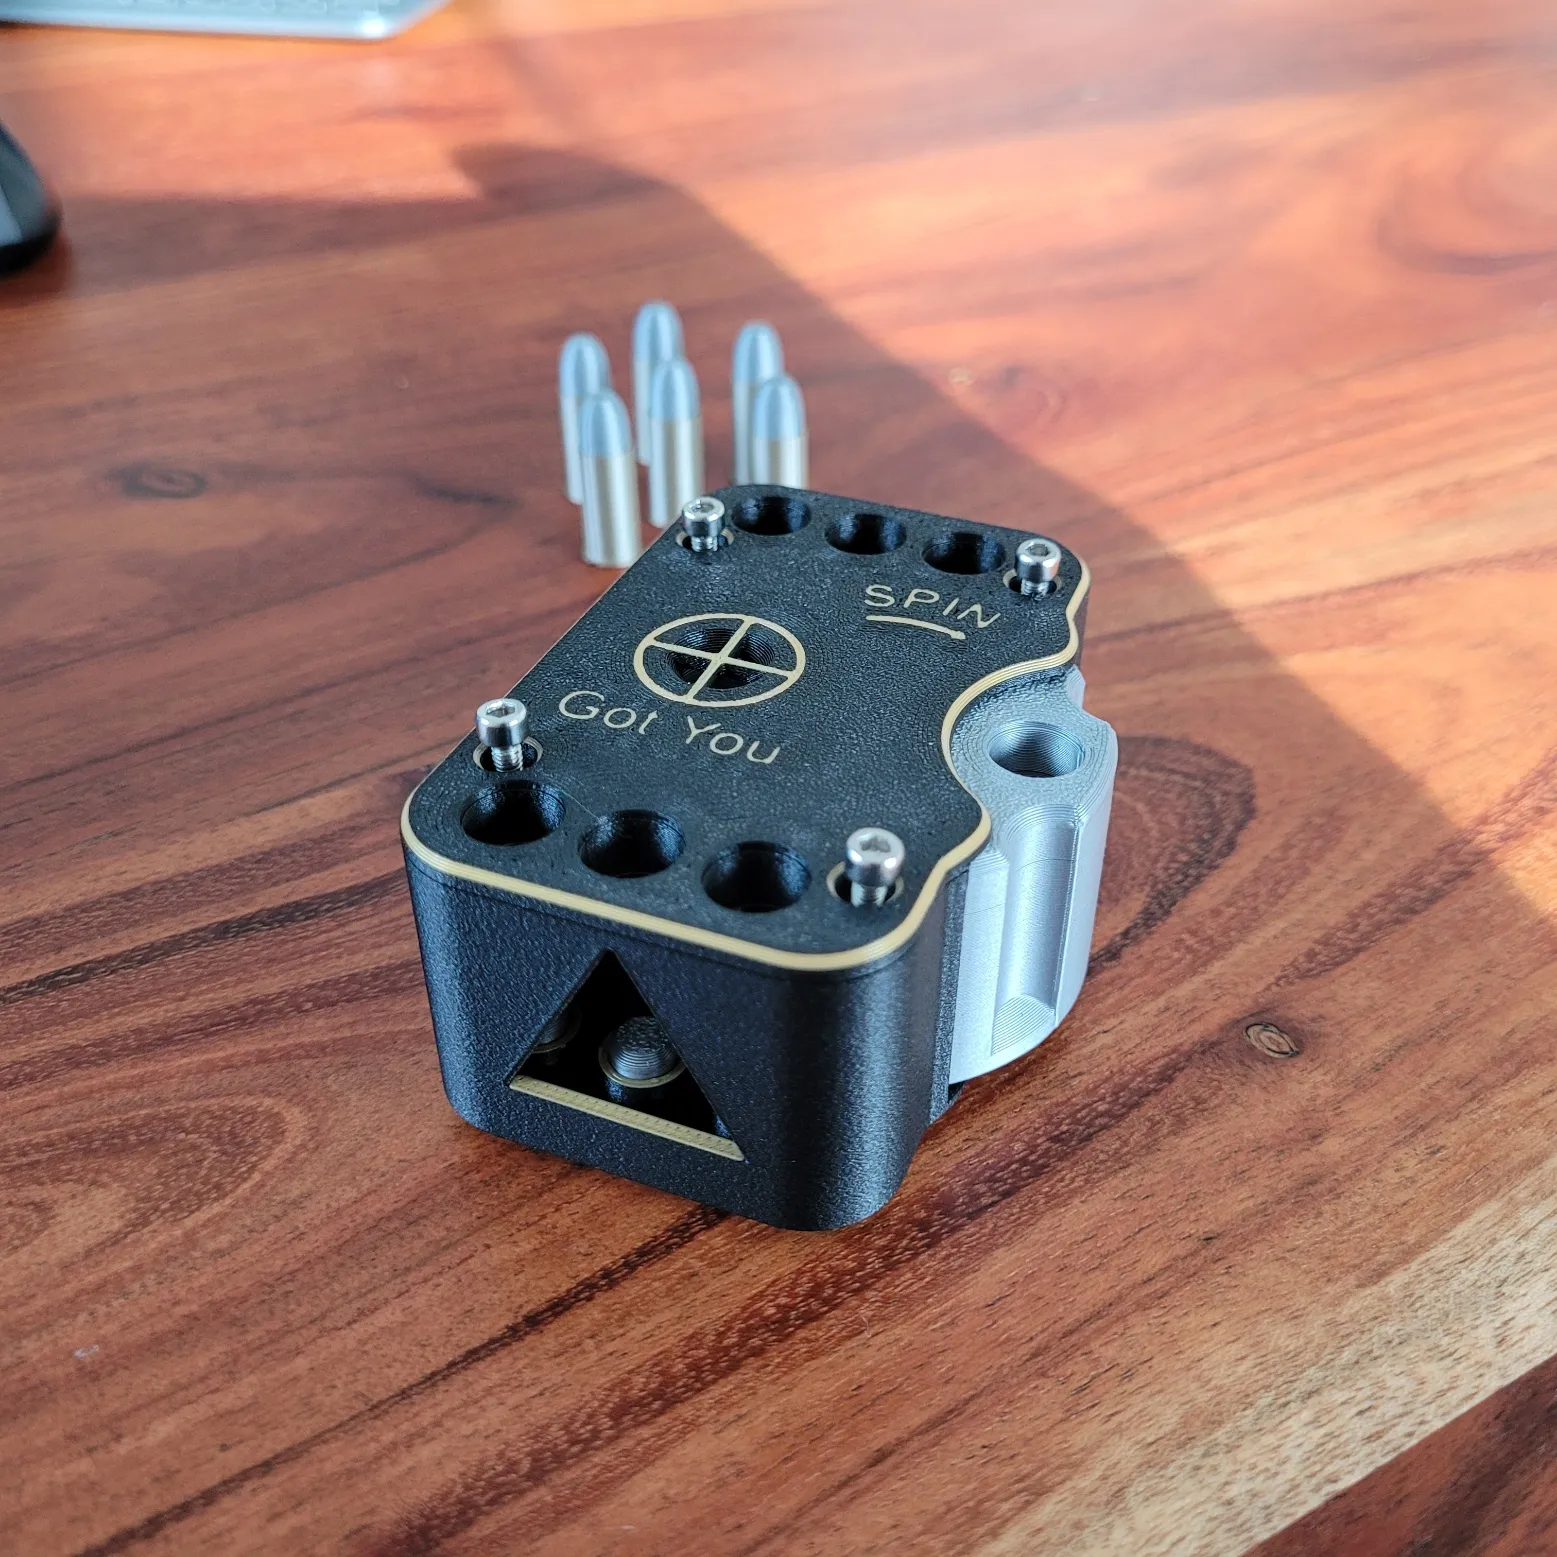
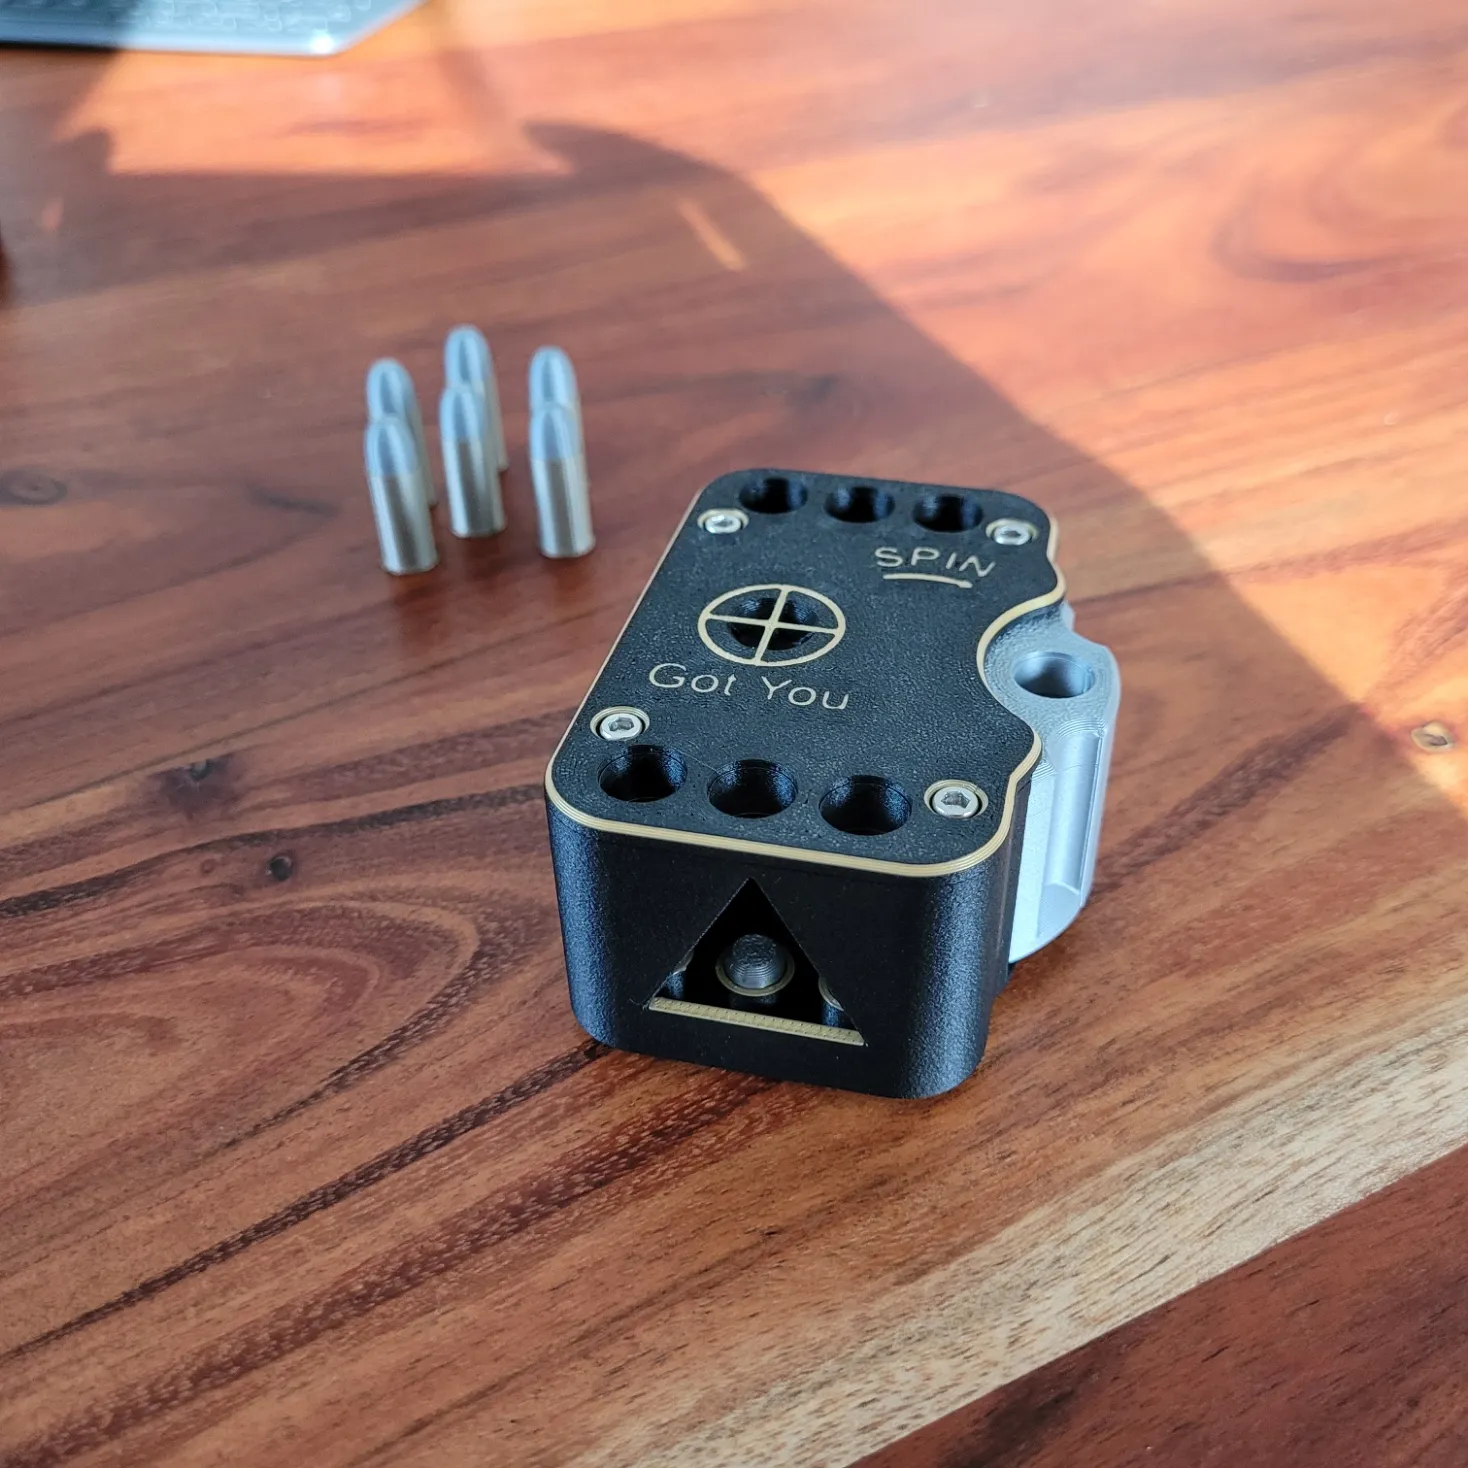
Step 6: Put the 6 Bullets in the Top Plate and press them in. To get them out you only need to Push on the little rods on the Bottom of the Casing. They pop out and then you can put them in the Chamber of the Drum. Thats it. now Spin and see which one has more Luck :)
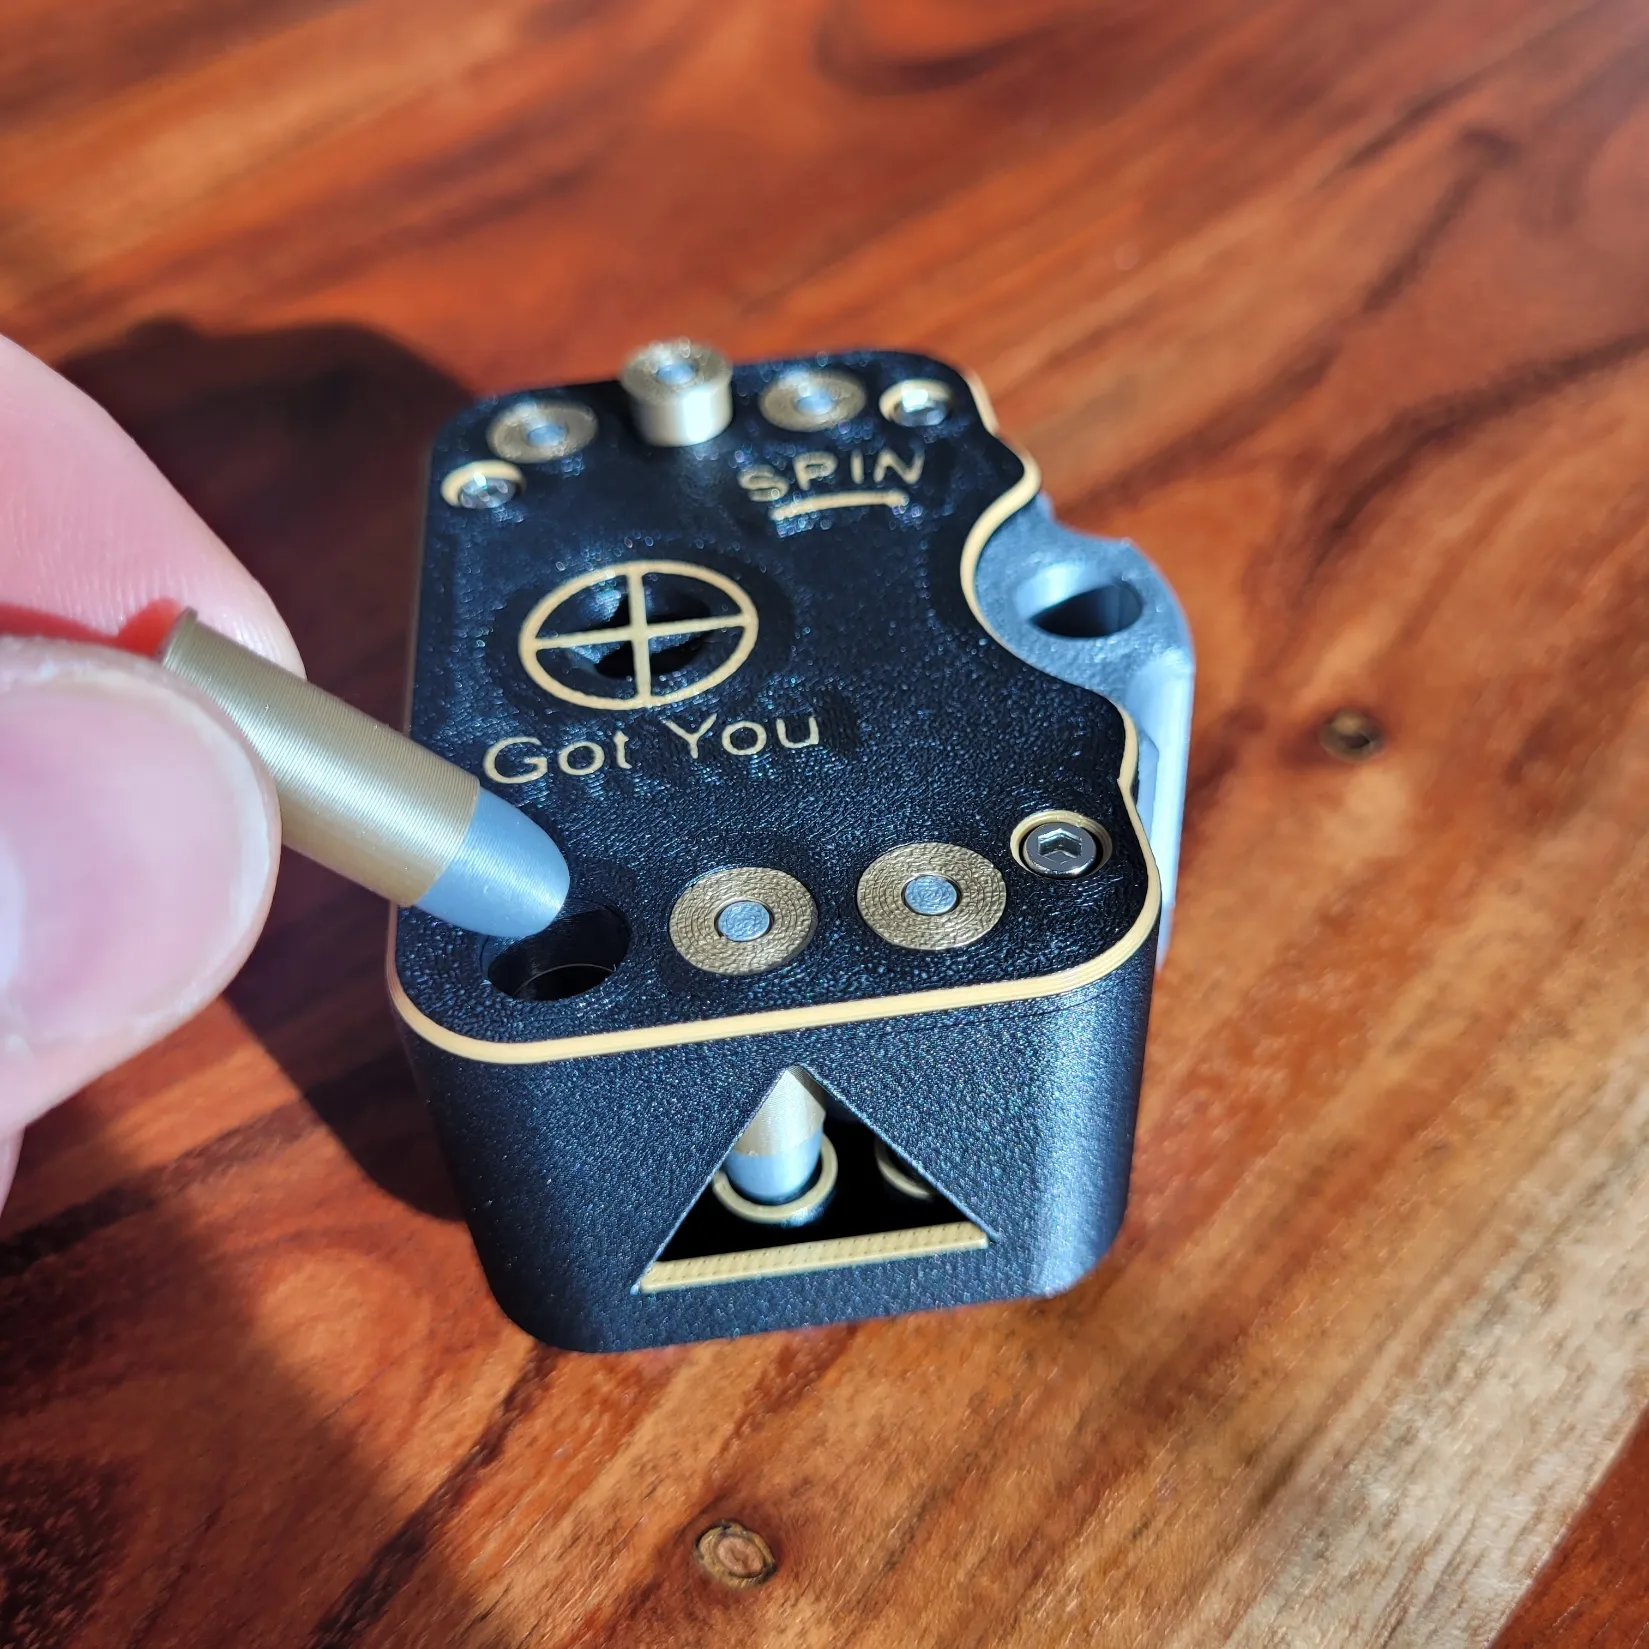
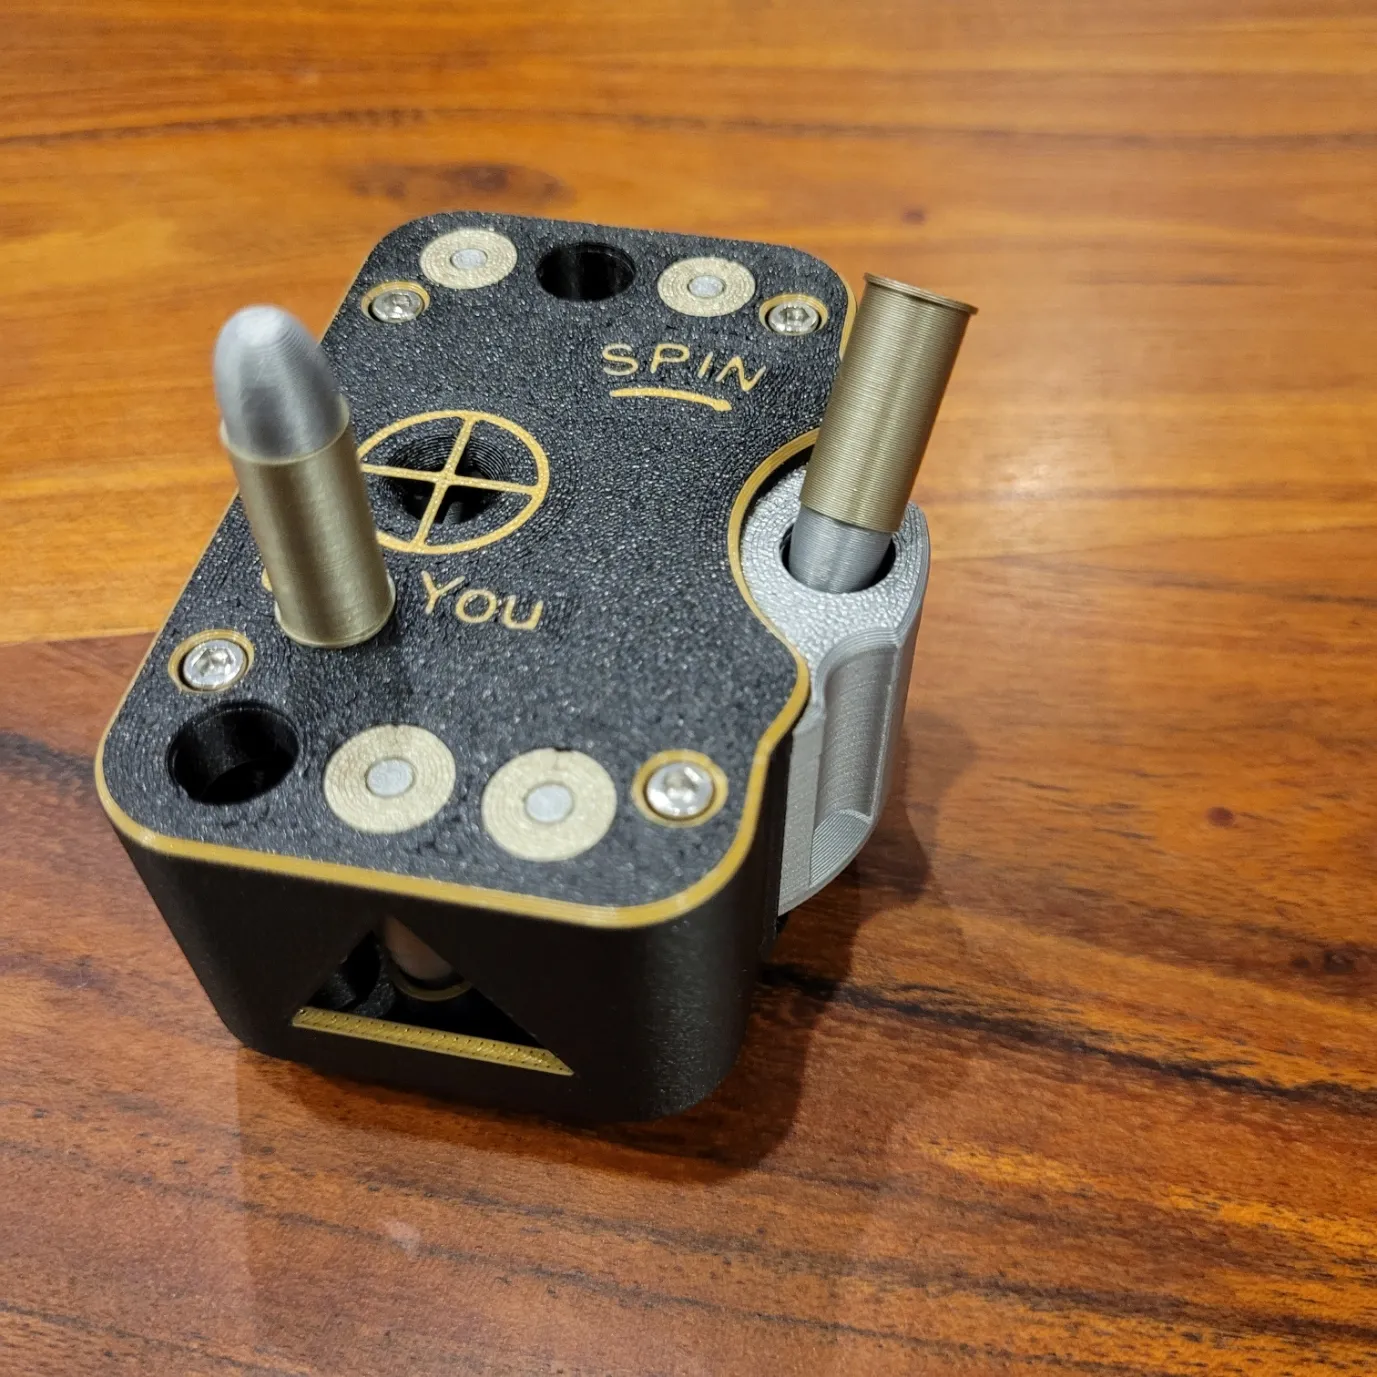
Thats it, easy to assemble, fun to Play with :) Have fun and show some makes, i wanna see some of your Colorchoices :) Let it Spin
License

You shall not share, sub-license, sell, rent, host, transfer, or distribute in any way the digital or 3D printed versions of this object, nor any other derivative work of this object in its digital or physical format (including - but not limited to - remixes of this object, and hosting on other digital platforms). The objects may not be used without permission in any way whatsoever in which you charge money, or collect fees.


Comment & Rating (936)