Spiral Lamp | WLED App controllable


Print Profile(1)


Description
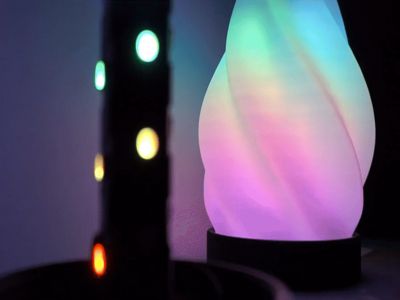
The Spiral Lamp:
The spiral lamp is a cost-effective, easy-to-build, fully addressable LED lamp and can be easily controlled and programmed via an app or browser.
Required Parts:

| Name | AliExpress |
| ESP32 SuperMini | 2,89€ [Link] (ESP32 C3 Mini) |
| USB-C Socket | 1,99€ [Link] (Gold) |
| 4x M2x6mm countersink screw | 1,49€ [Link] (M2 x 50Pieces | 6mm) |
| 19x SK6812 (or WS2812B) RGBW Led | 7,09€ [Link] (RGBNW | 1m 30 IP30 | Black PCB) |
| 3x female jumper wires | |
Boost Me (for free)
If you like the model, I would be happy about a boost. This way I can publish models in even more cheerful colors in the future. Thank you!
Assembly:
Step 1: Connect the ESP32 to your computer and then open the WLED website, install the latest WLED version on your ESP. (If you have any problems, check out the first part of this tutorial) |  |
Step 2: Slide the USB-C into the designated hole and secure it with two M2x6mm countersink screws.
|  |
Step 3: Solder a connector strip to the side with 5V and GND on the ESP. |  |
Step 4: Place the ESP in the designated bracket and screw it with two M2x6mm countersink screws and the 3d printed cover. |  |
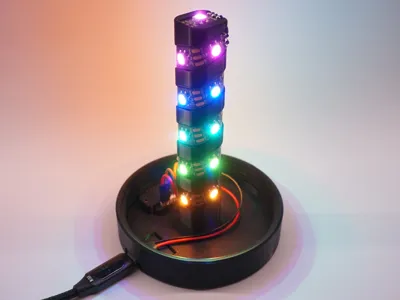
Step 5: Glue the first LED behind the plastic bridge so that the LED touches the bridge. |  |
Step 6: Wrap the LEDs tightly around the column until you reach the top. A single LED still needs to be glued in at the very top, make sure you do this in the right direction. |  |
Step 7: Solder the top LED to the bottom strip. |  |
Step 8: Solder the red cable from the USB socket and a jumper wire to +5V from the LED strip. Only one jumper wire goes to Din and the black cable and a jumper wire to GND. |  |
Step 9: Plug the cables into the ESP. |  |
Circuit diagram:

Setting up WLED:
- Download the zip folder WLED Configuration.zip from “Other Files” and unzip it.
- Go to Config → Security & Updates and upload the wled_config.json file to “Restore configuration” and press upload.
- Then Upload the wled_presets.json to “Restore presets” if you want to use my presets and press upload.
- Then scroll to the bottom of the page and press “Save”.
- Go to Config → 2D Configuration and upload the PrismLume_gap.json file to “Gap file:” and press upload.
- Then scroll to the bottom of the page and press “Save”.
- Search for WiFi networks on your phone and connect to the “WLED-AP” network (password: wled1234).
- Type 4.3.2.1 in your brower.
- Go to Config → WiFi Setup and enter your WiFi credentials.
Now you can make the lamp light up in different patterns on the Presets page, or create your own patterns.

Have fun building the project!
Stay ceative!
Differences of the remix compared to the original:
Now uses an ESP32 and WS2812B/SK1368 Leds.
Have fun building the project!
Stay ceative!

Comment & Rating (8)