

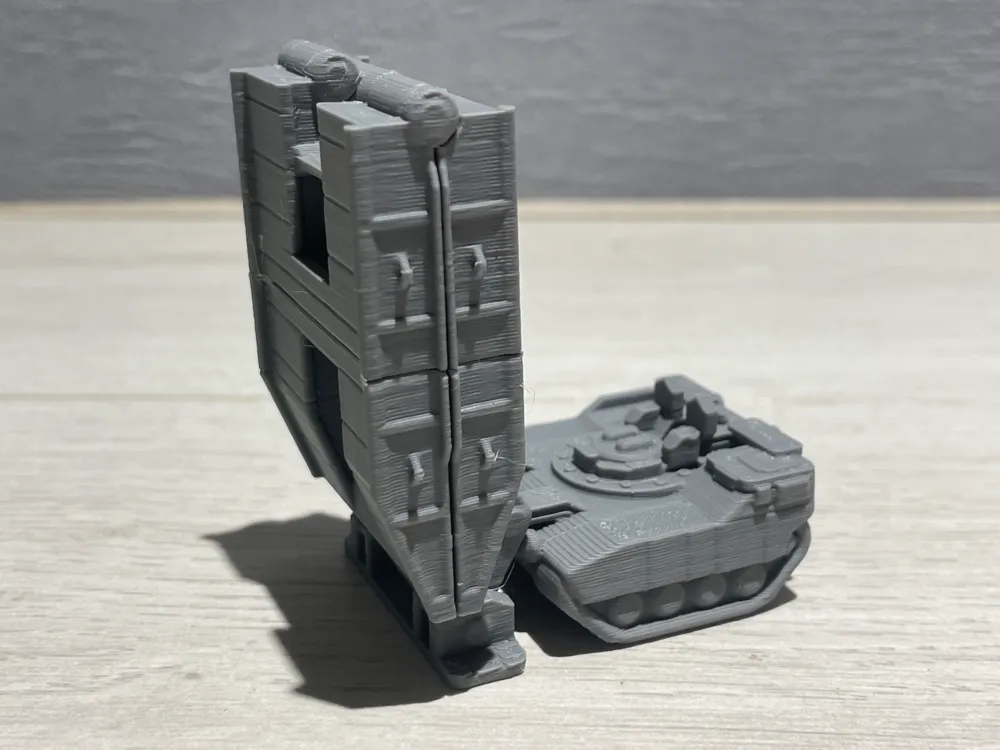
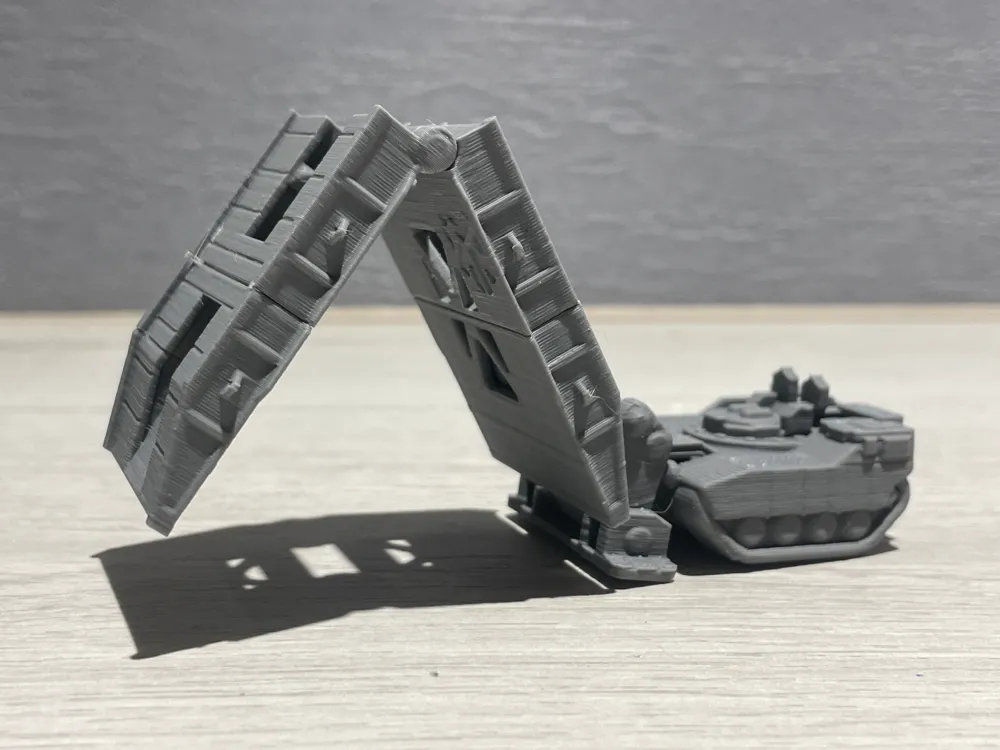
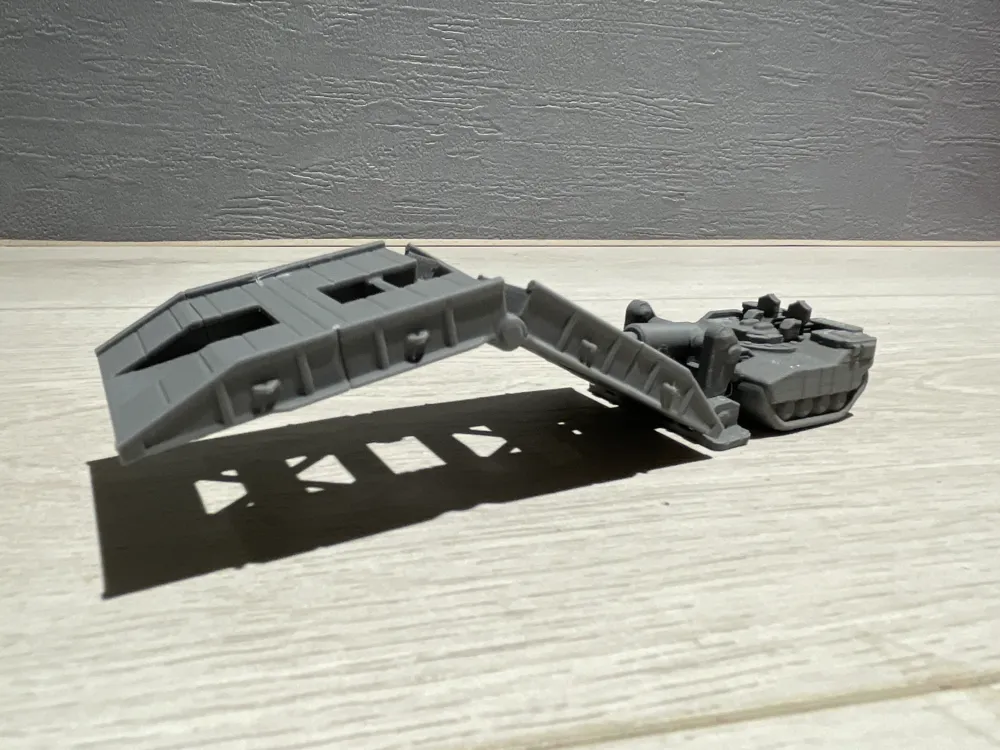
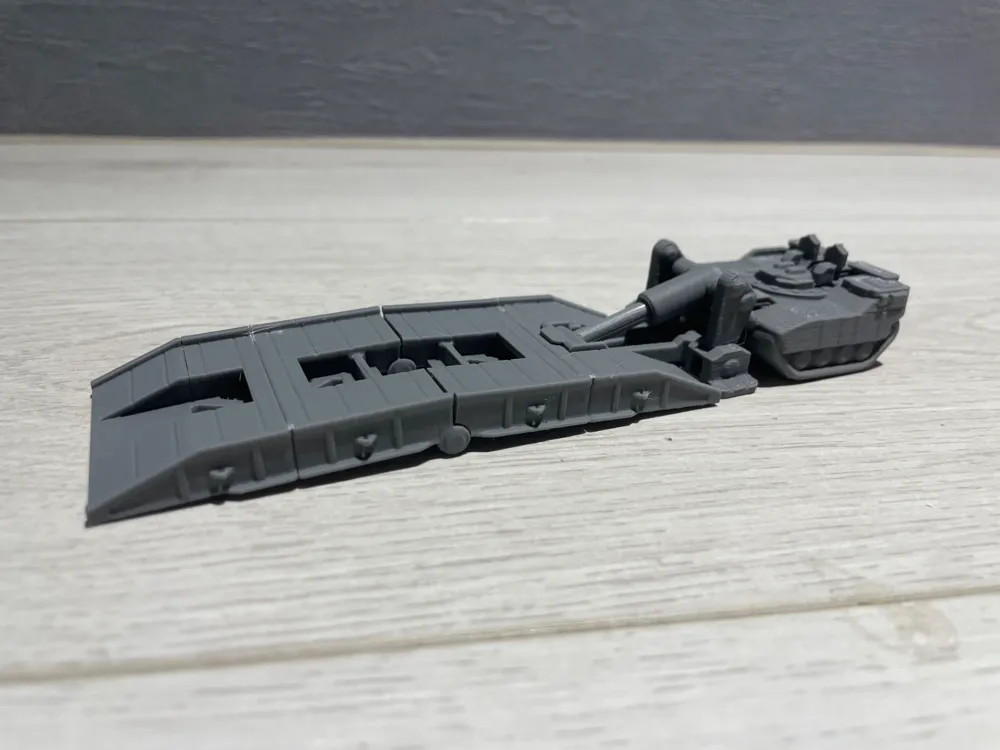
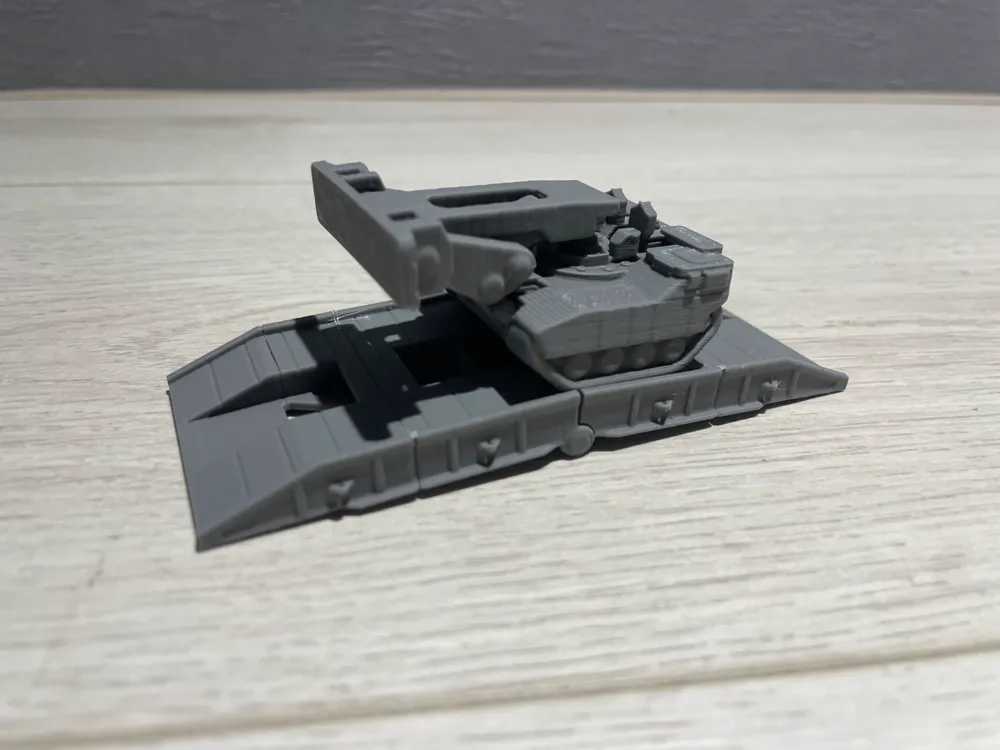
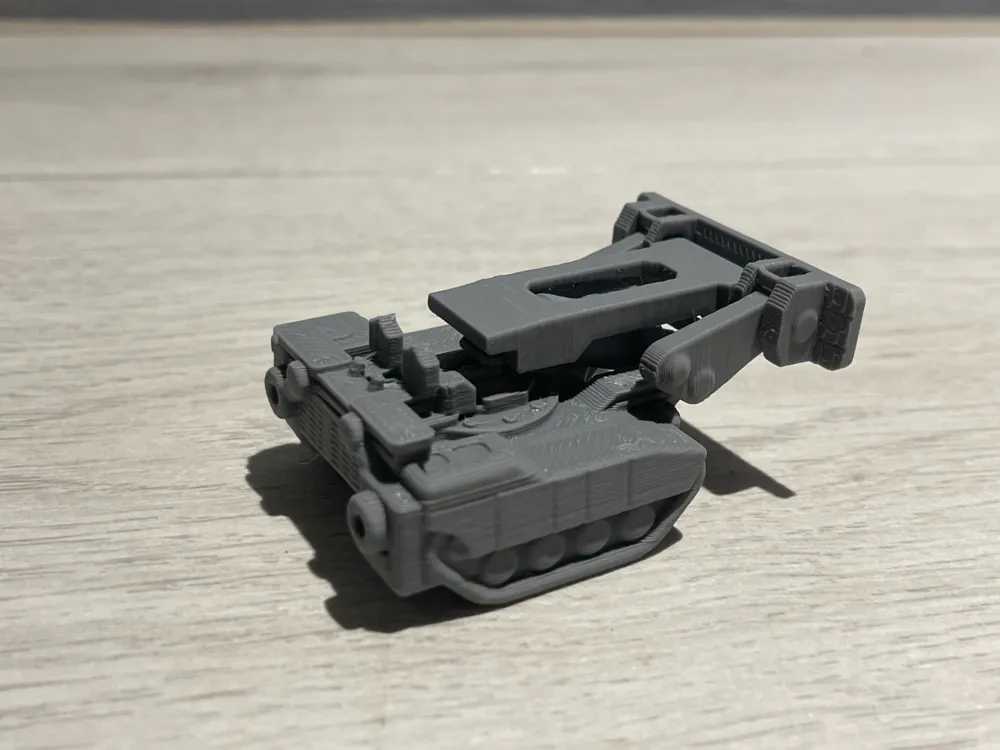
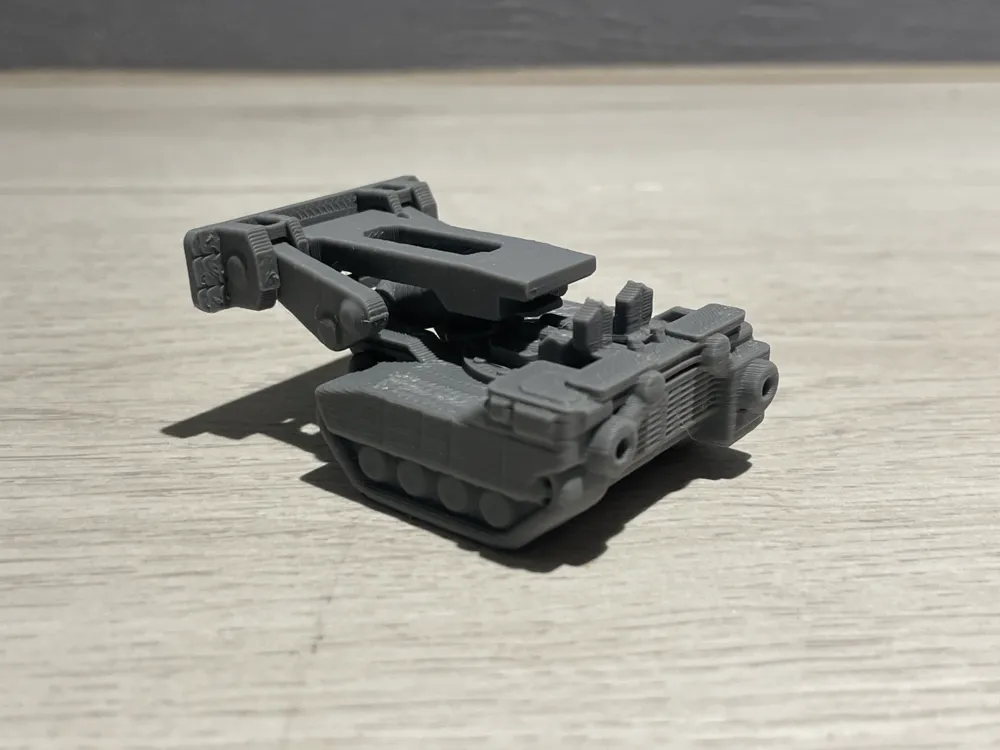
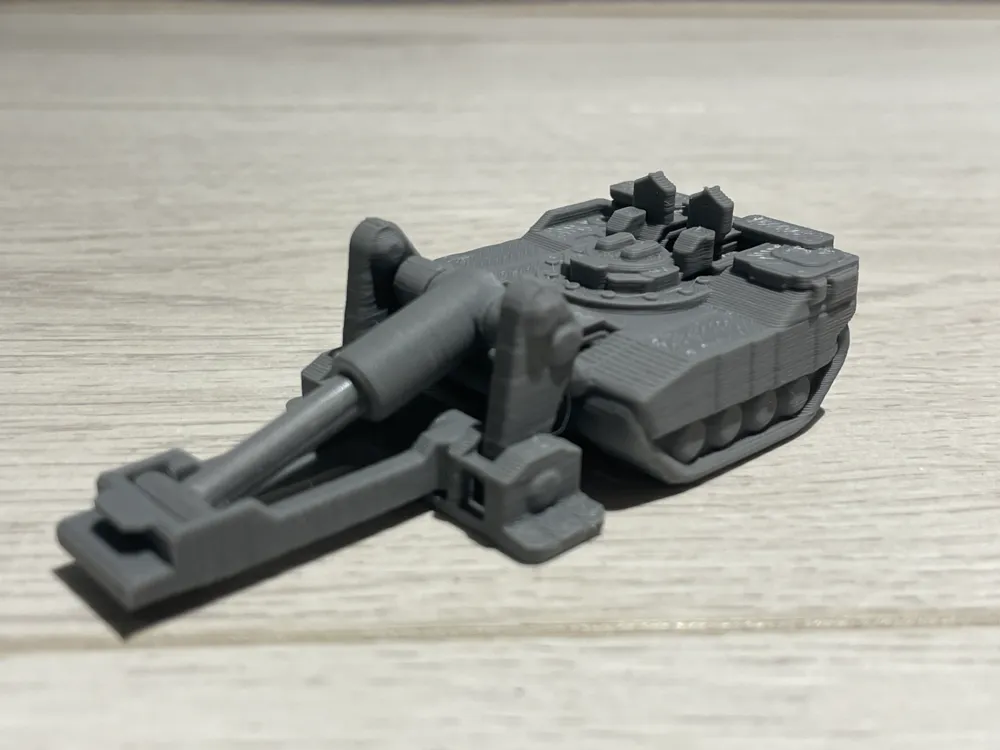
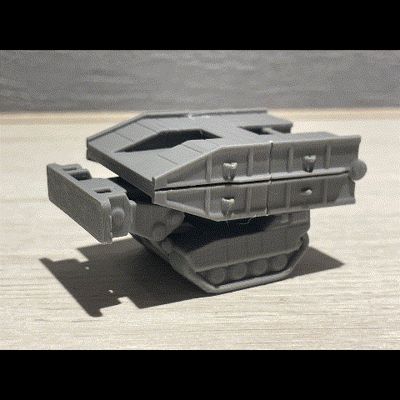
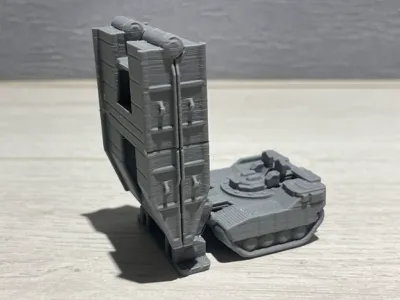
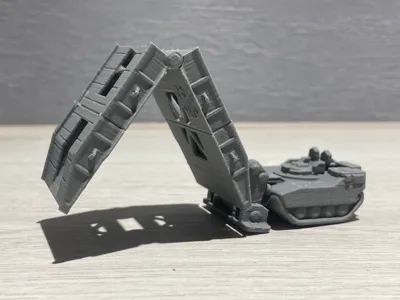
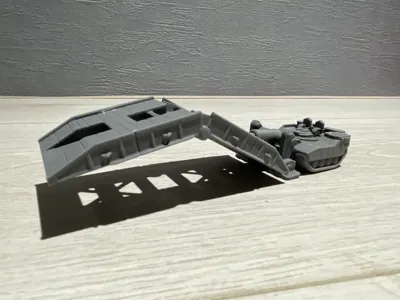
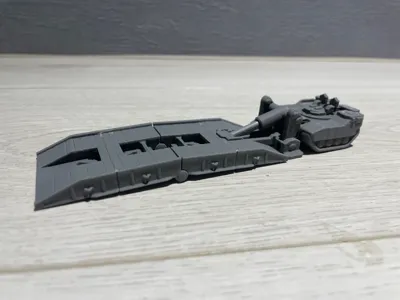
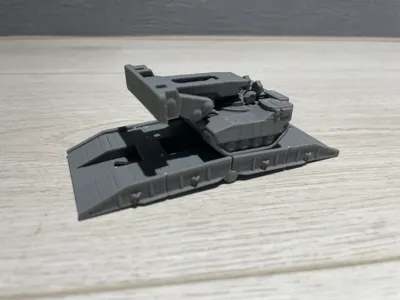
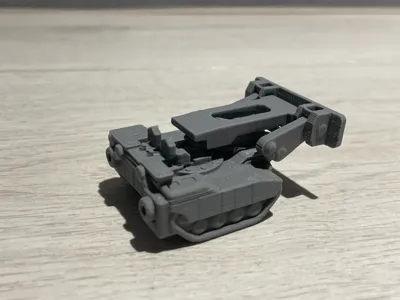
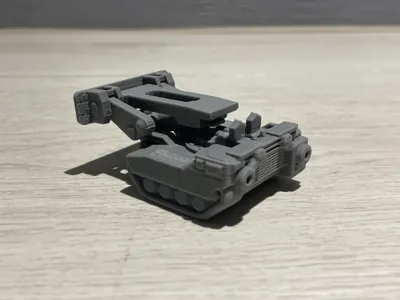
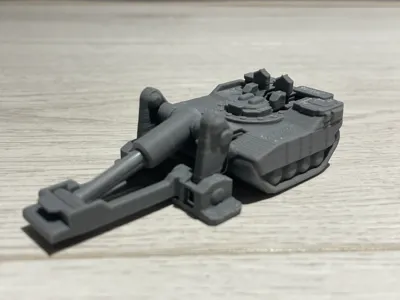
HAN mini Joint Assault Bridge movable tank toy
Print Profile(2)


Bill of Materials
- 硬幣數個 x 1: 非必要,重量要到22.7g,詳細看說明
Description
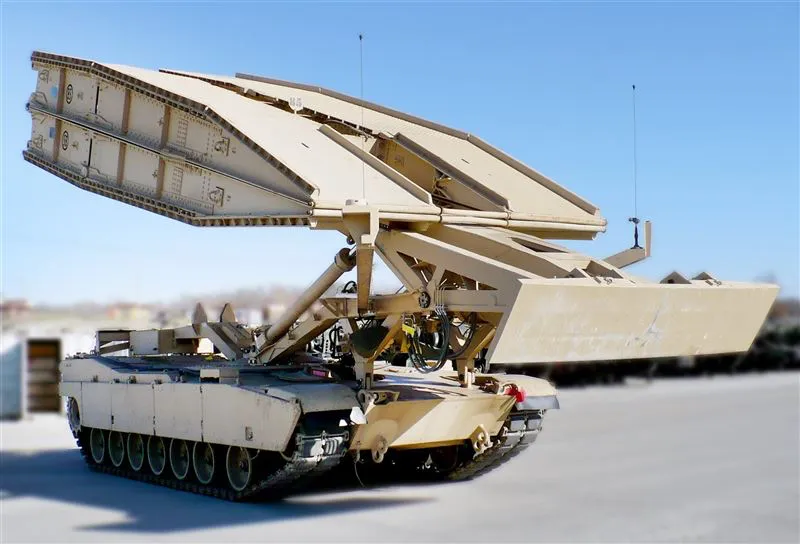
Mini Articulated Tank, Part 2!! Finally Complete!!
First, I extend my sincere gratitude to everyone who downloaded the HAN Mini Articulated Tank Toy Download numbers have surpassed 1000!! Thank you all for your support
During this period, I've been contemplating potential expansions to the tank series
I considered a troop transport or a rocket launcher, but these themes seemed rather commonplace
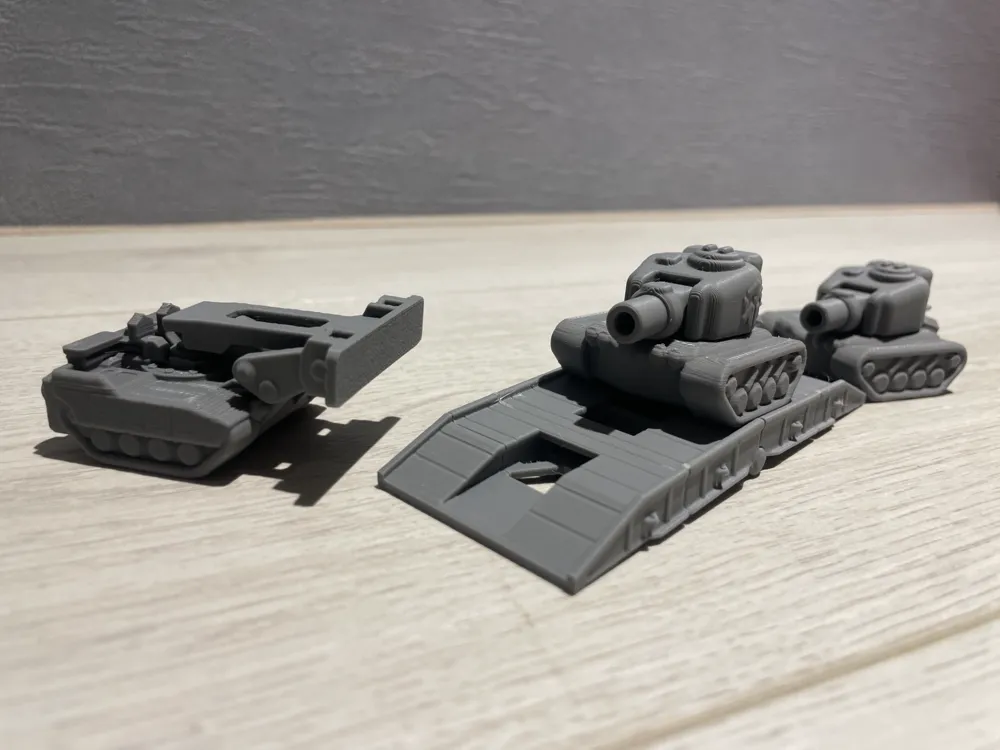
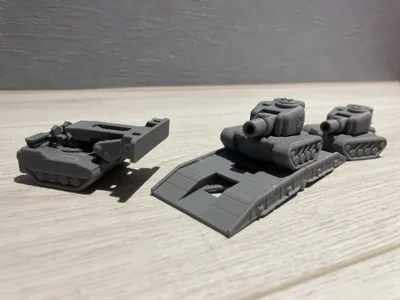
Further research revealed the existence of assault bridges, offering synergistic play with the mini tank, thus inspiring this project
2025/01/09 Update:
1.The component separation method has been revised to enhance forearm retention and simplify support removal
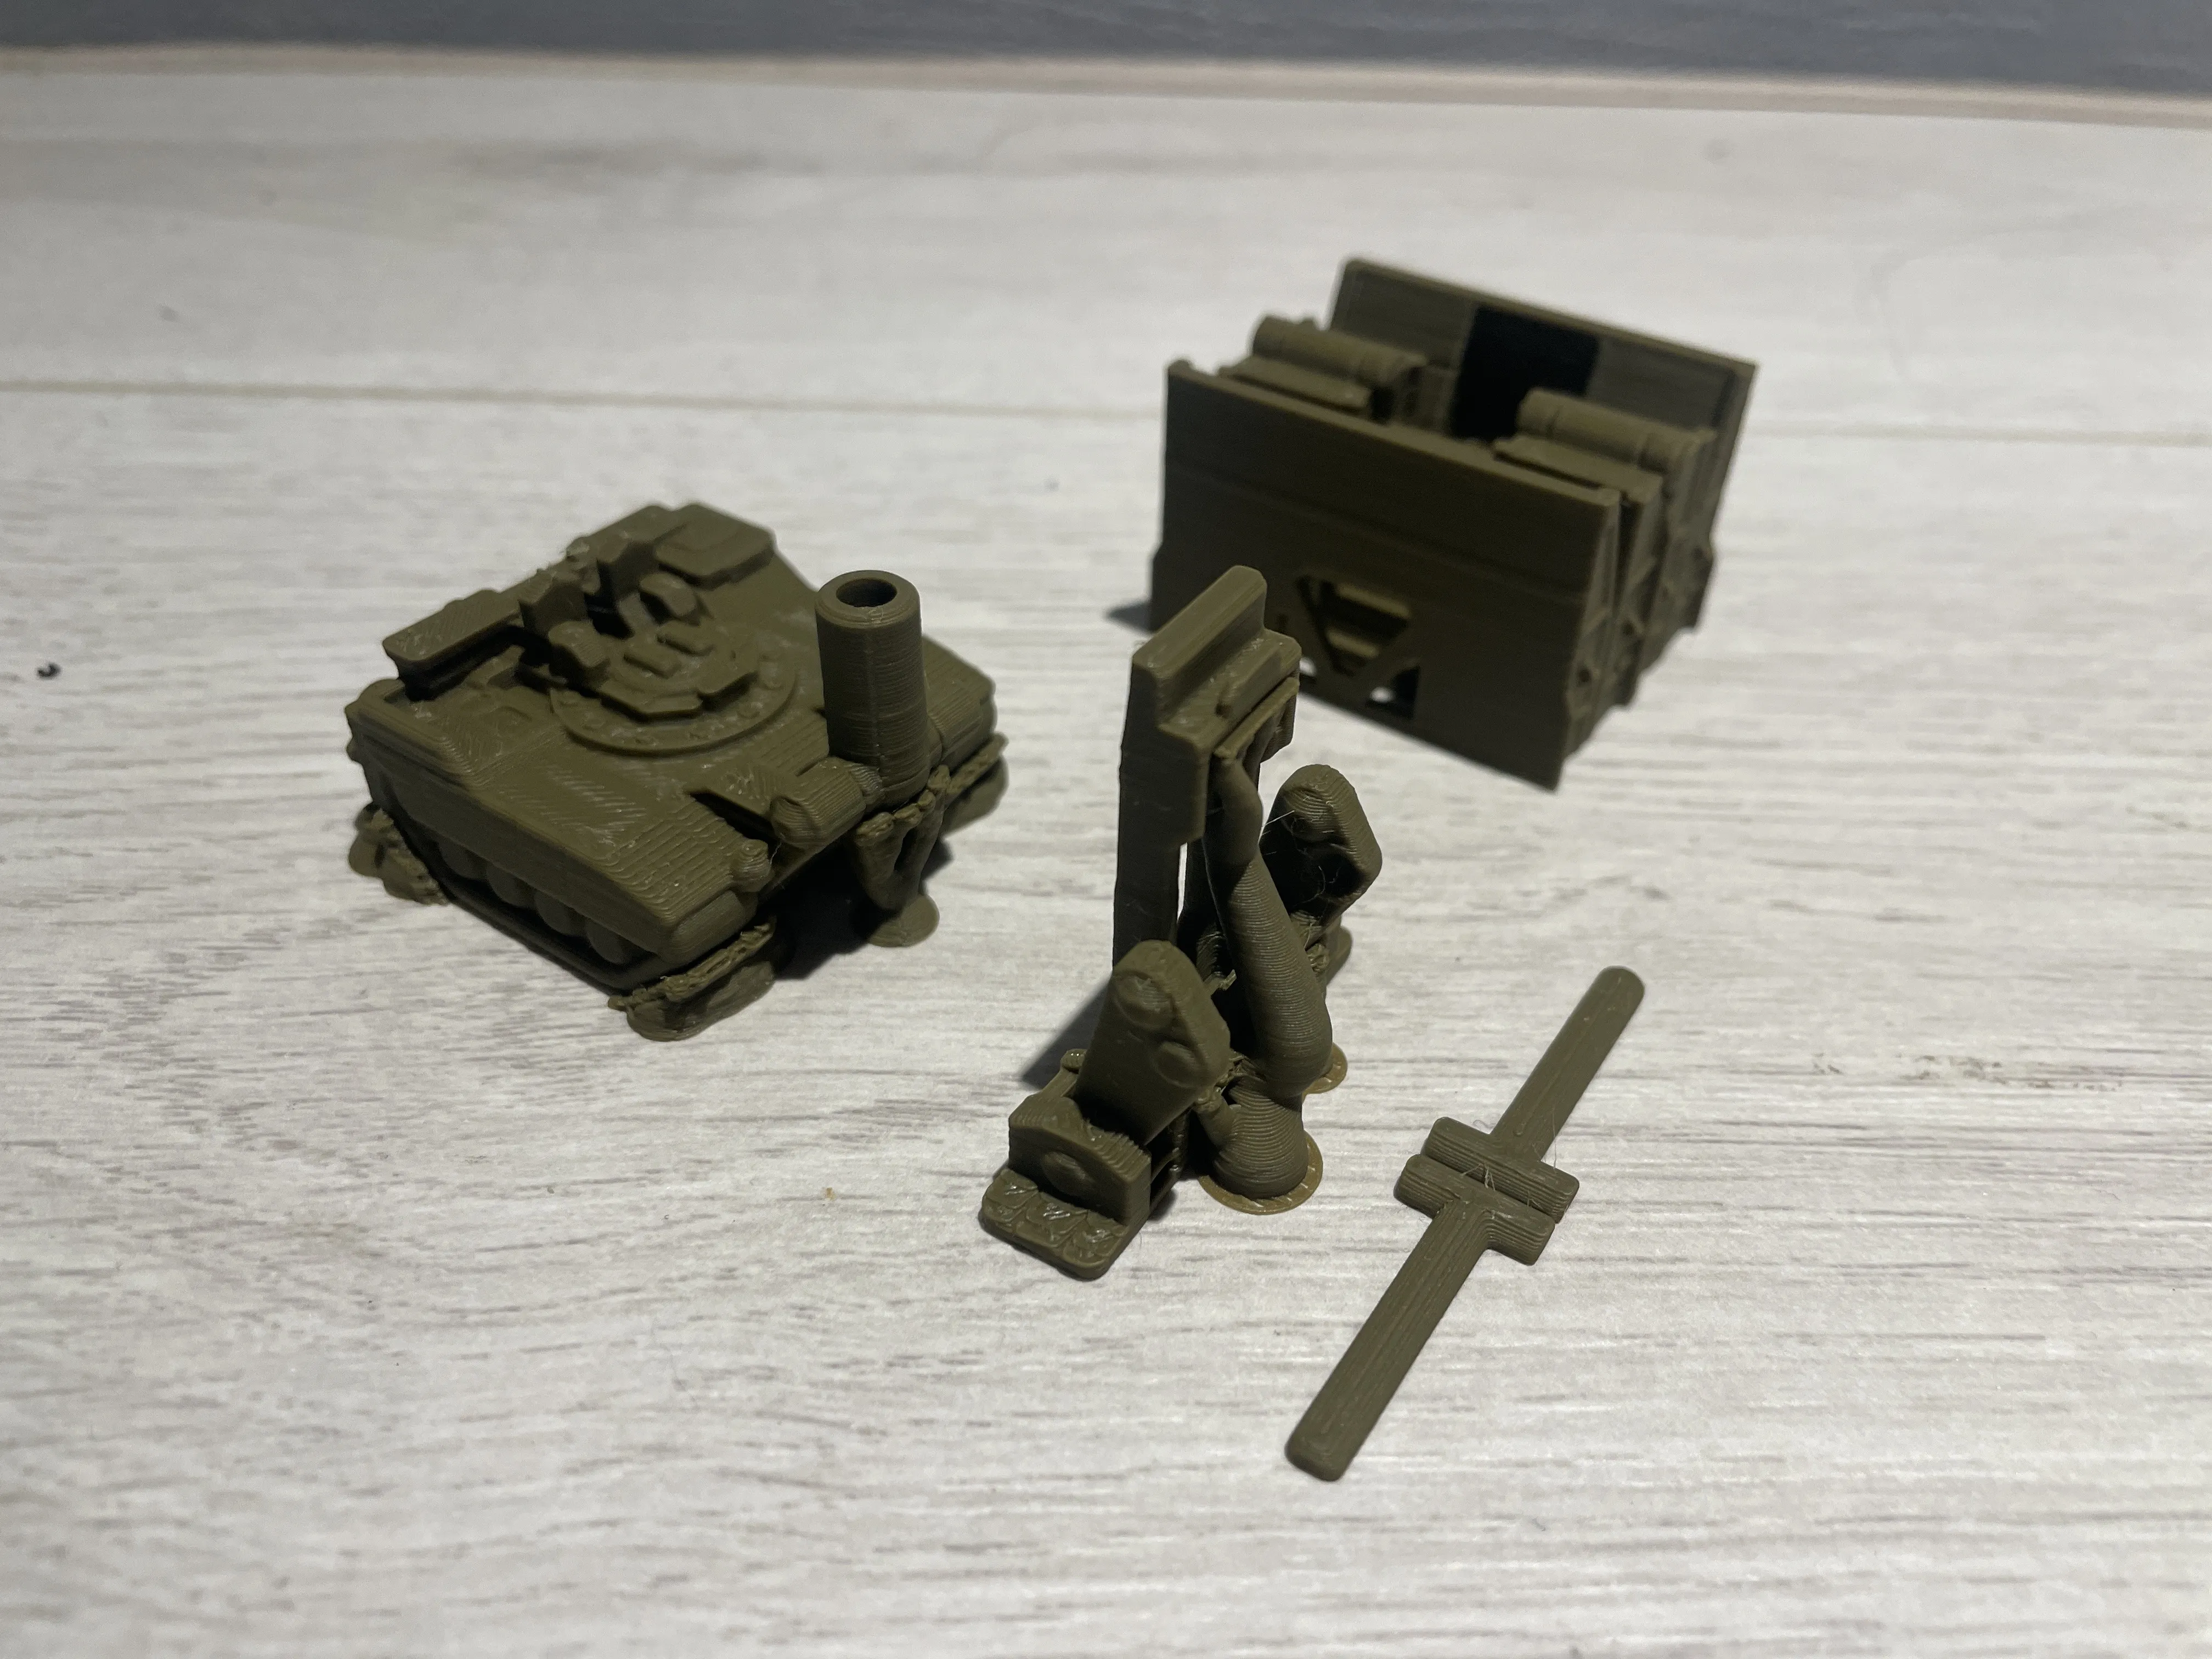
2.Chassis components have been subdivided to reduce coin-insertion wait times
3.STL updated to version 1.5, assembly instructions updated to version 1.5
4.Configuration reset, separating different currency options into independent sets of three
2025/01/09 Update:
1.STL updated to version 1.6, assembly method unchanged
2.Reinforced component strength, minor adjustment to the T-shaped hydraulic rod clearance
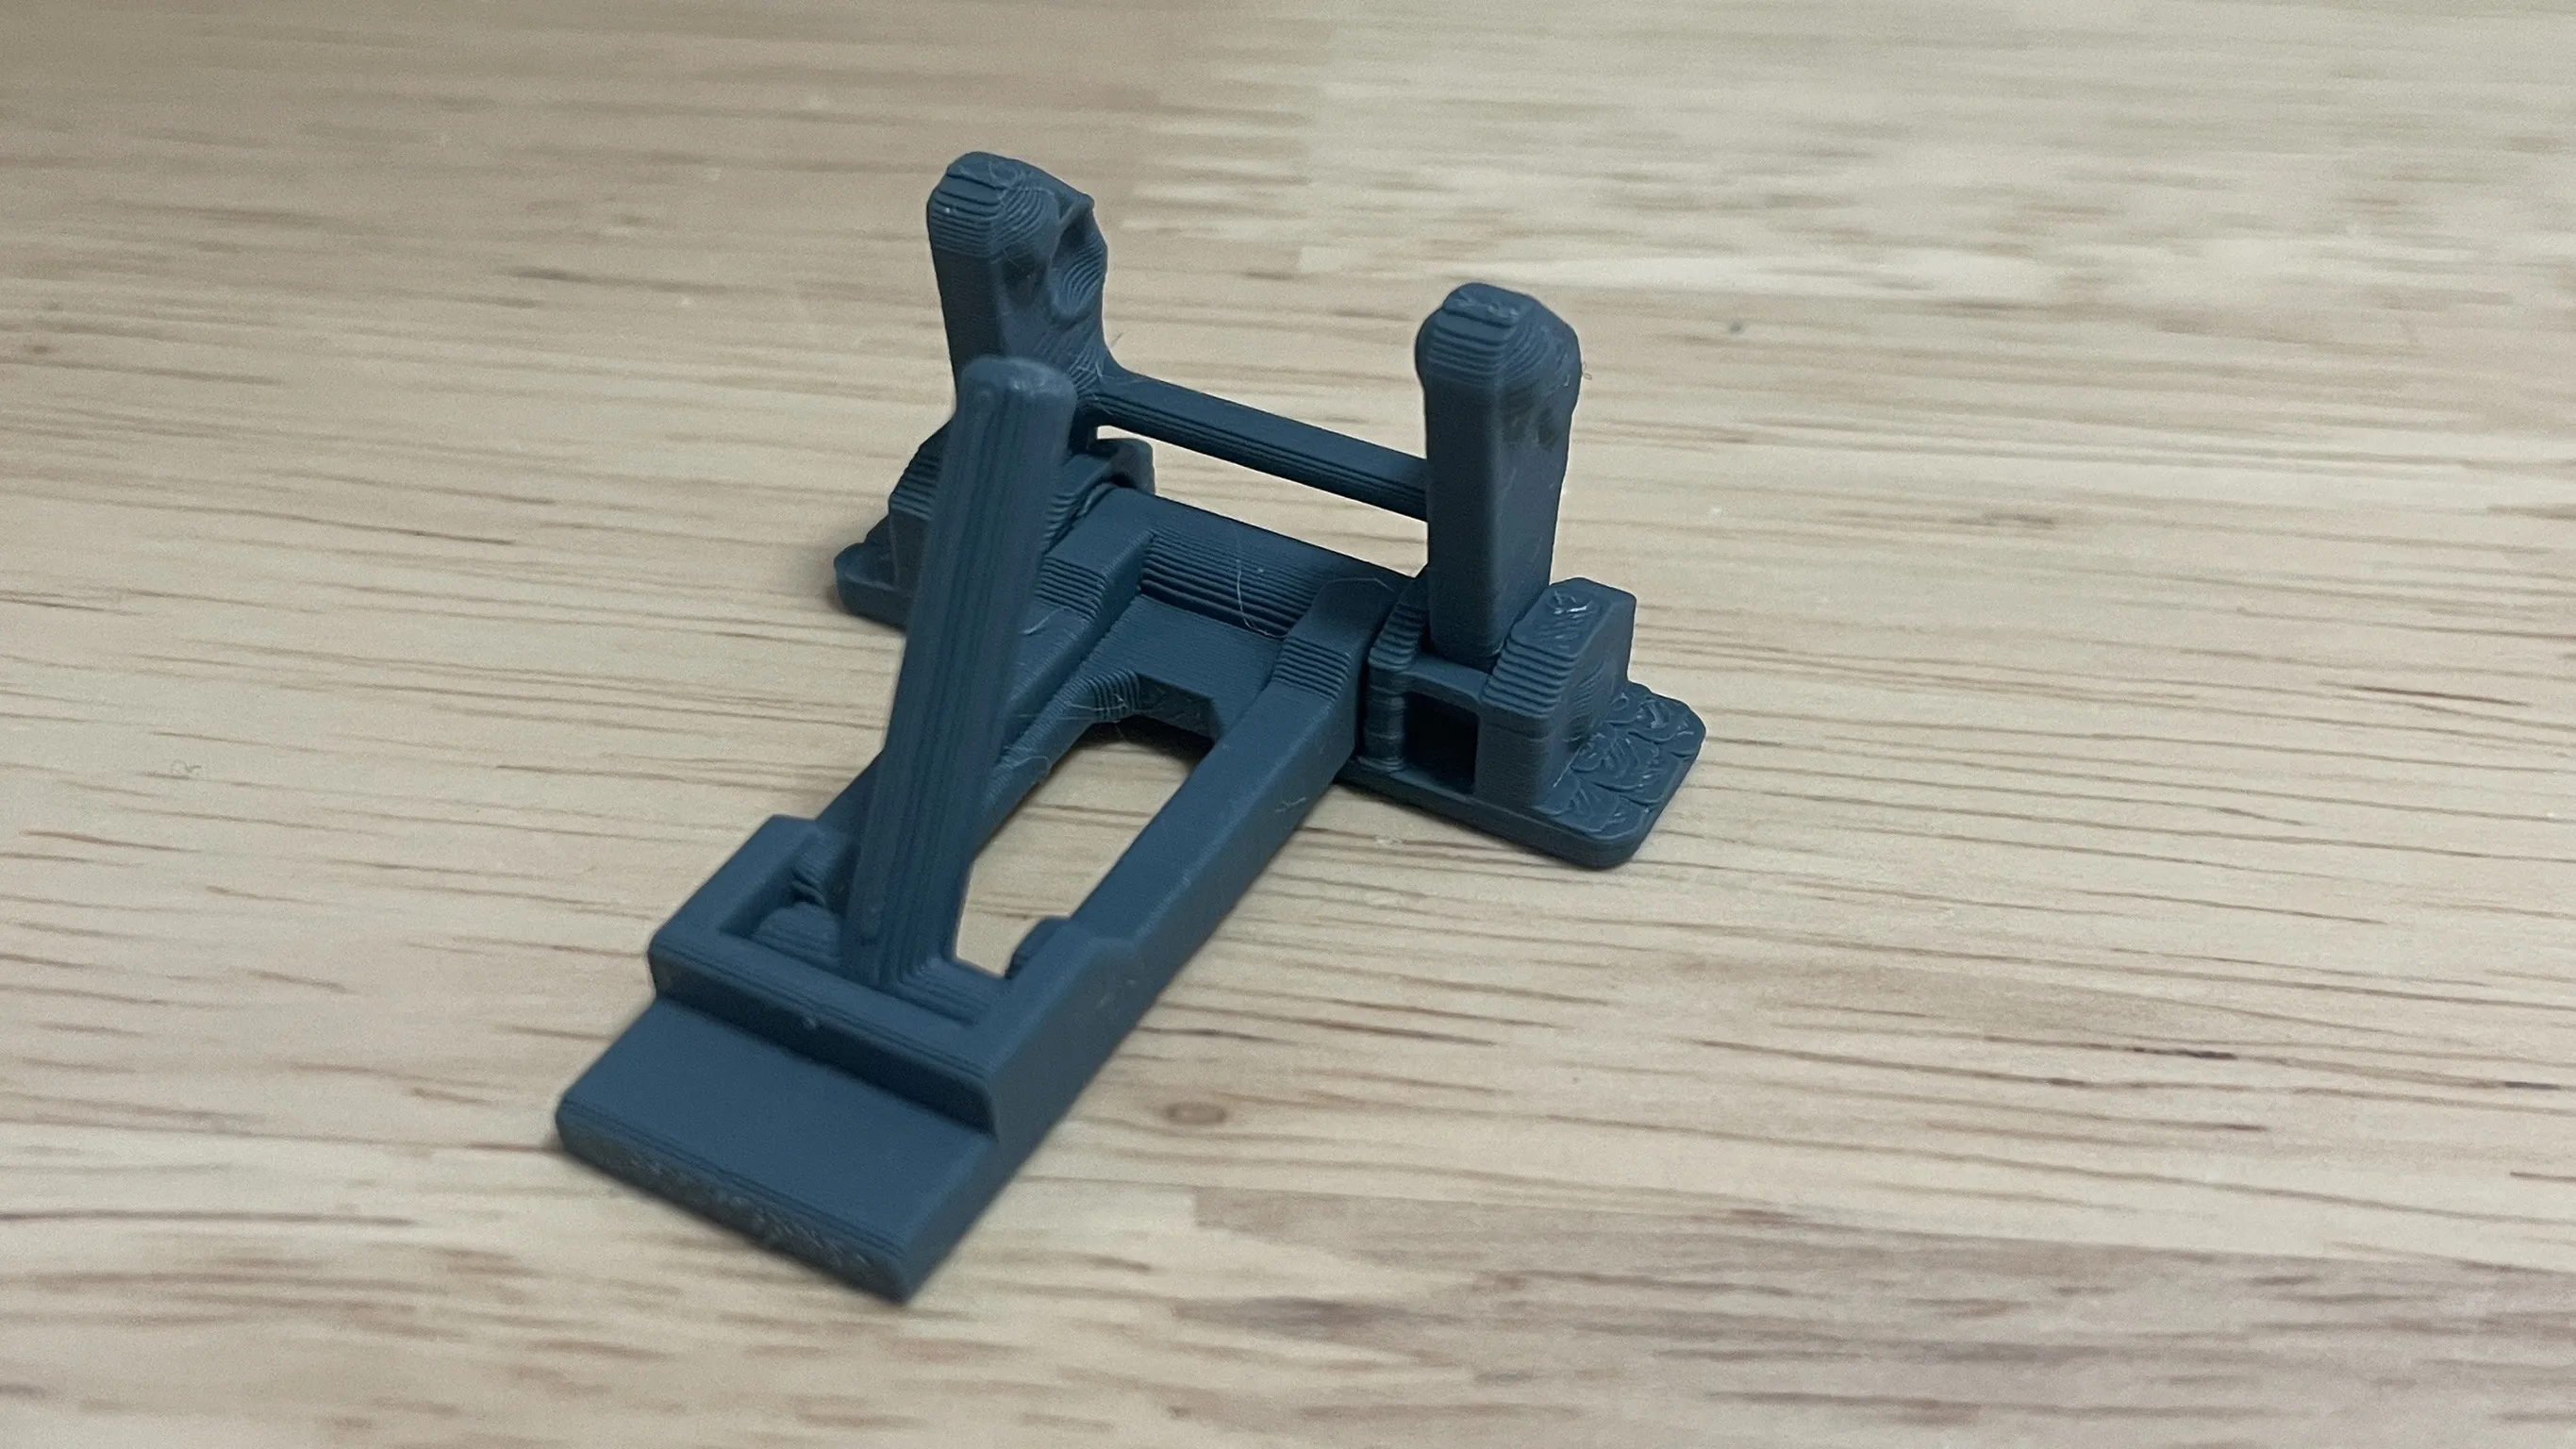
3.In conjunction with enhanced component strength, all parts have undergone comprehensive revisions
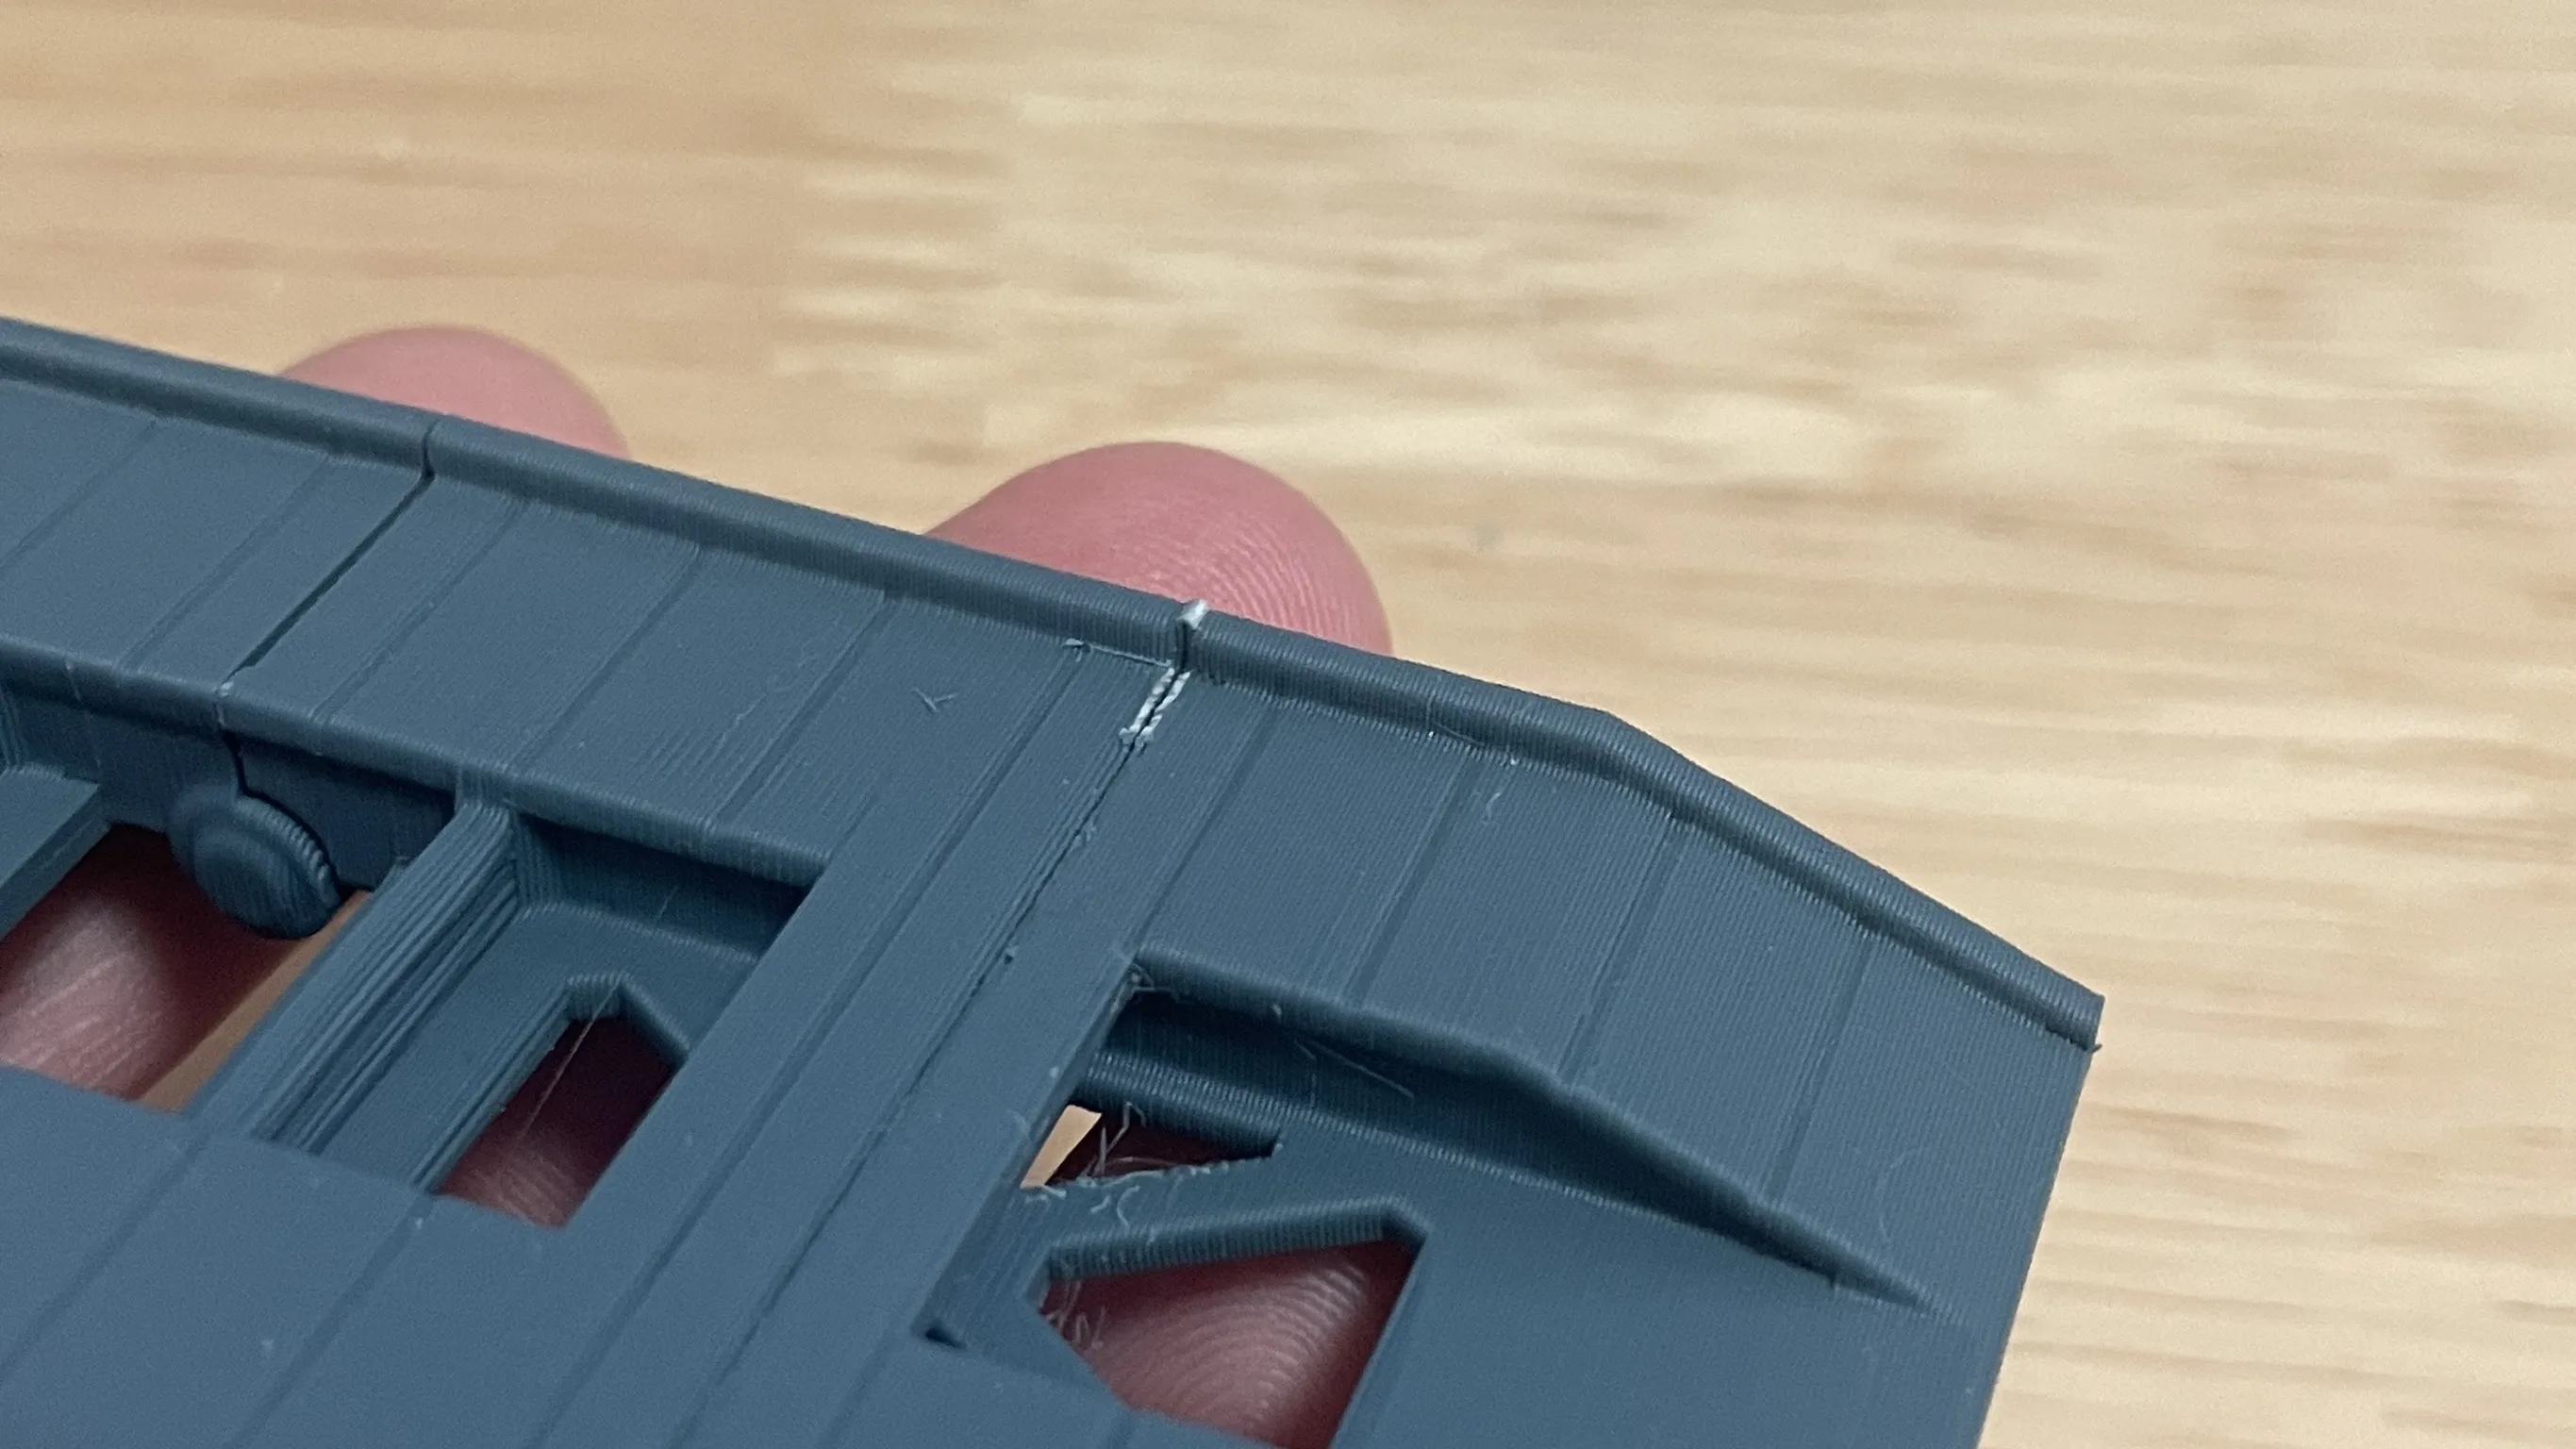
4.Bridge folding connection point modified; now simply requires using a craft knife to smoothly shave off a large section
5.Configuration updated to version 1.6, a set of three trays
Features:
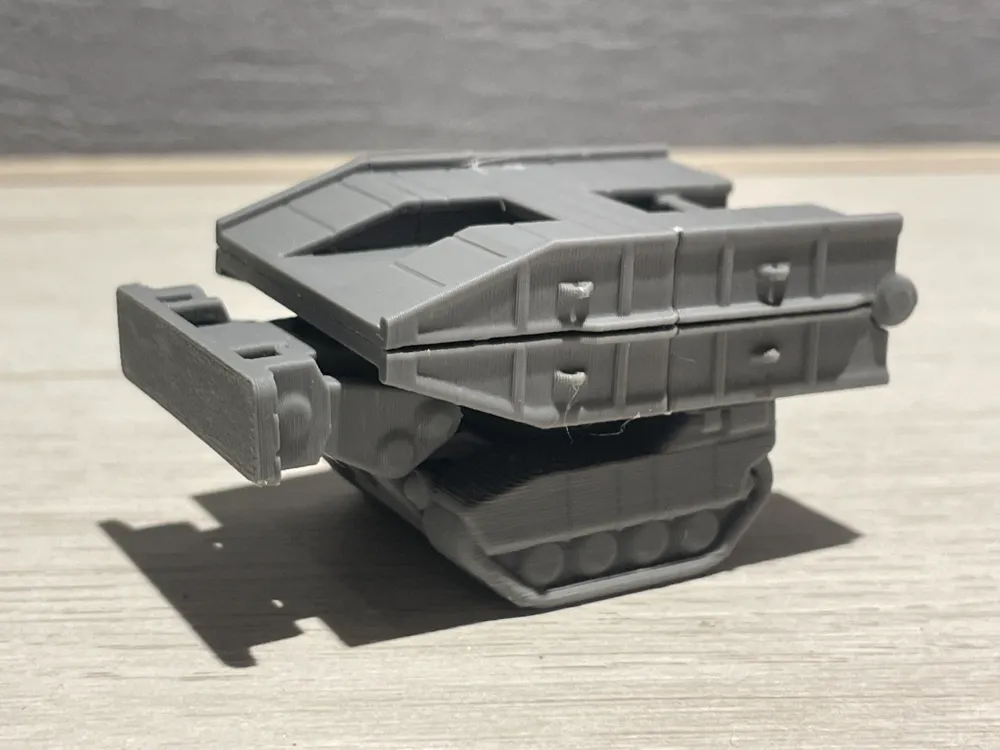
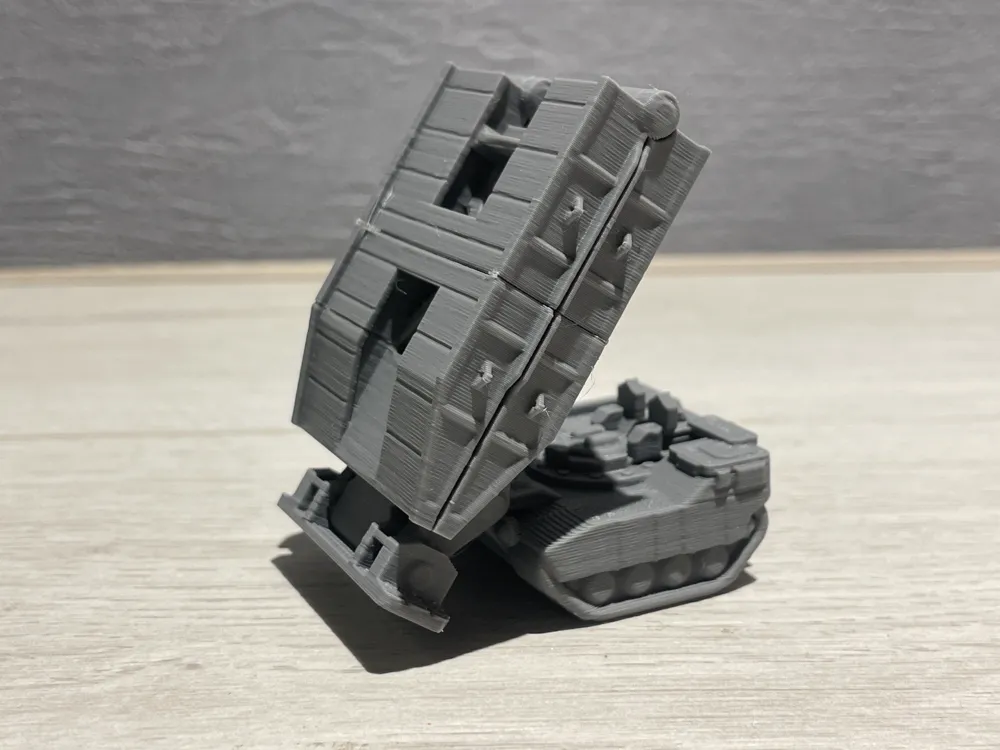
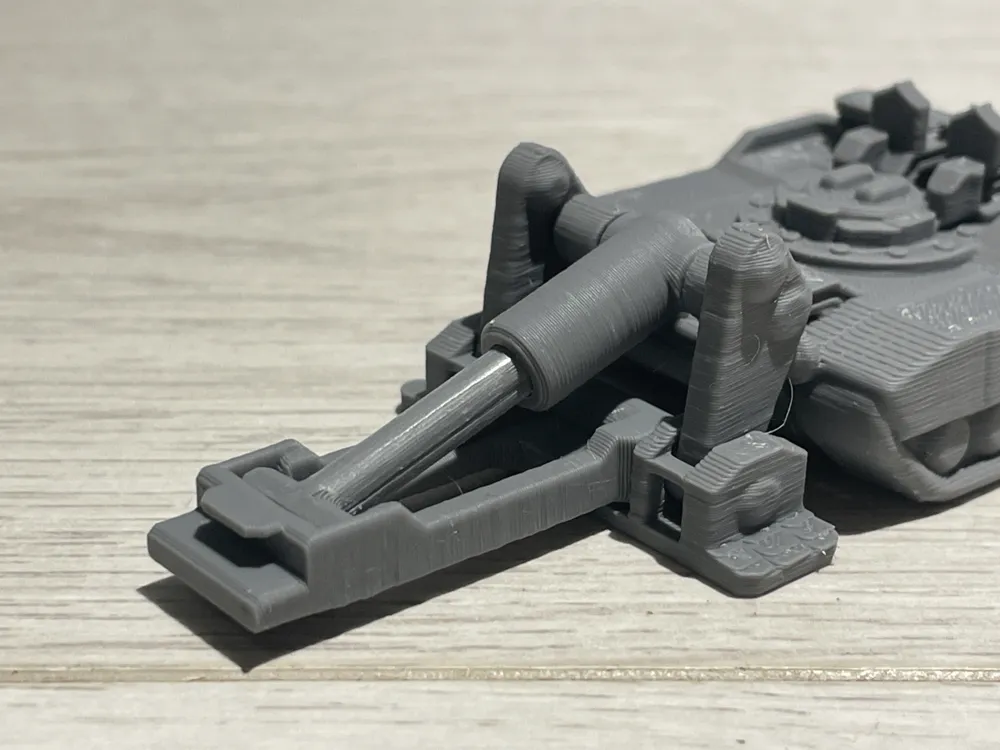
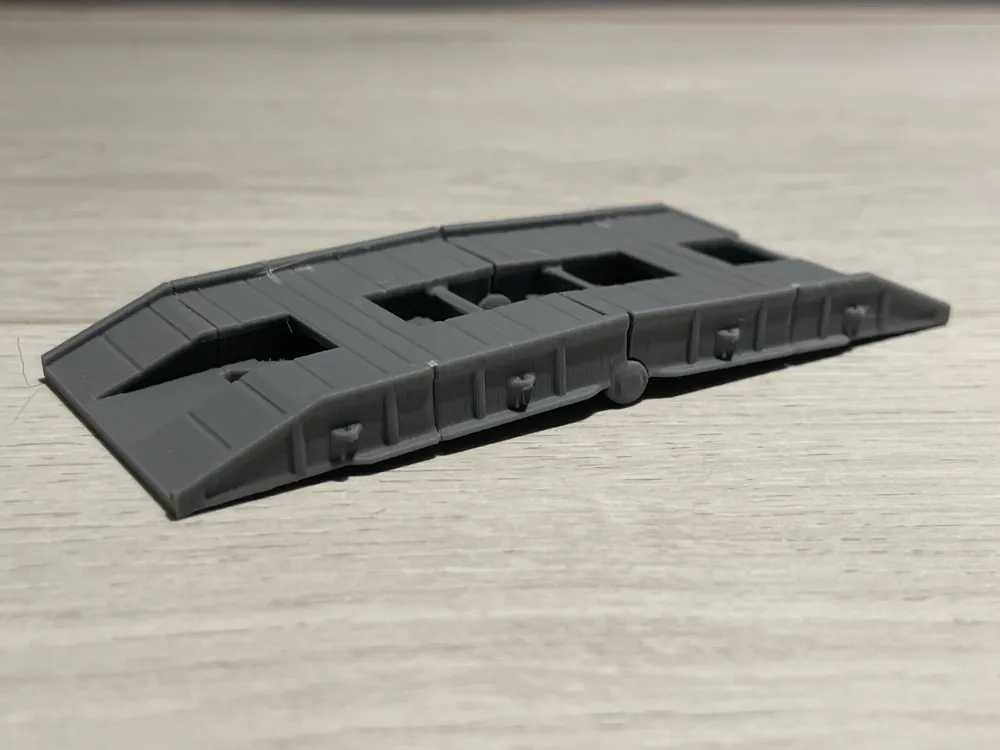
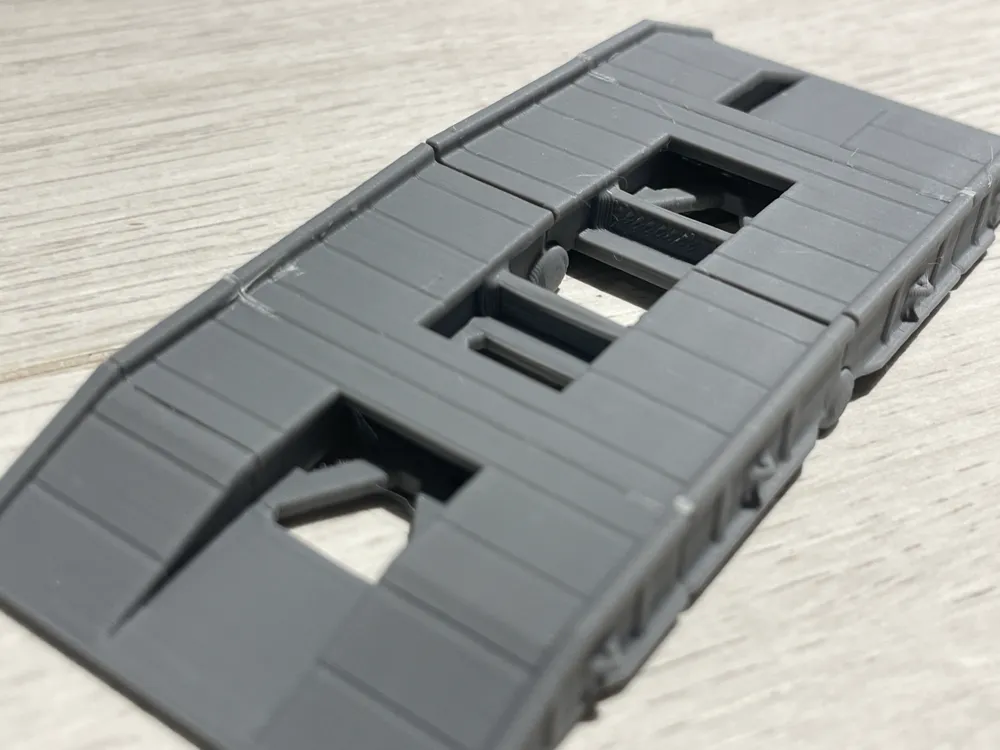
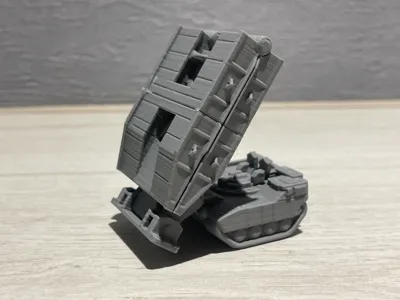
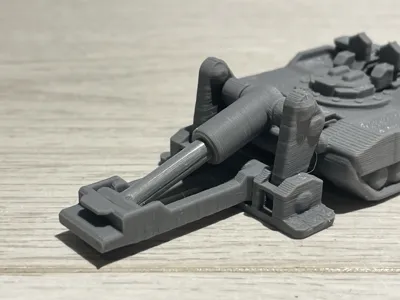
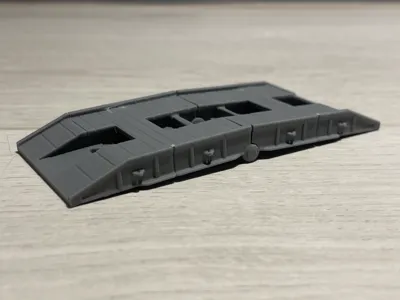
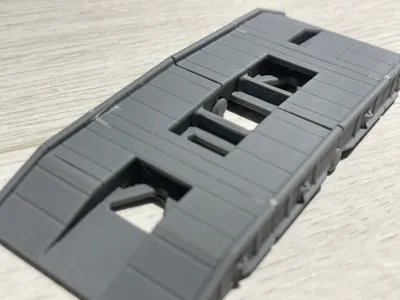
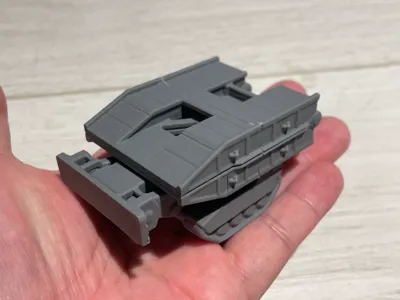
1.Articulated structure closely approximating the prototype (size constraints necessitated simplification and adjustments), enabling recreation of the entire bridge deployment and retraction process (requires coin insertion)
2.Bridge deployment extends to 110mm!!! and can be positioned virtually anywhere
3.Chassis joints are largely monolithic, allowing for pause-printing and coin insertion for counterweighting, thereby completing the full bridge deployment and retraction sequence
4.Adorable aesthetic redesigned based on the Joint Assault Bridge prototype, with added detail where possible
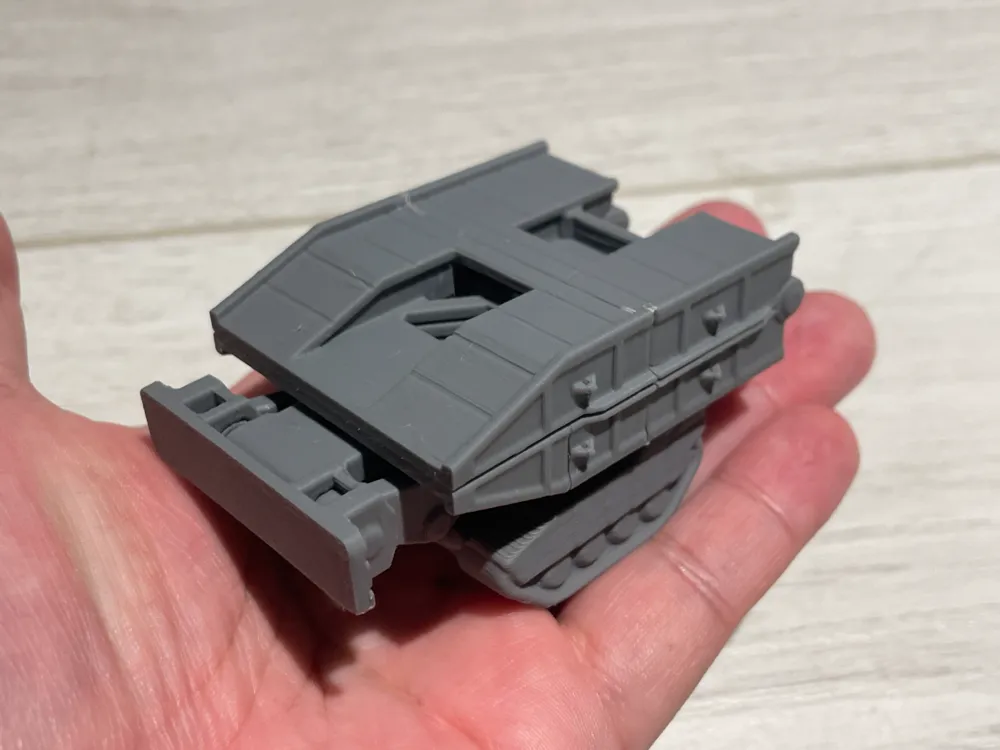
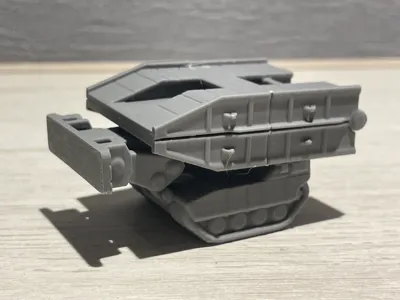
5.Consistent chassis dimensions retain a 40mm universal width (perfect for companion play with mini tanks!), with the bridge retracted, the vehicle measures 70mm in length, 45mm in width, and 35mm in height, with approximately 3 hours needed to print one set
(Design space was incredibly limited, making the mechanism exceptionally challenging to engineer😒)
6.Joints retain structural integrity for enhanced playability (please avoid dropping it😂)
Notes:
1.The model demands high precision, with minimal clearance tolerance of 0.22mm. Successful printing with a 0.2mm tolerance test should indicate sufficient accuracy (otherwise, flow rate and first-layer distance adjustments may be necessary)
2.Ensure a clean print bed and initiate printing at a reduced speed
3.It is recommended to embed coins within the tank (test weight must reach 22.7 to achieve balance, using three TWD10 coins). Alternative coins are acceptable, but configuration editing will be required. A negative cylindrical component is included in the tank interior for size adjustment (e.g., for a coin diameter of 26mm, adjust the cylinder to 26.5mm. Measure the combined stacked coin thickness; for a height of 5.6mm, I might add 3-4 layers, resulting in 6.4mm)
Coin thickness may vary, so ensure the cylinder remains within the vehicle (check for gaps), experiment with weight addition as needed (contributions to configurations for different currencies are welcome👍)
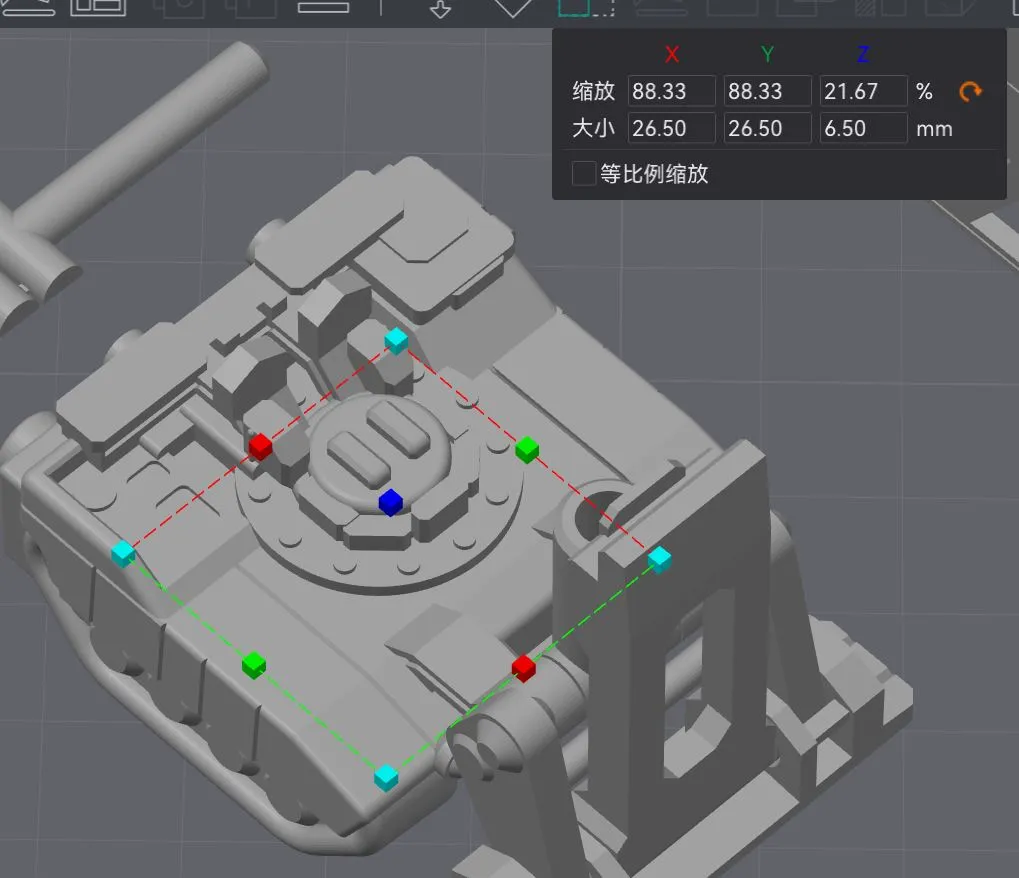
4.Verify the correct pause layer (pause before the top layer, avoid premature or excessive pauses; refer to the instructions below). The illustration shows three TWD10 coins; ensure accurate layer identification
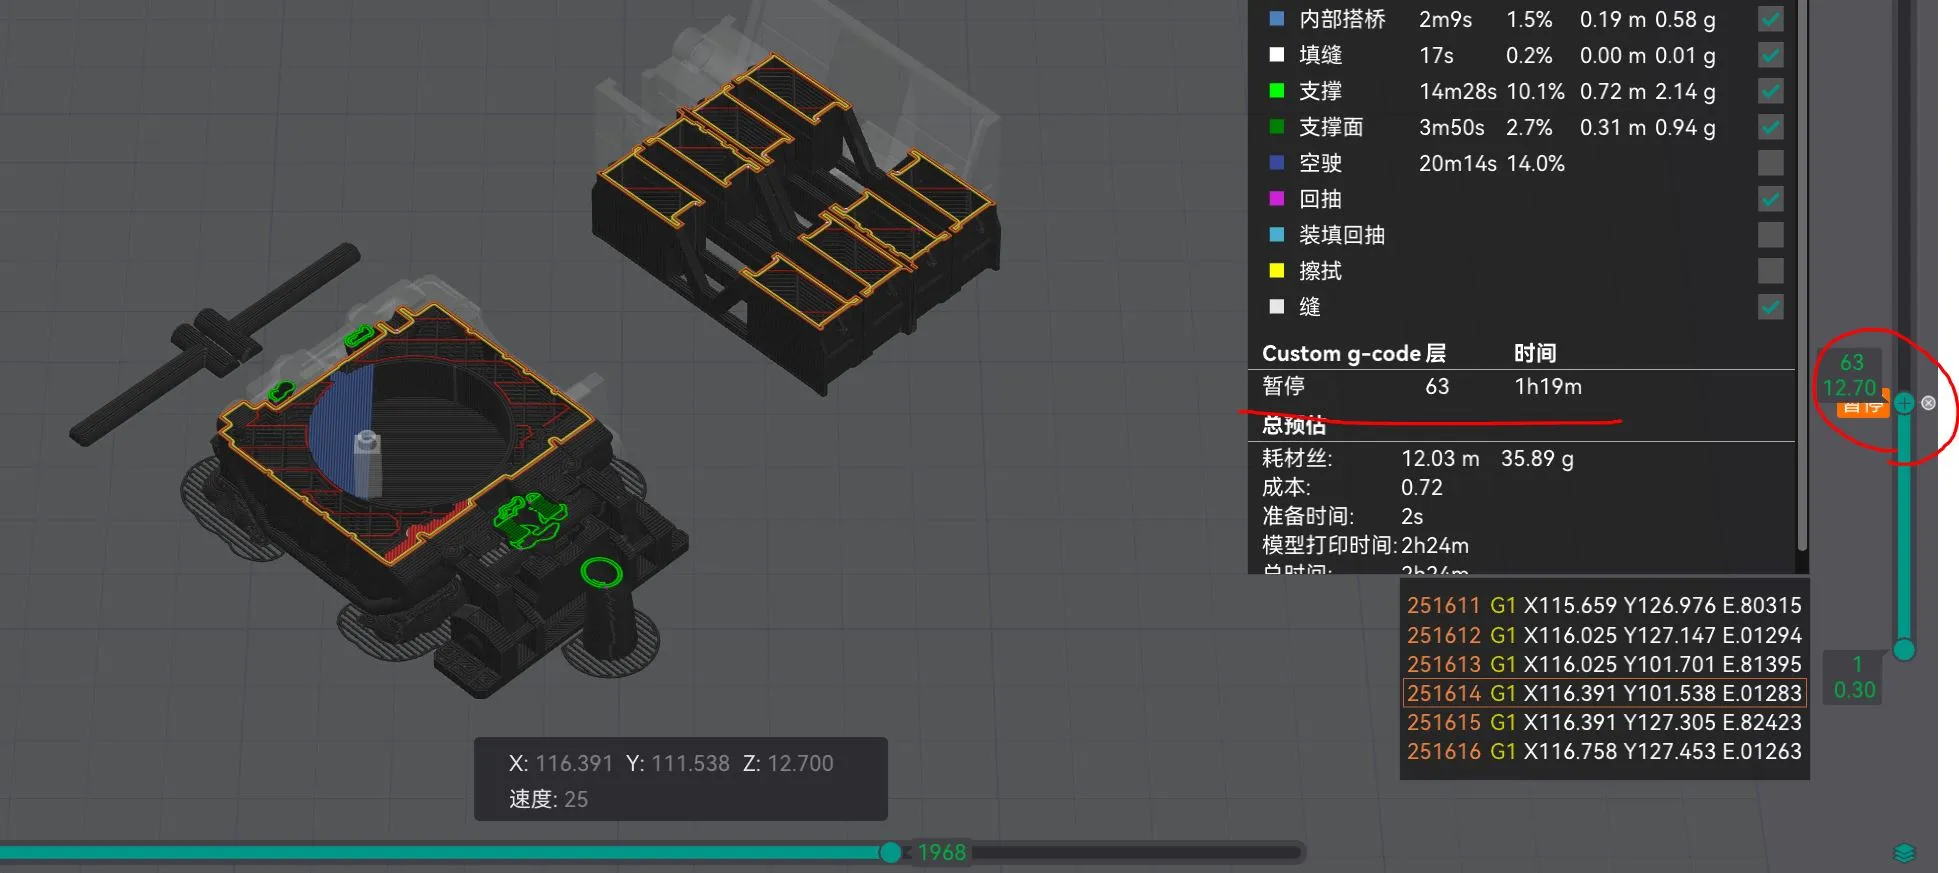
5.Deployment and retraction remain feasible without coin insertion, but the process will lack self-support, requiring manual tank support
6.Configurations are separated into two trays; select the appropriate one for use. Avoid separating parts for individual printing (insufficient cooling may impact smaller components)
7.Consider a 200% scale increase (joint looseness remains untested)
8.Tank supports have been manually designed (using tree-like support structures); bridge supports are unnecessary
9.All components are designed using FDM printing principles and exported in the recommended orientation
10.Strength settings: 0.2mm layer height, 2 walls, top 5 layers, bottom 4 layers, chassis infill 20% (linear) or higher (increased weight may be cost-ineffective), bridge 5% (linear) = custom infill
11.Nozzle temperature 210°C (optimal layer adhesion, avoid low temperatures), bed temperature 65°C
12.Assembly instructions are provided in the documentation
13.Requests for miniaturized versions of specific tanks are welcome; I'll consider them as time permits (to continuously expand the tank family)
Boost Me (for free)
"Do you like my models? Your support is my greatest motivation to keep moving forward! High-quality materials are quite costly, but with your help, I believe I can create even more stunning works. Thank you for your attention and support!"
Explore Other Popular Toys
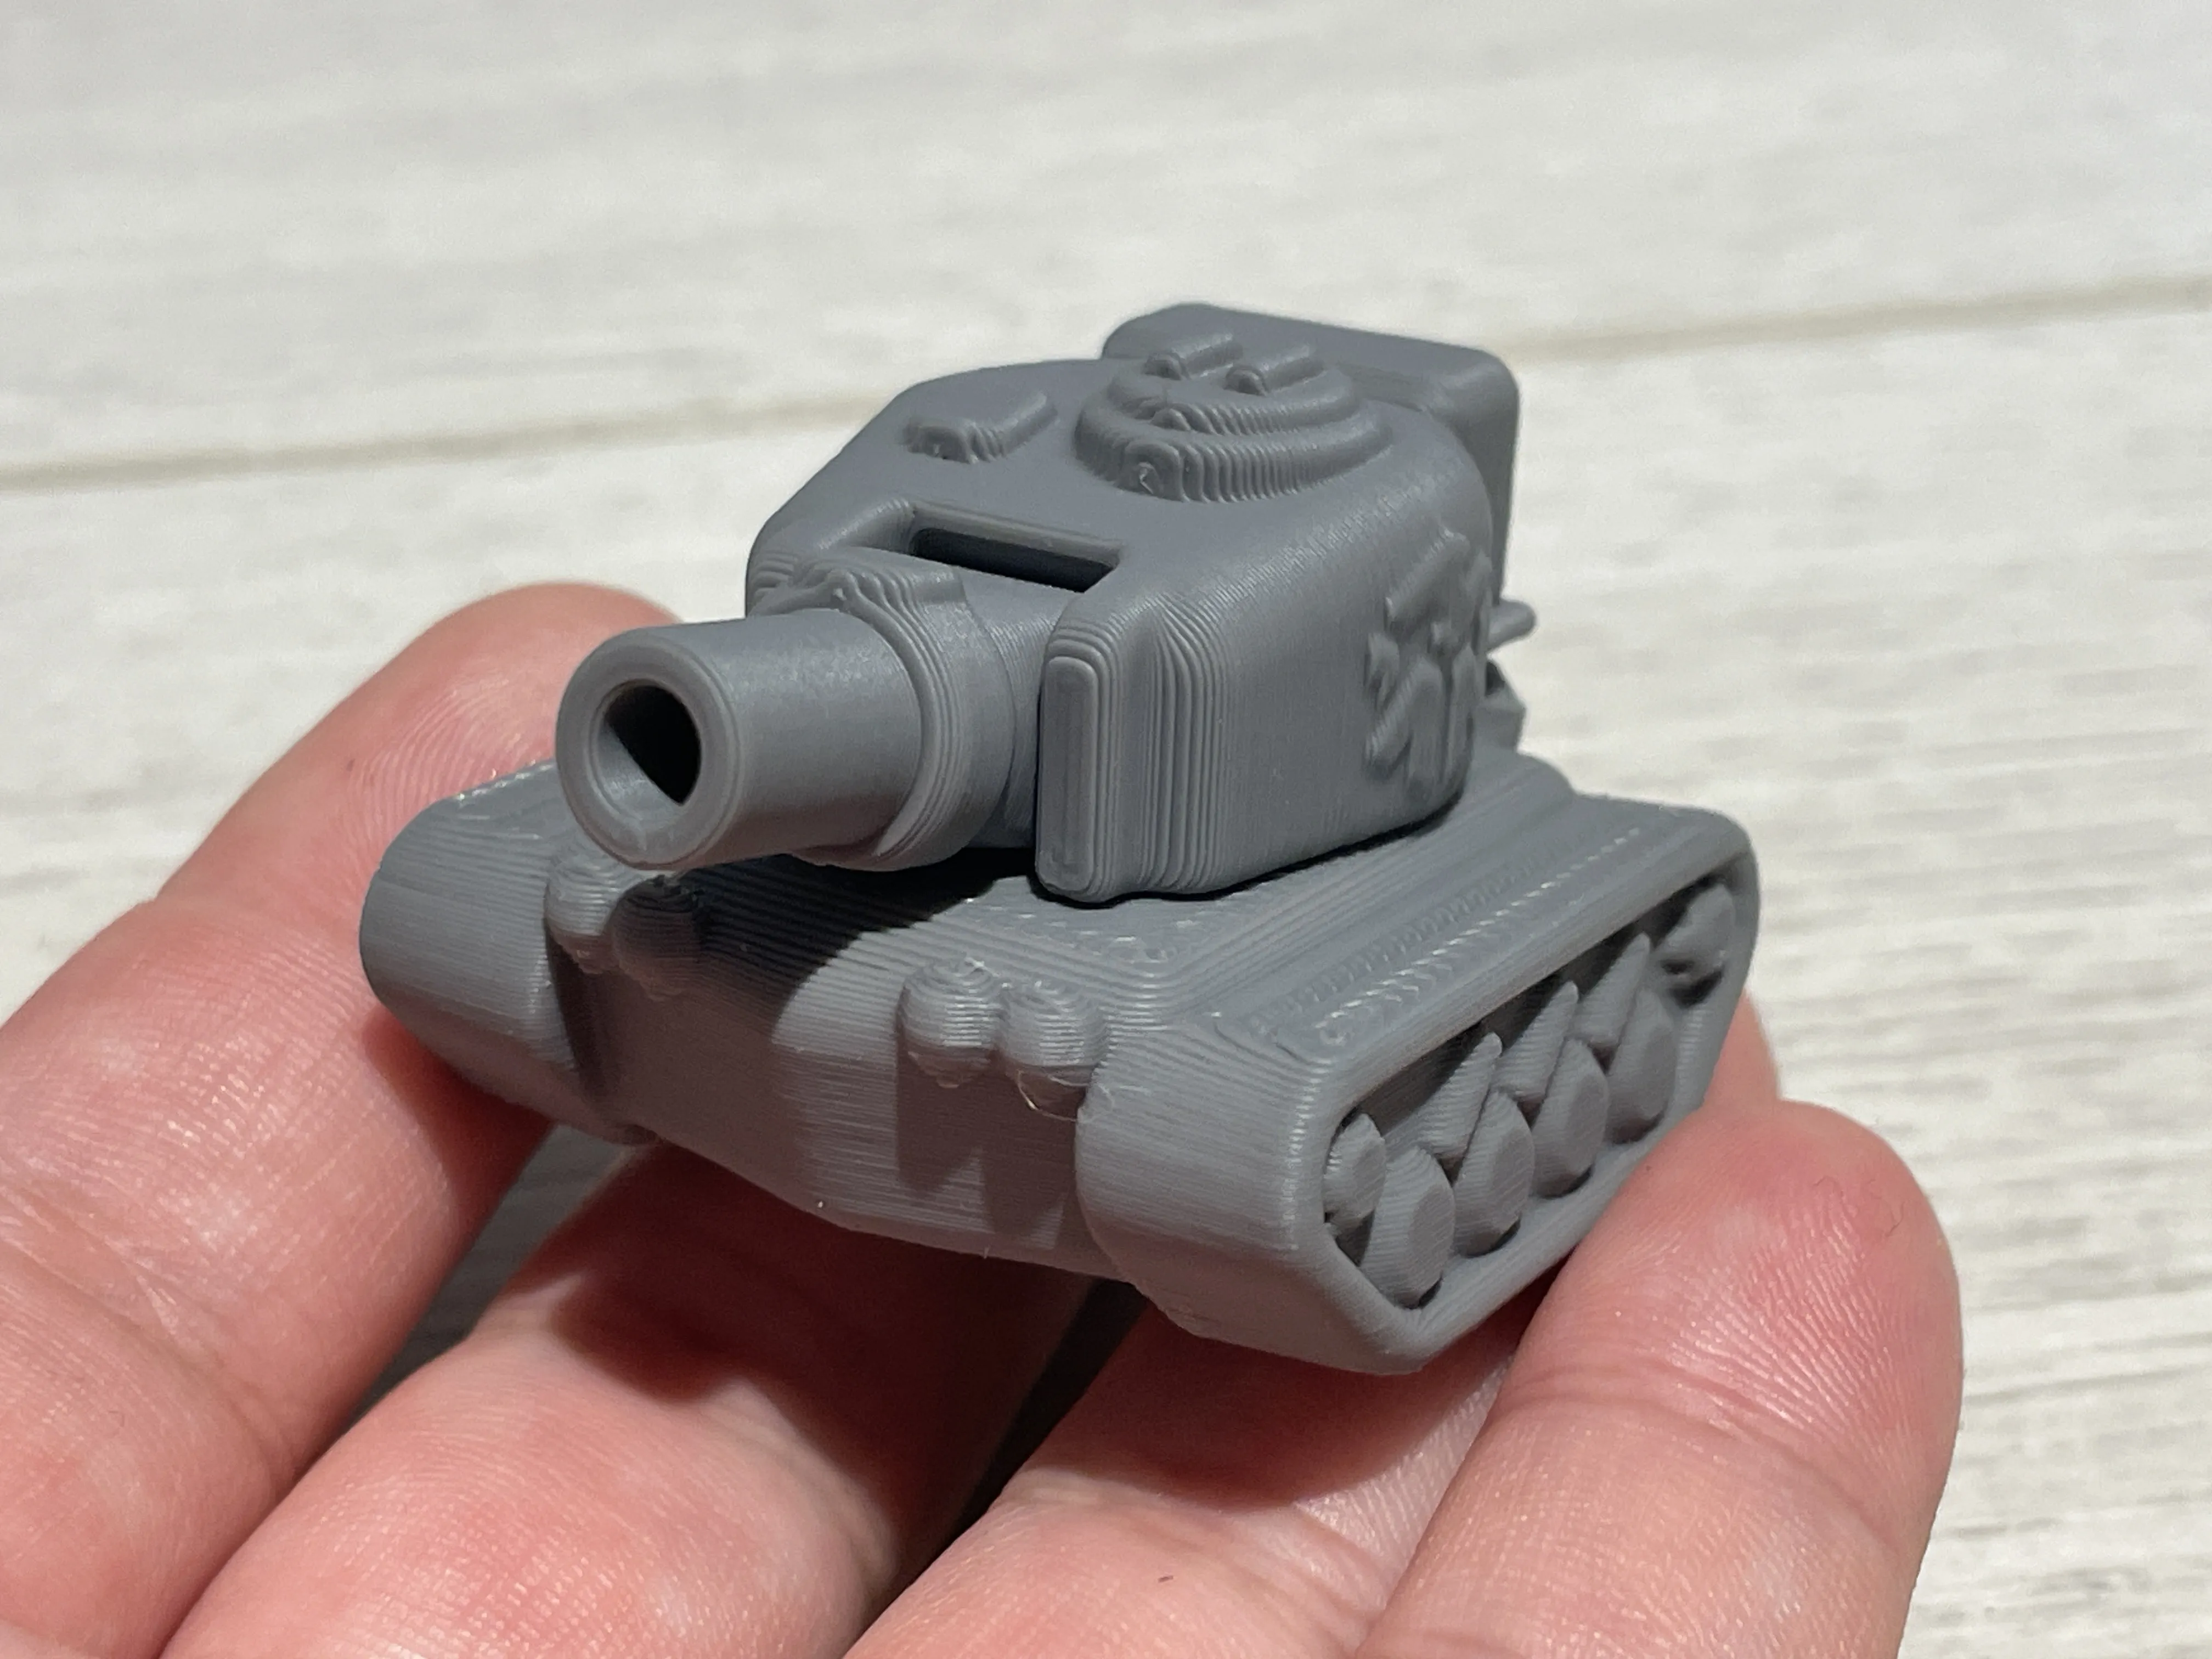
Test Filament:
spidermaker_PLA
Happy Printing!
By HAN design
Documentation (1)
License

You shall not share, sub-license, sell, rent, host, transfer, or distribute in any way the digital or 3D printed versions of this object, nor any other derivative work of this object in its digital or physical format (including - but not limited to - remixes of this object, and hosting on other digital platforms). The objects may not be used without permission in any way whatsoever in which you charge money, or collect fees.


Comment & Rating (23)