
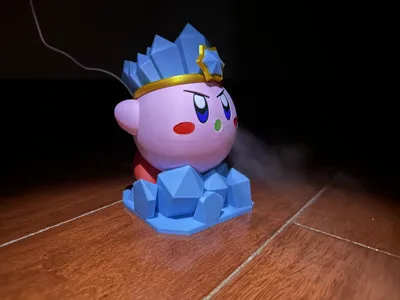
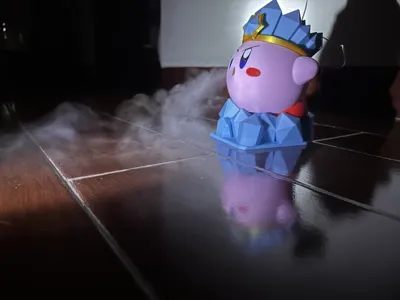
Star Kirby | Atomizing Humidifier/Storage Box | NO AMS/Supports/Glue | 星のカービィ, Kirby
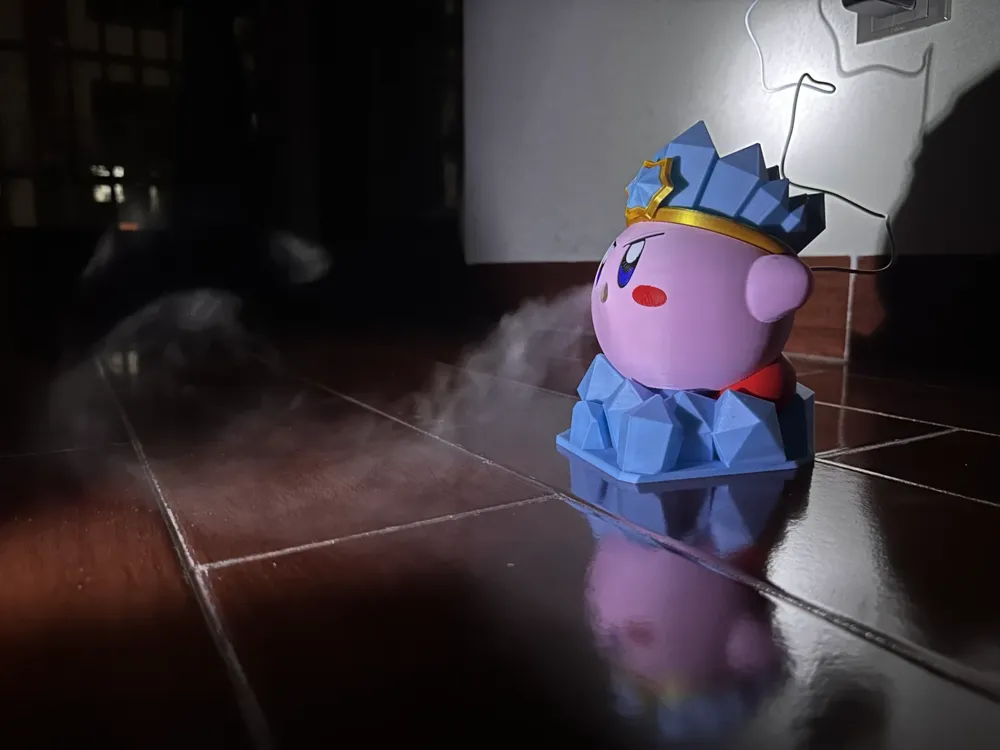
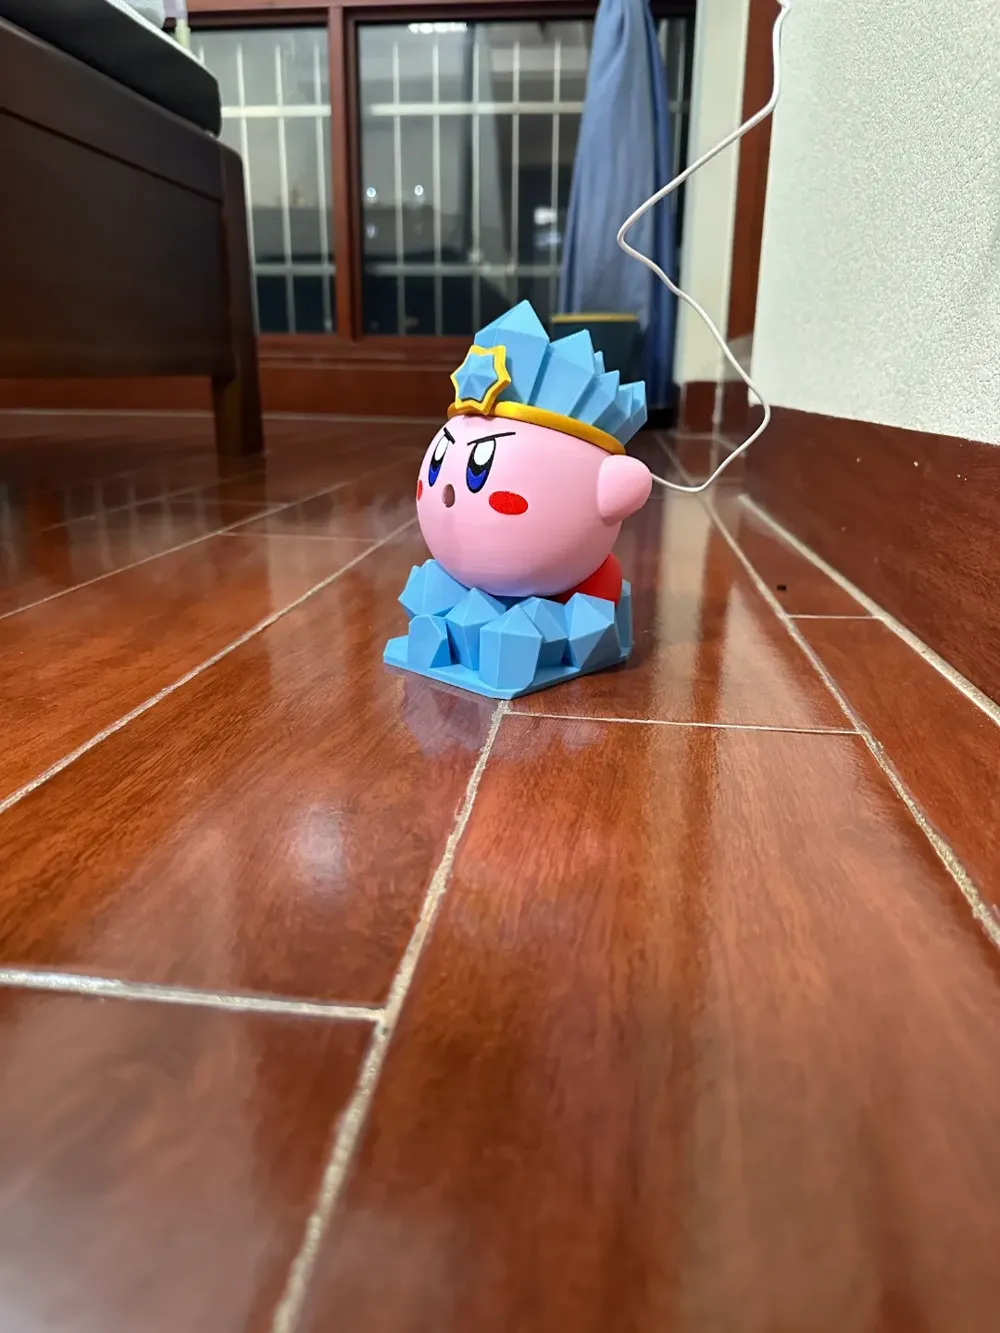
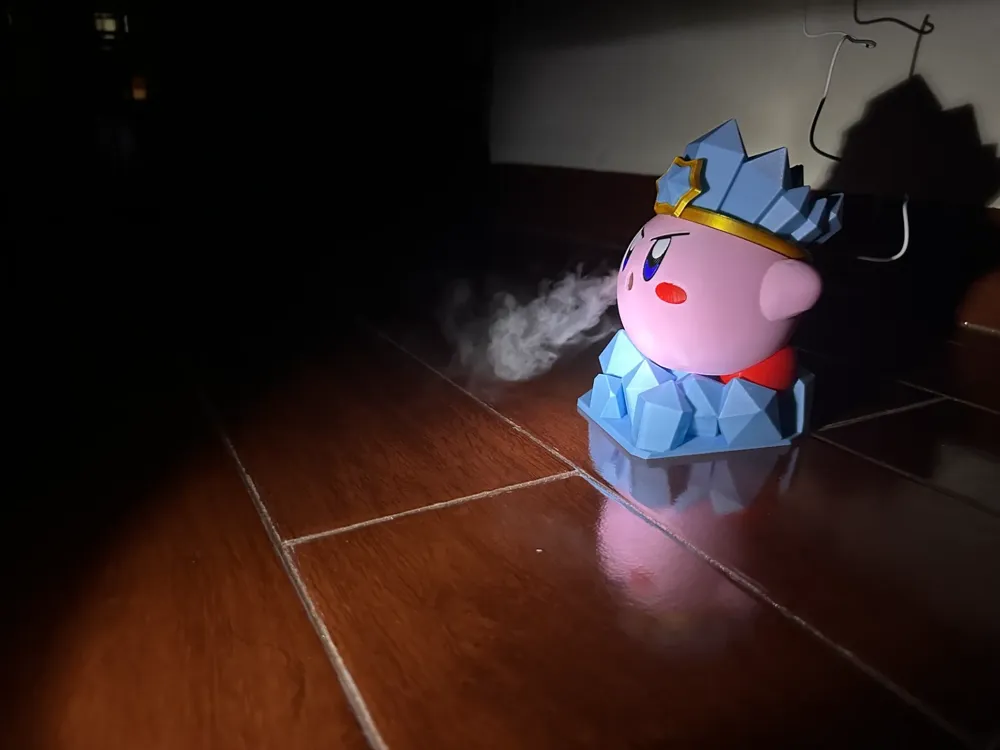
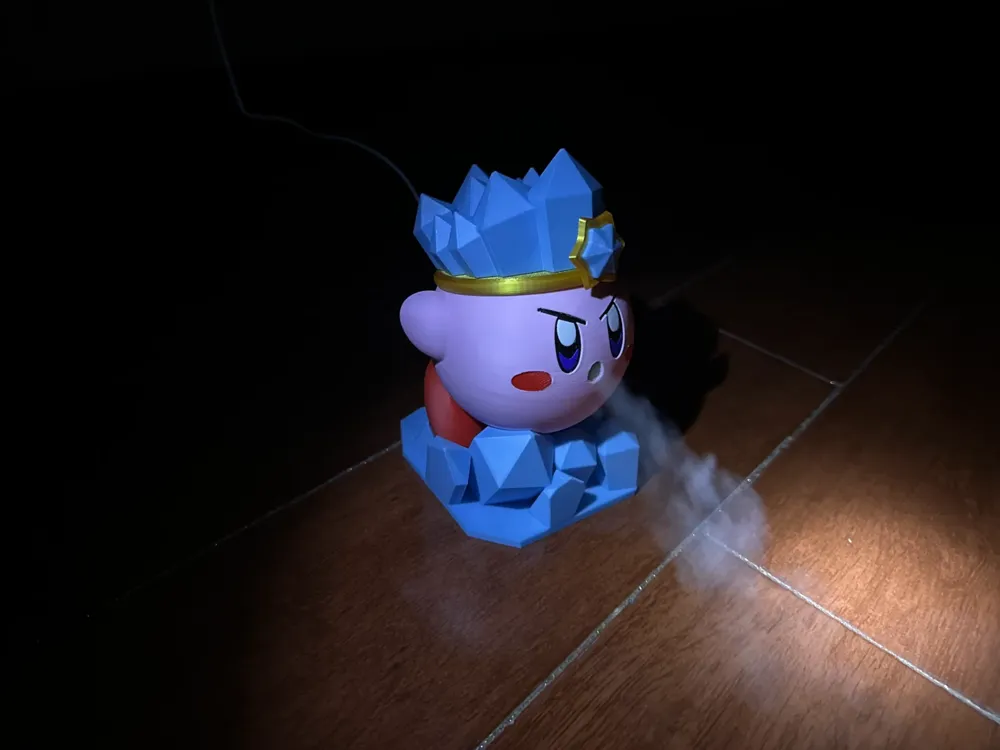
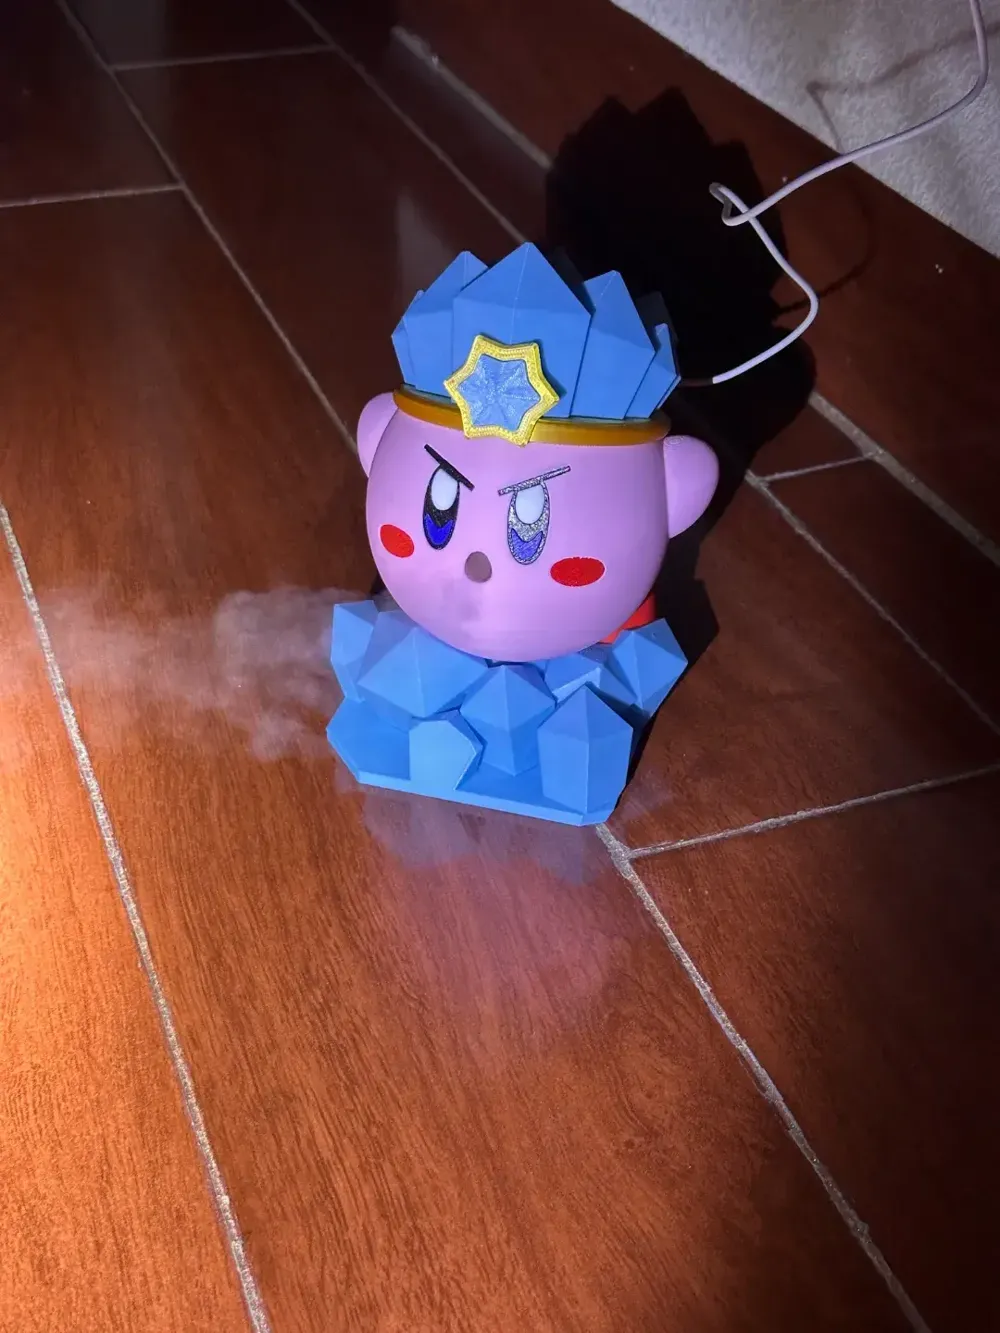
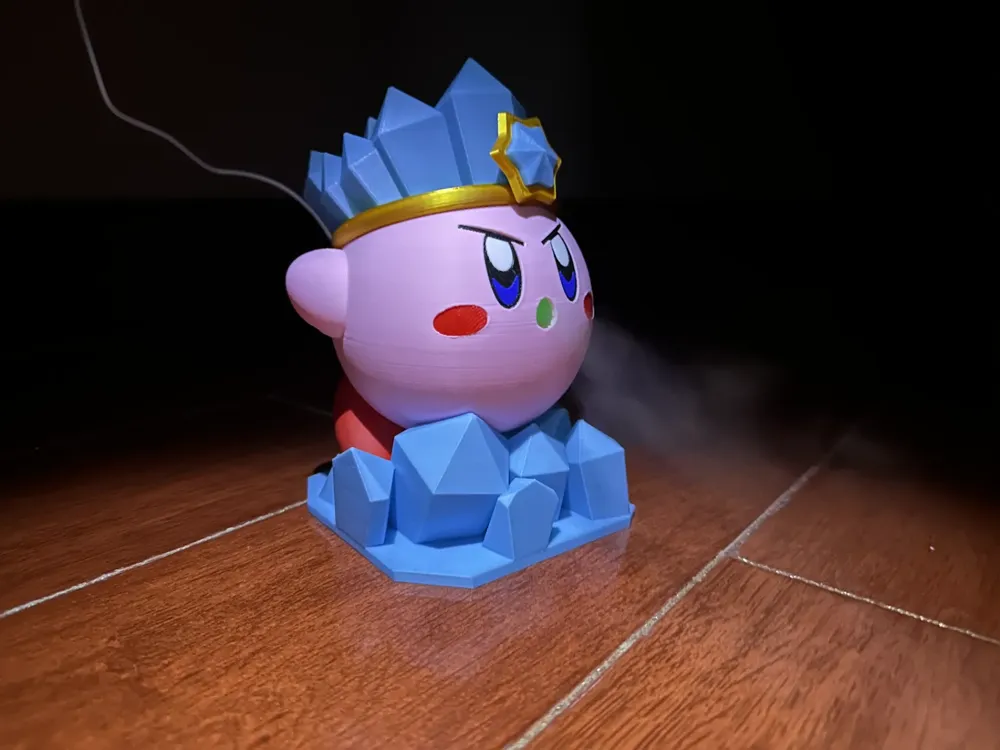
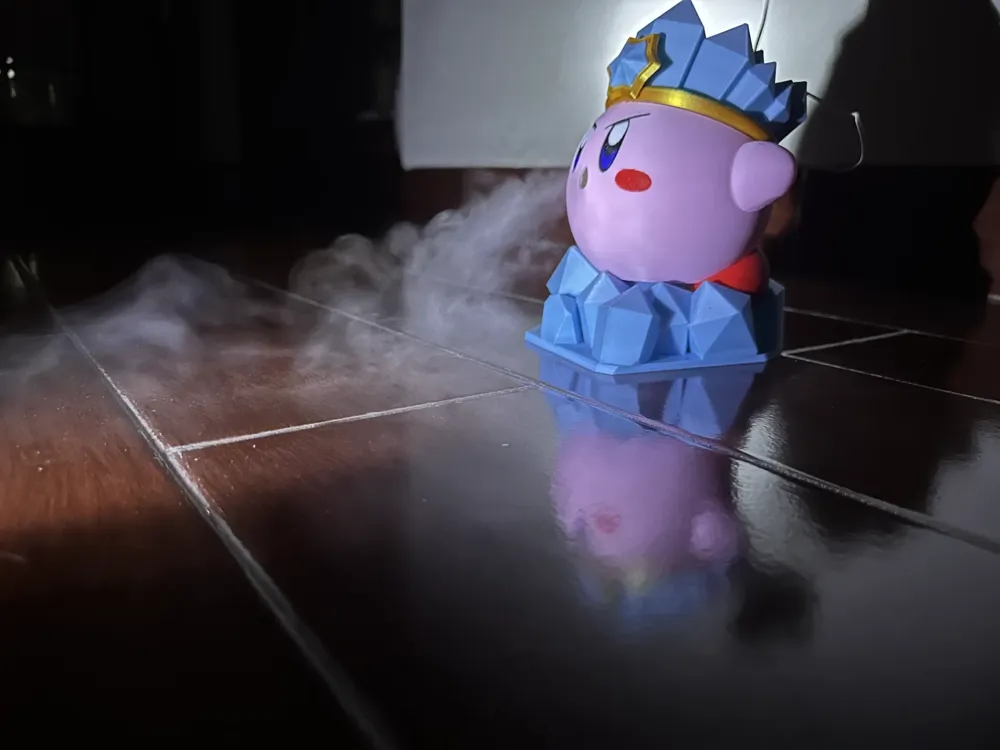
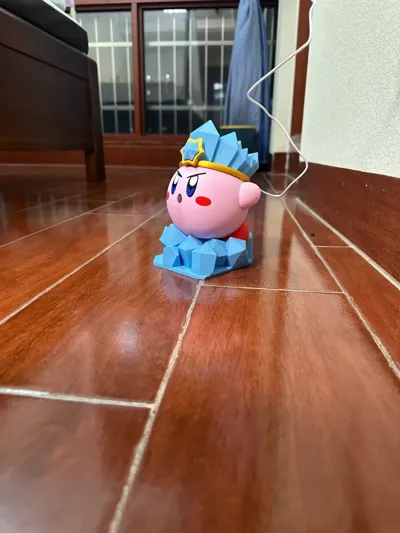
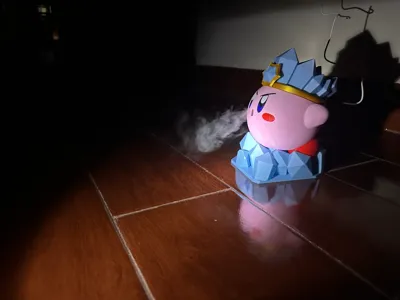
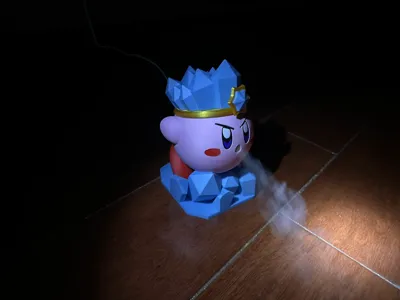
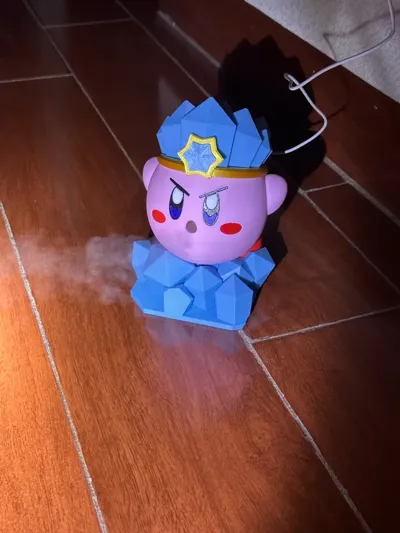
Print Profile(4)
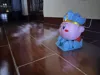
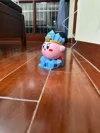
Description
Boost Me (for free)
May fortune and happiness forever be with those who support me!
Kirby:https://makerworld.com.cn/collections/831515
★Printing Suggestions:
Cleaning the PEI print plate and applying glue can significantly mitigate spaghetti issues!
2025/1/8 Update: The connecting pieces for the star decorations on the hat have been adjusted for optimal fit
This model is designed for AMS-free printing, and it is suggested that using 100% infill prevents leaks. All bottom sections that hold water have been printed with 100% infill.
For the eyes and blush assembly, slight sanding of the top of the eye and blush holes is recommended for easier installation.


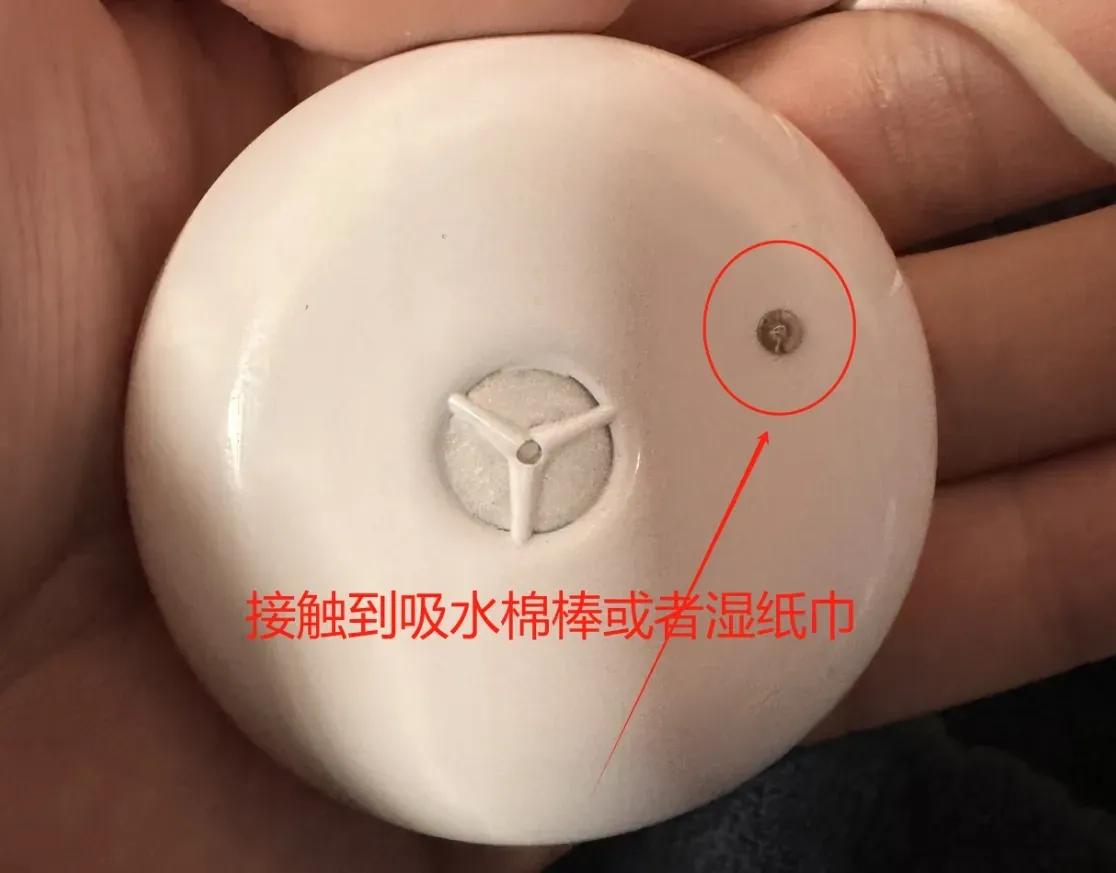
Atomizer: I purchased a relatively inexpensive one online (approximately $1-2 USD) shown in the image below
Wet wipes/Absorbent cotton swabs: Standard household wet wipes will suffice. The cotton swabs are the 8mm diameter humidifier filter type commonly used with atomizers, like the one pictured below. A single swab can be cut into several smaller pieces. (Ensure to soak them thoroughly in water before use.)
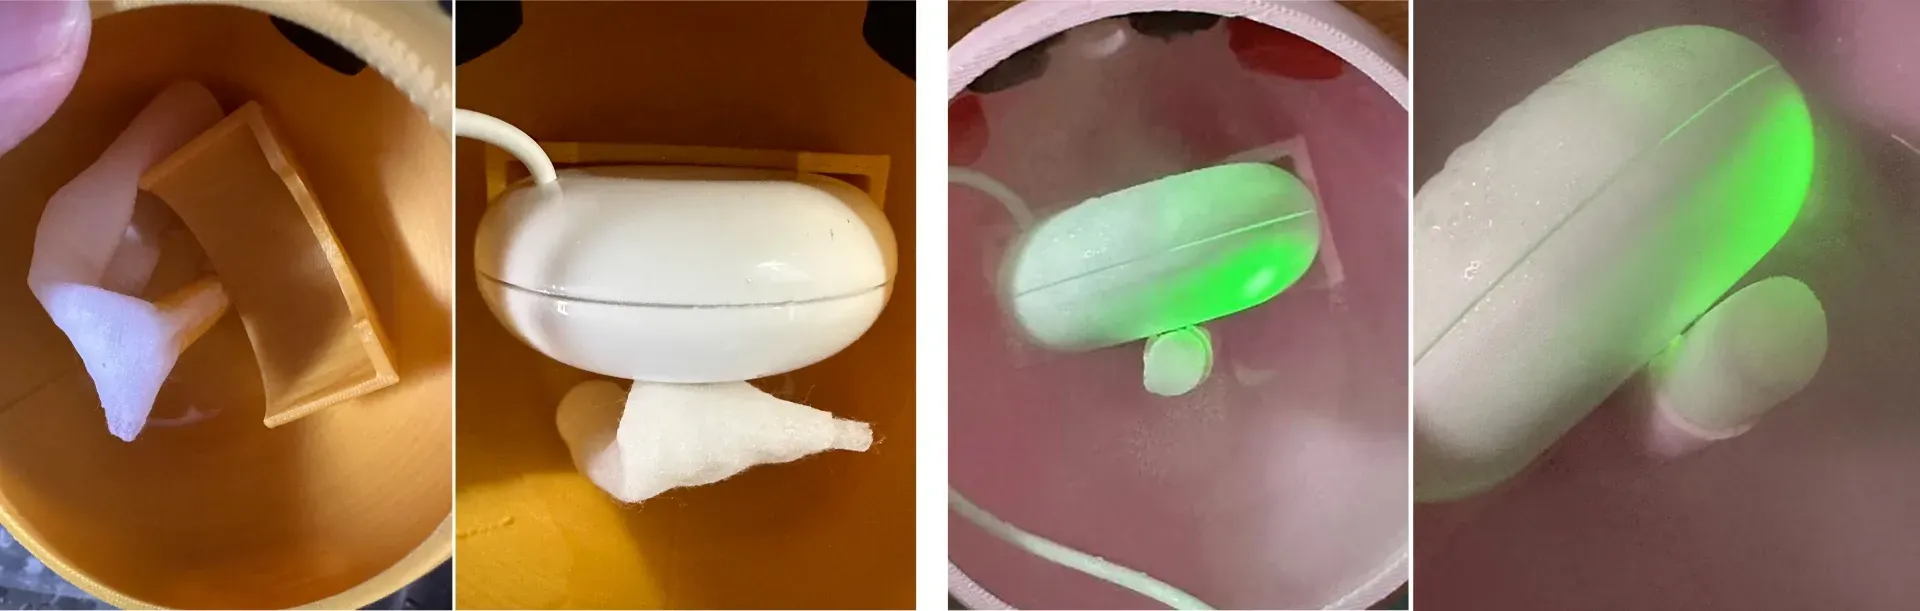
Hollow pillars behind the atomizer slot: These are designed to hold the absorbent cotton swabs or wet wipes. Ensure they reach the bottom; for cotton swabs, cutting a beveled end increases contact area.
Installation method: The atomizer’s rear sensor and central component must make contact with the absorbent cotton swab or wet wipe.
Wiring guidance: Leaving the wire inside Kirby’s body slightly longer prevents displacement when placing the hat.
In my experience, wet wipes proved slightly more effective, but feel free to utilize whatever is readily available to you.
Documentation (3)
License

You shall not share, sub-license, sell, rent, host, transfer, or distribute in any way the digital or 3D printed versions of this object, nor any other derivative work of this object in its digital or physical format (including - but not limited to - remixes of this object, and hosting on other digital platforms). The objects may not be used without permission in any way whatsoever in which you charge money, or collect fees.


Comment & Rating (7)