
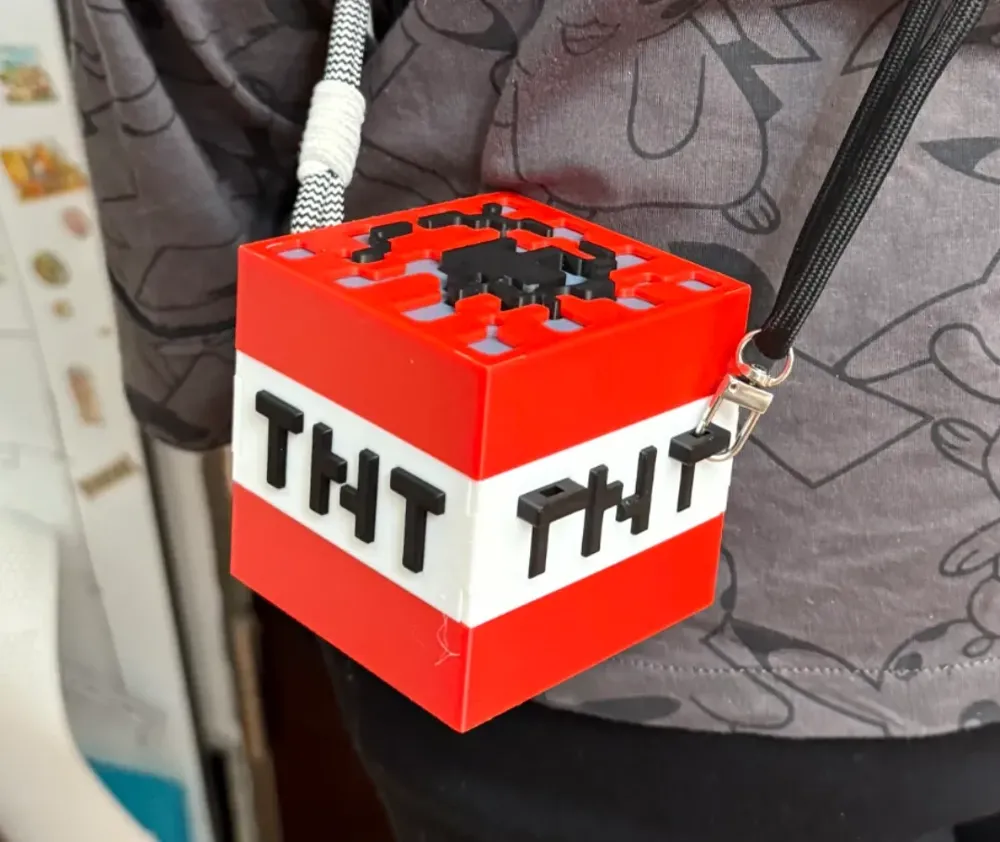
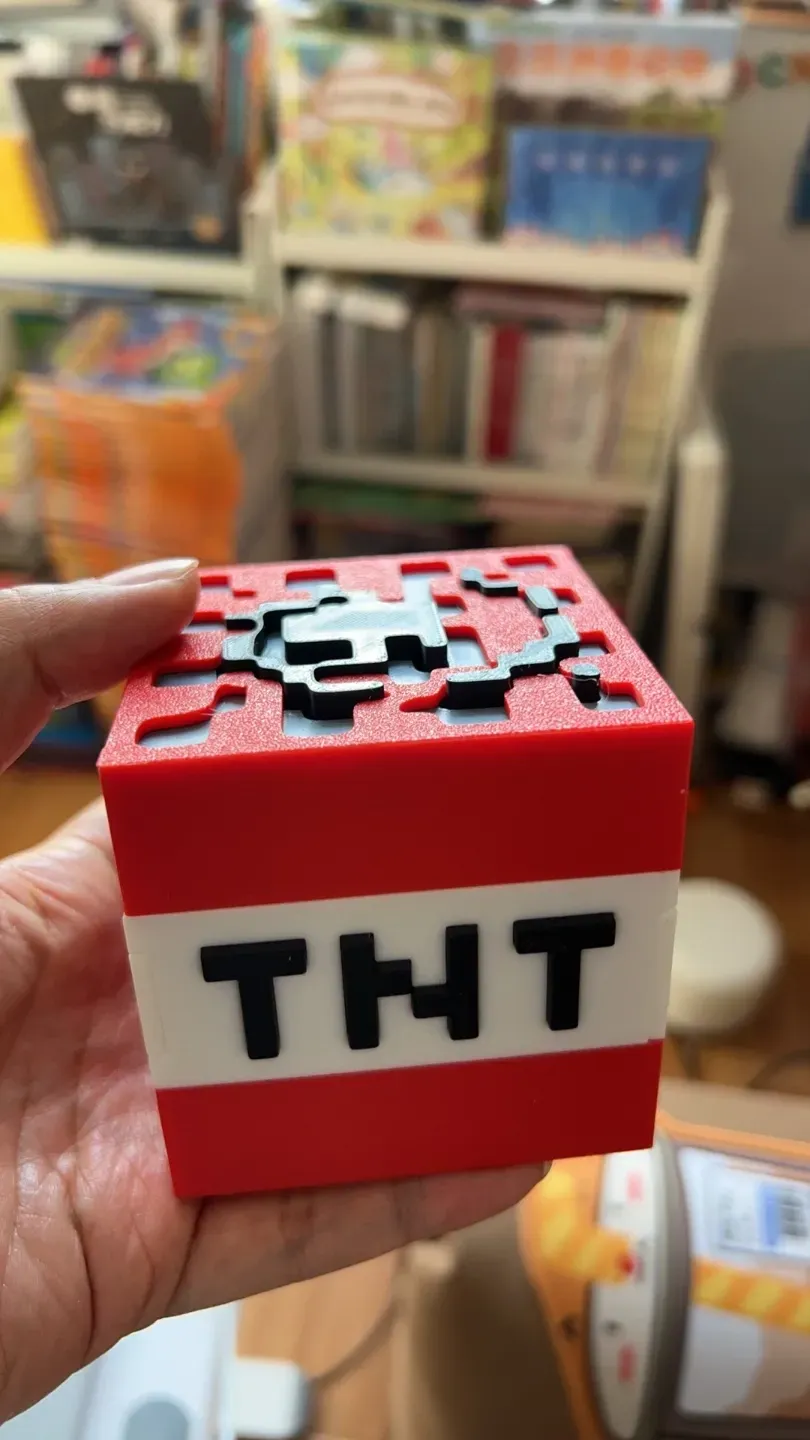
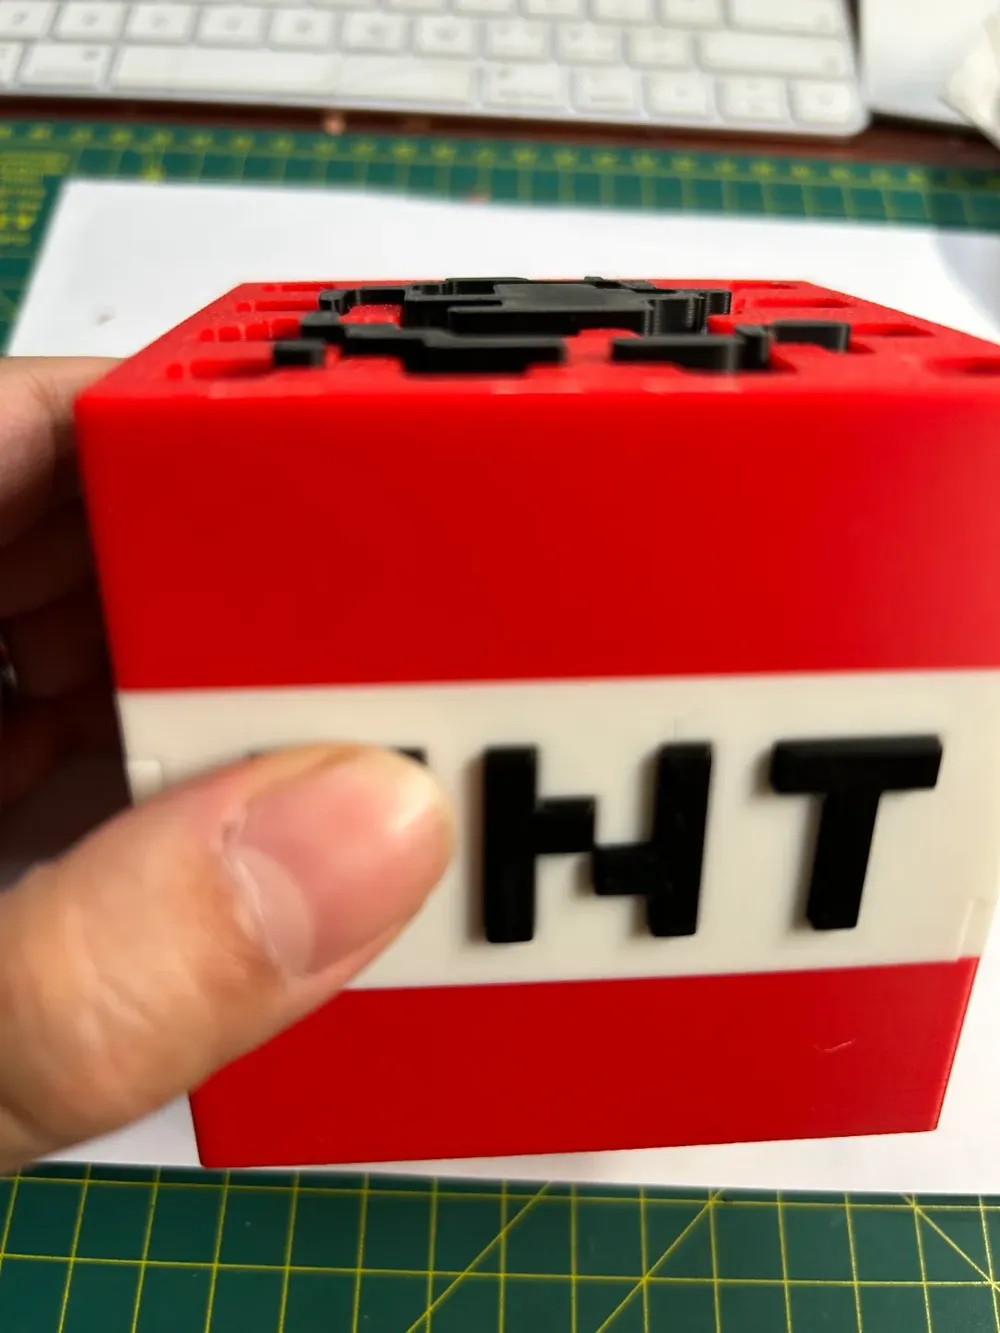
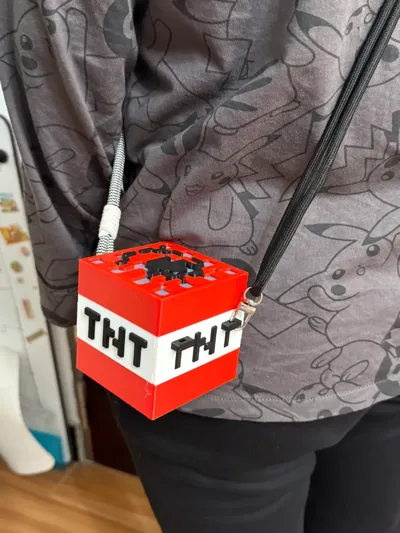
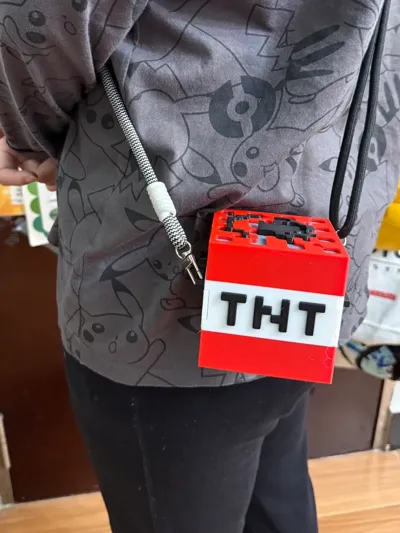
TNT Box/Shoulder Bag, Minecraft, 8x8x8cm, Multi-part Assembly, No Supports
Print Profile(3)

Description
Advertisement—should you be interested, please also check out my other two models, Steve and Name Brand. Thank you.
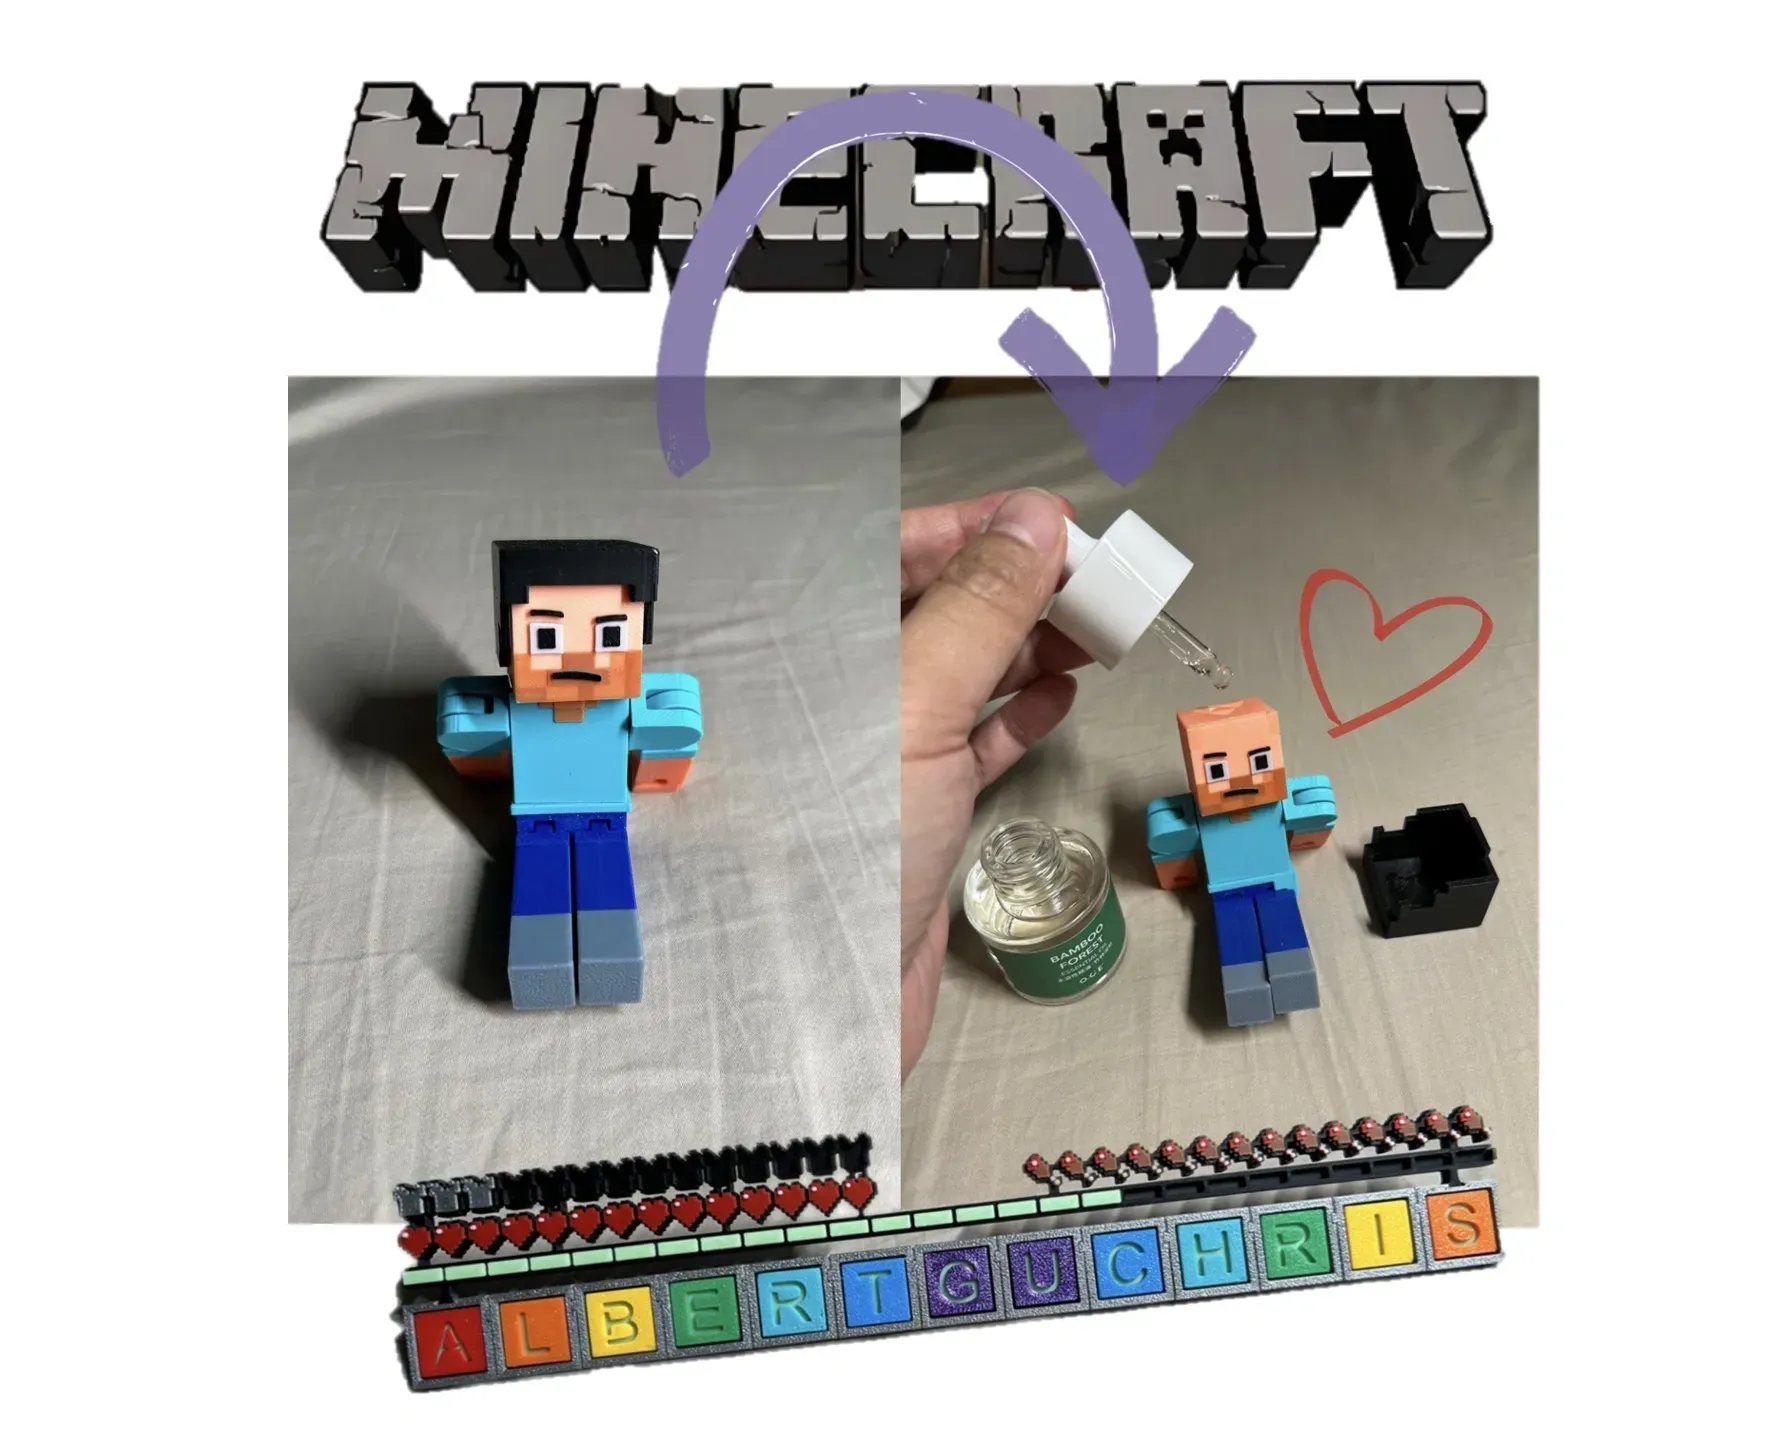
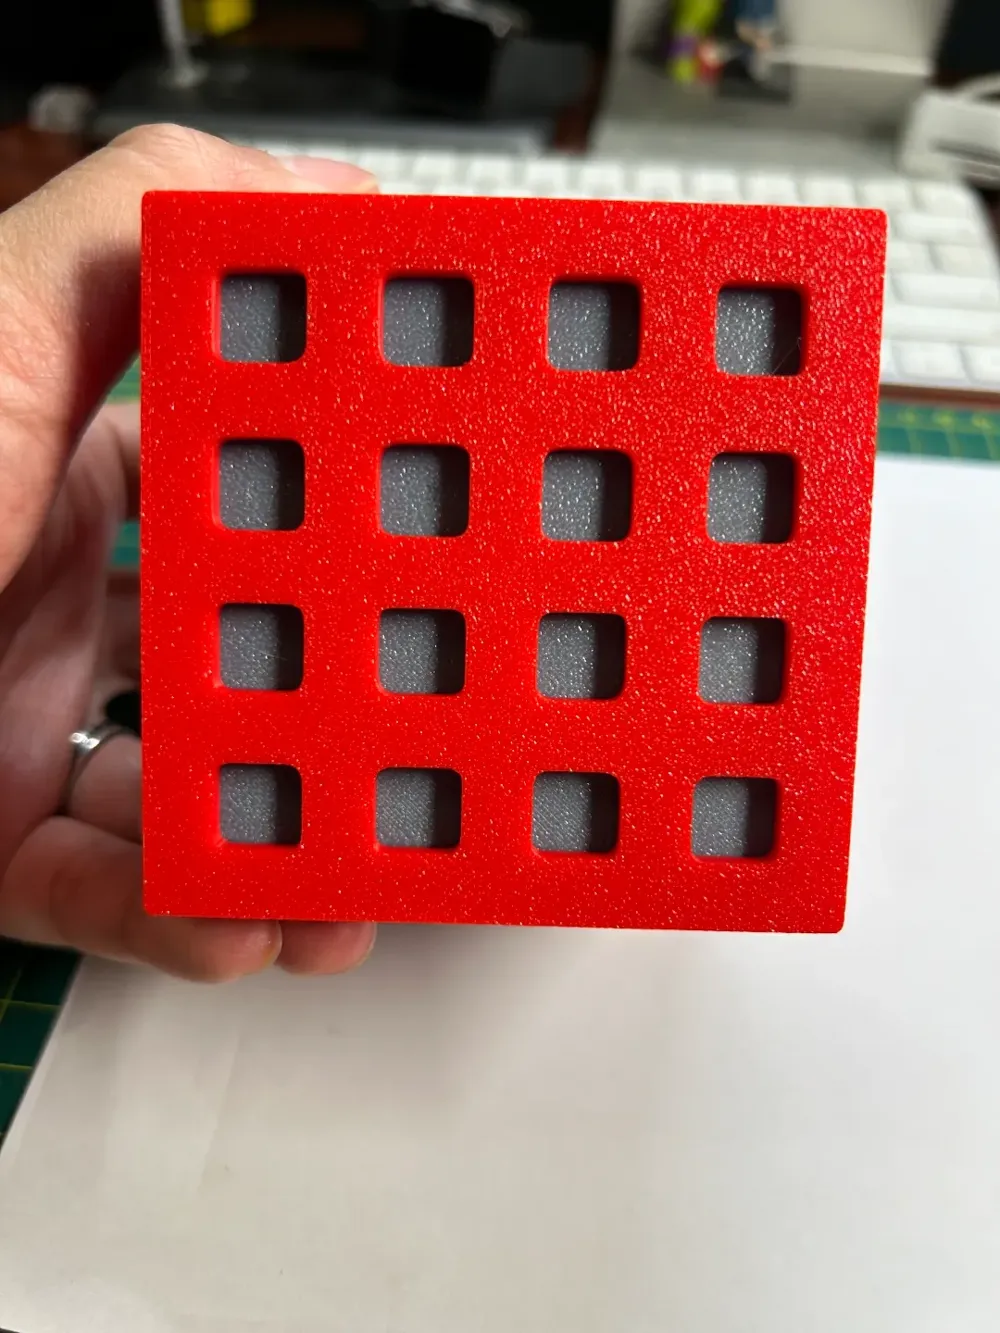
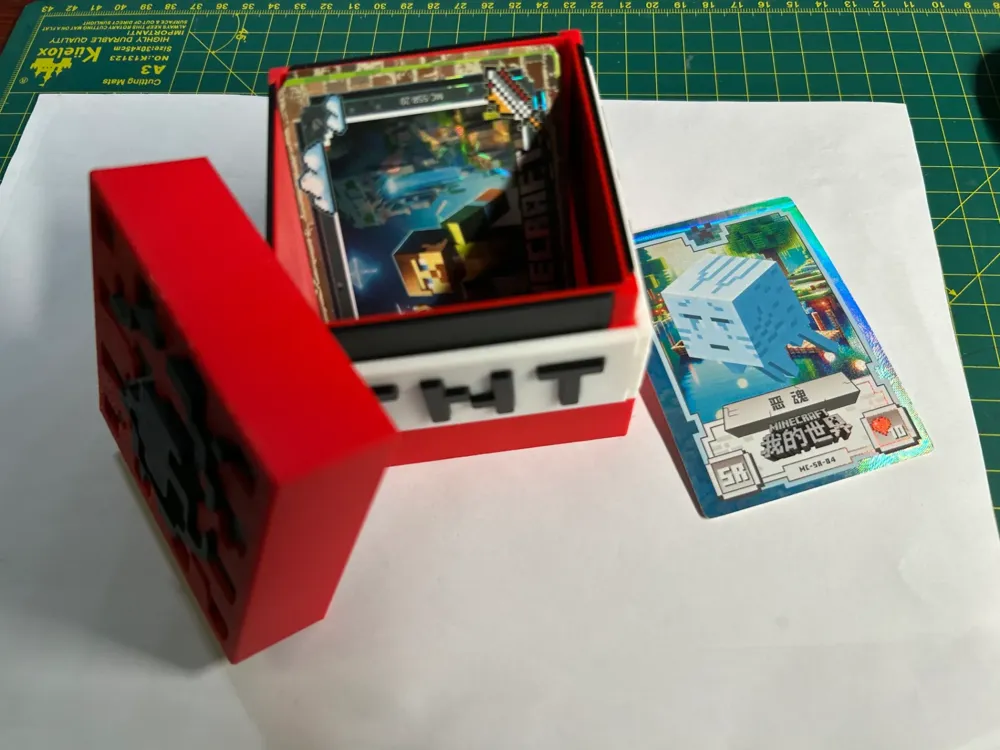
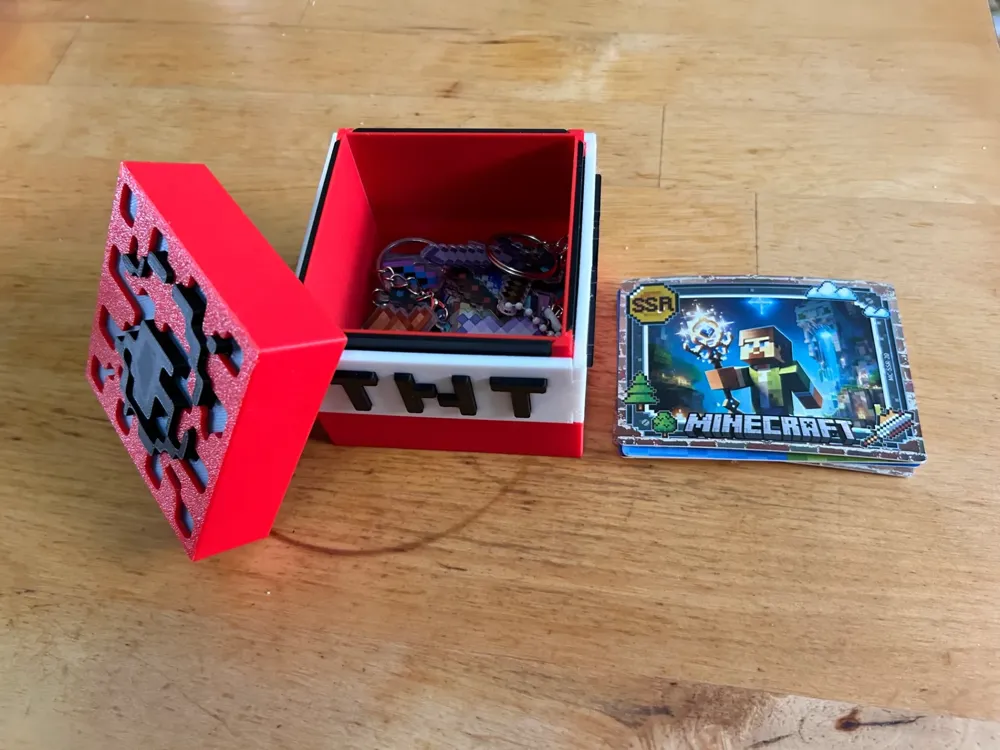
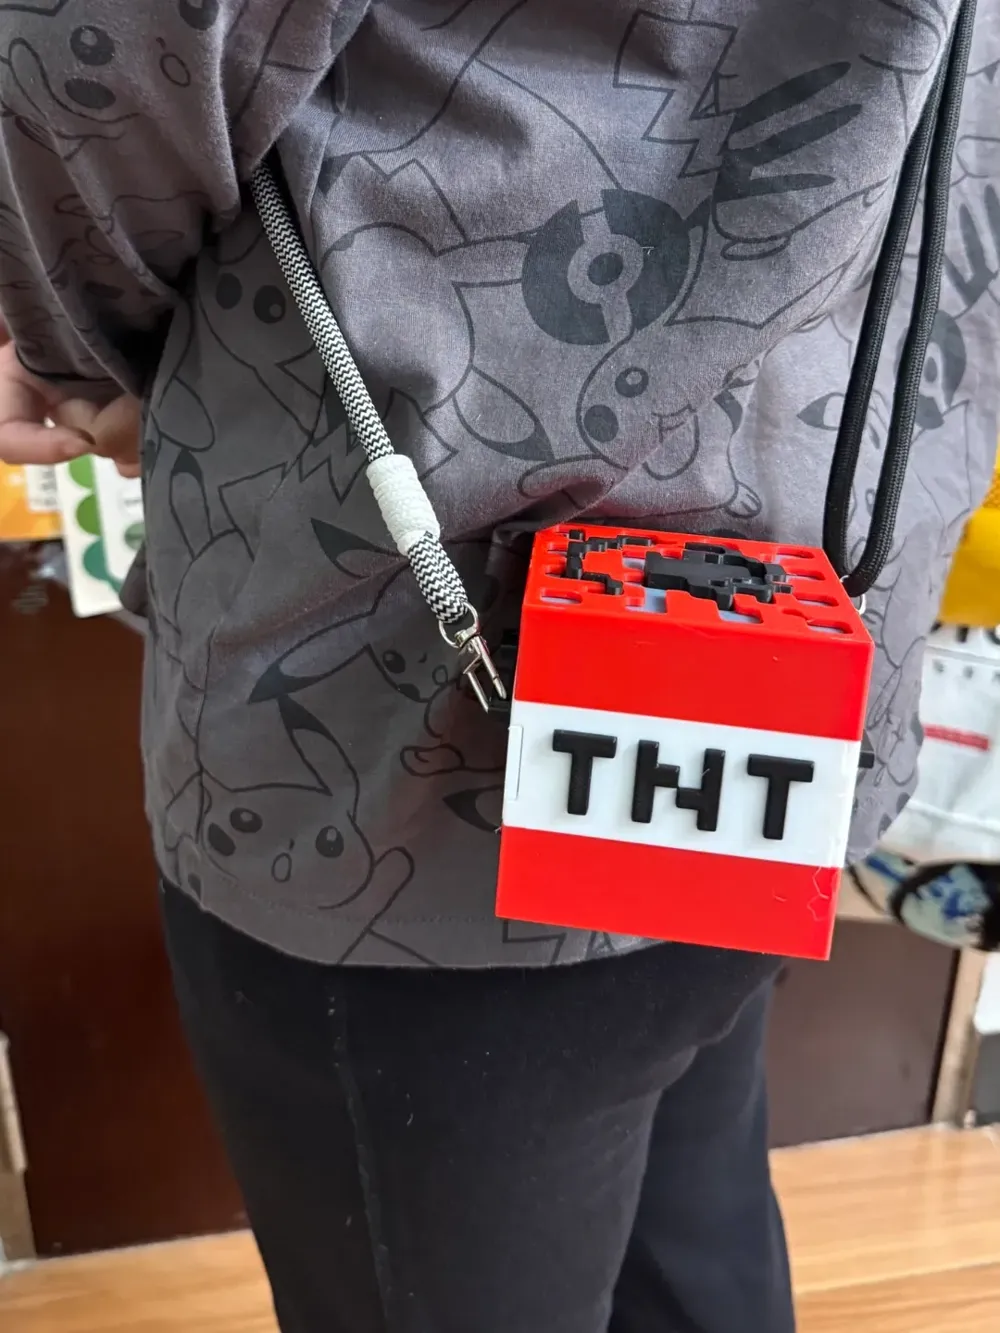
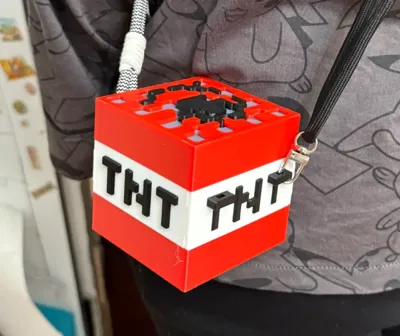
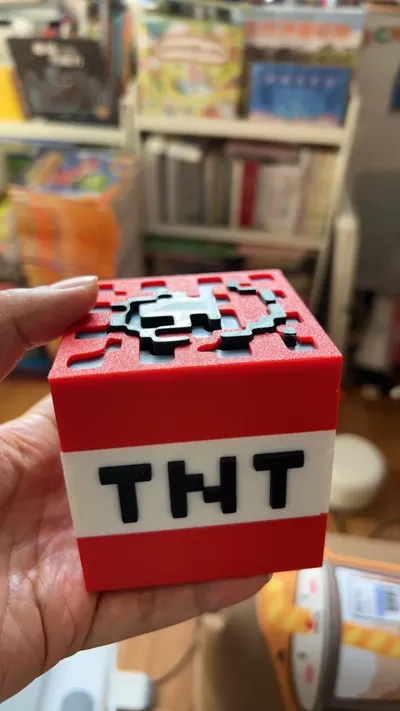
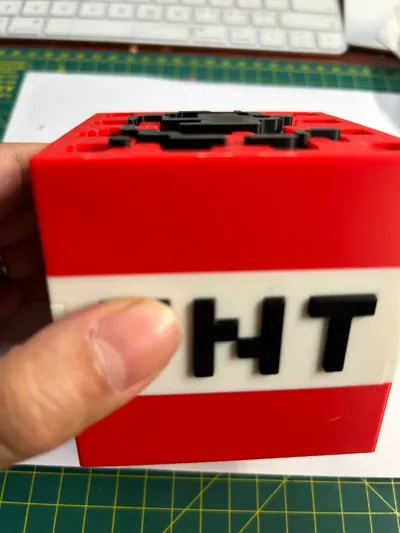
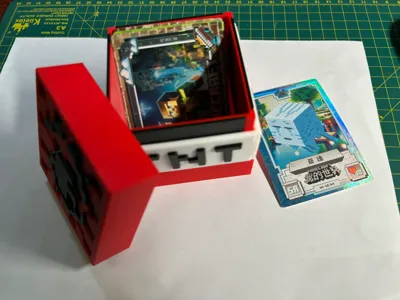
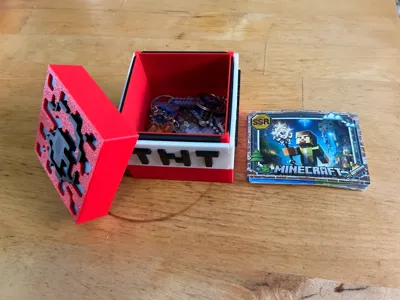
This is a Minecraft TNT crate from my Worlds series, measuring 8x8x8cm, assembled from separate parts, no supports needed, ideal for children to store small items or stationery. Minecraft enthusiasts will find it perfect.
Simple Assembly Instructions
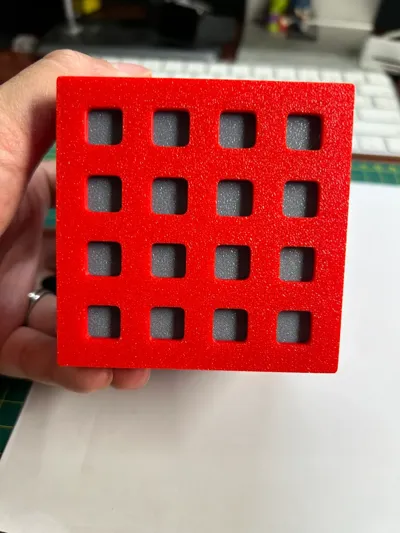
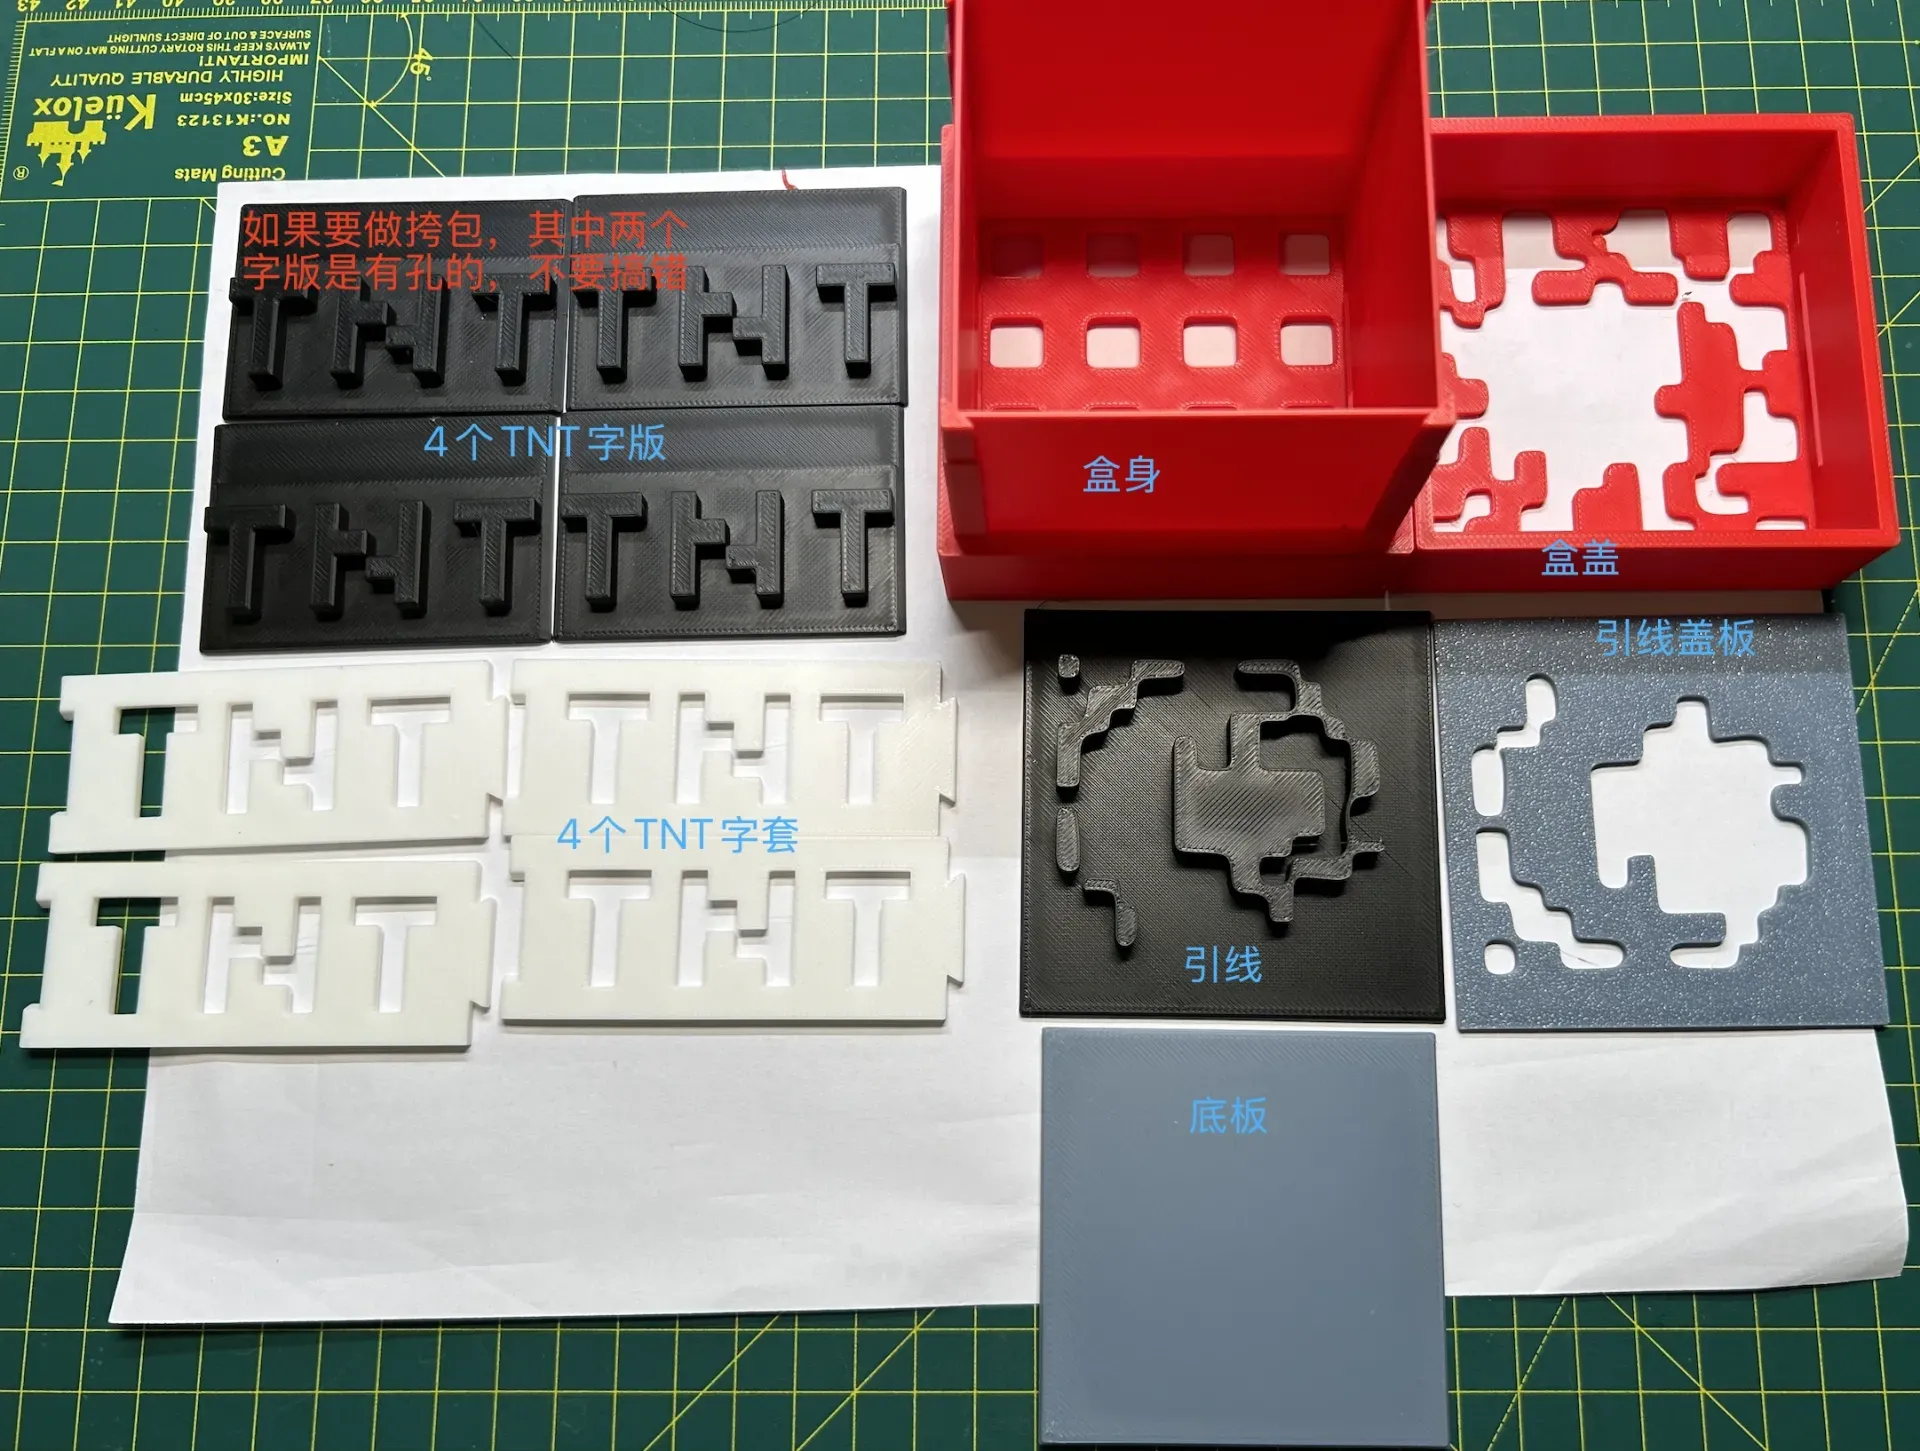
1, The crate comprises one TNT body, one lid, four black TNT letter plates, four white TNT letter inserts, one black fuse, one grey fuse guard (a small piece is missing in the diagram below; do not discard it when printing), and finally, a base plate.
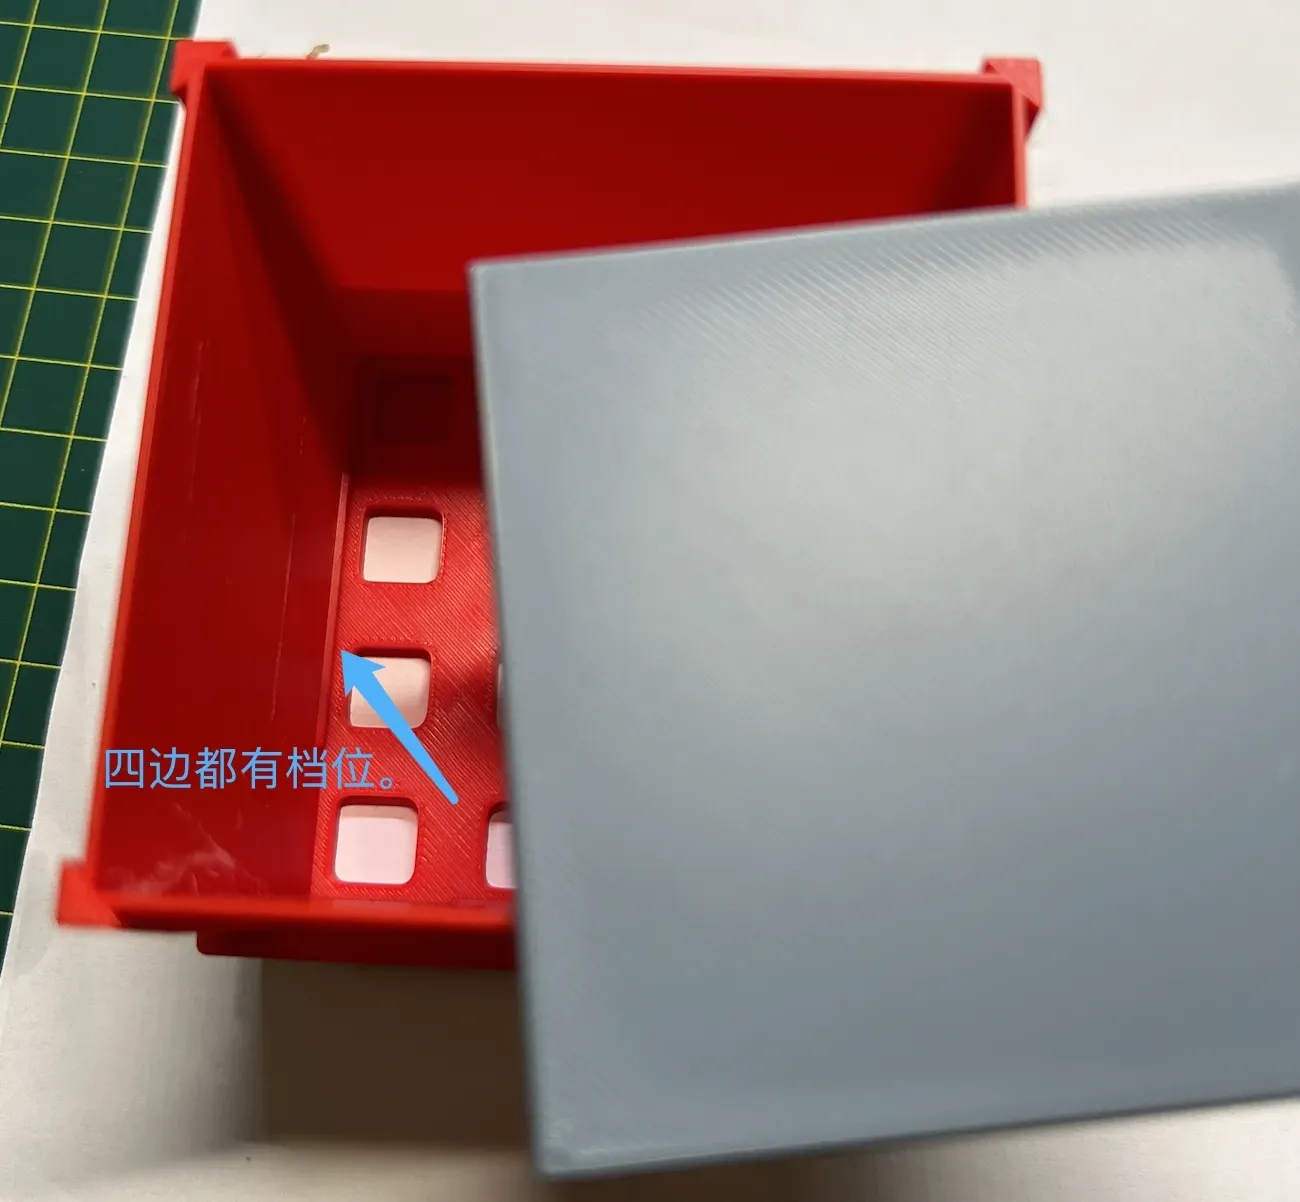
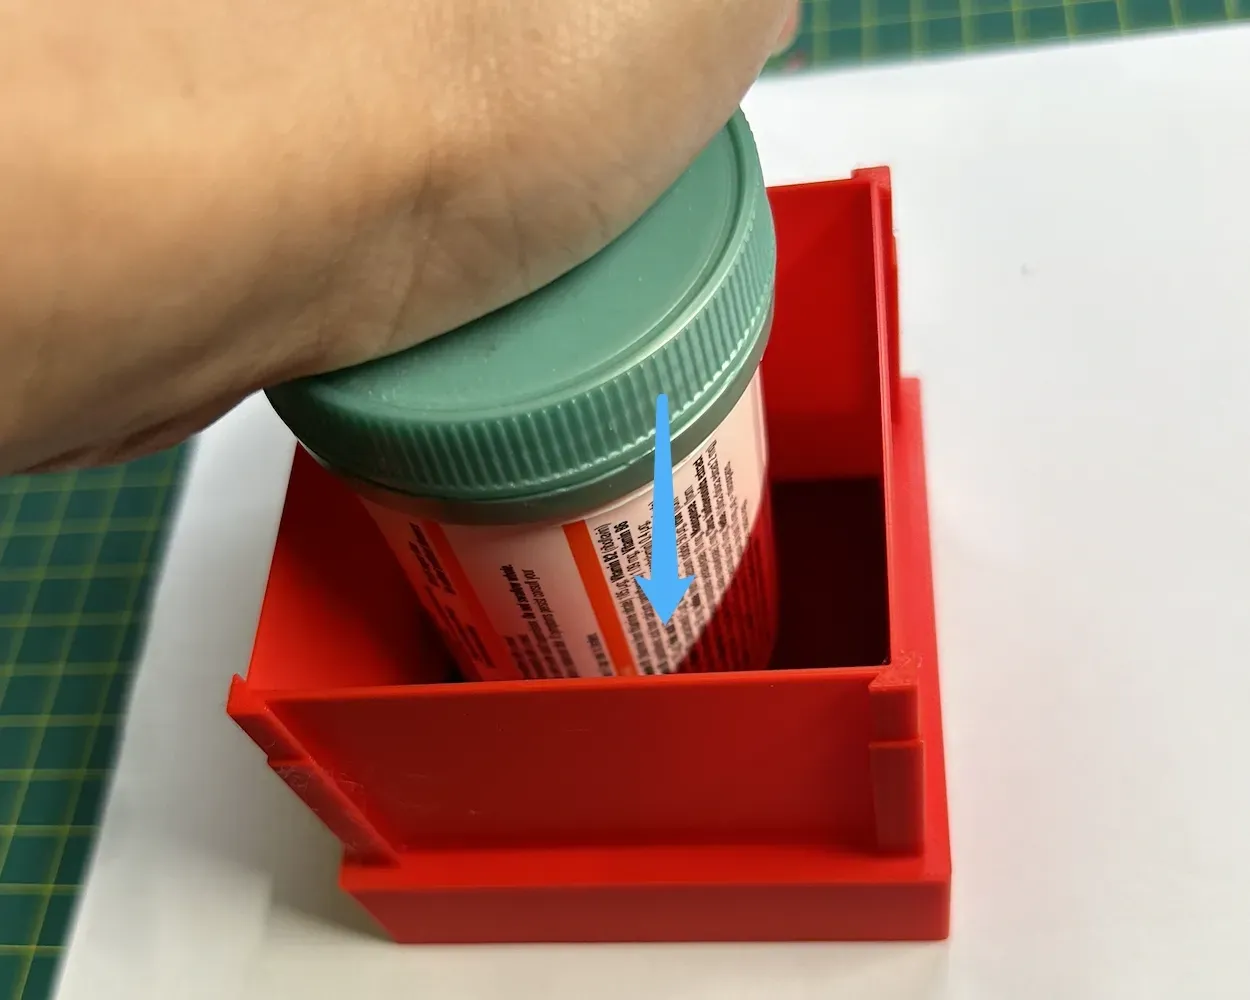
2, Place the base plate horizontally into the crate body. As the crate is quite deep and may be difficult to press in by hand, a small plastic bottle can assist; use your body weight to apply downward pressure.
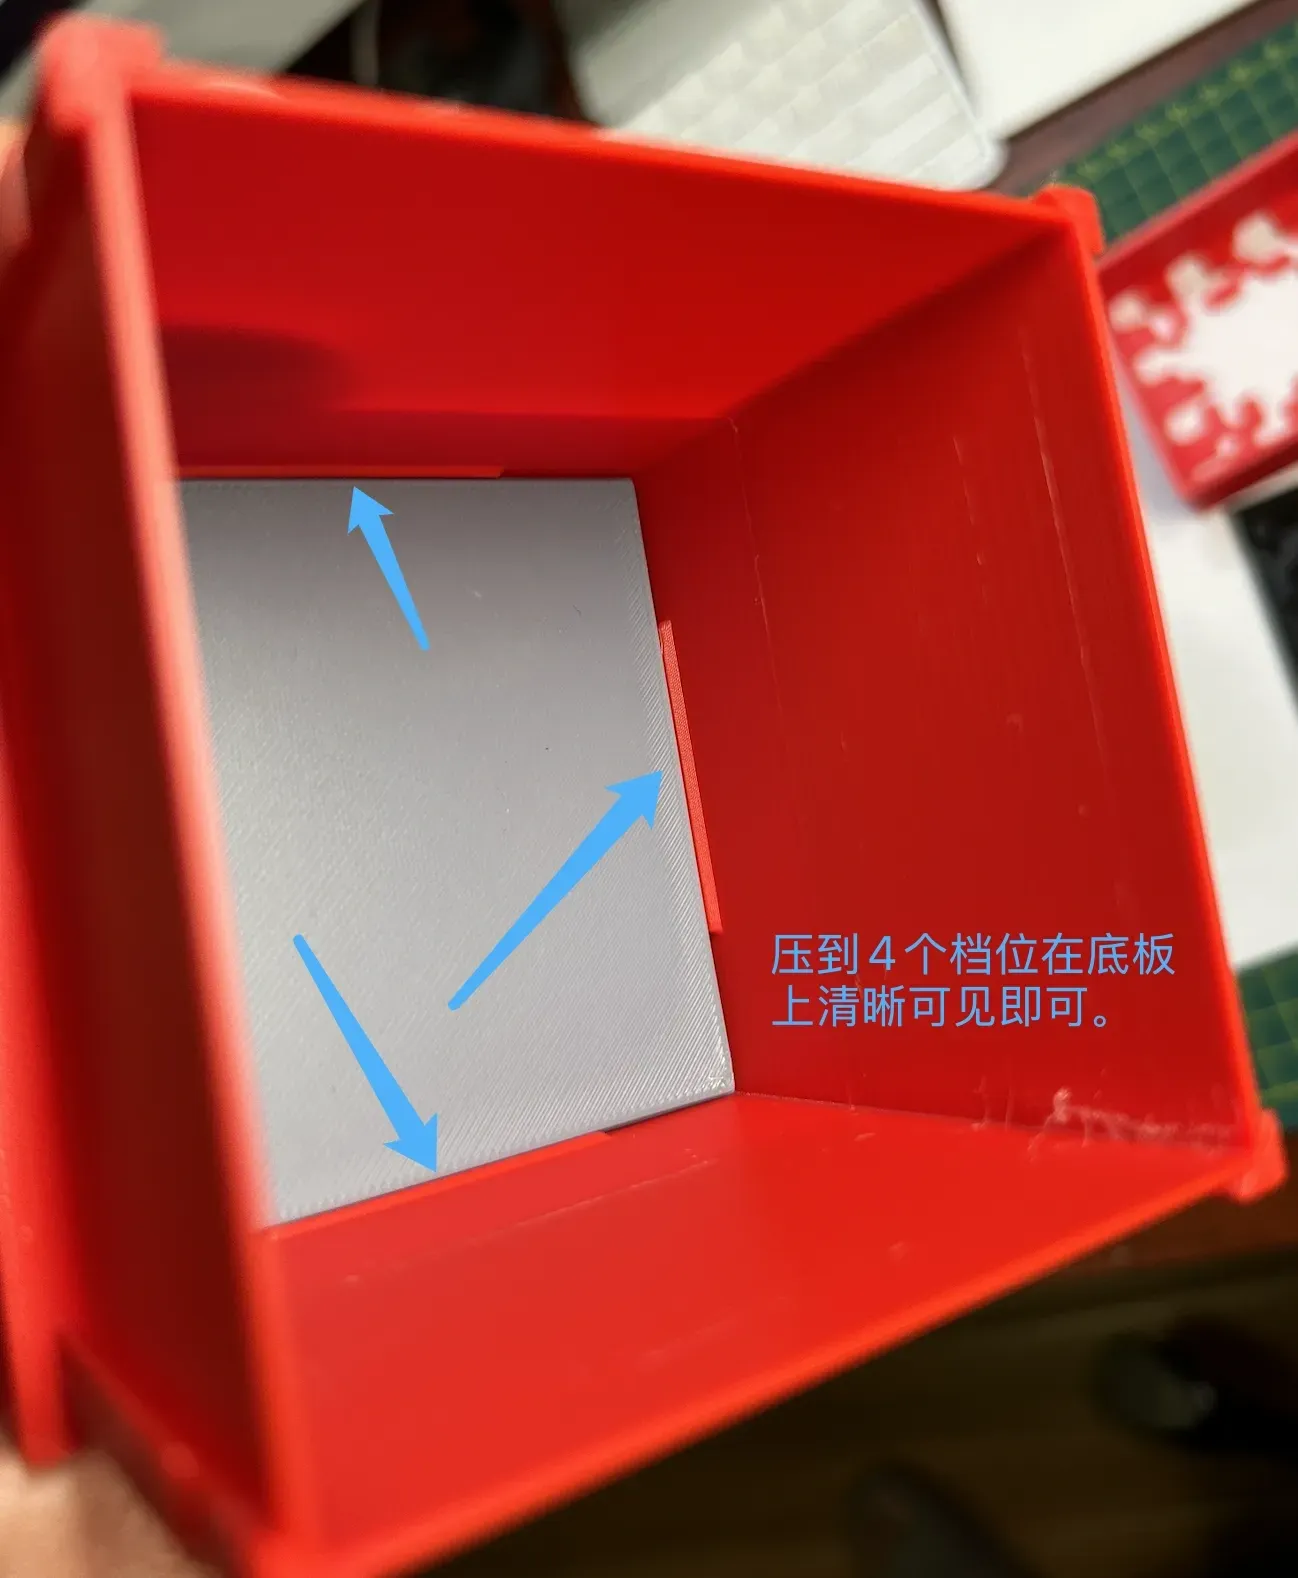
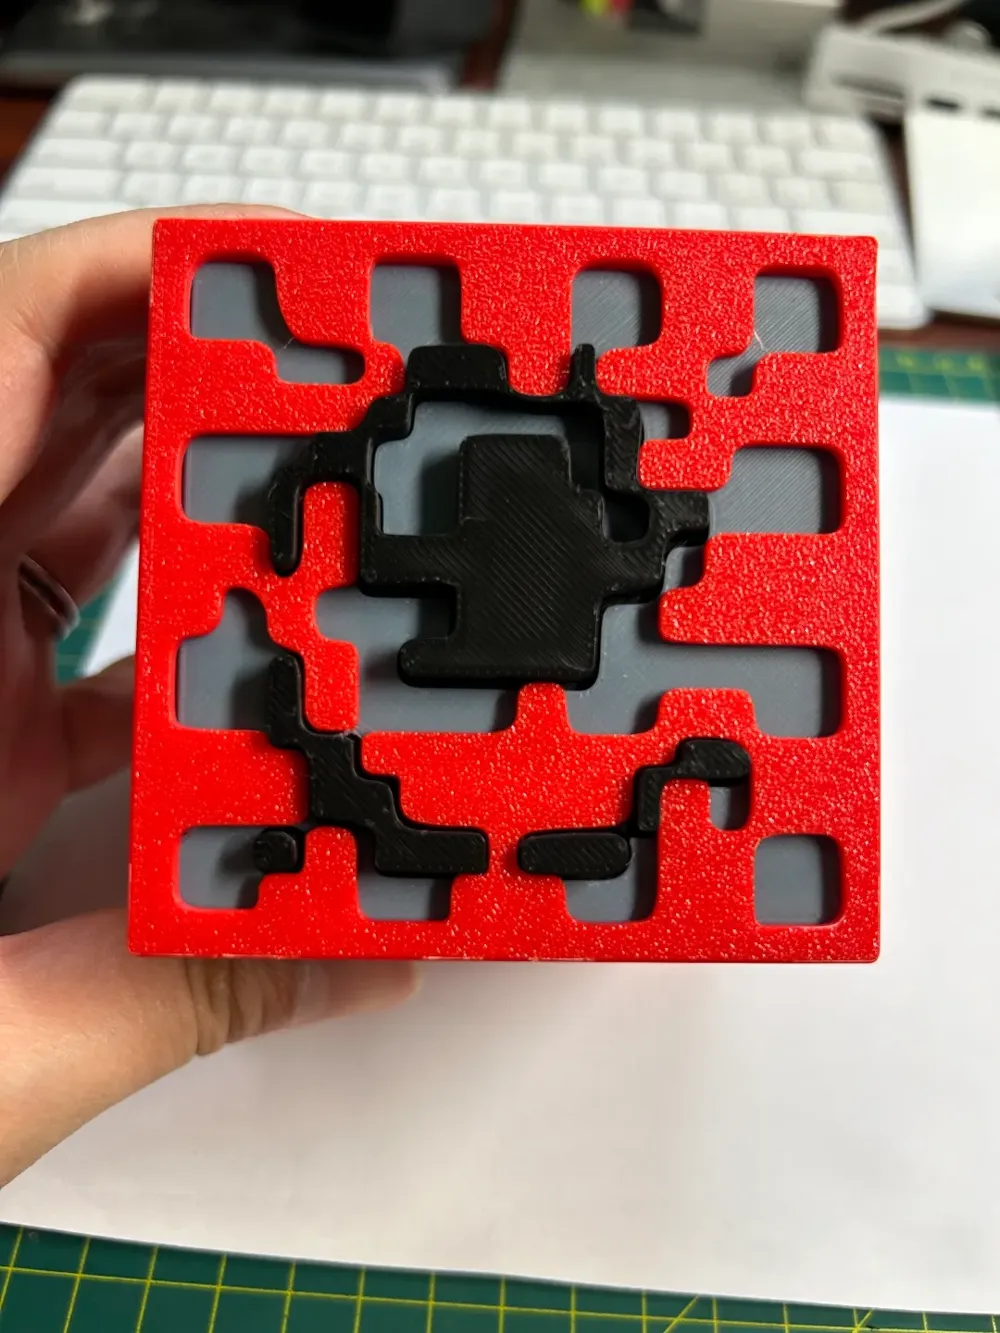
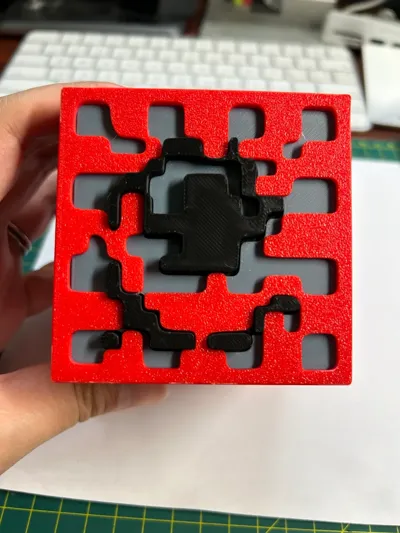
3, Insert the black fuse into the black lid plate; insert both together into the red outer lid. Orient them as shown in the diagram.
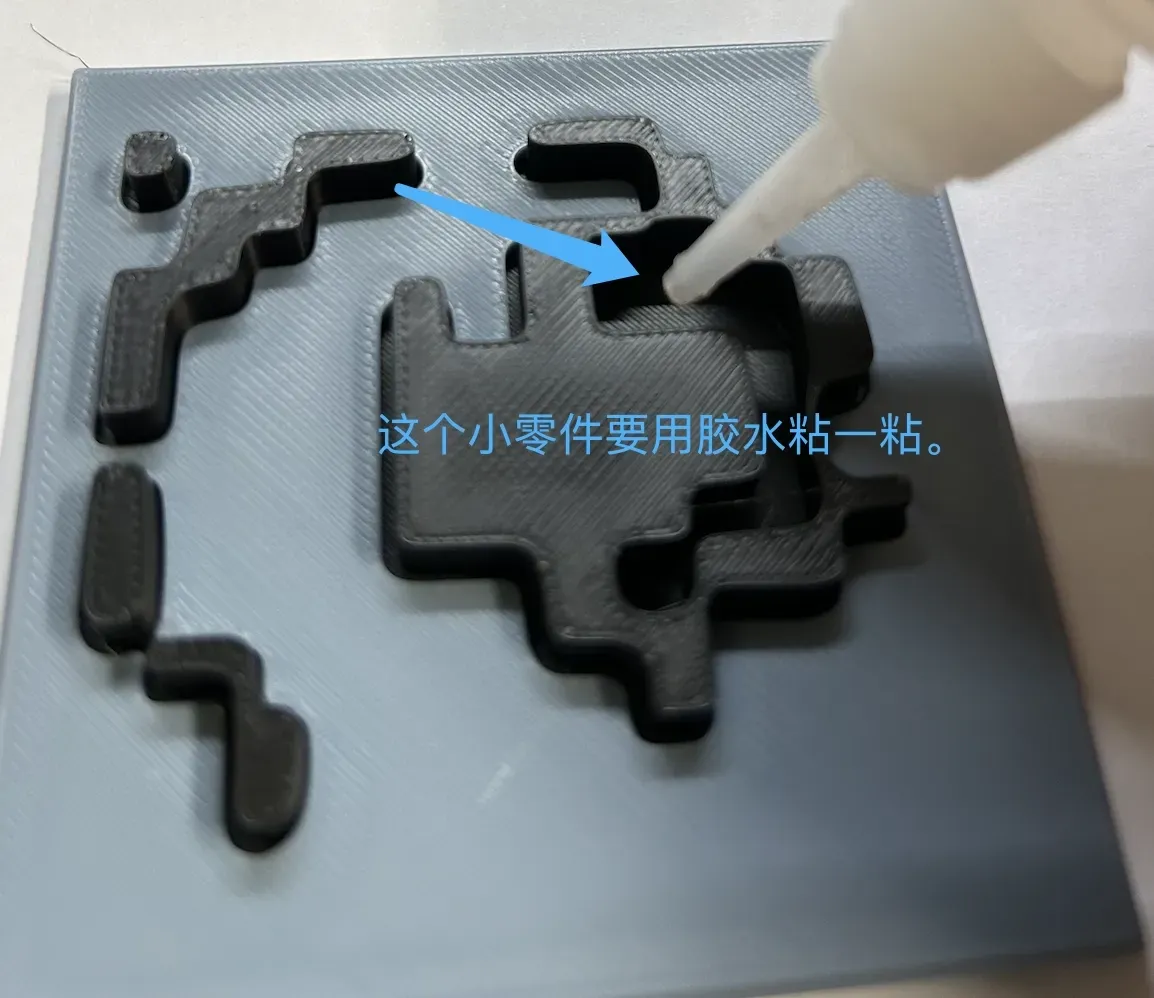
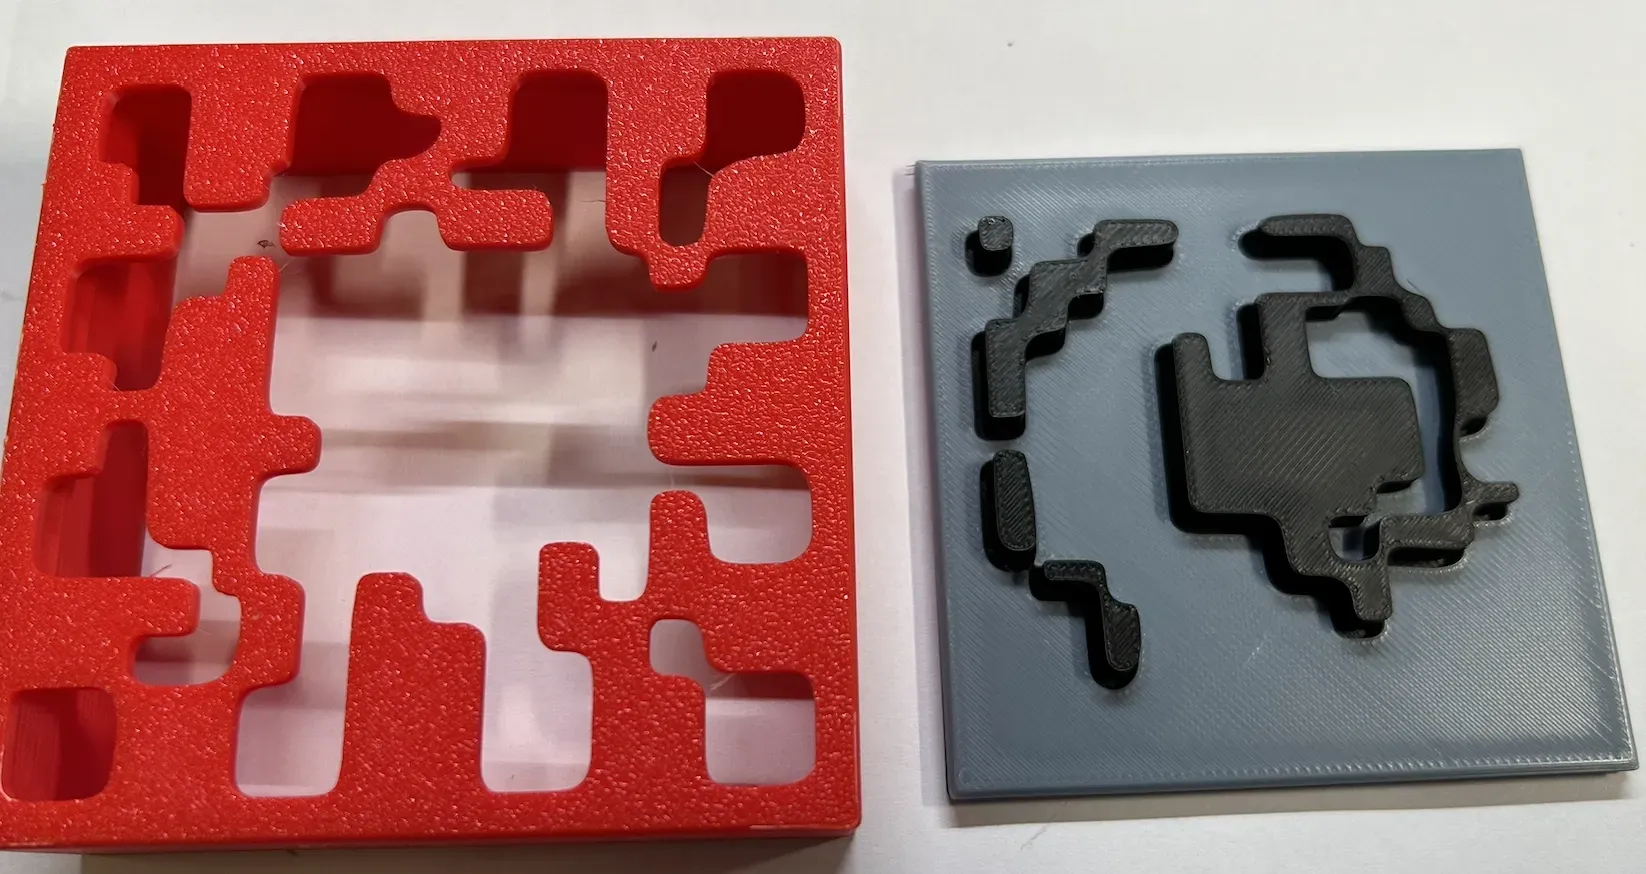
4, The red outer lid also has a locating slot; use some force with your fingers to press it in.
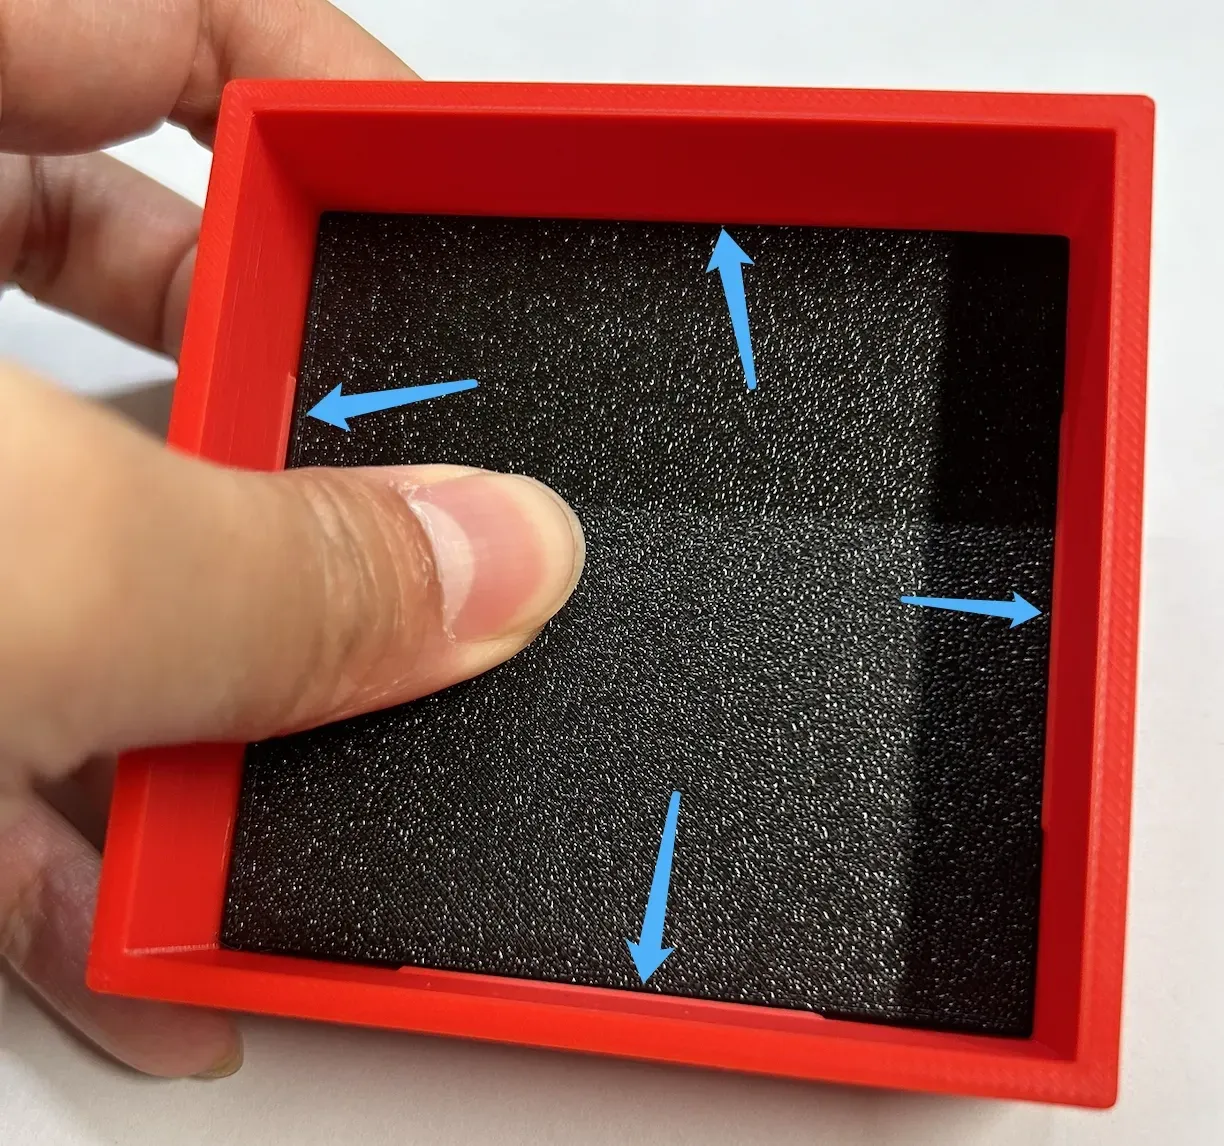
5, Insert the black letter plates into the slots on the four sides of the crate body.
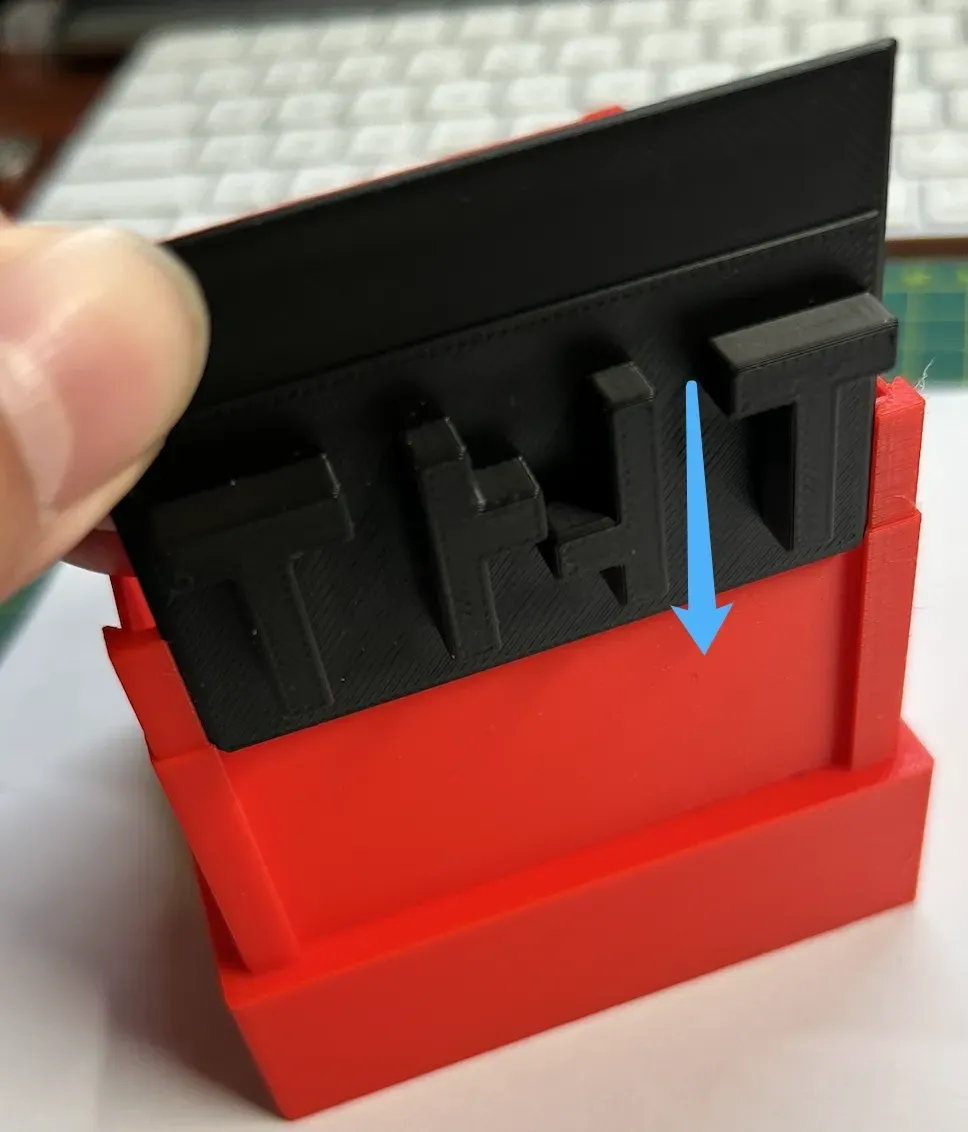
6, Insert the white letter inserts into the black letter plates.
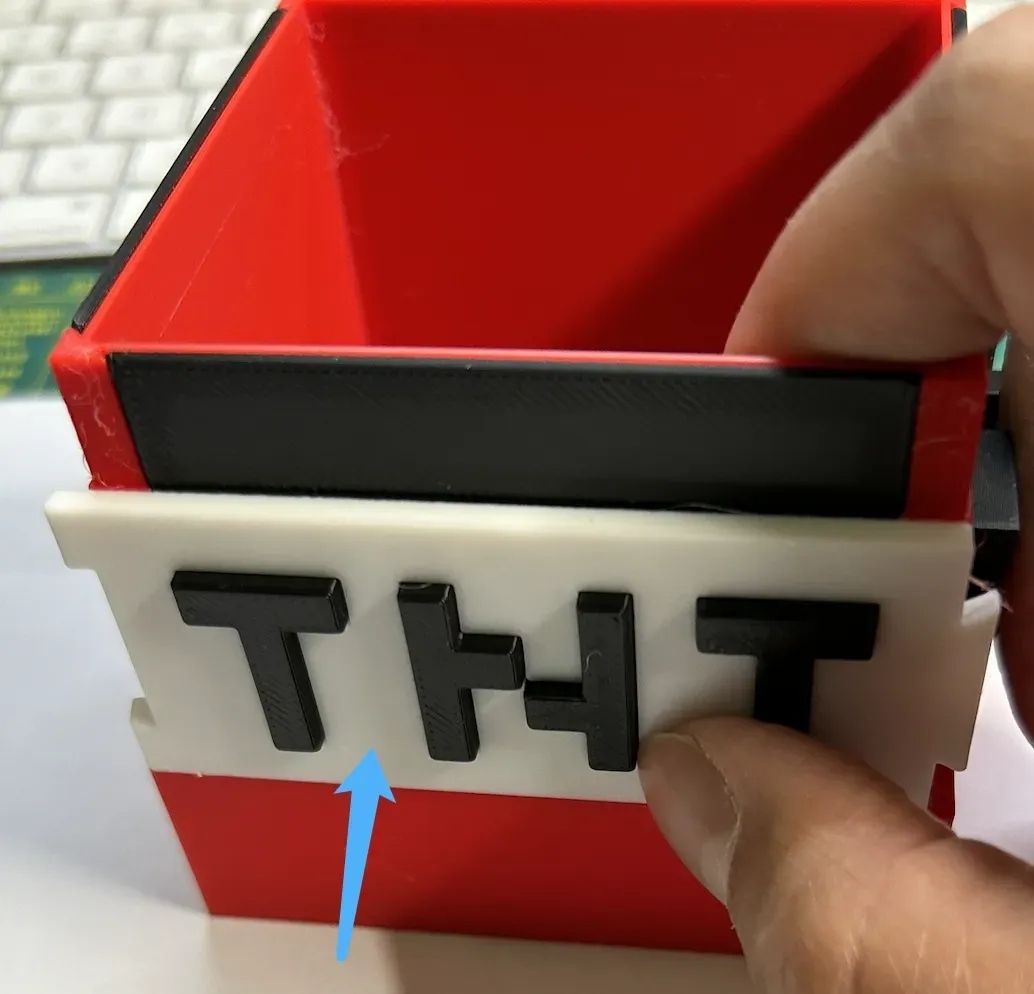
7, Clockwise, insert each one into its designated slot. The dimensions have a small allowance to prevent looseness; use a little force.
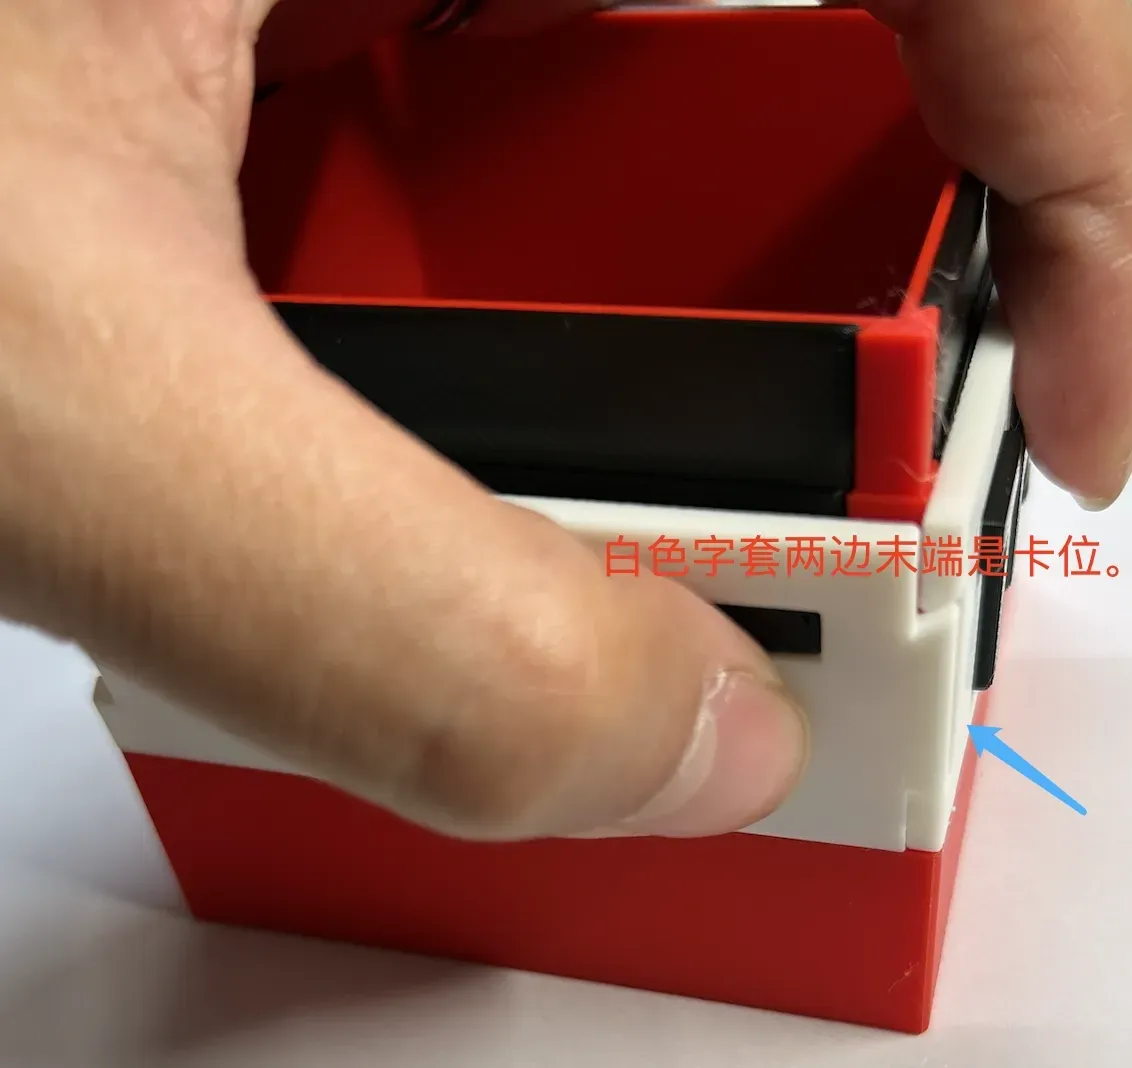
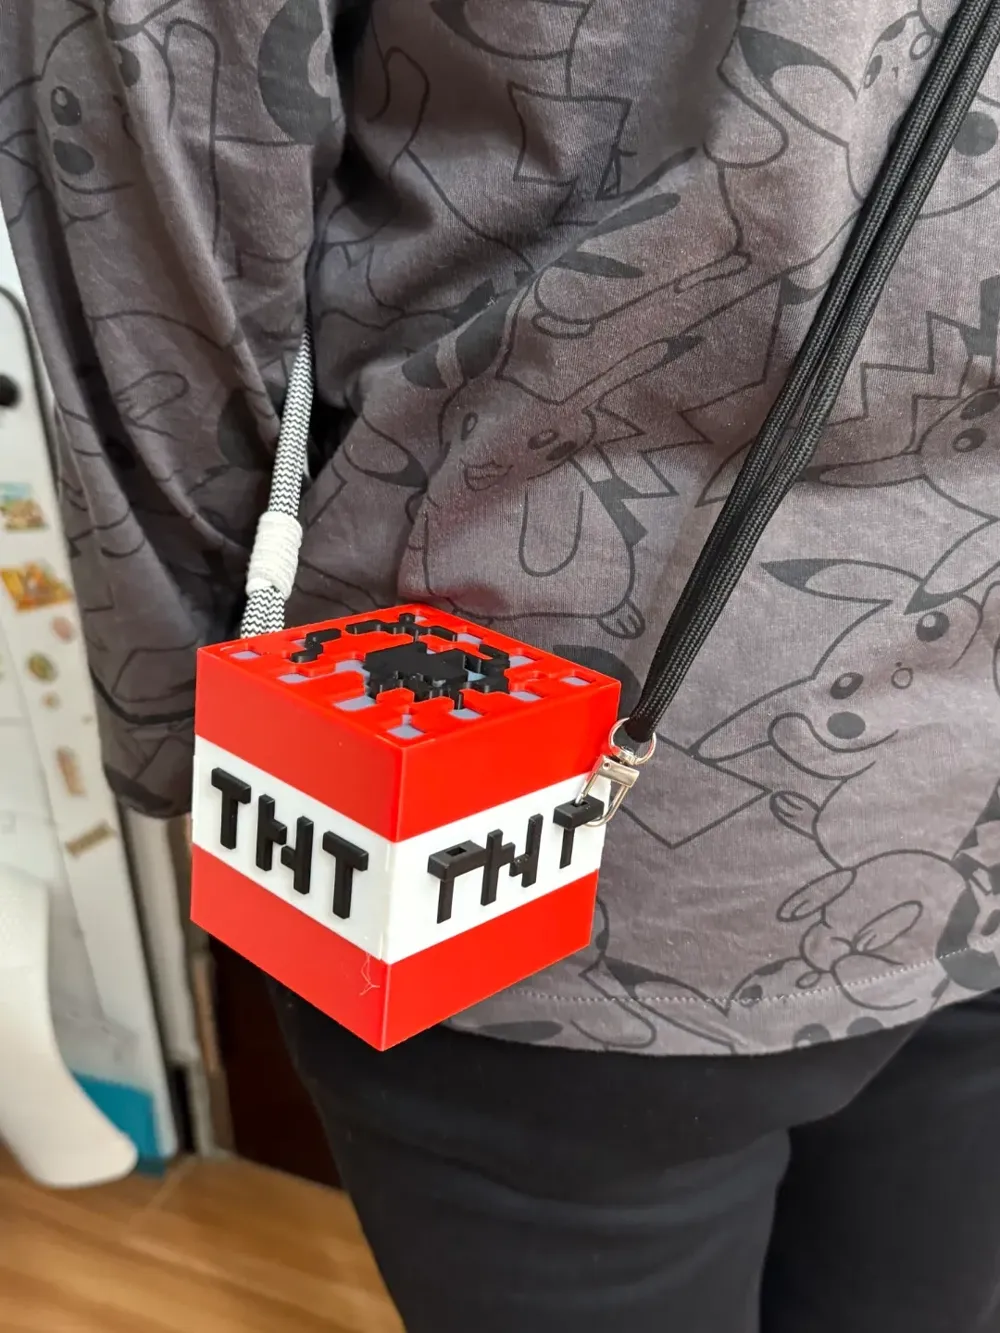
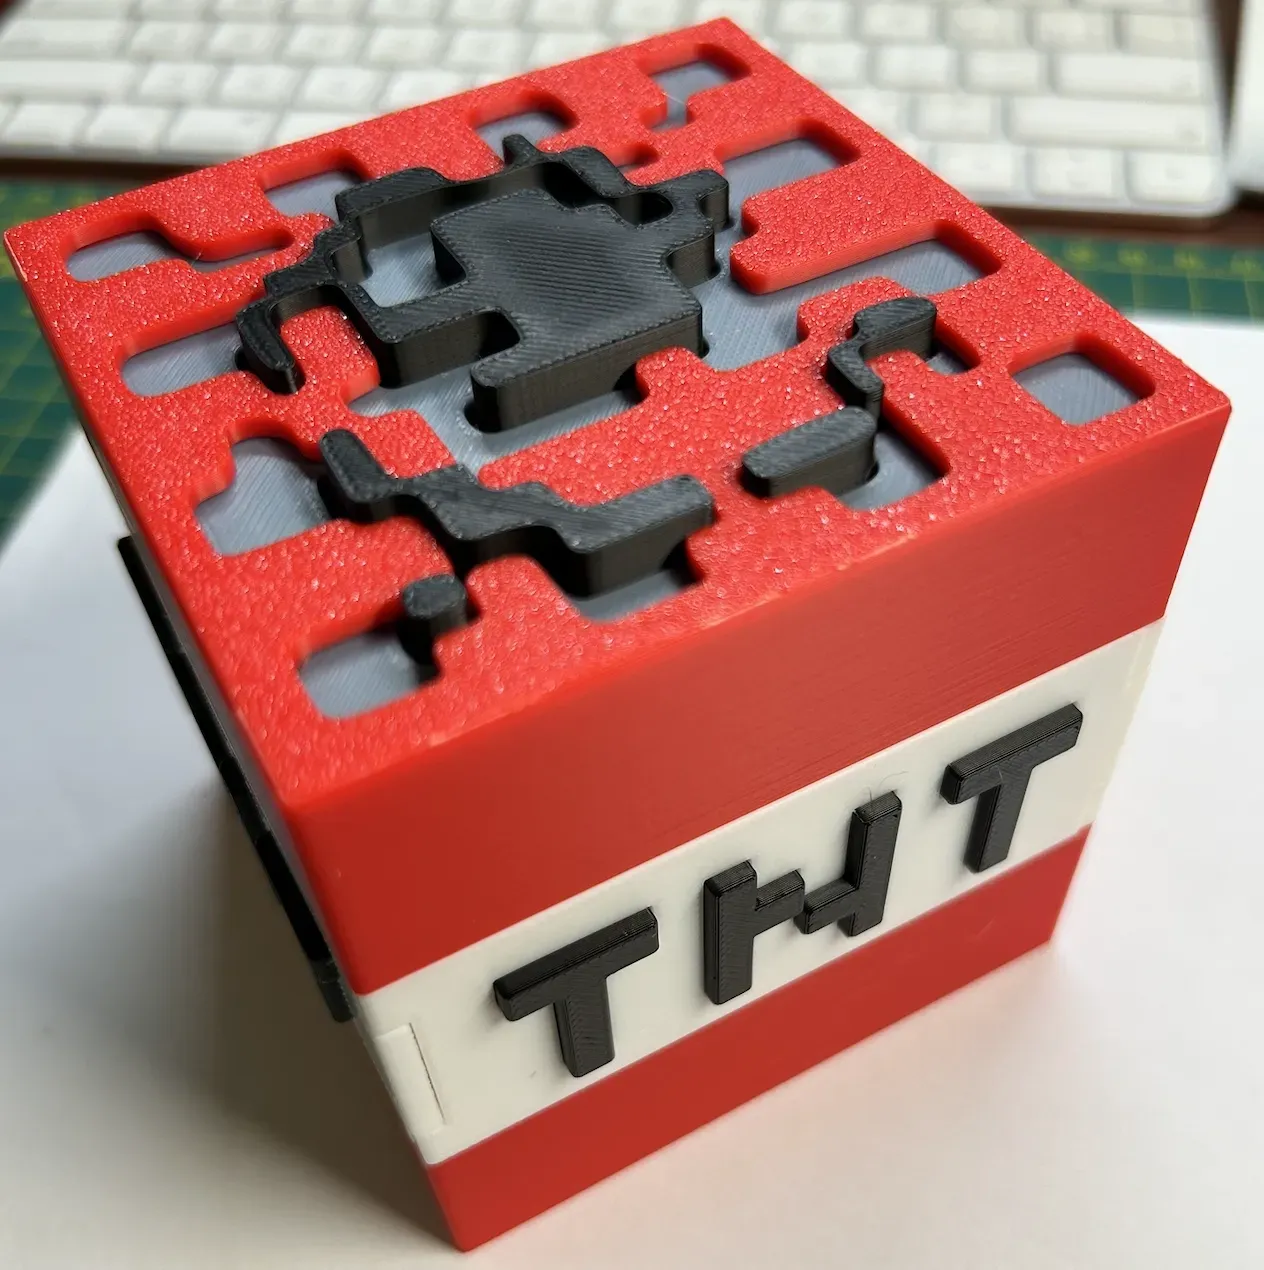
8, Installation is now complete (If making a shoulder bag, add a few drops of glue behind the holed TNT letter parts against the crate body for better fixation).
I hope you enjoy it—your support is greatly appreciated. Please leave a comment if you have any questions.
License

You shall not share, sub-license, sell, rent, host, transfer, or distribute in any way the digital or 3D printed versions of this object, nor any other derivative work of this object in its digital or physical format (including - but not limited to - remixes of this object, and hosting on other digital platforms). The objects may not be used without permission in any way whatsoever in which you charge money, or collect fees.


Comment & Rating (3)