MFT Workbench Hole Routing Jig


Print Profile(1)

Bill of Materials

- M5x20 x 4:
- MDF or plywood panel x 1: 1112mm x 728mm
Description
Note: I've verified dimensional accuracy on this model, but I have not yet completed testing! I will update as I learn how best to use it.
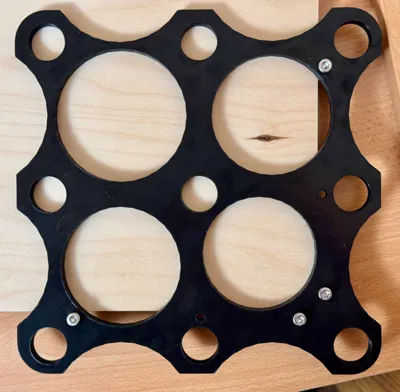
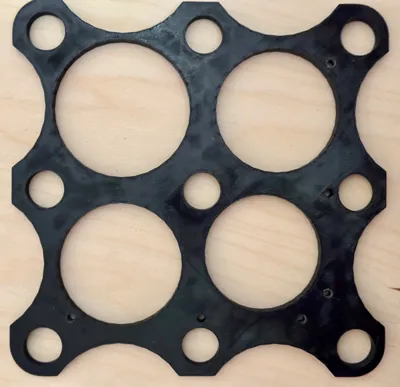
This is a router template jig to help with creating an “MFT” (Multi-Function Table) style workbench top. Drilling the holes is a precision operation since they need to be exactly 20mm in diameter, and their centres exactly 96mm apart.
This jig is designed for MFT style tables with a 76mm distance (roughly 3") between the edge of the panel and the centre of the edge-most hole. A standard MFT layout has 11x7 holes, and with this jig that requires a panel sized 1112mm x 728mm (roughly 43 3/4" x 28 11/16").
A few other examples of this type of jig are available online, but they either work only with pattern bits (flush-cut), 20mm drill bits, or metric guide bushings. Where I live, we use both imperial and metric measurements, and so the router bits and bushings that I happen to have on hand are imperial-sized.
Thus, to use this jig, you need a guide bushing with an outside diameter (OD) of 3/8", and a 1/4" router bit. If anyone has need and asks for it, I can easily upload versions for different dimensions of bushings and bits.
The four large holes and cut-outs at the edges are purely intended for speeding up the print and saving filament.
Printing Instructions
It's best to print in PLA, as it's stiffer than PETG. PETG's flexibility may cause inaccuracy.
Usage Instructions
- Install four M5x20 or M5x25 machine screws in the 5mm holes. You can choose which holes to install them in, as long as they enable the jig to register squarely against the tabletop.
- Clamp the jig firmly against the tabletop
- Use your router with guide bushing and bit installed to rout out 4 holes. Depending on your router's size and clamp placement you may only be able to rout the middle and corner hole.
- Remove the machine screws
- Move the diagonally so that the corner lines up with the newly-routed holes, and use bench dogs and clamps to secure the jig
- Rout the new holes
- Repeat the process until all desired holes are routed!
Comment & Rating (24)