Print-In-Place Iris Box (locking)


Print Profile(3)


Description
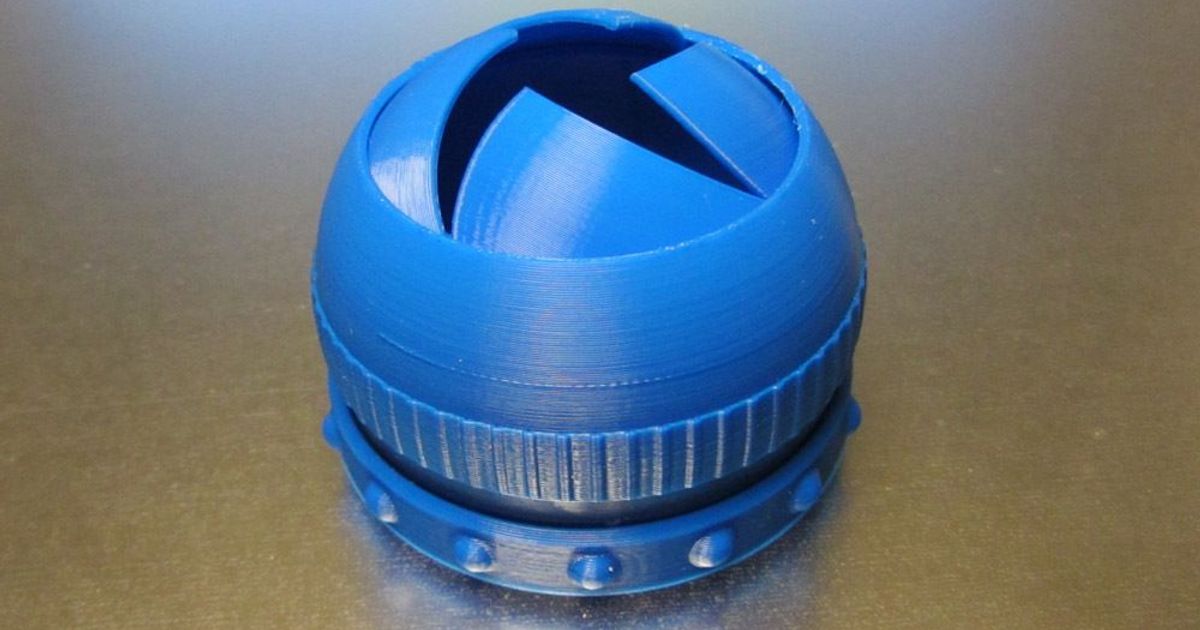
This is an updated version of my redesign of emmet's totally mind-blowing print-in-place iris box (sadly, the link on Thingiverse to his original design seems to be dead). My original design lacked a locking mechanism to keep it from opening back up if you pushed on the leafs. This version will stay shut until you twist the outer ring to re-open it.
Printing
The entire box prints as a single piece. Use a 0.2mm layer thickness to maintain the internal clearances that make the print-in-place magic work. The internal clearances are quite tight, so a very clean print is essential to getting it freed up after printing. One tricky issue is seam placement. Unfortunately, most of PrusaSlicer's seam placement option want to place the seam (which is usually a little lumpy) along an edge, but this is also where you are most likely to get interference between the internal moving parts. Therefore, the easiest option is to choose the Random seam placement option which will keep from forming internal ridges that fuse together.
Post-Printing
After printing, there are a series of little tabs on the bottom that need to be cut away, and then there are various bits to break loose. This great video by Anna Kastlunger shows you everything you need to do:
Comment & Rating (678)