
Easy AMS Lite Rail System for Ceiling & Top Mount

Print Profile(5)


Description

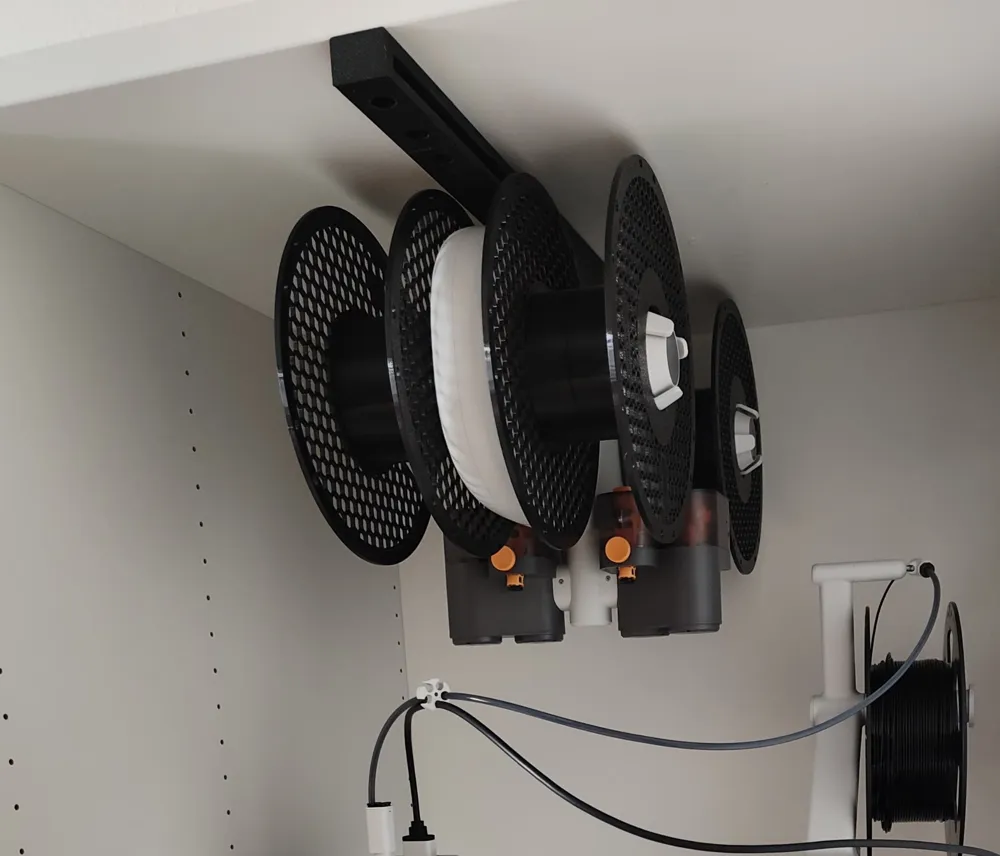
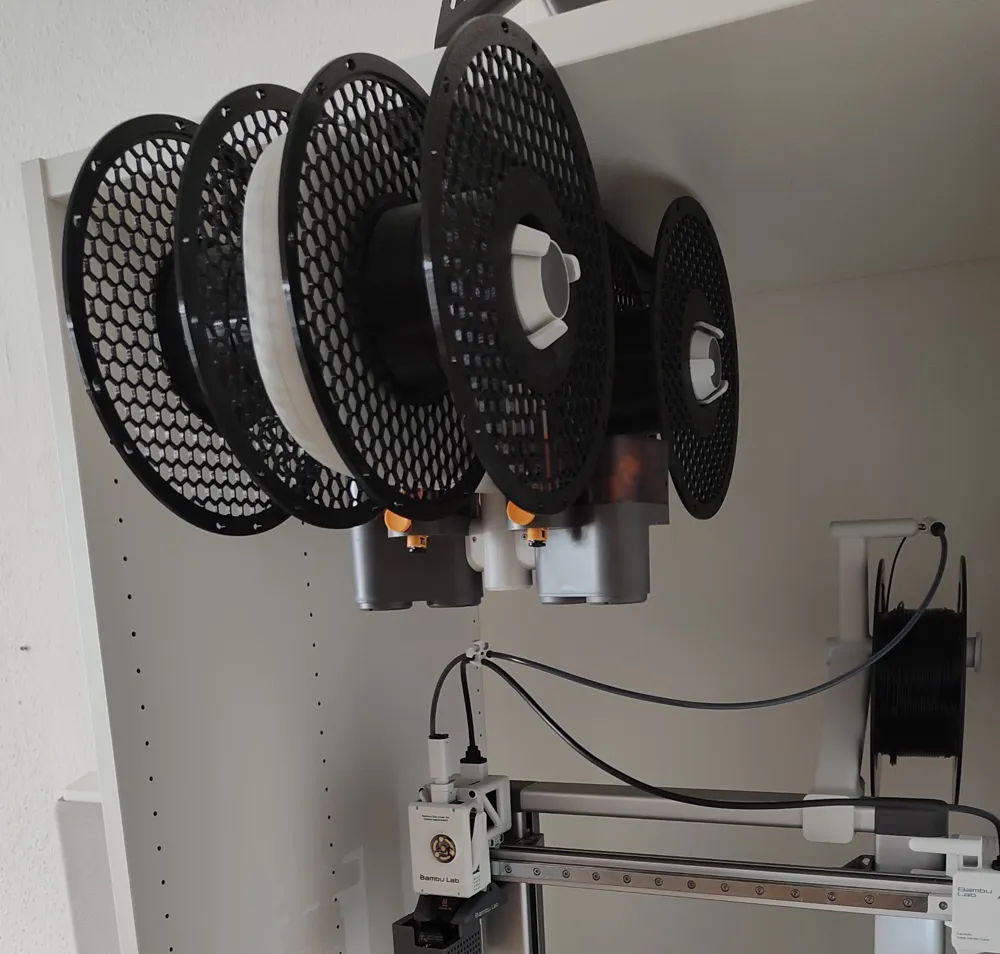
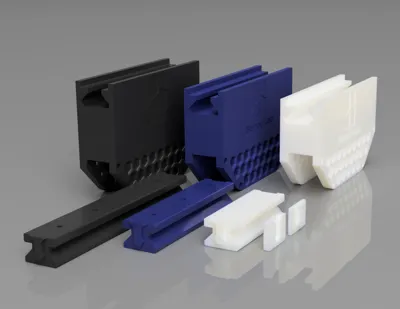
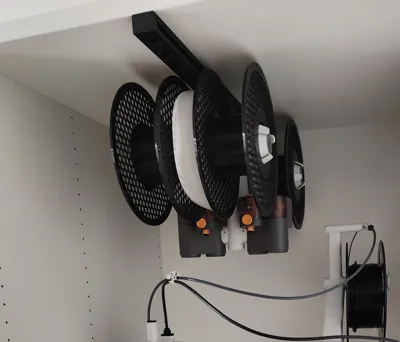
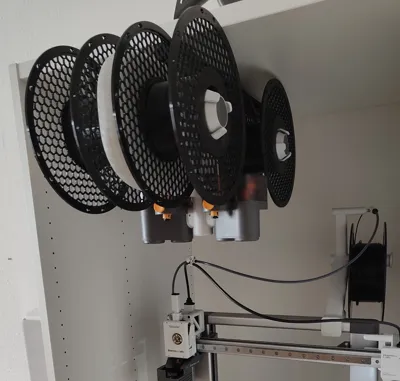
This is a simple rail system designed to improve accessibility to the AMS Lite, especially the rear filament spools.
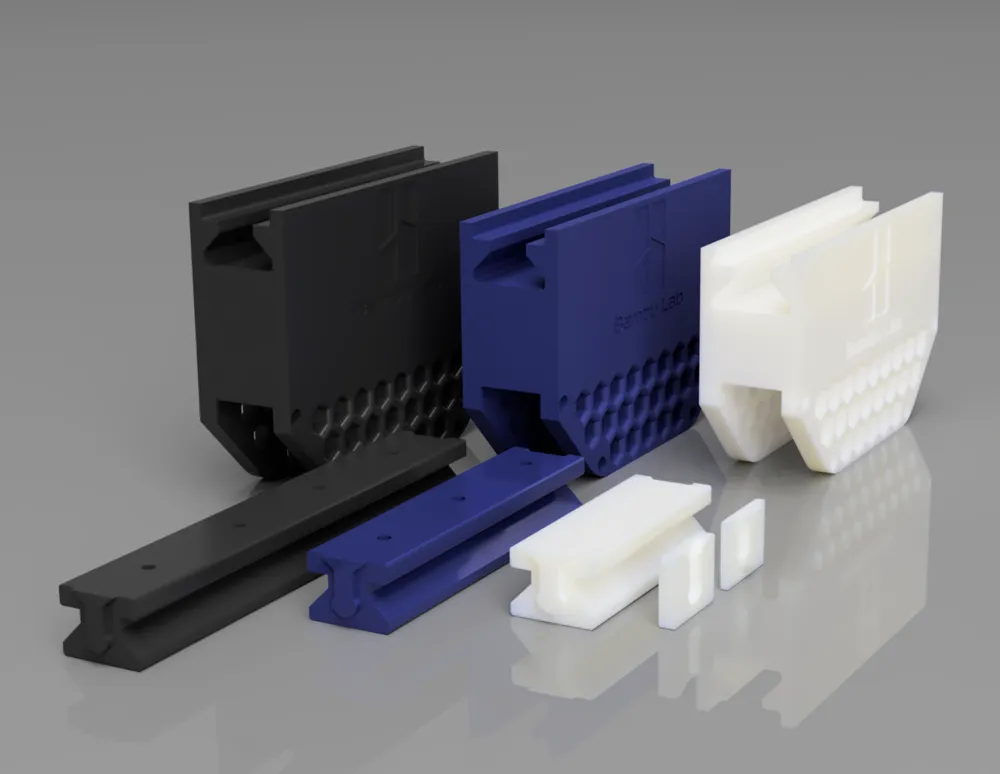
There are variable rail lengths available (175mm, 120mm, 80mm), along with end connectors. The carriage is attached to the AMS Lite using the provided screws and then simply slides onto the rail - done !
This System is compatible with “Ultimate Filament Spool Enclosure for AMS Lite” if u choose the XL Carriage with 300mm clearance to the top roof! (Thanks to @Jannah for this information!)
Boost Me (for free)
If you like my model, please like, download, boost, rate and all the amazing amazing stuff!
Printing Instructions
- Print the carriage vertically (see preview image). Supports are not necessary but i added brims for saftey.
Chose: Print Rails horizontally (big holes have to be visible/ small holes on the ground). No Supports needed! → This will make the Carriage extra smooth on the rails and this produces less noise!
or: Print Rails vertically (Brims needed for longer rails) → Less smooth, more noise but this will ensure your AMS will stay in place while printing. I like it horizontally
- 12% gyroid infill is sufficient.
- I recommend using PETG as the material.
Assembly Instructions:
- Run the carriage along each rail before installation to smooth out any imperfections.
- Interlock the rails and position the carriage centrally over the joint. Make sure theres no Gap.
- Mount the rails to the ceiling while keeping the carriage in place over the joint. This ensures the rails won’t slip during installation.
- Lubricate the rails with Vaseline, grease, or candle wax, if u want it extra smooth!
Pls let me know if u have any Ideas for improvements!
Thank you for your interests and your likes so far !! :)
Changelog 08.01. (V1.5):
- altered design of rail for more stability
- improved noise level (Sliding on rails produces less noise)
- bigger holes so your screwer can reach the screws more easy
- lower tolerances for connectors for a more secure fit
- Better tolerances for carriage
- Added taller carriages (enables more clearance between Spool and roof) for some usecases
- further updates are planed
License

You shall not share, sub-license, sell, rent, host, transfer, or distribute in any way the digital or 3D printed versions of this object, nor any other derivative work of this object in its digital or physical format (including - but not limited to - remixes of this object, and hosting on other digital platforms). The objects may not be used without permission in any way whatsoever in which you charge money, or collect fees.


Comment & Rating (480)