
Print Profile(13)


Description
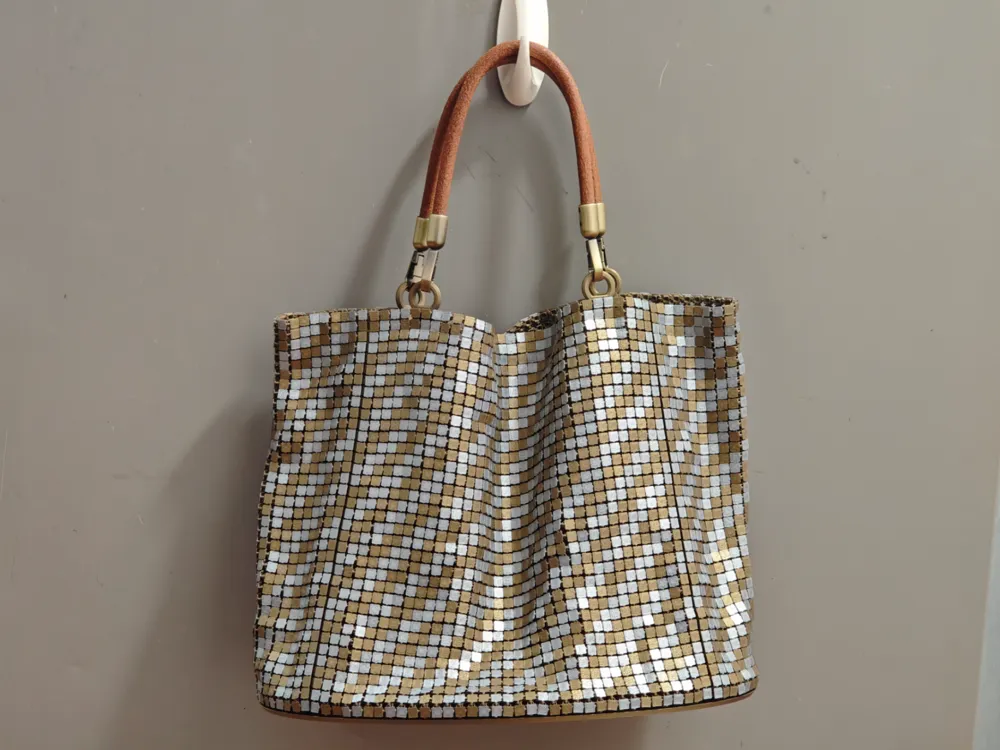
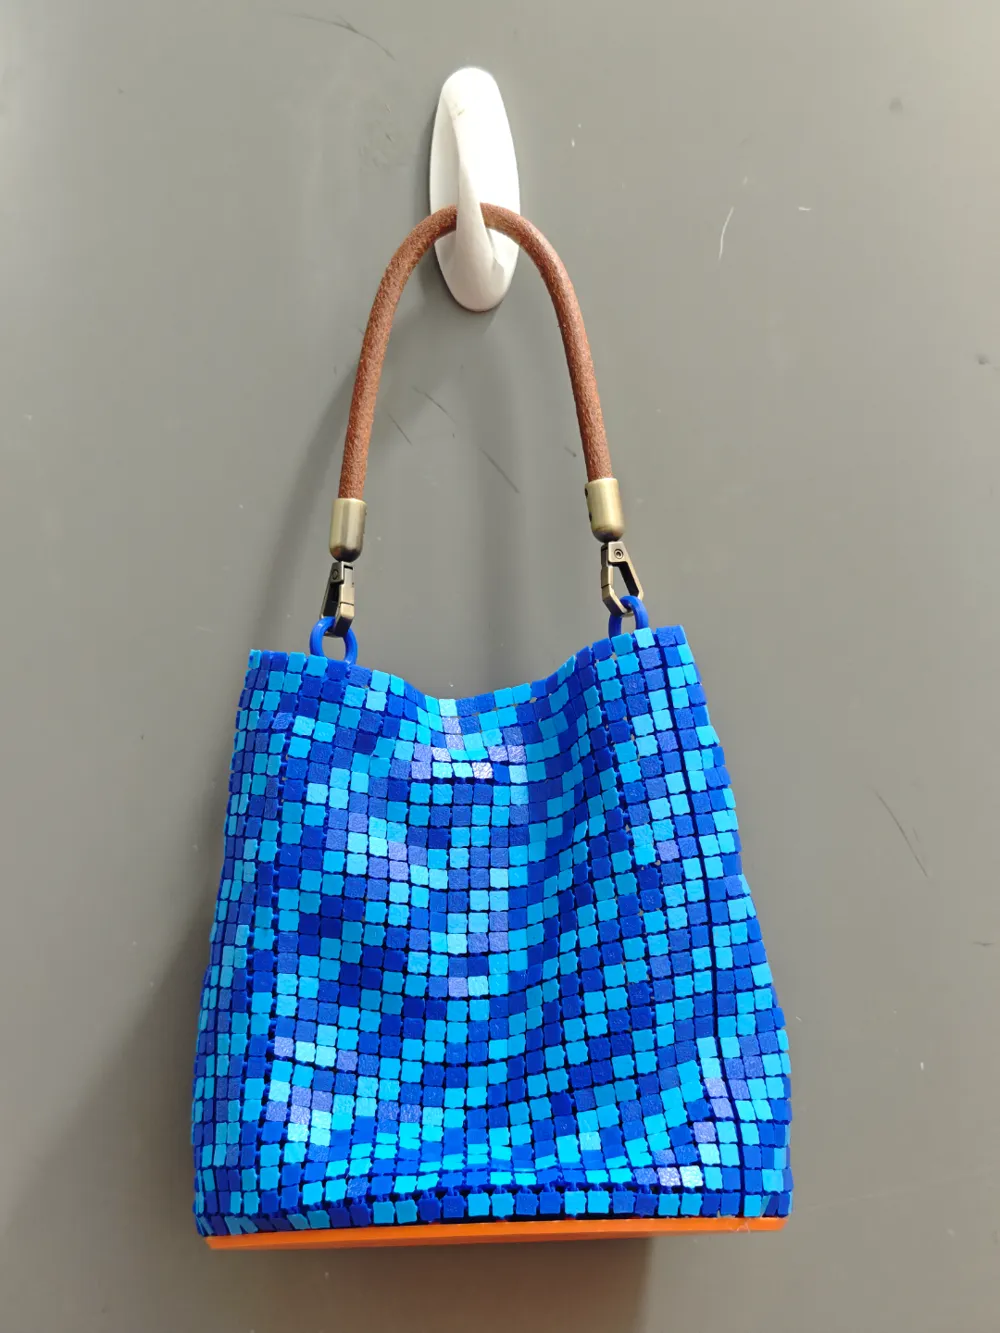
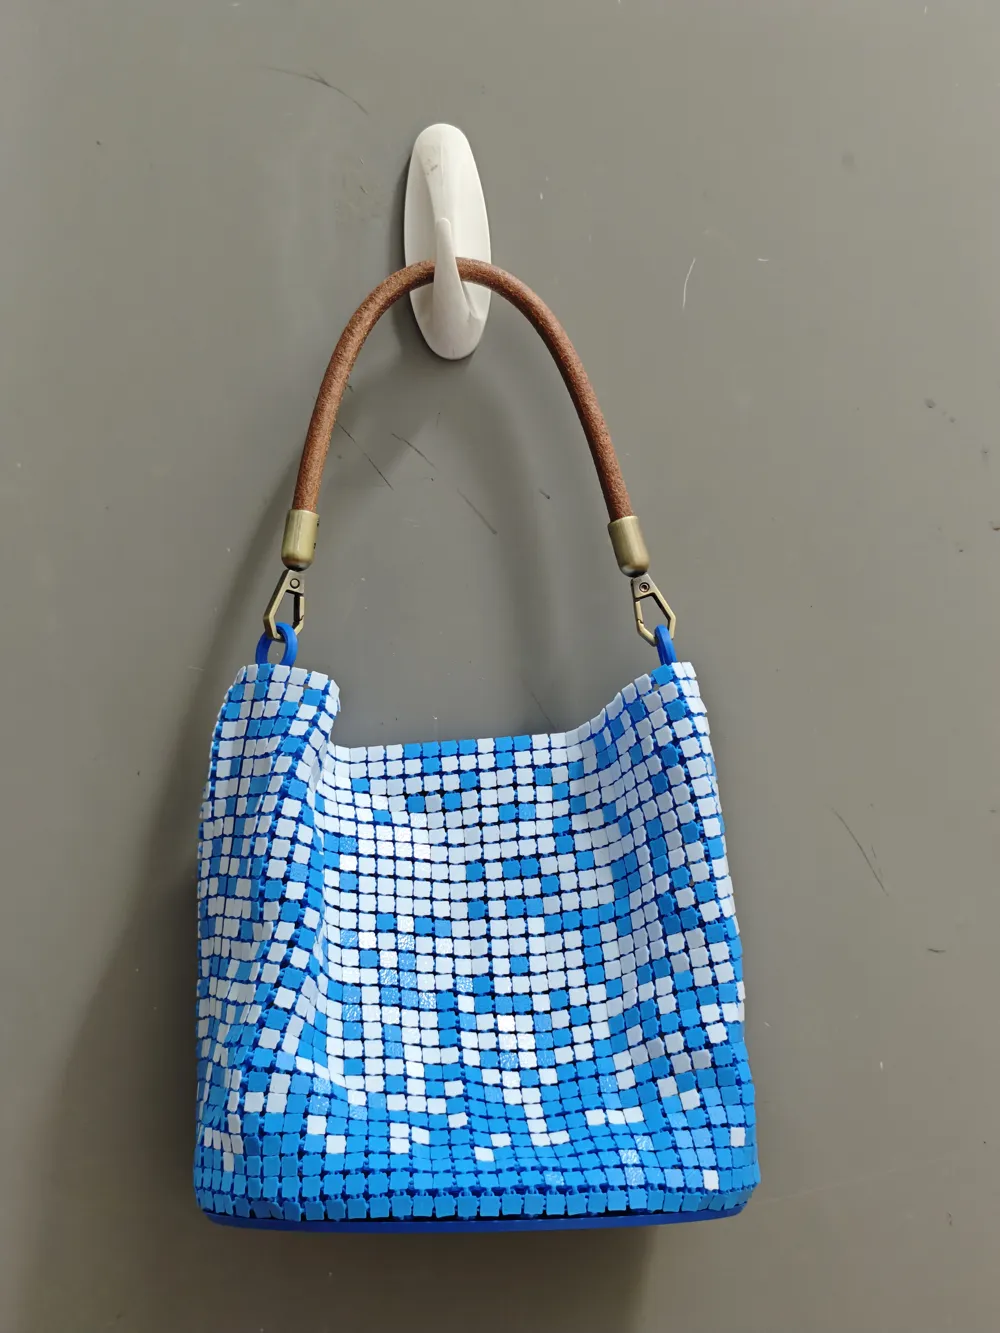
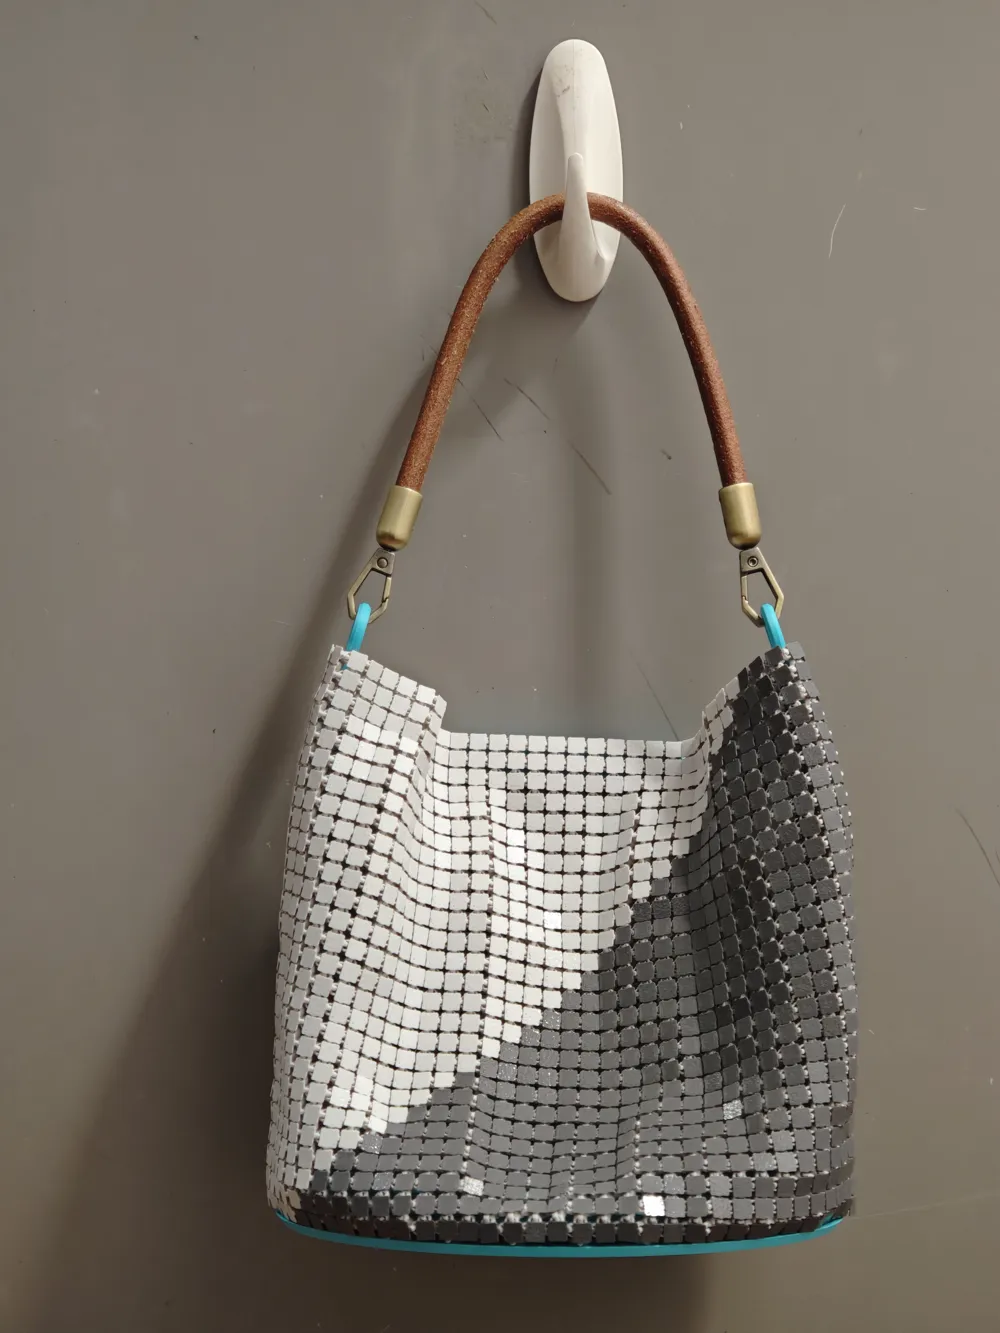
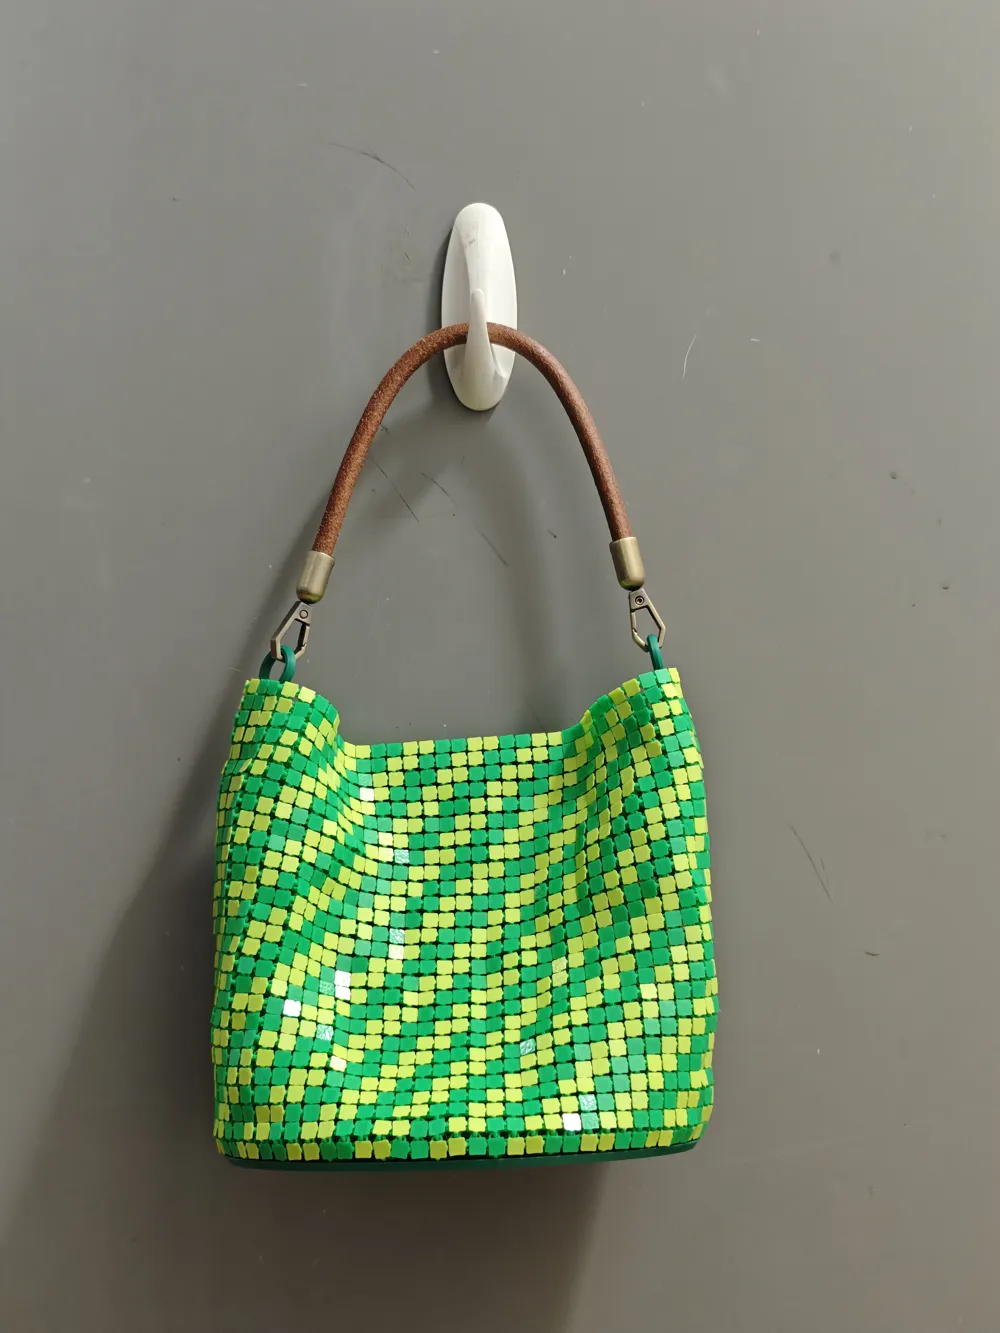
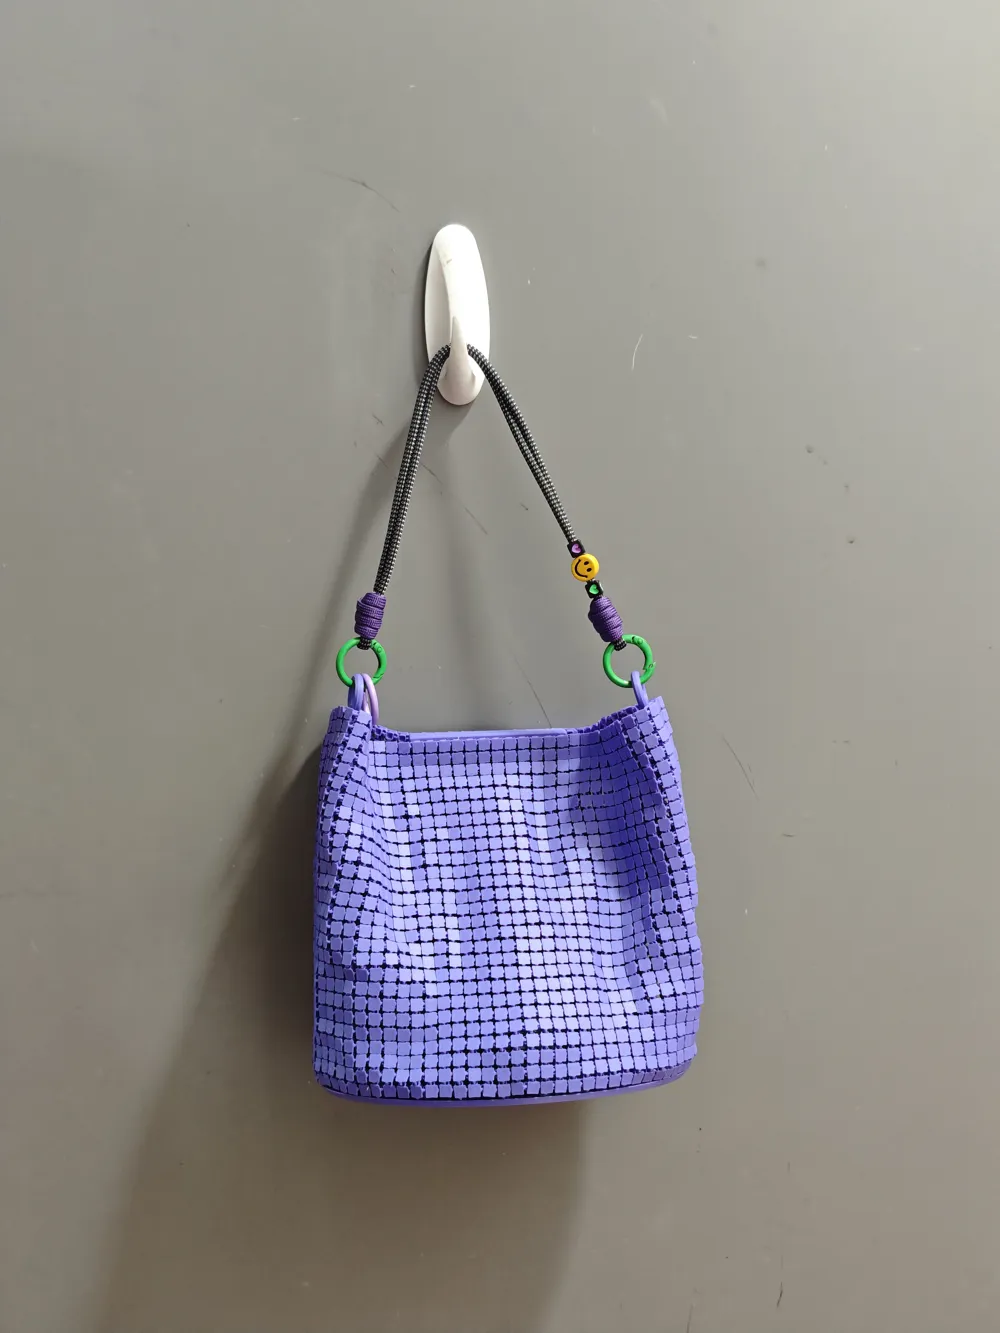

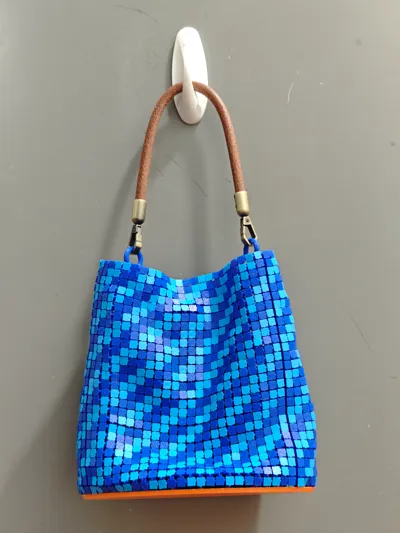
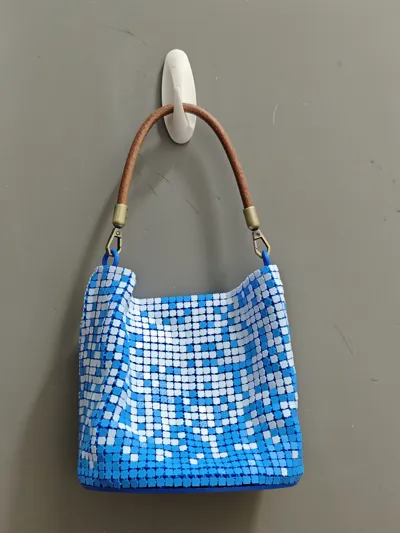
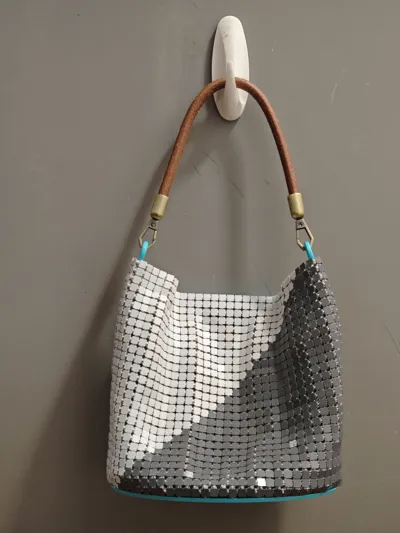
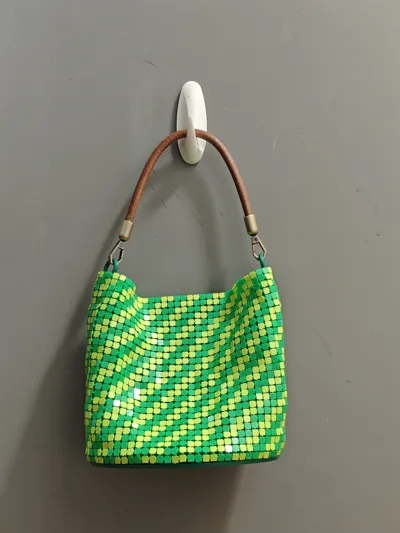
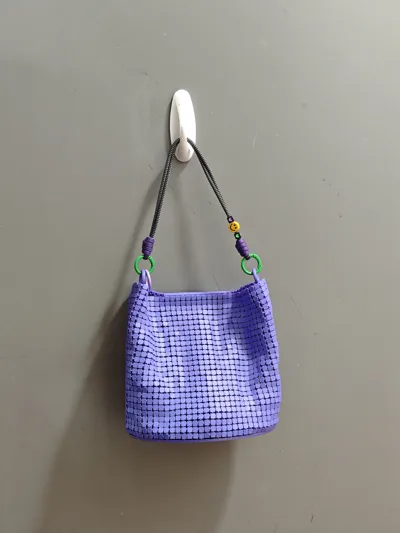
Slanted Stripe Small Bag v2 is now live
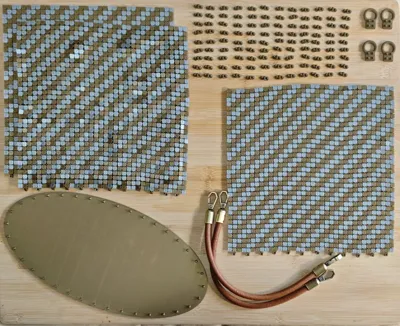
- Improved second version of the small bag. The pins connecting to the base plate have been thickened, and a decorative cover plate has been added to the base plate to conceal the pins. The fabric has been changed to a two-piece design, which makes the fabric seams more aesthetically pleasing at both ends of the bag. I also made a base plate installation tool to avoid the hassle of installing the base plate by hand. This configuration also integrates magnetic sealing strips. You will need 12 pieces of 10x1mm round magnets and install them into the holes inside the sealing strips during print pause, then resume printing (note that the polarity of the two sealing strips must be opposite!).
- If you want to print the slanted stripe small bag, v2 is better than the original version in all aspects. When I first designed this bag, I tried to make it more customizable. In v2, I selected the more popular SKUs and improved them. If you have good suggestions, please leave a comment.
- Below is the assembly video for the v2 small bag. Please refer to it for installation guidance. It is recommended to watch the v1 installation guide first before watching this video, as the assembly process for the v2 small bag is very similar to v1, with only a few additional steps.
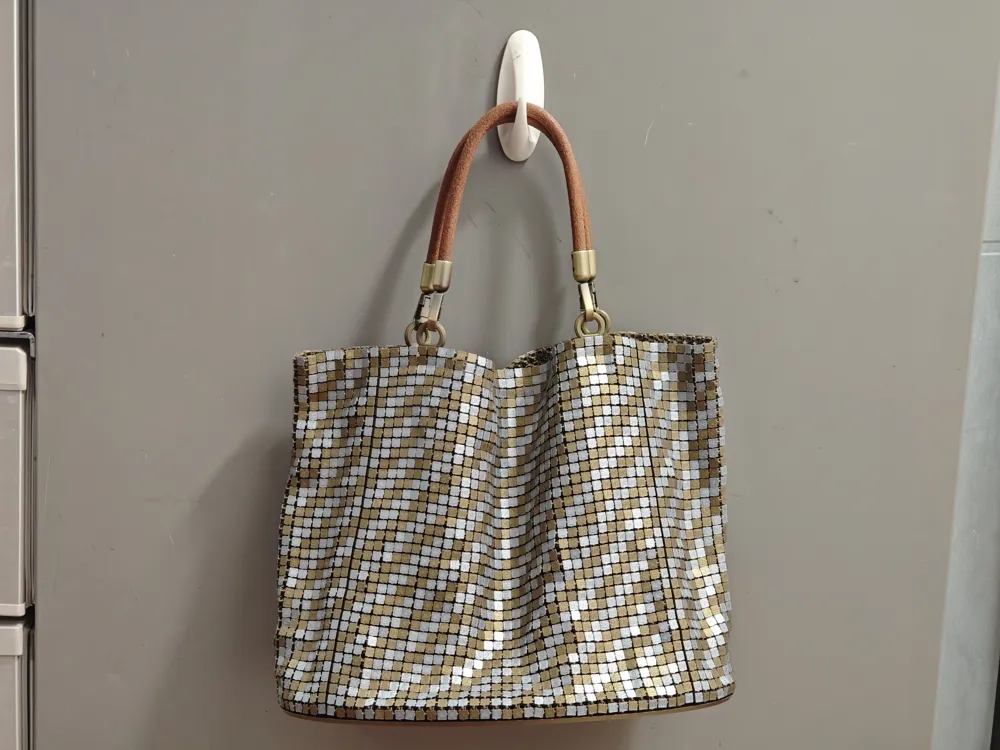
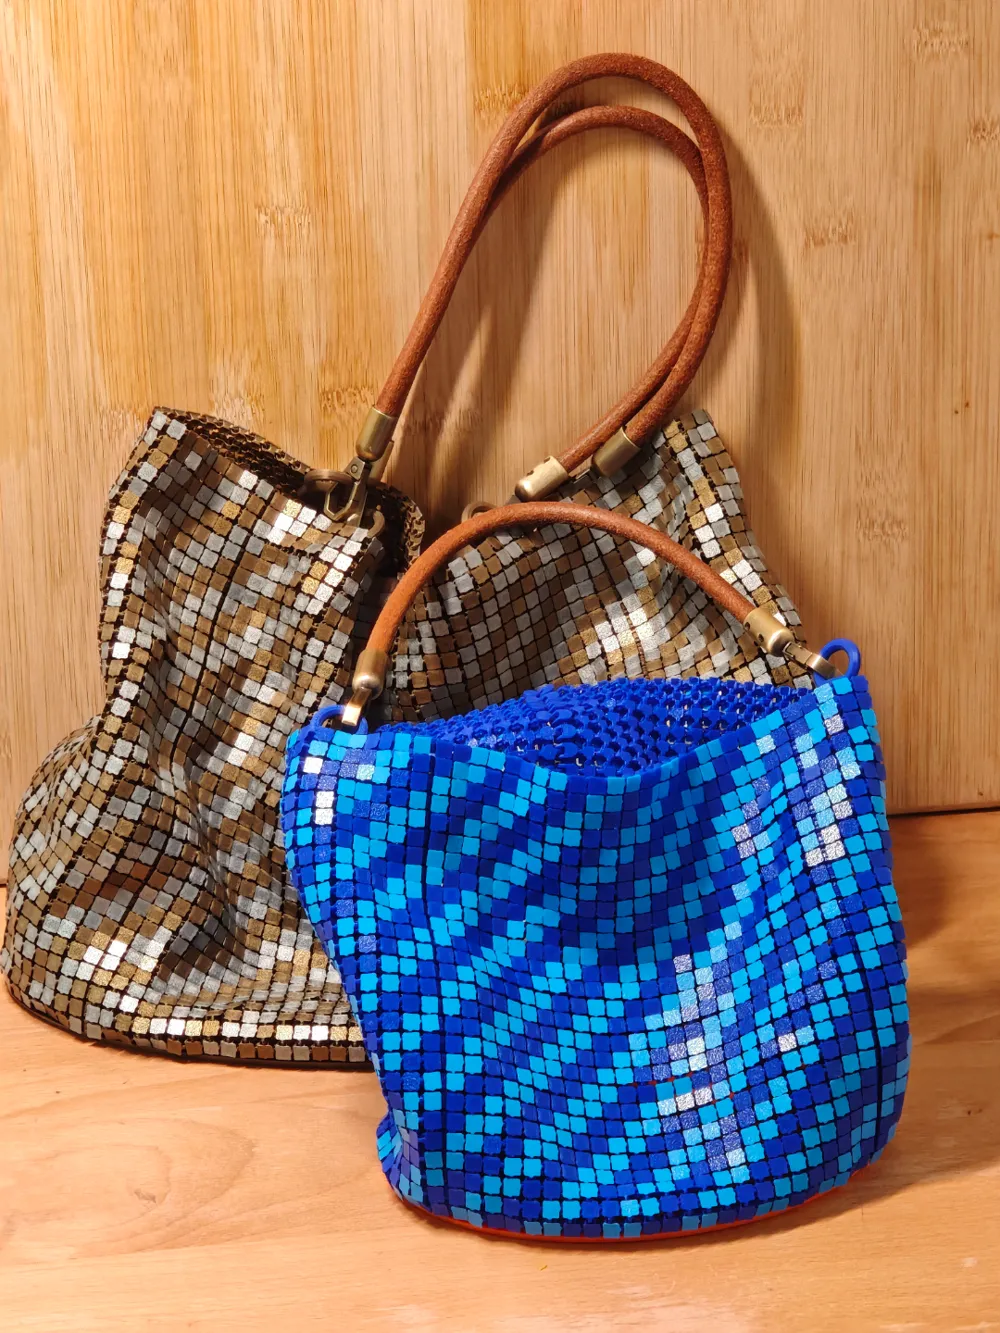

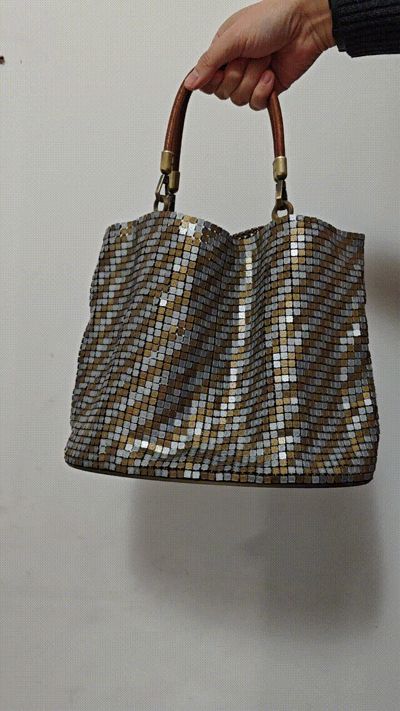
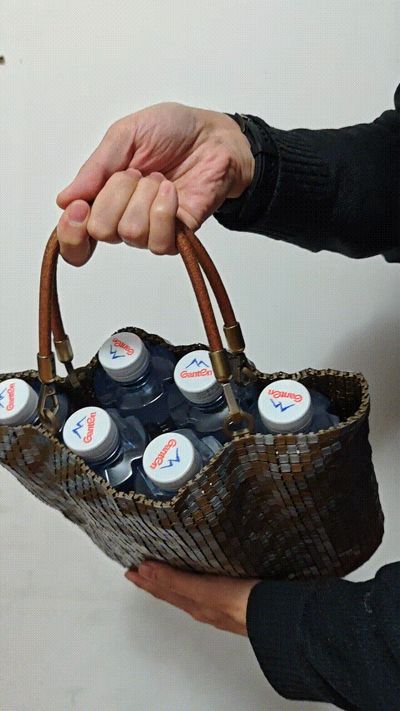
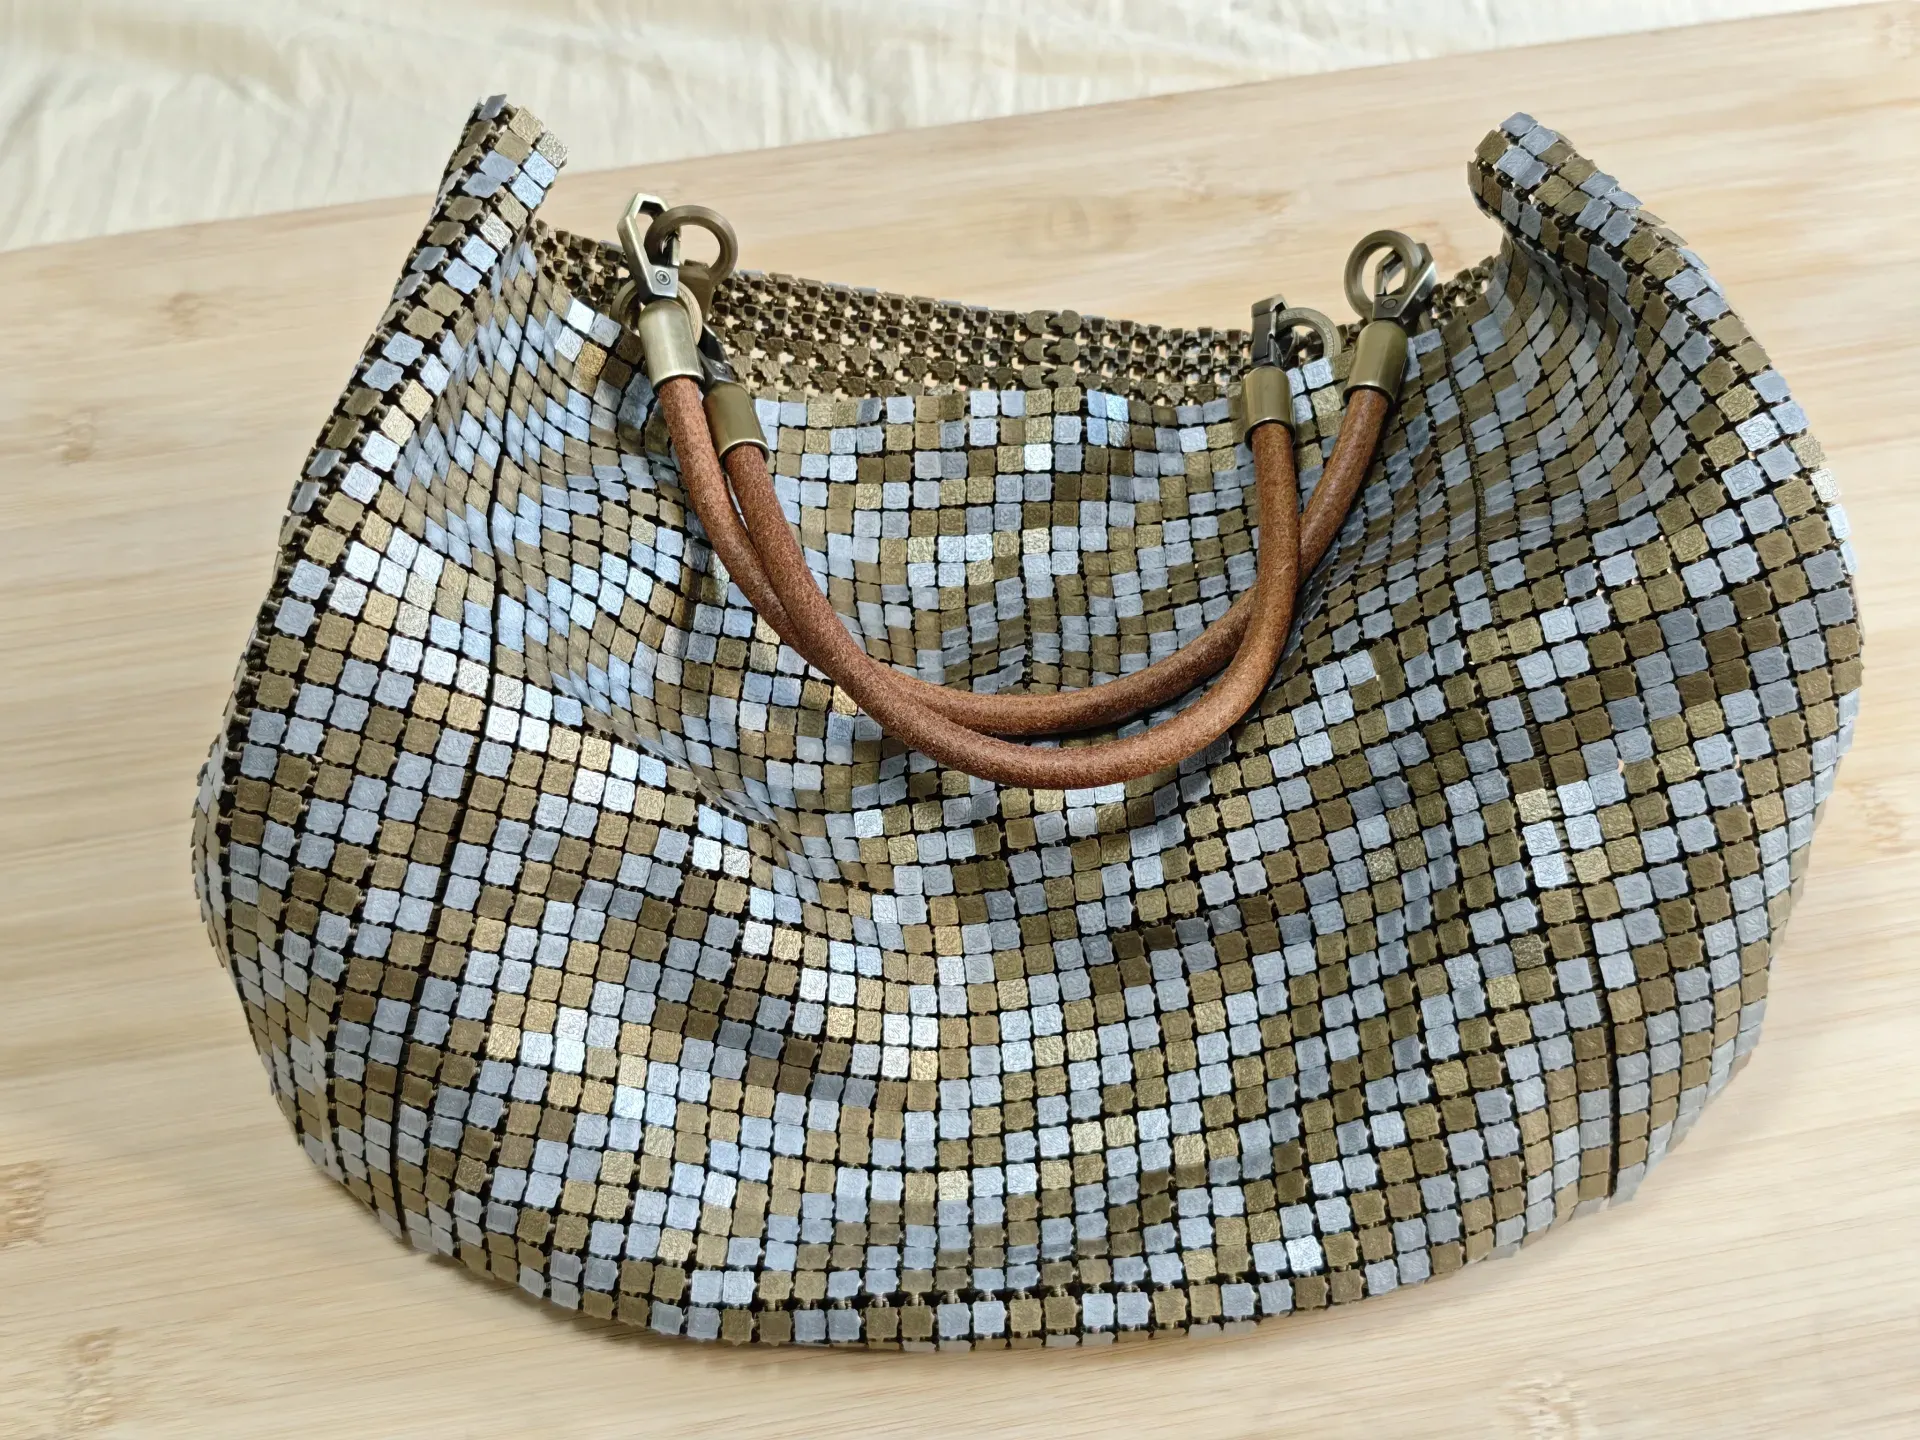
Super spacious chainmail tote bag. Carrying 6 bottles of mineral water is no problem.
Quick Print Guide:
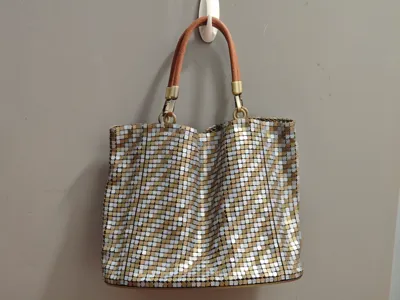
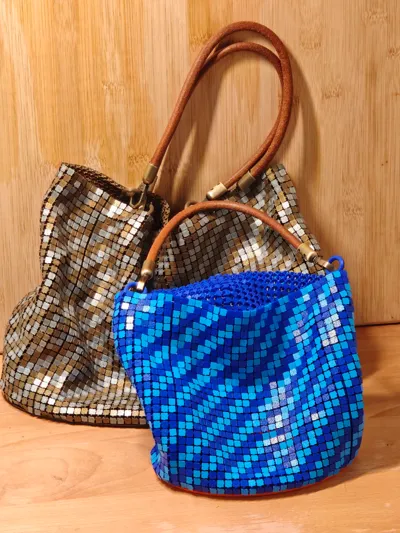
- Large bag (30cm wide, 23cm high, approx. 13cm thick): Print tote face (1U) *3, tote bottom (3U) *1, 3U accessories *1 from the slanted stripe version print profile
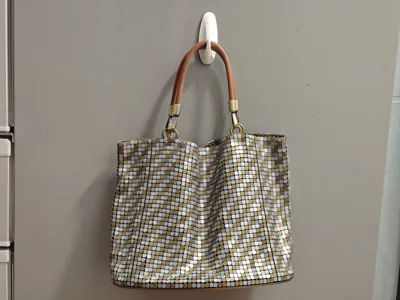
- Medium bag (18cm wide, 23cm high, approx. 12cm thick): Print tote face (1U) *2, tote bottom (2U) 1, connectors(x36) *2, loops *1 or 2 from the slanted stripe version print profile
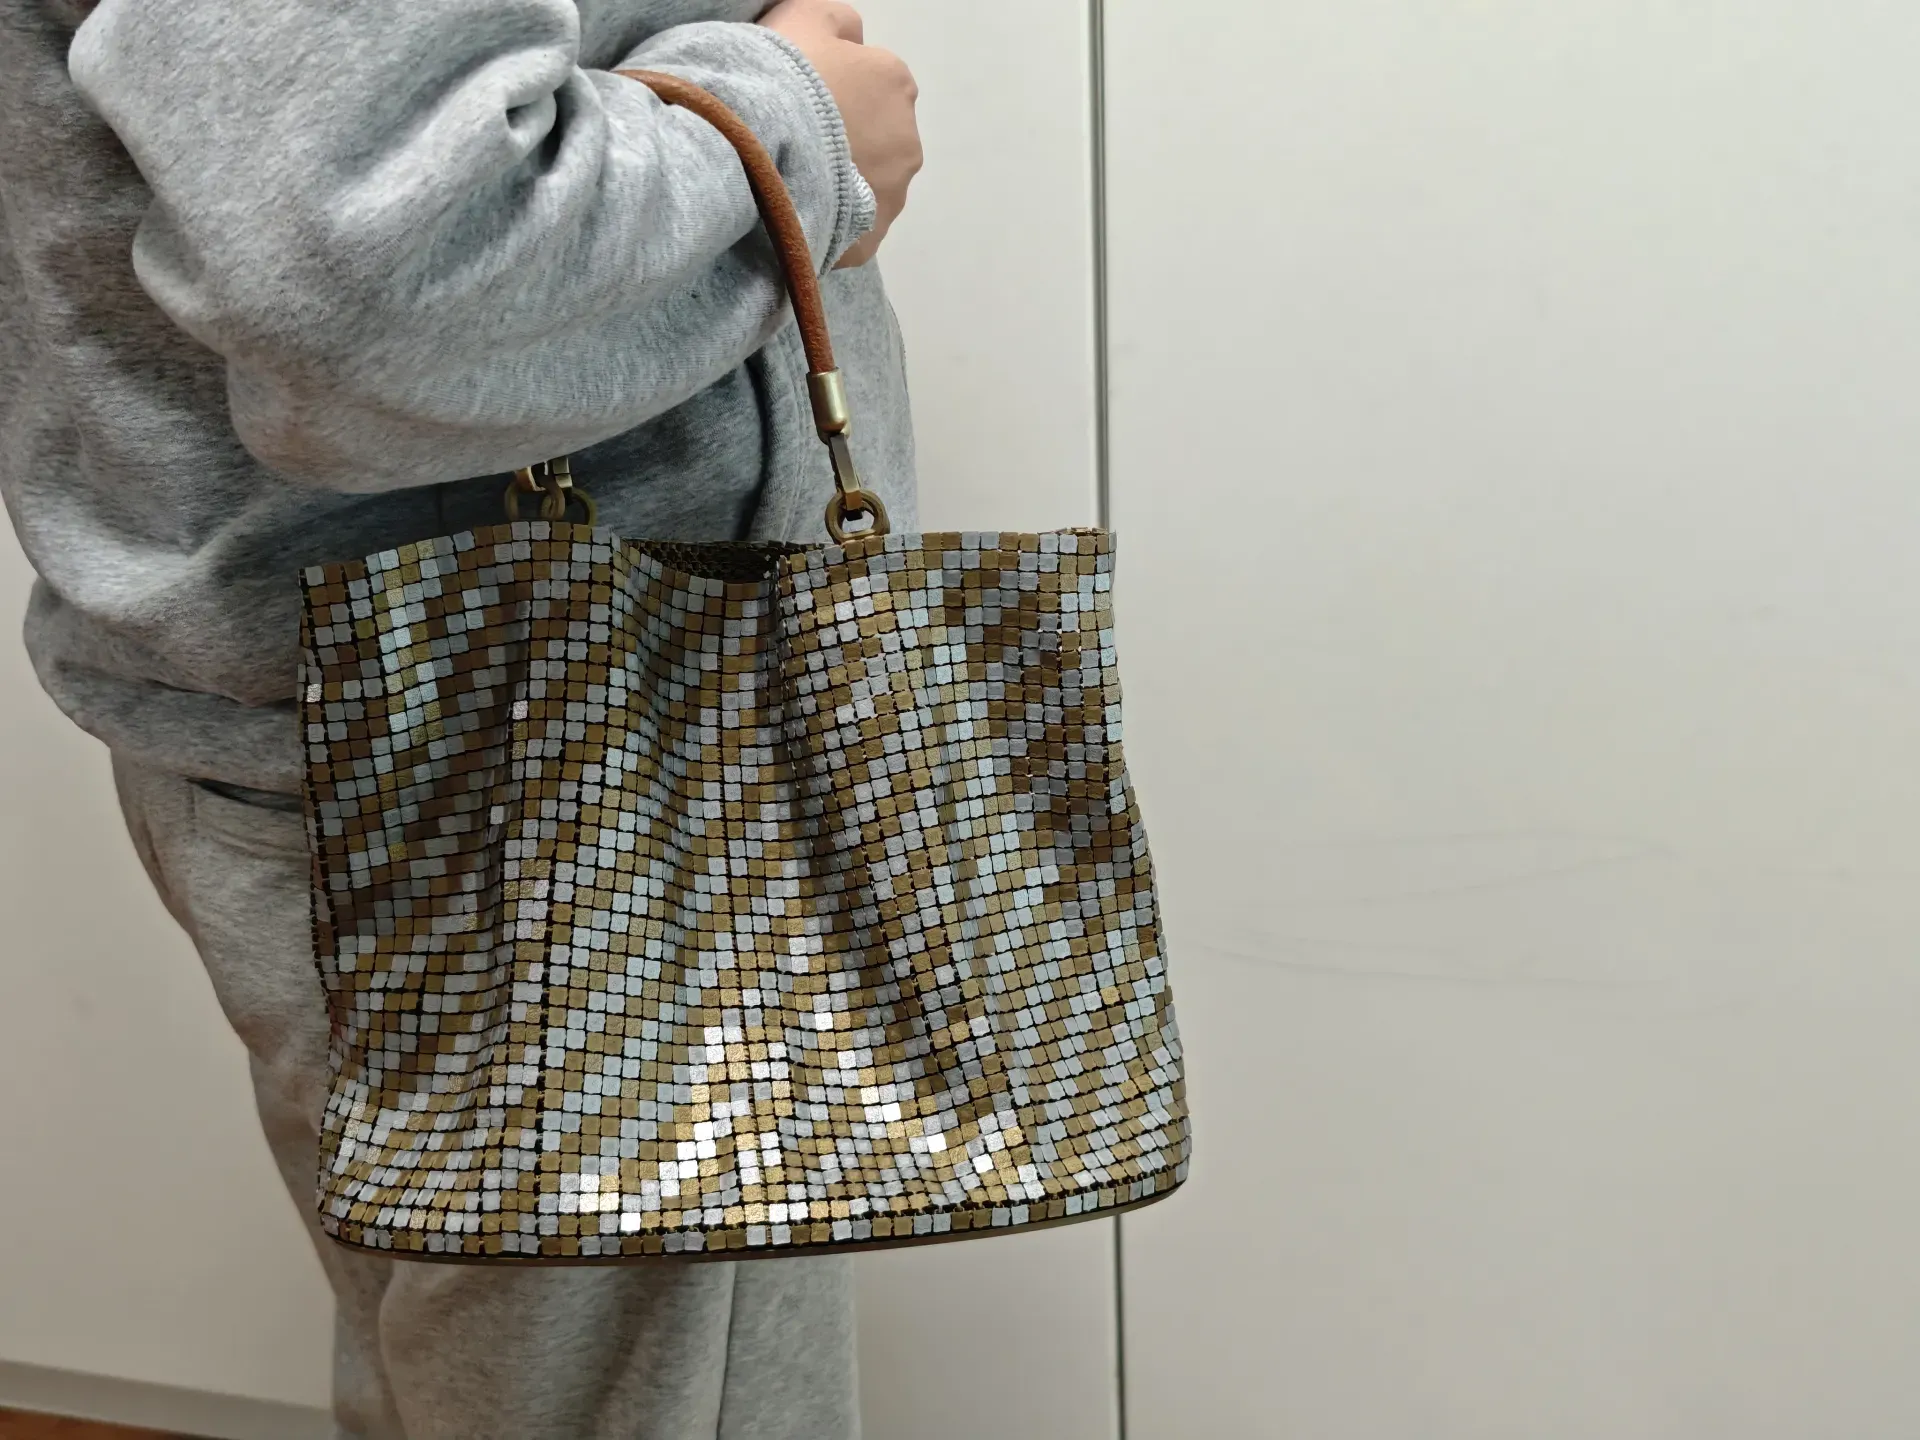
- Small bag (18cm wide, 17cm high, approx. 12cm thick): Print tote face (0.67U) *3, tote bottom (2U) 1, connectors(x36) *3, loops *1 or 2 from the A1 mini print profile
Note: Making this bag requires relatively advanced 3D printing techniques. Specifically, you need to know how to improve build plate adhesion. In some configurations, the entire plate needs to have excellent adhesion. Please read all the following instructions before sending the model files to the printer.
3D Printed fabric can now be used to make tote bags. This tote bag offers flexible customization. You can choose two base plates (one slightly larger, one slightly smaller), and several different widths of fabric to assemble your bag. You can also choose the position and number of handles. The top two rows of slots on the tote bag also reserve installation space for you to remix your own practical plugins.
If you like my “slot/insert system”, you can boost me, upload photos of the bag you made, or leave suggestions and your ideas in the comments. This will motivate me to develop more 3D Printed fabric applications.
Here I want to pay tribute to the author of the work on Printables https://www.printables.com/model/544241-3d-printed-fabric. I gained a lot of inspiration from his work, which allowed me to focus more on how to build an extensible chainmail system.
If you also want to create plugins compatible with the bag, you can refer to this link https://makerworld.com/zh/models/580850. Several reference designs for different plugins are provided here, which you can remix to create your own plugins.
If you need to test your filament, print the first plate of the 12x12 test model below. It only takes about an hour to print. It can be used to test color-matching effects and to see if your chosen filament works well.
https://makerworld.com.cn/zh/models/968562#profileId-986319
You can also find more chainmail bags of different sizes at the links below:
- Small crossbody bag: https://makerworld.com.cn/zh/models/453587
- A bag for a can: https://makerworld.com.cn/zh/models/746240
- Basic bag: https://makerworld.com.cn/zh/models/374694
Print Guide
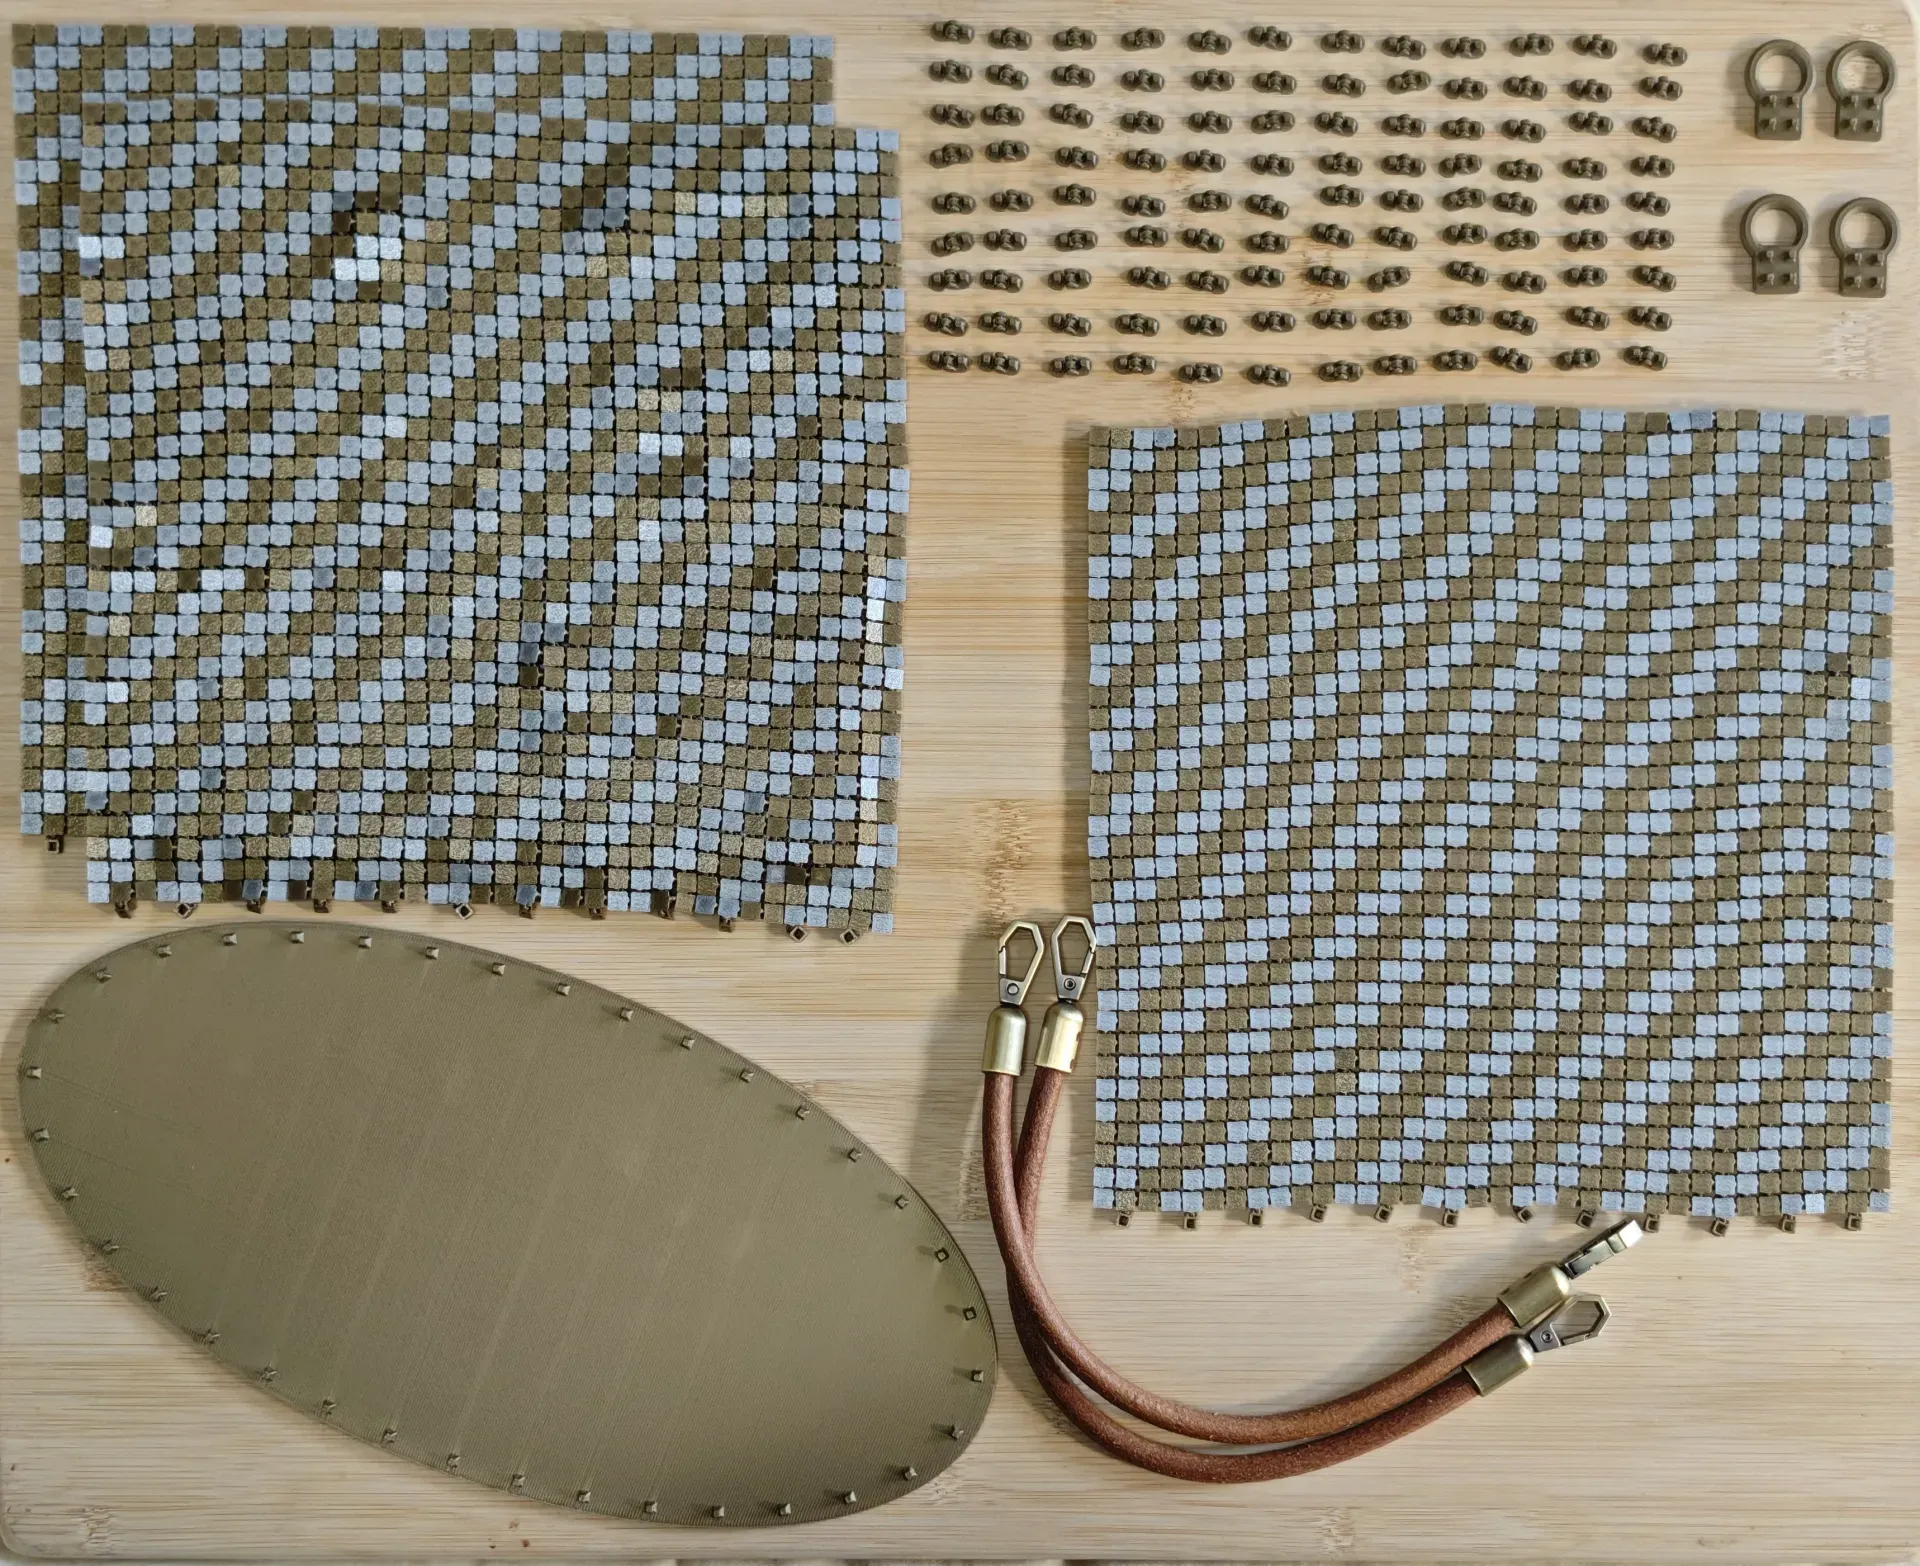
Materials needed
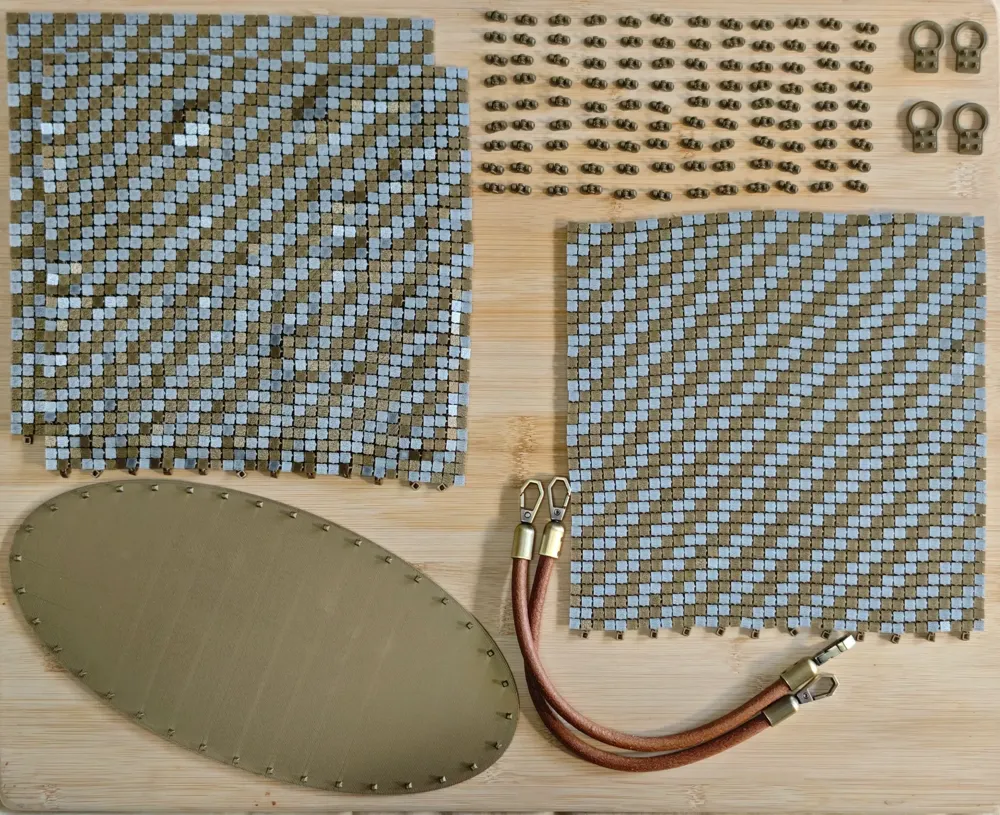
- Base plate
- Fabric pieces – total length must match the base plate
- Connectors – 36 connectors are needed for each fabric piece
- Handle loops – if it's a single-handle bag, 2 handle loops are needed; if it's a double-handle bag, four handle loops are needed.
- Handles – need to be purchased separately, handles need to connect to handle loops, please choose handles that can open at the ends (Taobao search link)
- Notes
- Printing material – The materials used in the picture are Bambu Lab PLA Basic Silver and Bronze. If you want to use other materials such as silk or wood colors, please test with test block #6 from this link (https://makerworld.com/zh/models/591204#profileId-512838). The fabric hardness of this bag is #6. For connectors, please print with PLA Basic in a similar color. PLA Basic printed connectors are more robust. Do not modify the wall generator settings in the print settings; the fabric itself must be Archane, and connectors and plugins must be classic.
- The layer height for the fabric is set to 0.28 to shorten printing time. For connectors, due to their finer structure, the layer height is set to 0.2. Do not easily change these two settings; if modifications are needed, please print test blocks for testing.
1. Print Base Plate
First, you need to determine the size of the bag. All bags are 230mm high, but the base plate you choose determines the width of the bag. You can choose a 3U base plate (approx. 250mm wide) or a 2U base plate (approx. 160mm wide). A 3U base plate is an elongated oval (length-width ratio 2:1), while a 2U base plate is slightly closer to a circle (length-width ratio 3:2).
2. Print Fabric
Once the size of the base plate is selected, you can choose the appropriate fabric width combination. For a 3U base plate, I would choose to print three 1U fabric pieces. For a 2U base plate, I would choose to print two 1U fabric pieces.
In some cases, you might also choose to print 0.67U and 0.33U fabric pieces from the color stripe profile, or 0.75U, 0.5U or 0.25U fabric pieces from the monochrome profile. This could be due to the following reasons:
- Some areas of your build plate might not be adhesive enough to print 1U fabric pieces. 1U fabric pieces have particularly high demands on build plate adhesion, especially the small rings arranged at intervals along the fabric edges. If you cannot consistently print 1U fabric pieces completely, you can print narrower fabric pieces. Sometimes, this allows you to avoid non-adhesive spots on the build plate. Other times, it can increase the yield rate.
- You remixed your own base plate and need a different total fabric width, such as 2.5U.
- You are printing in monochrome but want to combine different colored fabric pieces to achieve a patchwork effect.
Tips for improving build plate adhesion:
- Clean the build plate, including every corner and edge.
- If it's a PEI plate and the room temperature is low, increase the build plate temperature by about five degrees.
- Use a high-adhesion build plate, such as the Bambu Lab High-Temp Plate or a polyurethane plate.
- If there are dead spots (non-adhesive spots) on the build plate, flip the build plate and print on the other side.
- Clean the build plate before each print.
3. Print Handle Loops
There is only one pair of handle loops in the profile, which can be used to secure a 30cm or 40cm long handle easily purchased on Taobao. You can also print two pairs to install on both sides of the bag. For a 3U bag, it is recommended to install two pairs of handle loops. For a 2U bag, you can try installing only one pair. You can also install extra handle loops for straps. This bag is very flexible!
4. Print Connectors
Every two fabric pieces need to be connected with 36 connectors, and there are exactly 36 connectors in the profile. You need to print 36 connectors for each fabric piece.
5. Assembly
I recorded an installation video for the 2U small bag for reference. Be sure to ensure that each snapped-in position is accurate during assembly. If there is an error, carefully remove the insert from the slot without using excessive force.
Secure the fabric pieces to the base plate in order.
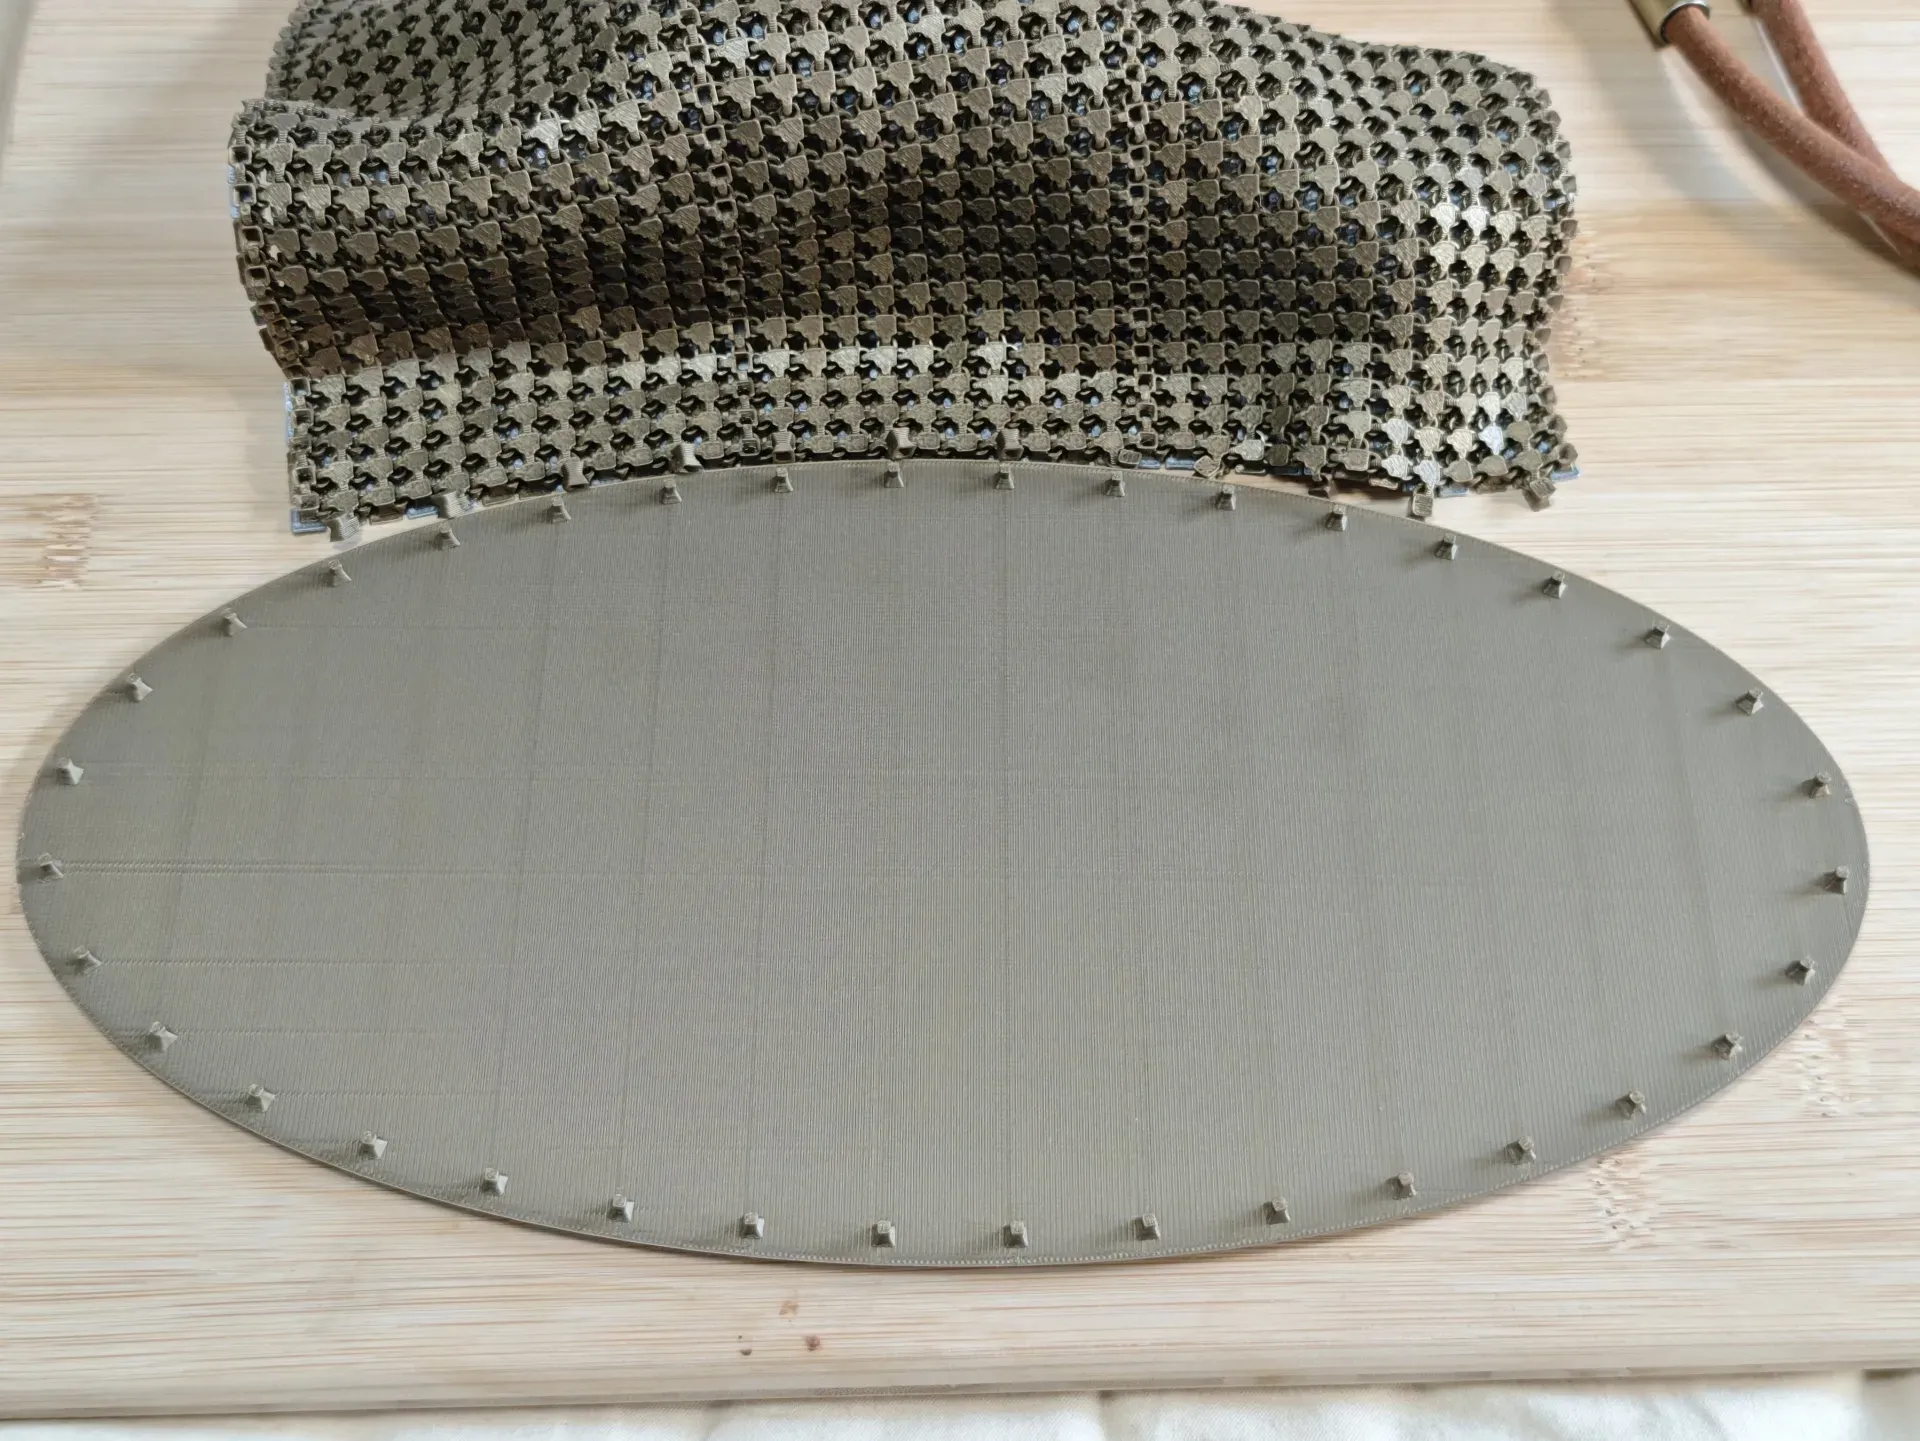
Snap the connecting caps at the bottom of the fabric pieces onto the protrusions on the base plate one by one. Please pay attention to the placement of the fabric pieces on the base plate. Place all three fabric pieces on the base plate and ensure they are correct before starting the installation.
Pay attention to the direction in which the connecting caps snap in. If accidentally twisted 90 degrees during installation, carefully remove the connecting cap and reinstall it.
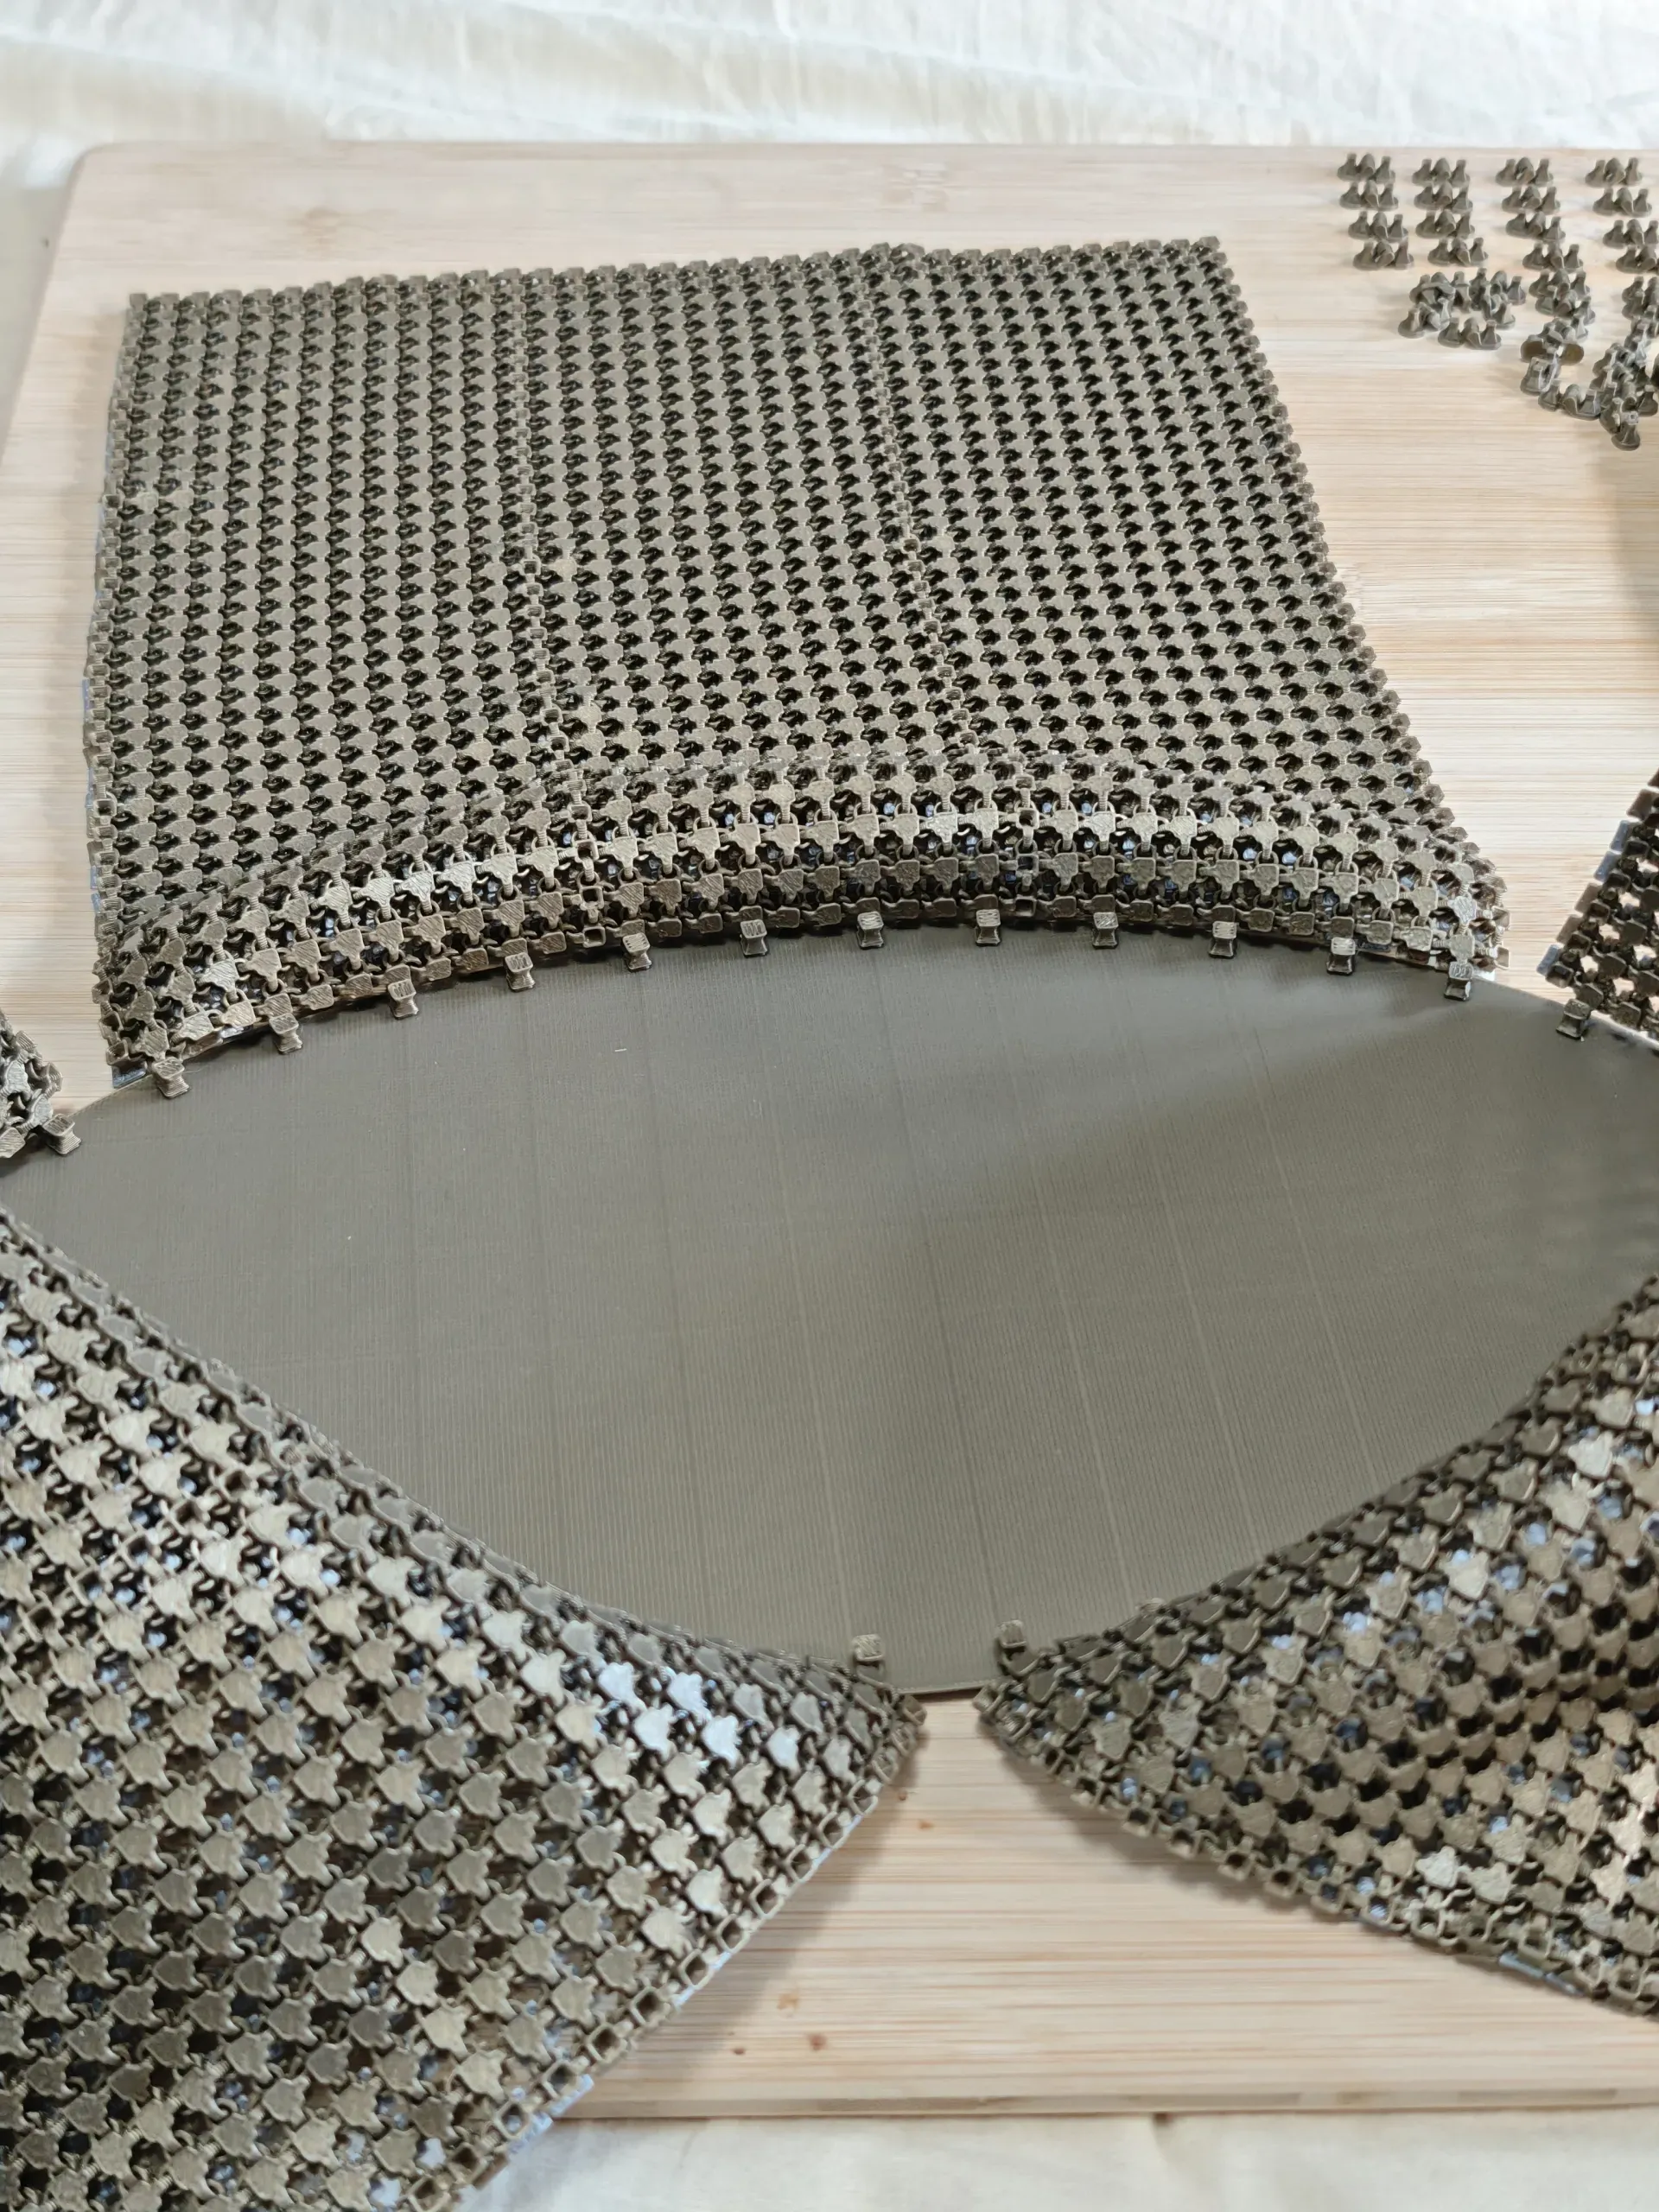
Connect the fabric pieces to each other using the connectors. First, attach the connectors to one side of the fabric, then snap the other side of the fabric onto the connectors. Be careful not to misalign them.
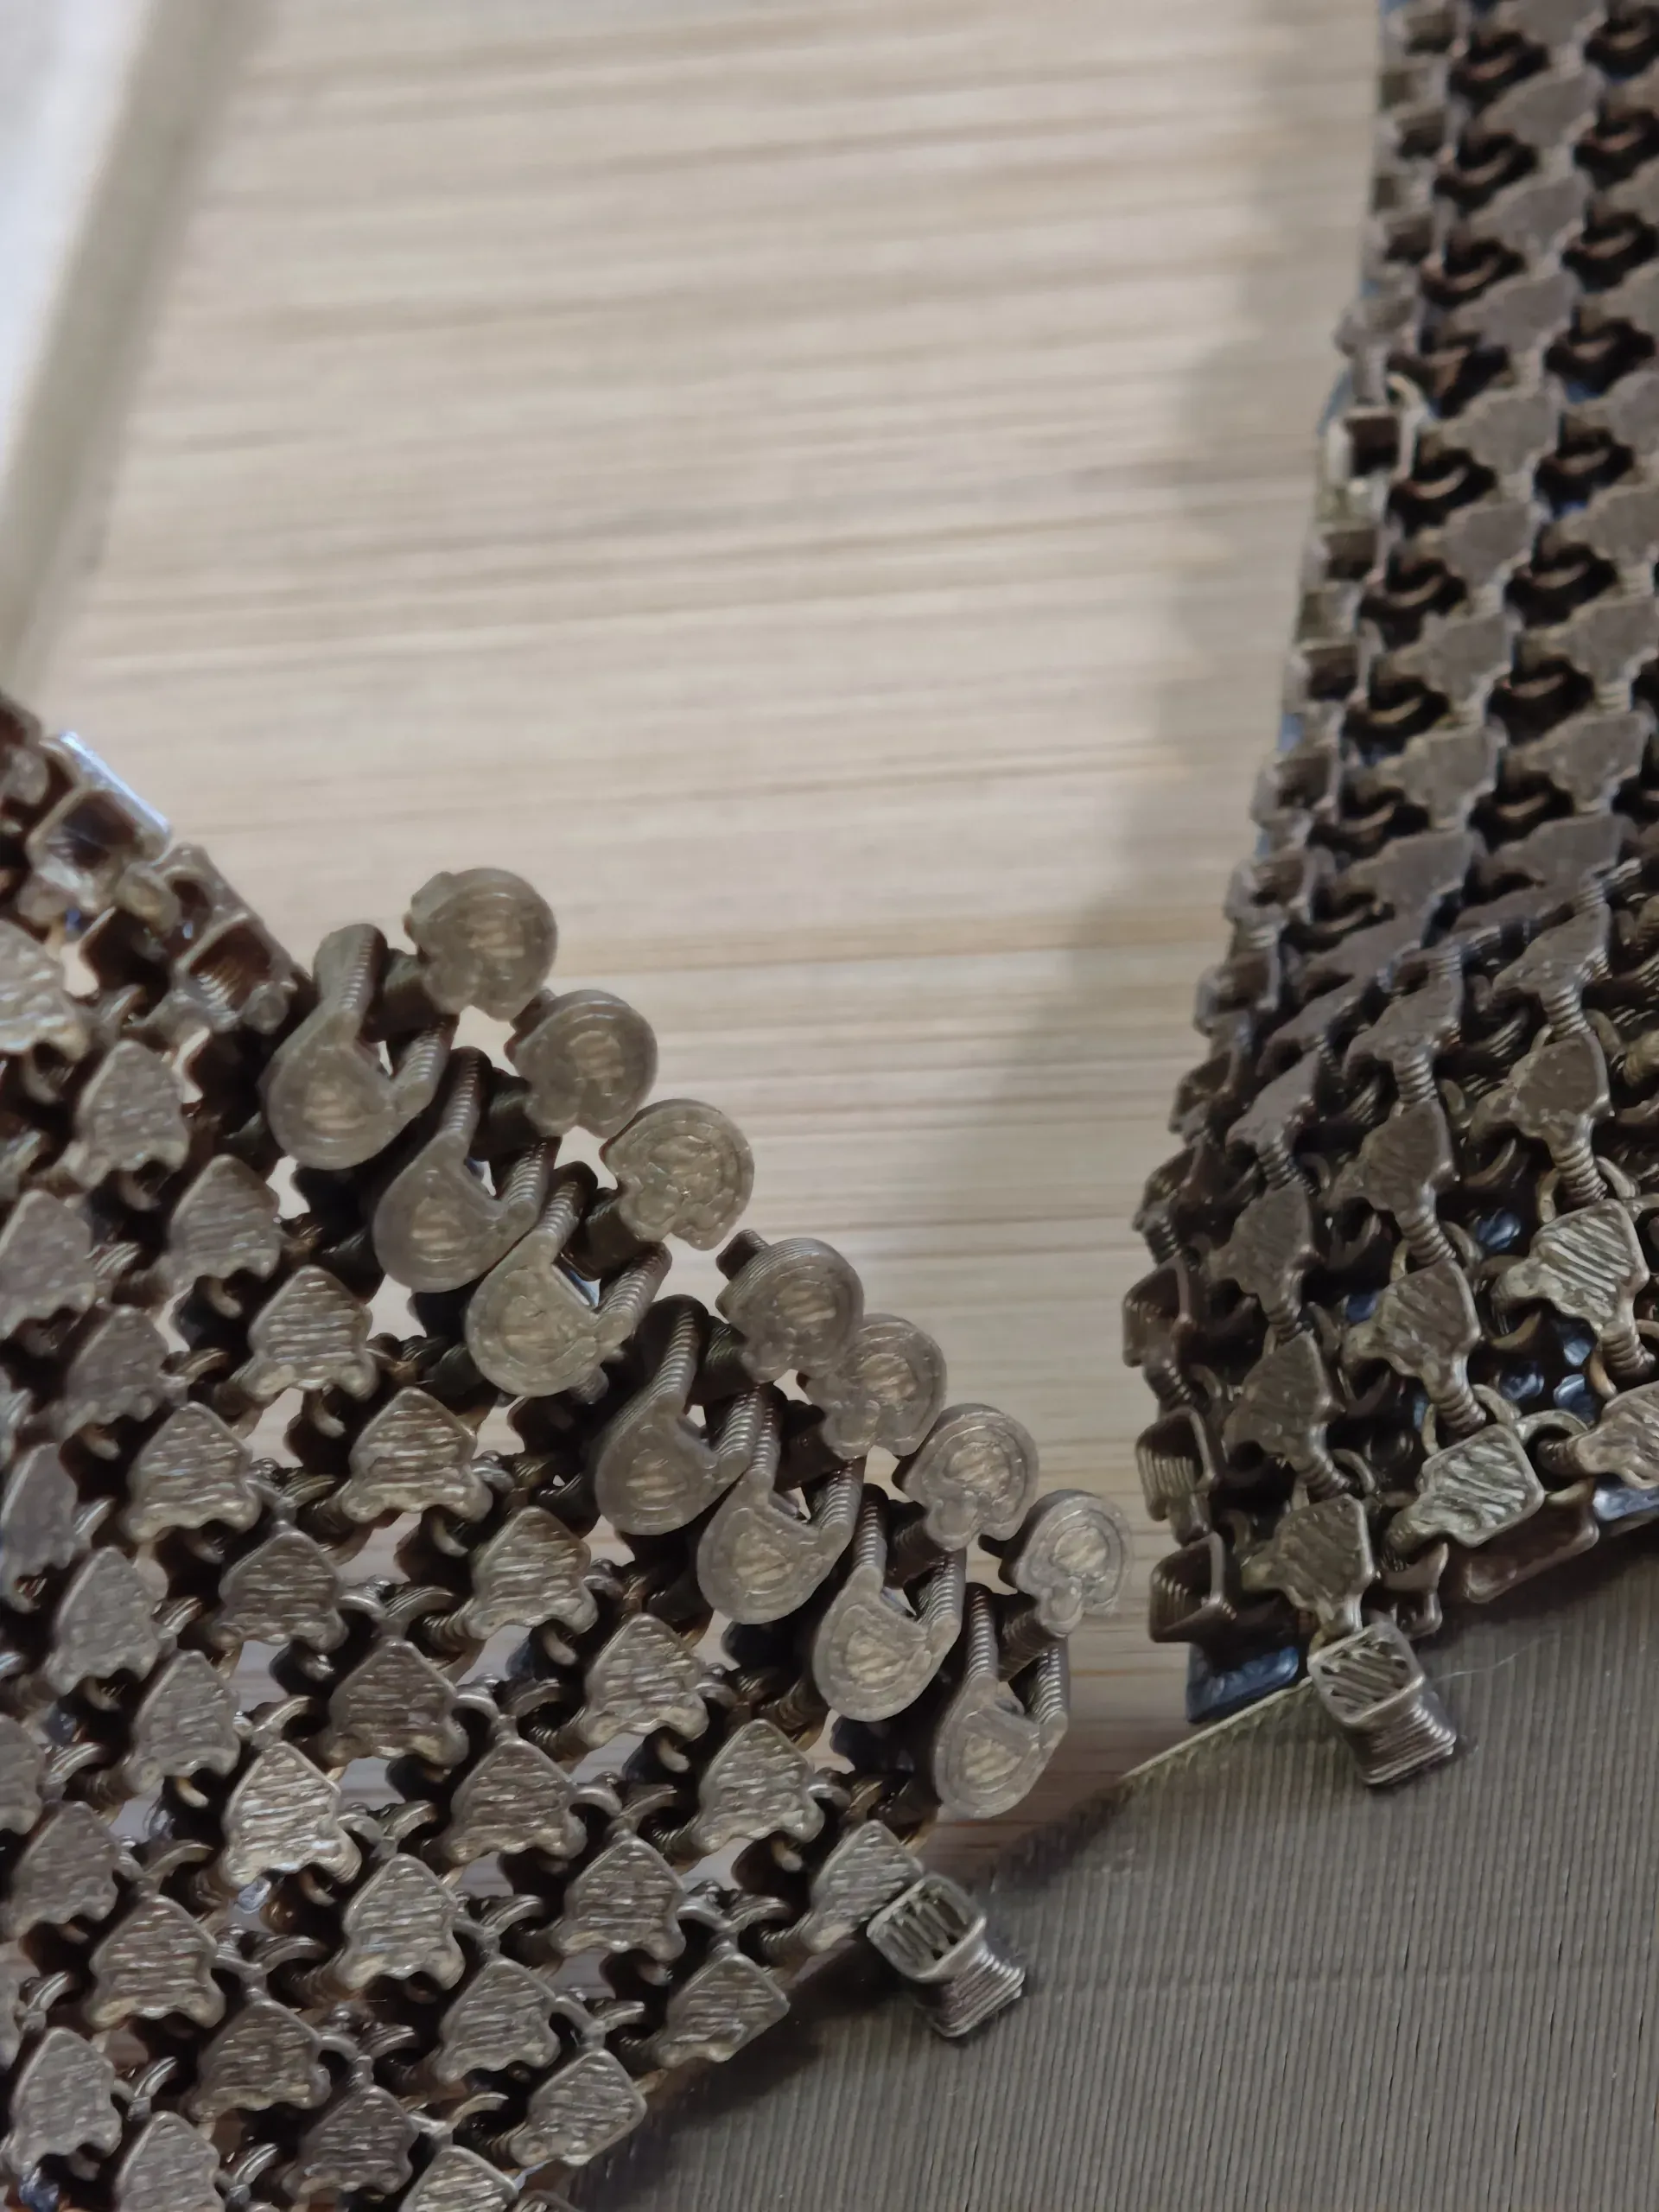
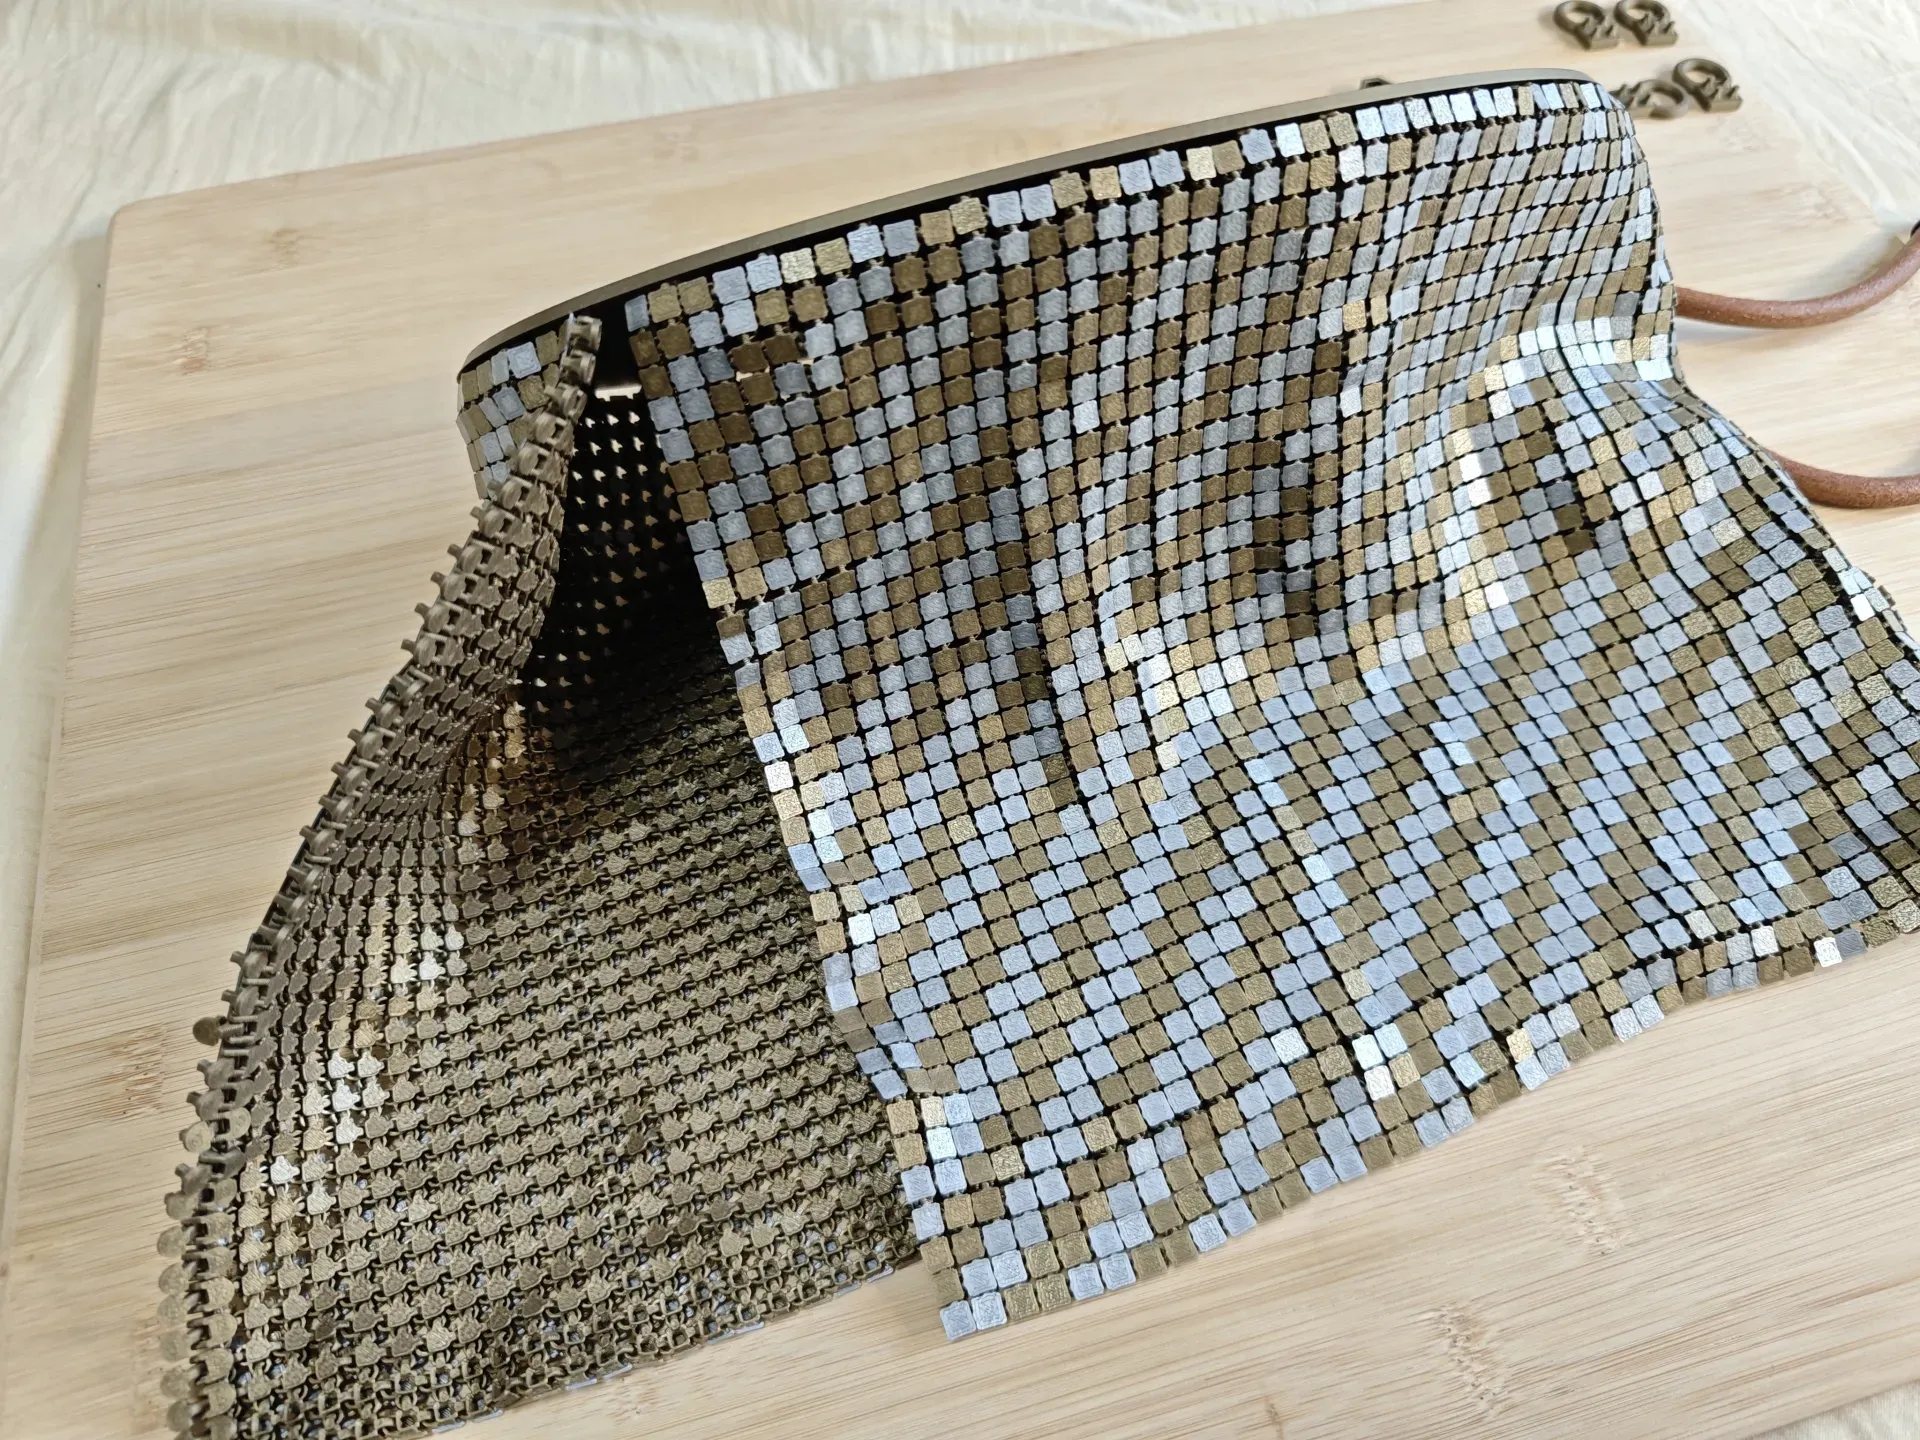
Install the handle loops. Pay attention to the spacing and left-right symmetry of the handle loops.
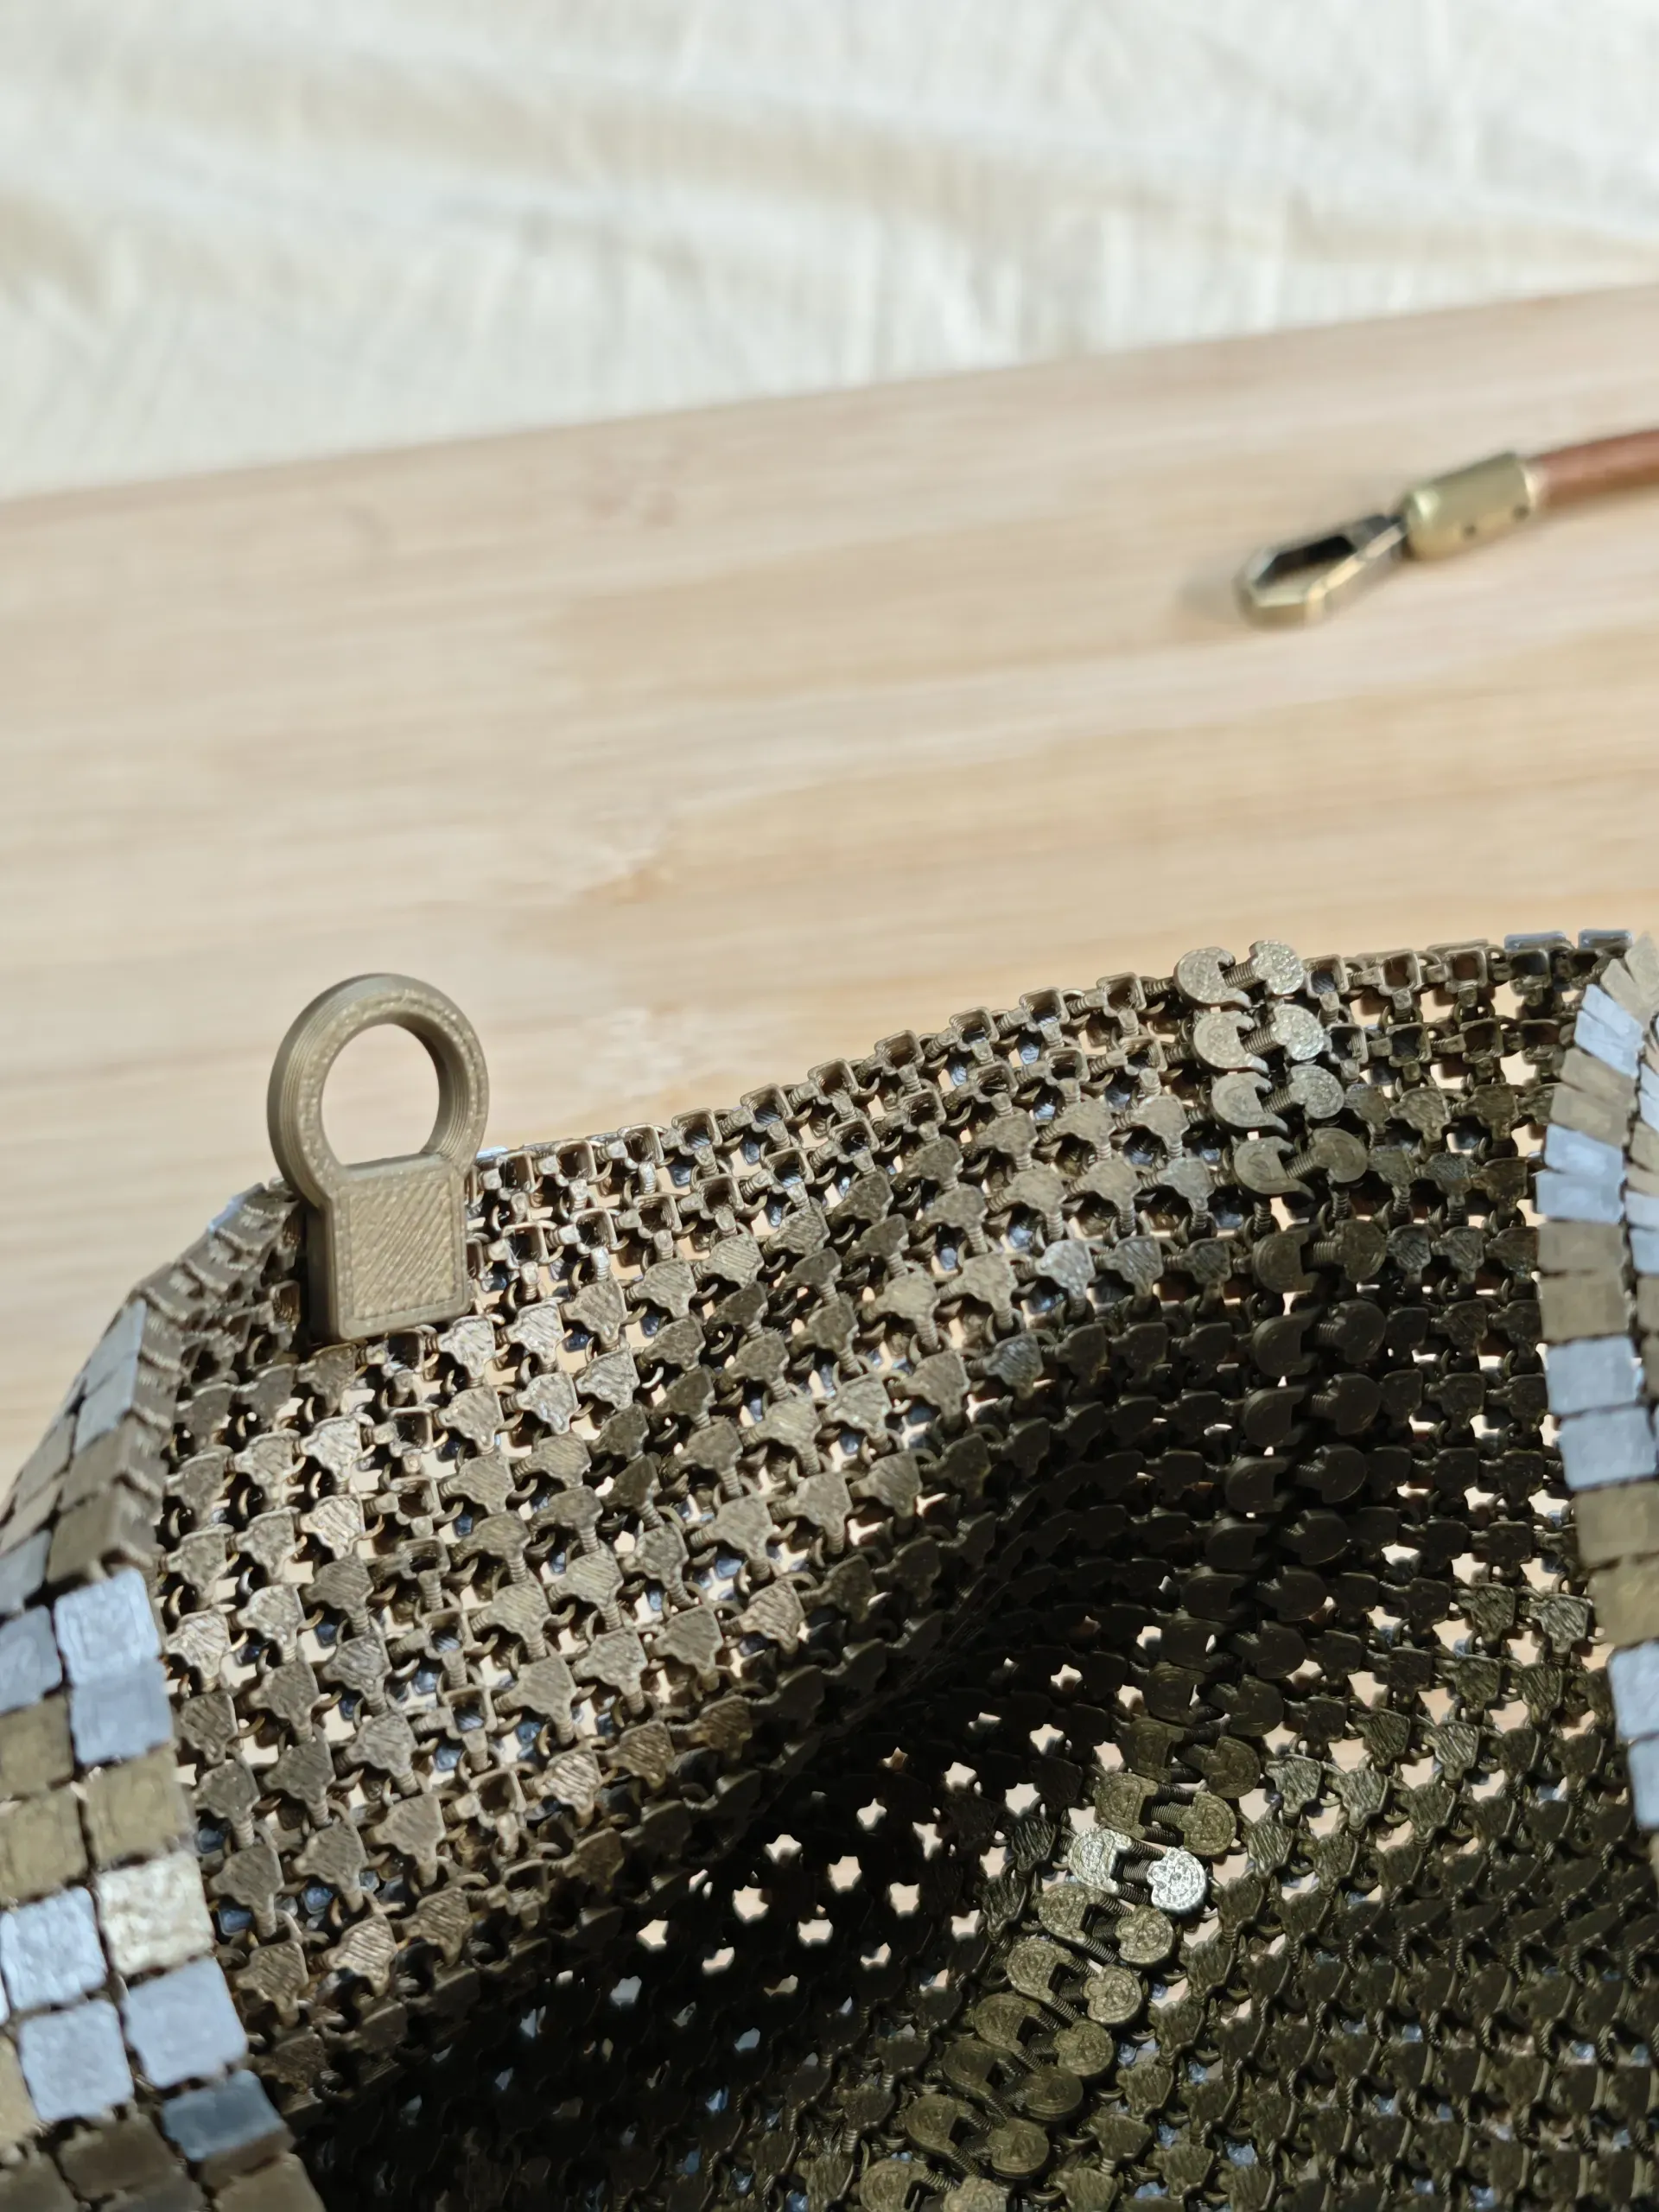
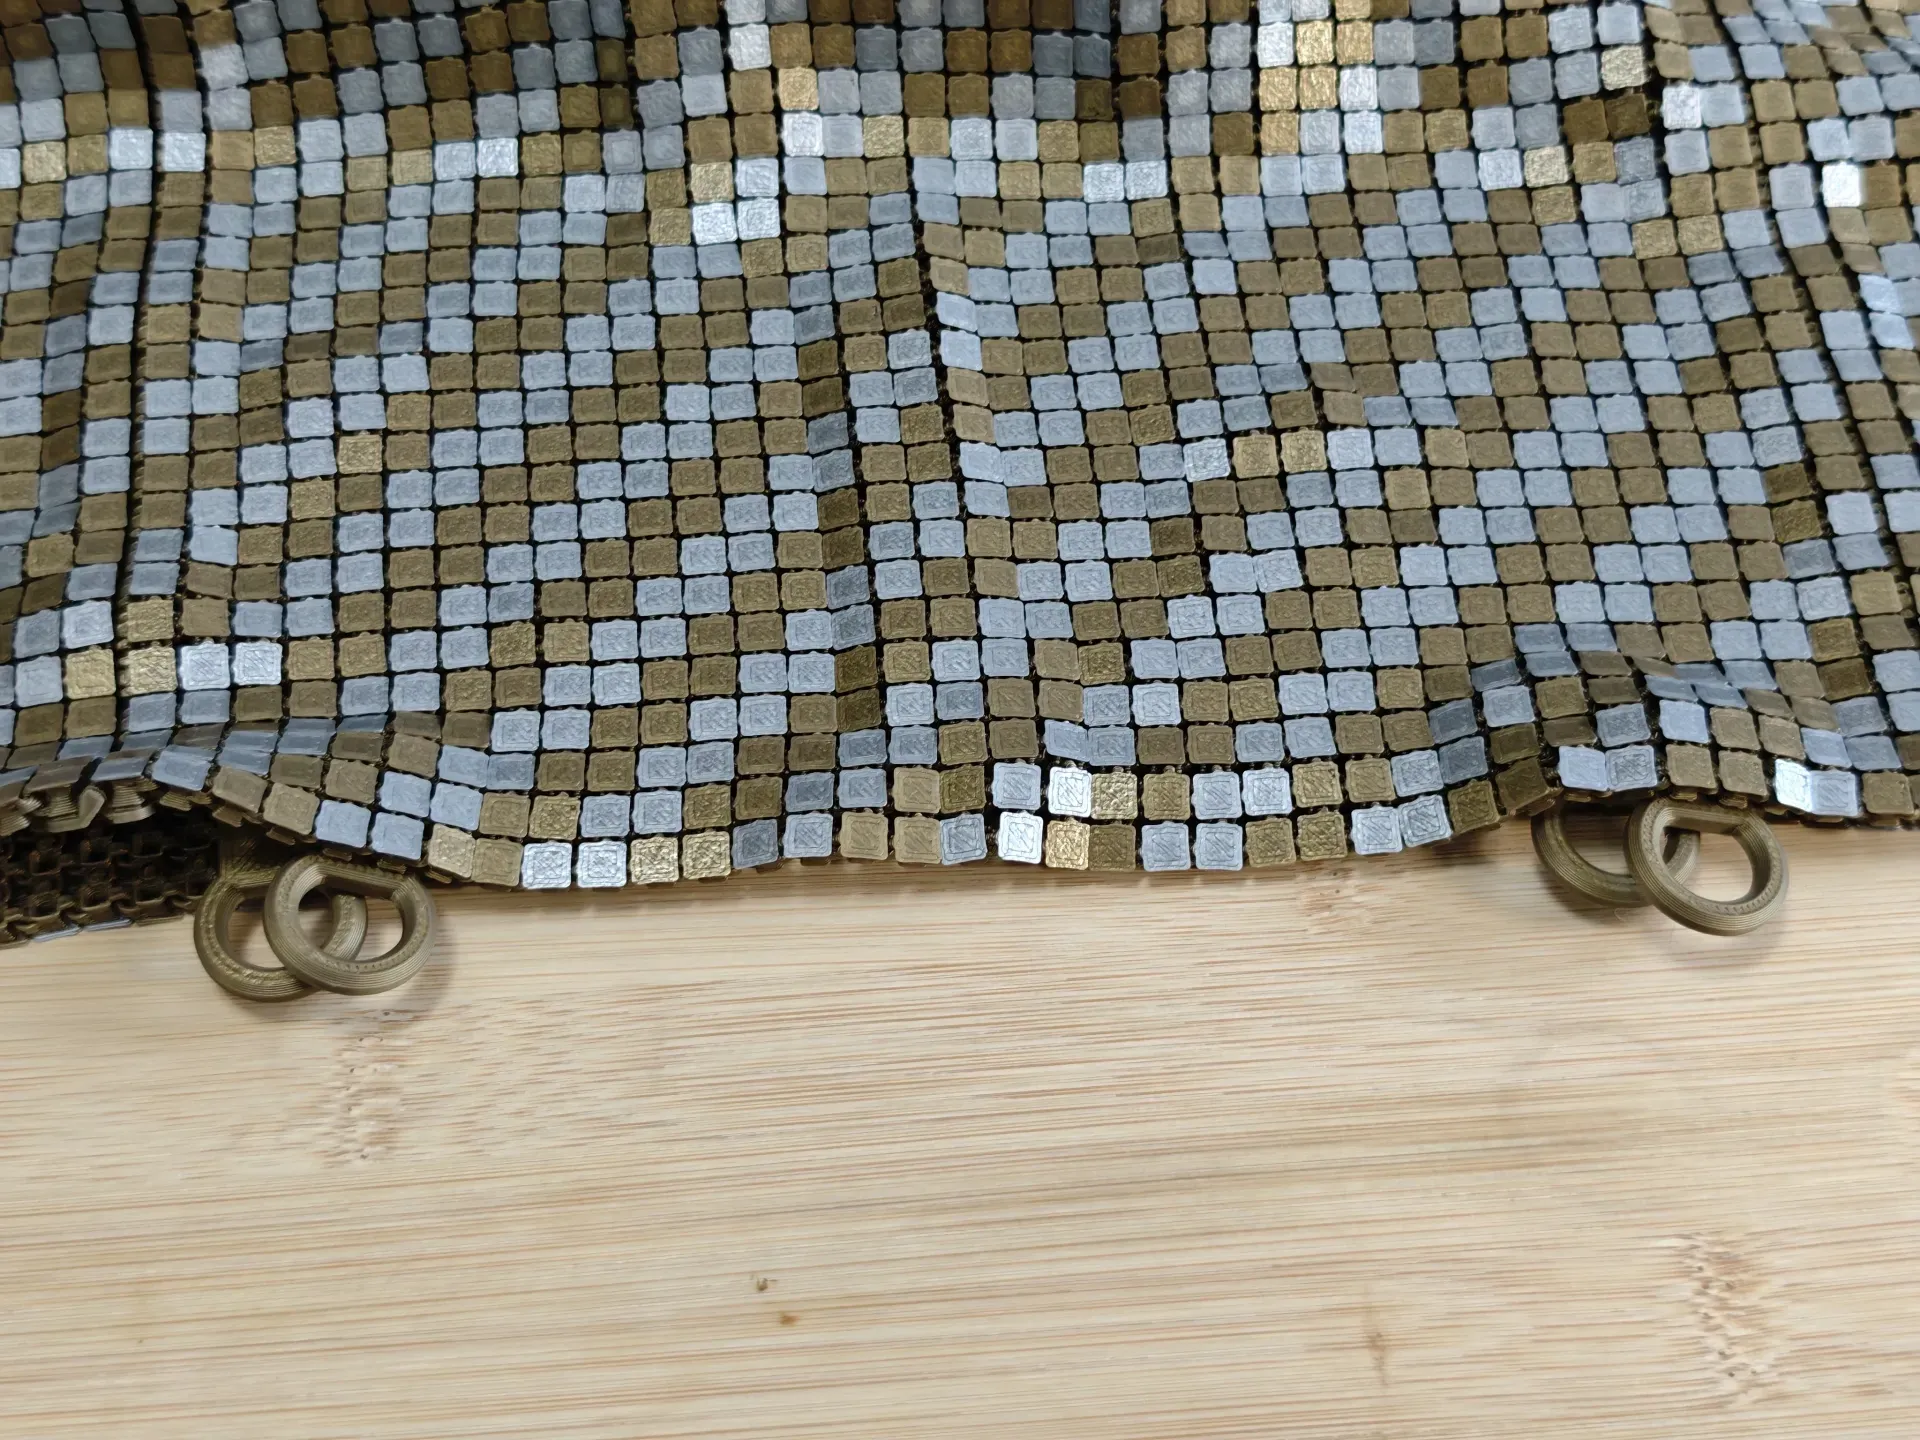
Install the purchased handles. Your 3D Printed chainmail tote bag is now complete!
Design Concept
This bag is one of the creations in my flexible fabric series. When I first encountered 3D Printing flexible fabric, I started thinking about how to expand soft fabric beyond the build plate size and how to create soft fabric works with three-dimensional structures.
After trying various methods and studying several fabric designs, including NASA fabric, I discovered that if the interior of a fabric unit is hollowed out to form a slot, a corresponding insert can be fitted into it. By creating connectors with two inserts, multiple fabric pieces can be joined together. Based on this idea, I developed this slot/insert flexible fabric system. With customizable fabric units, and corresponding connectors, single-sided inserts, connecting rings, bases, etc., it can be used to create various crossbody bags, tote bags, handbags, pixel collages, and more. Once I am more confident in creating larger works with flexible fabric, I will also try to make some wearable pieces with it, exploring different possibilities of 3D Printed fabric.
During the development of this project, the strength of the fabric itself was a key focus. In the early stages of this system's development, I often printed test fabrics, tore them by hand, felt the force required to tear them, and observed where the fabric broke to determine where the fabric connections needed to be strengthened. This ensures that even though the fabric has a very fine structure, it possesses excellent load-bearing capacity. While researching fabric strength, I also accidentally discovered that changing the size of the connecting rings can alter the feel of the fabric, allowing it to be made very soft or to have the toughness of leather. Later, when making bags with this fabric, I tried to give the bags a certain degree of stiffness so that they wouldn't be impractical due to being too soft.
Multi-color printing for the fabric is also one of the features I added later. Before this, I tried to customize the color of each square using single inserts. However, after creating some pixel art this way, I found that this method was both prone to errors and time-consuming. So, I tried changing the color directly in the bottom two layers of the model. This way, the fabric gained color while minimizing the number of color changes – only four color changes are needed to print the slanted stripe bag – resulting in very little poop. This gave me more confidence to use AMS to achieve patterned fabrics without worrying about material waste.
If you like this work or this system, please like it, boost it, leave comments with beautiful photos of your printed tote bags, or share your thoughts. This system was developed in my spare time. So far, it has received much excellent feedback and suggestions. Your support will be my motivation! Thank you.
License

You shall not share, sub-license, sell, rent, host, transfer, or distribute in any way the digital or 3D printed versions of this object, nor any other derivative work of this object in its digital or physical format (including - but not limited to - remixes of this object, and hosting on other digital platforms). The objects may not be used without permission in any way whatsoever in which you charge money, or collect fees.


Comment & Rating (180)