
AMS Spool Nameplate Label
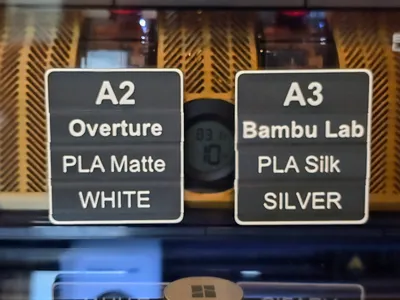
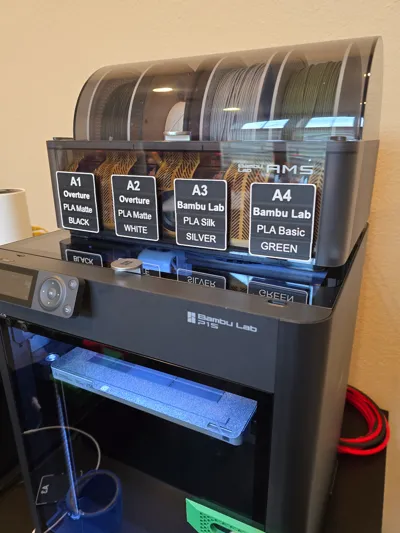
Print Profile(3)


Description
Glad you're here, hope this model works for you!
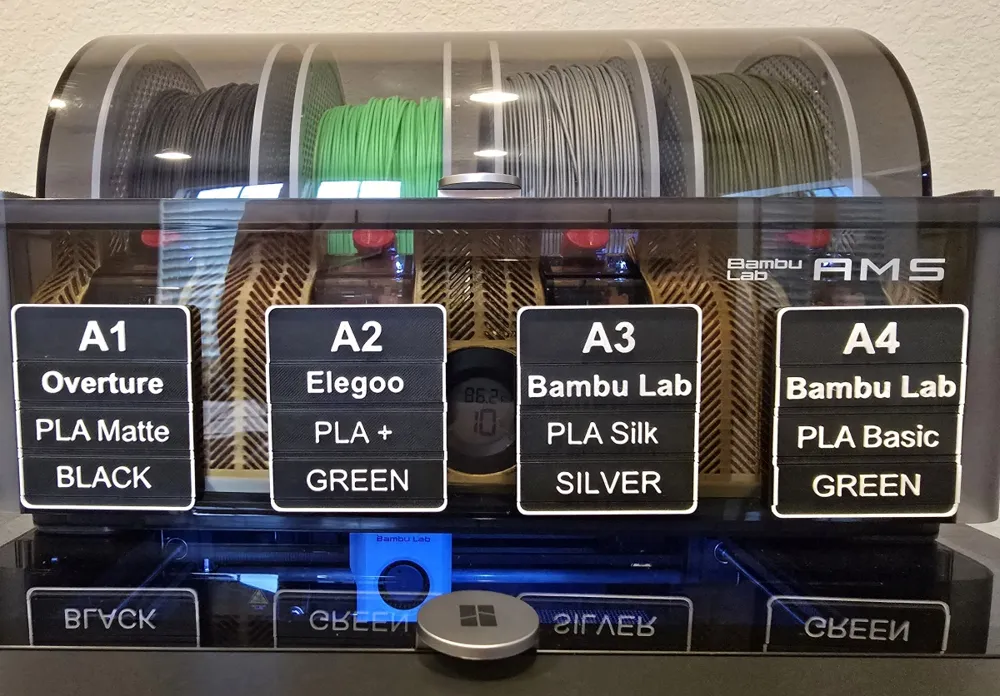
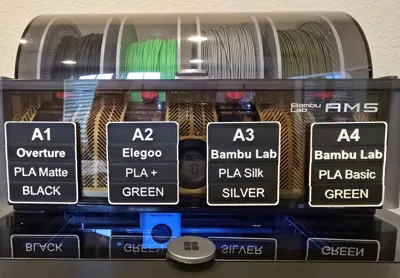
Because I’m old and forgetful I designed a label system for my AMS. It’s simple, and my first design I’ve ever uploaded/shared. Also, I’m new to 3D printing and Fusion, so don’t have too high expectations. (Everything can be improved, right?) Hope it works for you.
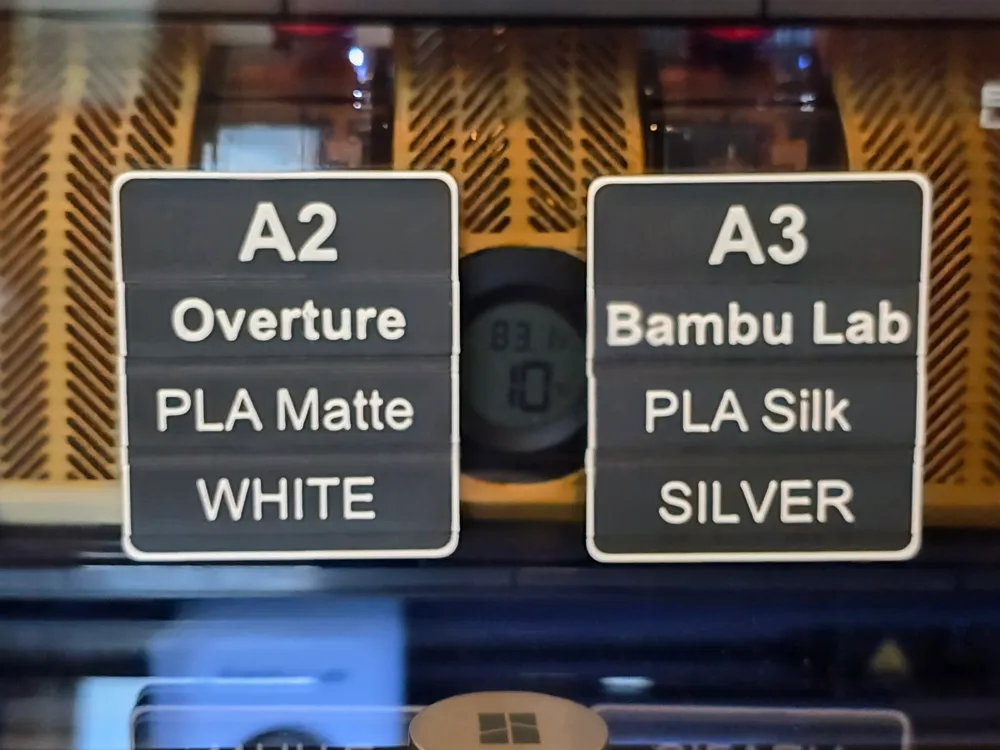
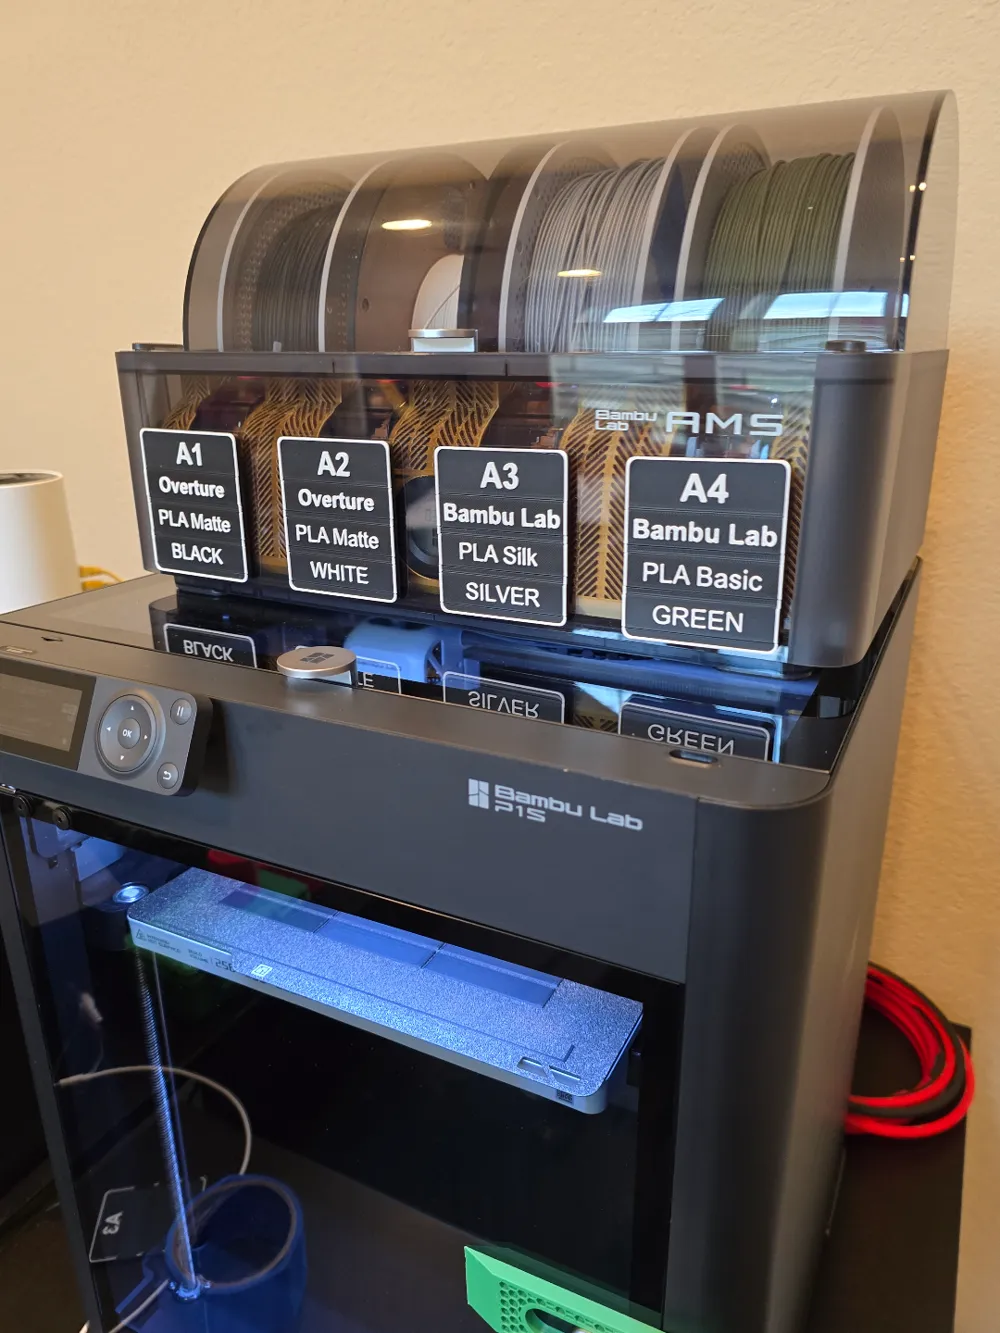
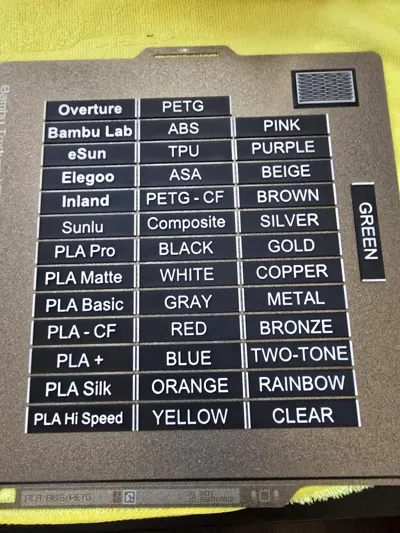
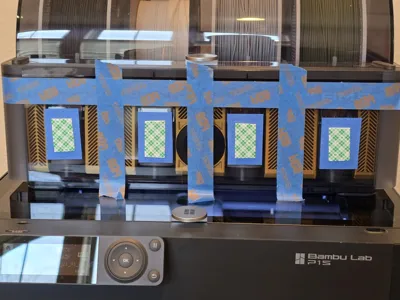
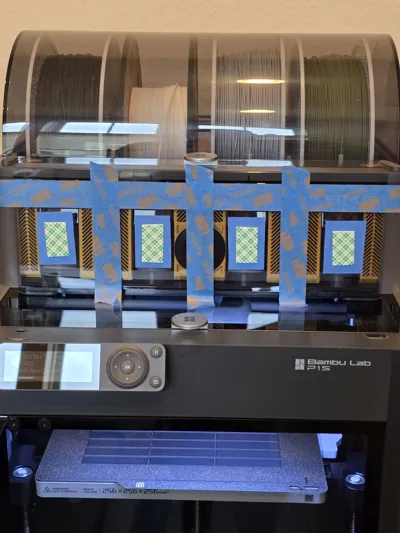
Inside Bambu Studio you have limited information on the device tab for the AMS, and I often find I forget whether I have matte installed, or regular, or plus…or even the right color…especially with white, clear, gray, or silver. With this identifier system, I can just glance up over my monitor and see. Again, simple, but it works. I tried to make it similar in appearance to the AMS layout on the Device tab of Bambu Studio.
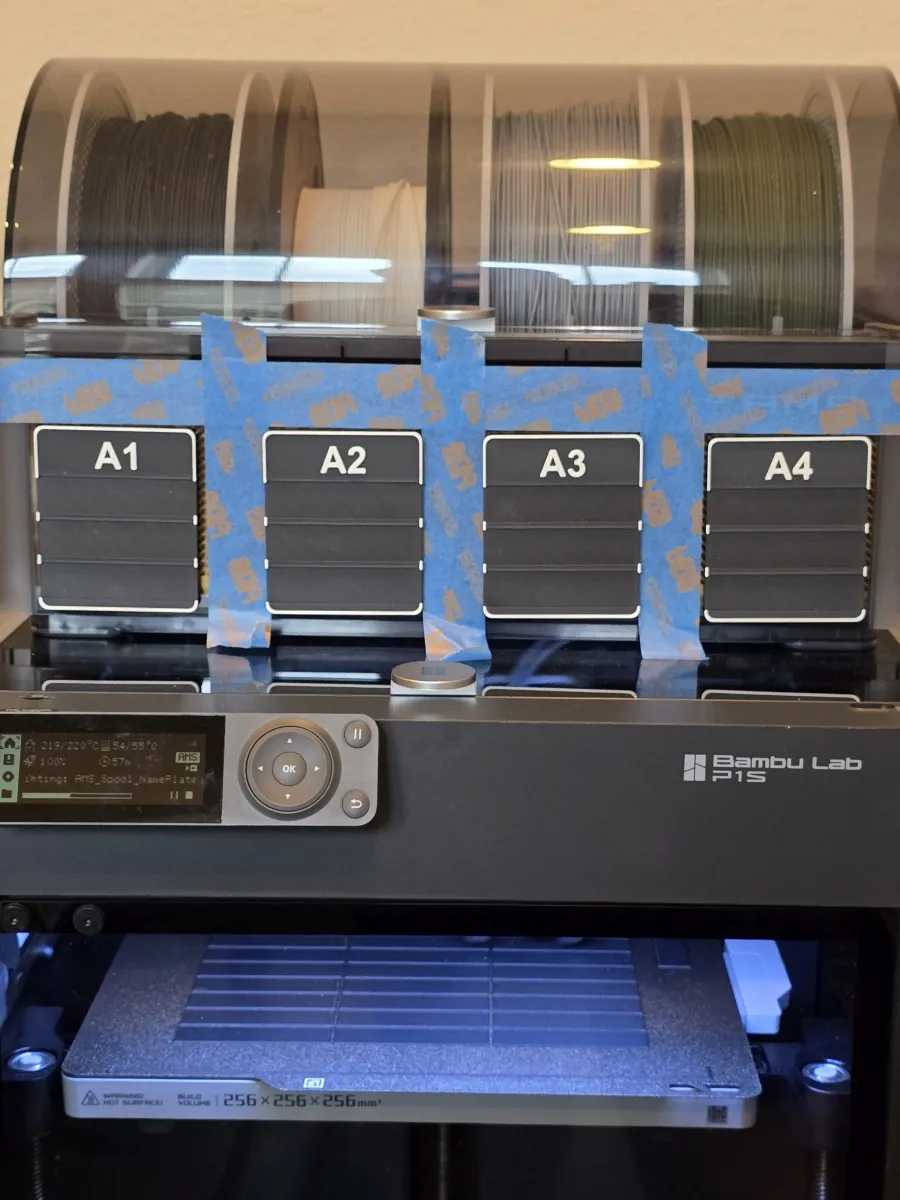
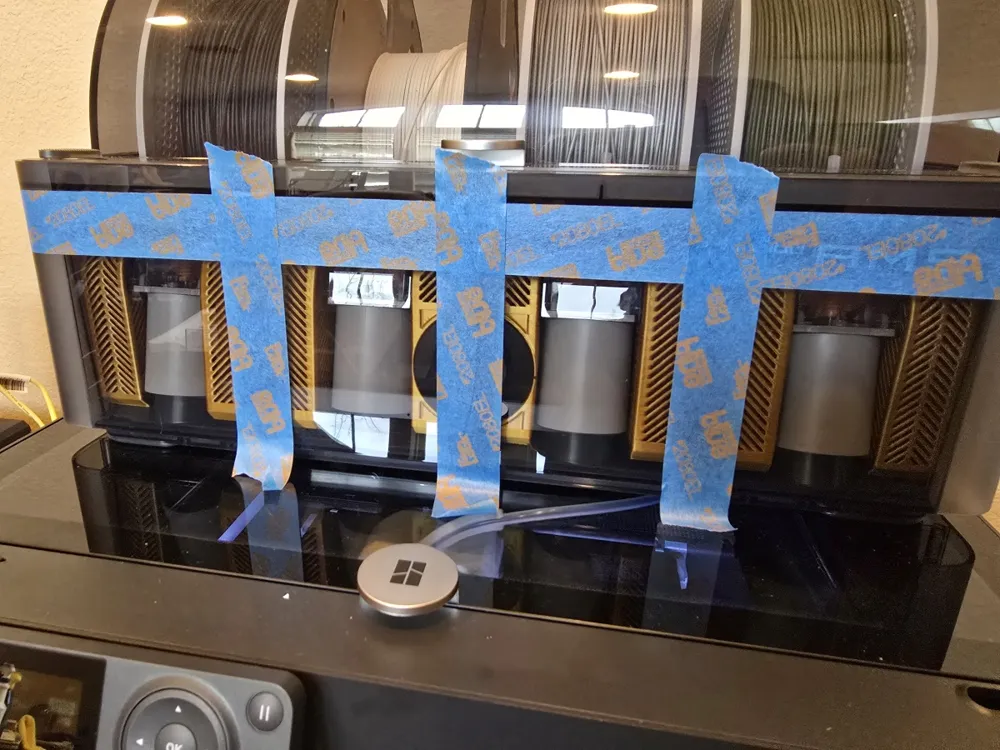
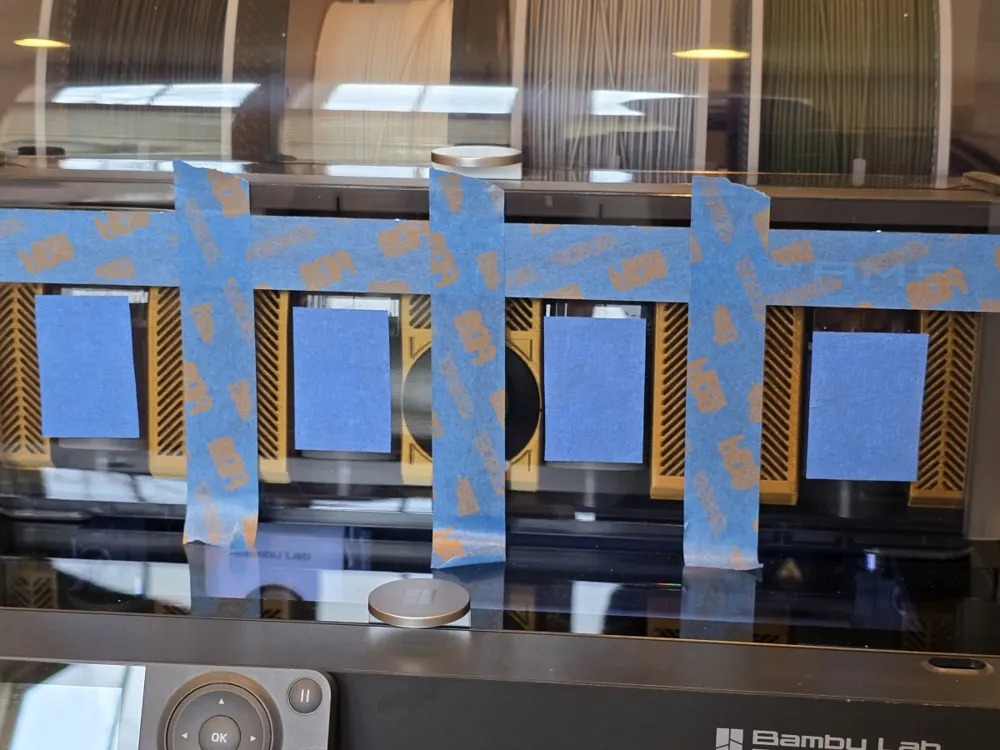
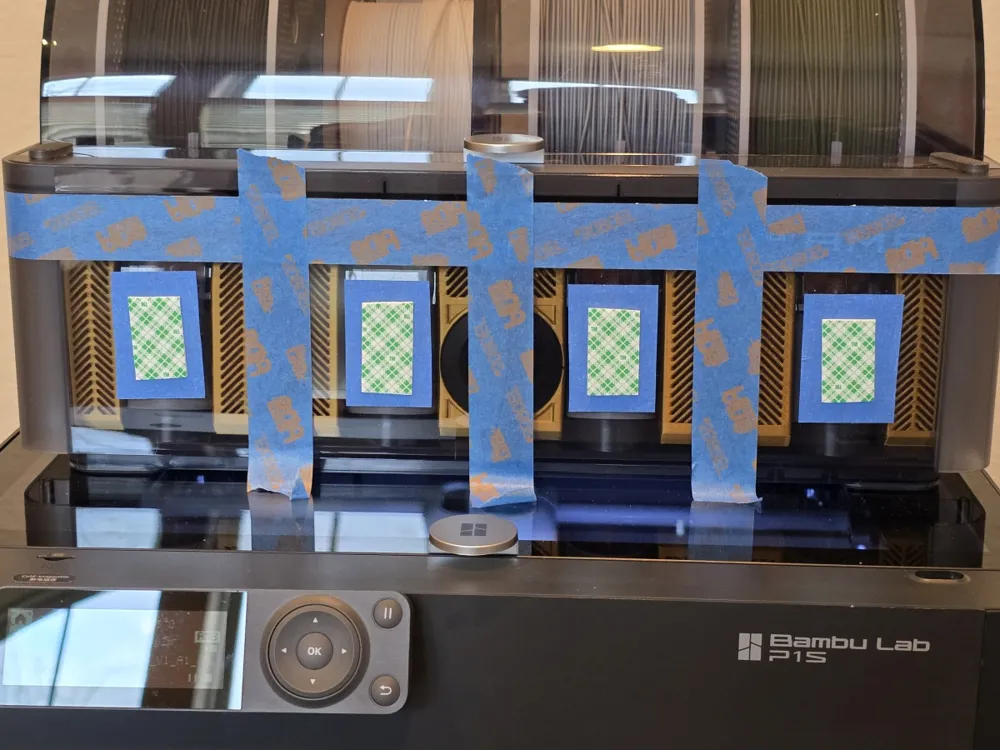
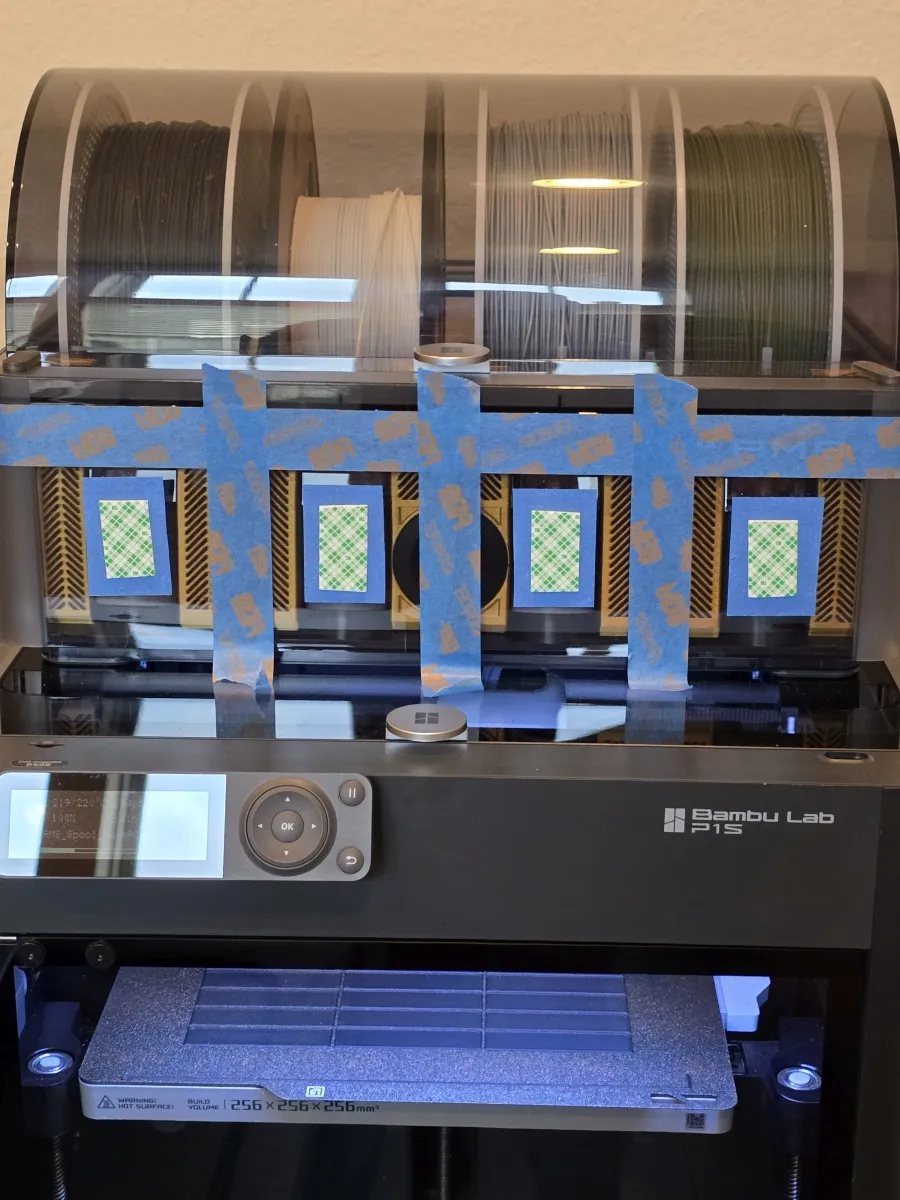
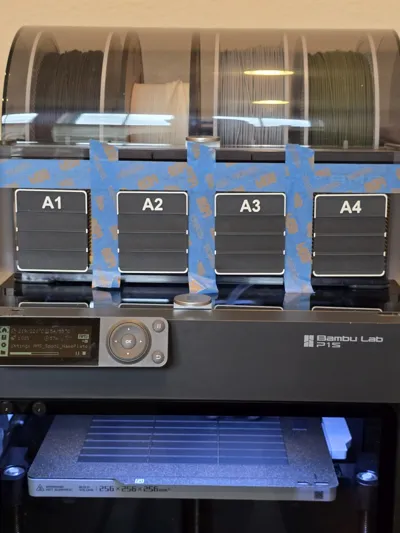
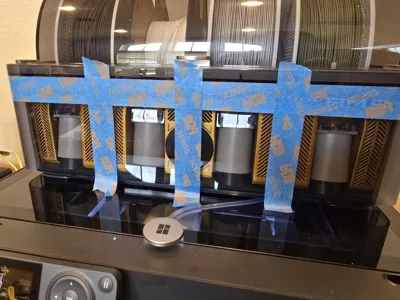
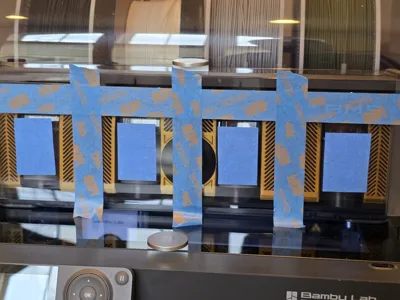
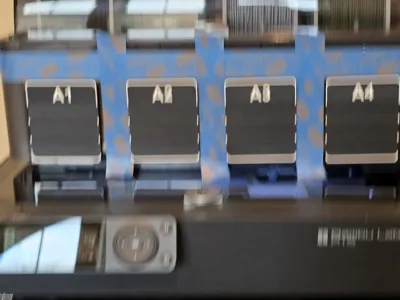
To adhere the nameplates to the AMS, I used 3M painters’ tape on the AMS itself, and then applied the 3M Double Sided Foam tape (3M 4026) on top of that to hold the nameplate. This way I can remove them later without marring up the AMS if a better system comes along. (See the attached pictures.) I also used painters’ tape to create an alignment grid for installation ease.
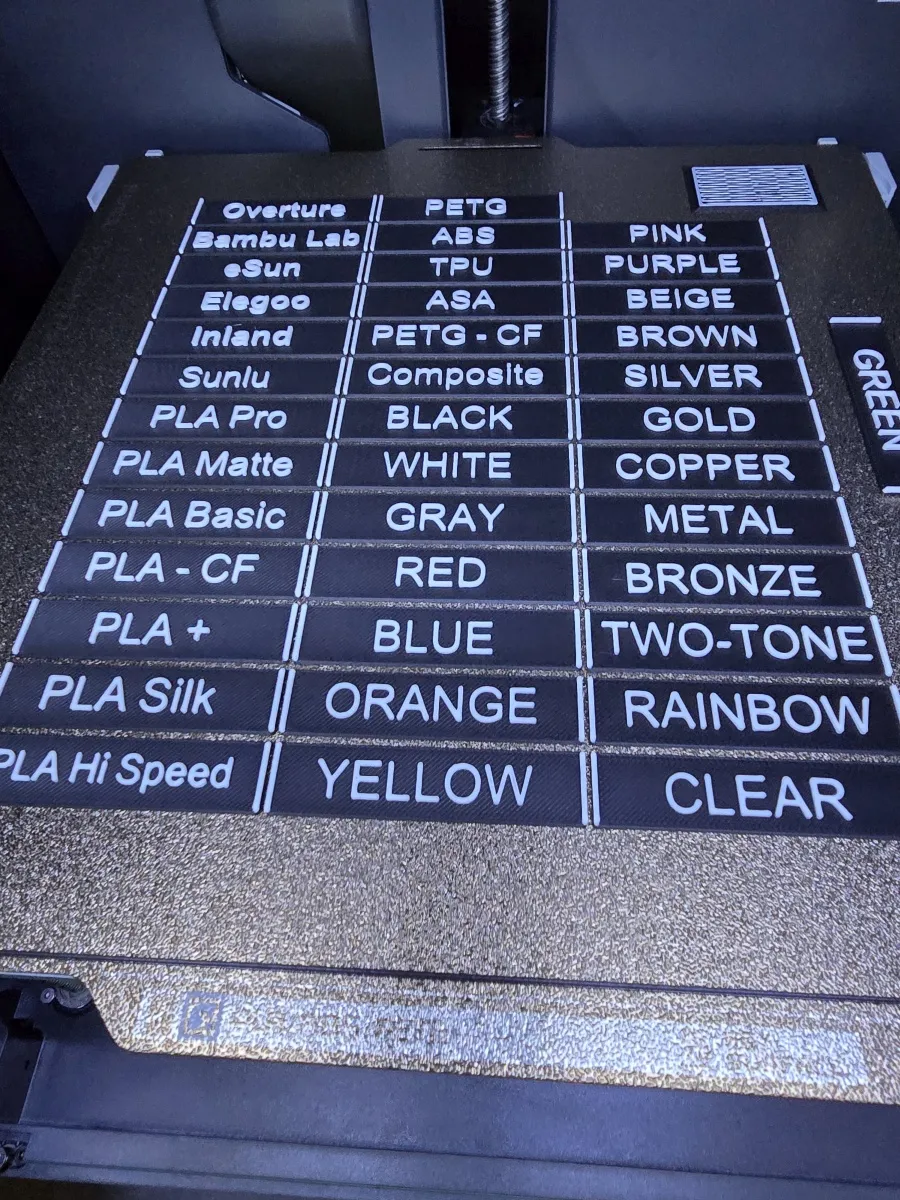
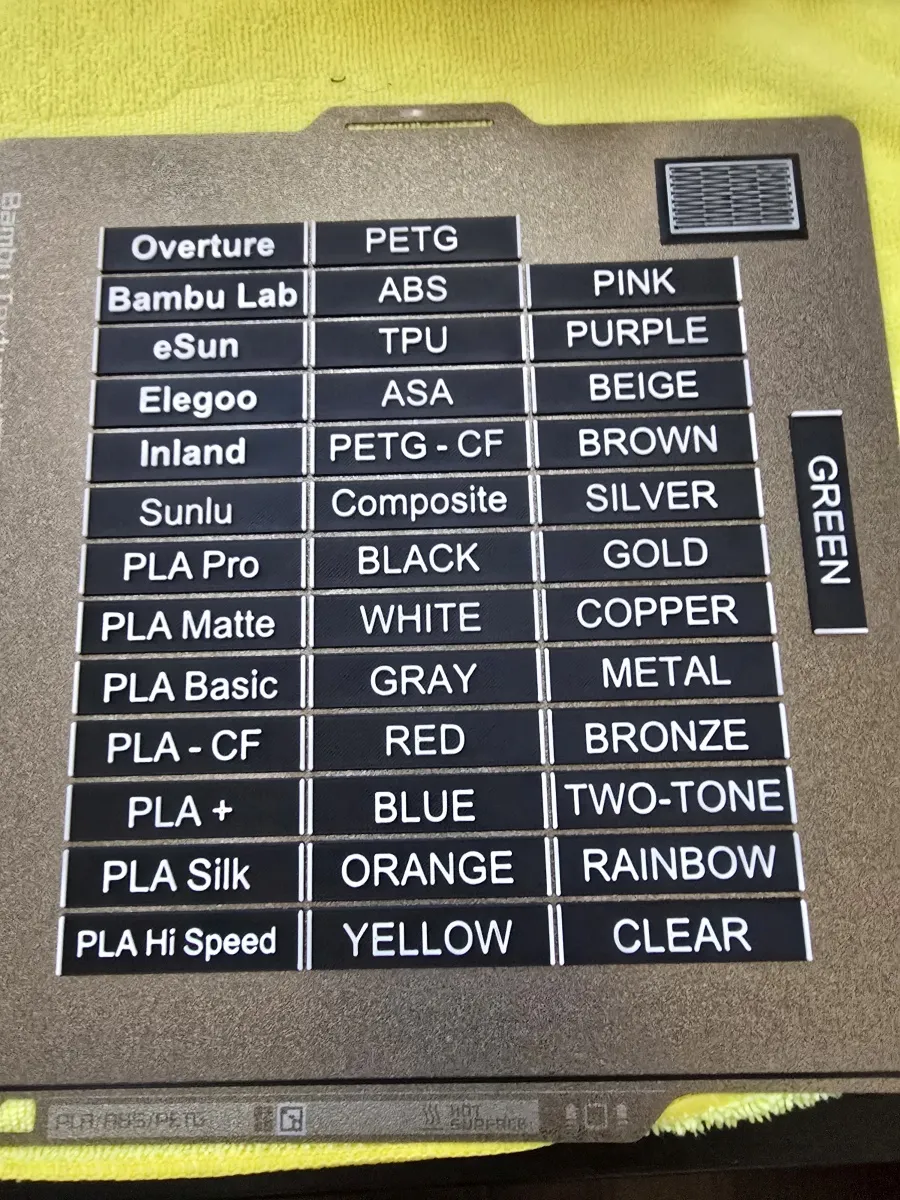
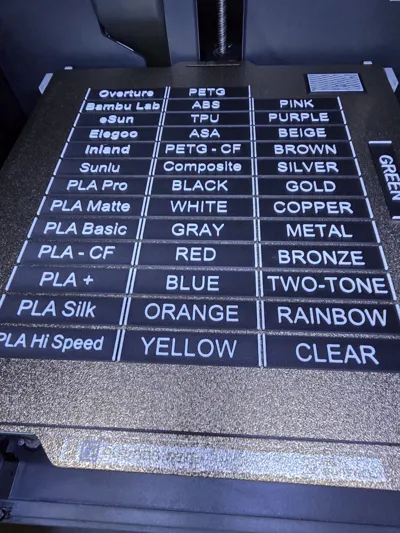
The first thing you’ll notice after printing is you’re going to need a box, preferably with 3 compartments (Brand, Type, Color) to organize the labels.
Plate 1 of the print is the four (4) Nameplate holders. For cleaner color depth, instead of just painting the letters, I incorporated a filament (color) change at layer sixteen (16). For Plate 2, the Label Plates, the filament change occurs at layer six (6).
Because I simply couldn’t make every brand, color, or type, I’ve included blank Nameplate holders (Plate #4) and blank Label Plates (Plate #3) that you can add your preferred information to them using the “Text Shape” feature on the upper toolbar of the Bambu Studio slicer. I used “Arial”, 10mm, No Bold/Italic, “1mm” (one) Thickness.
The Nameplate holders measure 60mm wide x 70mm tall x 4mm thick.
Plate #1 uses 43.29g of black, 1.64g of white filament (44.94g total) and takes 1hr 8mins to print.
Plate #2 uses 43.29g of black (same!), 5.76g of white filament (49.05g total) and takes 1hr 43mins to print. You should probably print four(4) of plate #2 as you have four slots of possibly the same filament.
AMS Nameplate
AMS Spool Nameplate
AMS Spool Identifier
AMS Spool Label
AMS Spool Marker
AMS Spool Type Label
AMS Filament Label
AMS Filament Name plate
Please leave a comment, feedback, suggestions, or even a boost if you're feeling generous. It does help me improve my models and really makes my day. Be kind, I’m old and still sort of new at this. Seriously, thank you for printing my models!
Before you go, if you’d take a look at my other models under my profile I’d appreciate it: GrayGav @JGray_3D
License



Comment & Rating (70)