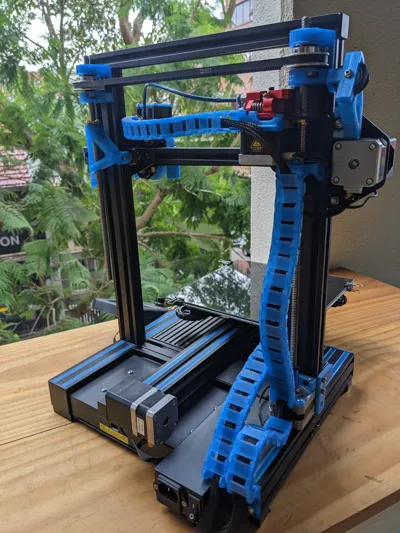
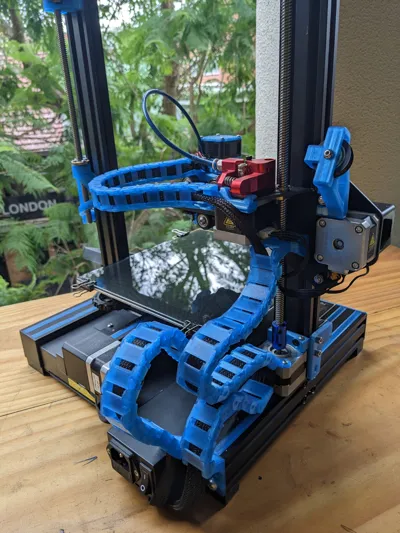
MrWraith's Complete Ender 3 V2 (3V2) cable chain


Print Profile(1)

Description
This model was not designed by me, DrWraith was the designer. I just downloaded it from Thingiverse and I put it together for my use case and created a print profile.
Summary
I've designed and adjusted lots of different cable chain stuff over the last few years, and I figured I should package all the little changes I have made into one Thing.
UPDATE May 2023: I added a version of the extruder mount that works on the stock extruder, so now the stock extruder and the dual gear extruders are supported.
Looser chain links
I found that all the chain links I found on thingiverse were just a little too tight - they didn't move as freely as I'd like. So while my chains are based on johhniewhiskey's original chains (and norp's slim x chains), I've made small changes to them to make them move more easily (and more quietly). These work with the same link covers as the original links.
- looser_chain_link.stl
- looser_slim_chain_link.stl
If you find these too loose, I have included the original chain links, at original_chain_link.stl and original_slim_chain_link.stl.
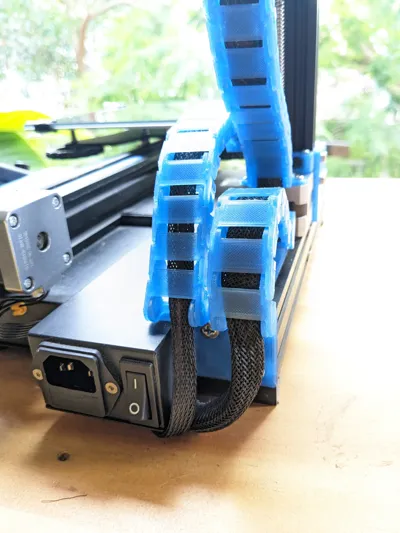
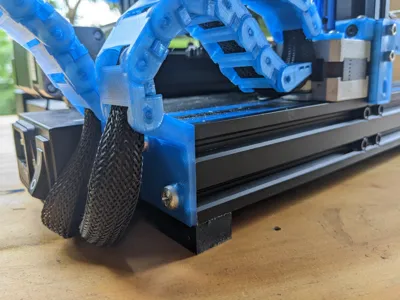
Rear chain mounts
To start the chains from the cables that come out the back of the Ender 3 V2, there is my design 3v2_rear_chain_mounts.stl. This is mounted with two M5x12mm bolts, although at the original thing there is a friction fit version that doesn't require bolts. These take the cables out from next to the power switch, and send both of the chains (bed and Z) upwards.
Bed mount and Y Chain.
I use the bed mount from johnniewhiskey bed_mount.stl and bed_mount_cover.stl, no changes were needed there. I use my looser links with covers, 14 chain links seems the right number for me.
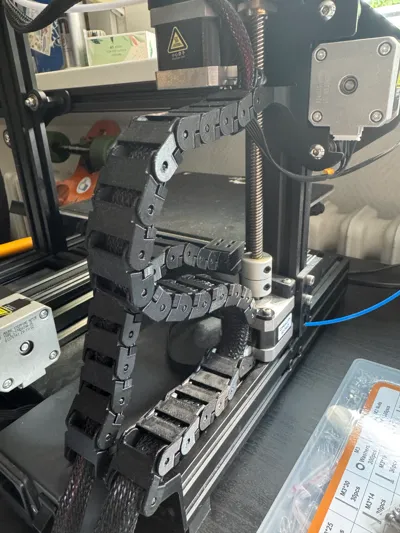
Z Chain
I found that the very long Z chain took up too much space behind the printer, so I have it separated into two parts, using two of benawhite's designs to help with this.
From the rear mount, I have 7 links, and then I terminate that part of the chain with chain_link_terminus.stl (which is johnniewhiskey's cableChain_XendCover renamed).
The cable then continues through into another chain, starting with benawhite's Z-Axis Cable Chain Stepper Mount z_axis_stepper_mount.stl, which connects to the stepper with two M3x6mm or M3x8mm bolts. There are then 16 more chain links, ending by connecting to the Z part of the X gantry using another of benawhite's designs. This does not require any bolts, and is a great design I think. z_gantry_mount.stl and z_gantry_mount_shims.stl (these are three different shims, the largest ones worked for me).
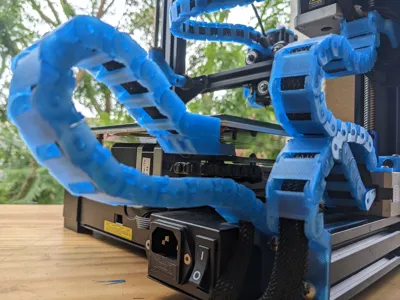
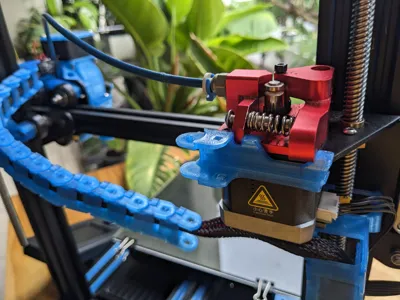
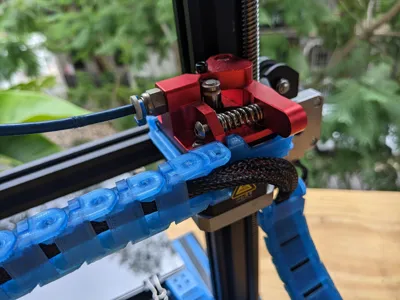
X Chain
The X chain uses a slimmer set of chain links, from norp's design. I also use norp's hotend mount. Firstly, my design for the extruder chain mount stock_extruder_chain_mount.stl or dual_gear_extruder_chain_mount.stl, which clips around the extruder motor / extruder and has a mount for the slim x chain to connect to. Then 16 slim chain links, and ending with norp's hotend chain mount, which clips over the roller standoffs on the hotend gantry mount hotend_mount.stl. There are some slightly different versions of the extruder chain mount at https://www.thingiverse.com/thing:5932605.
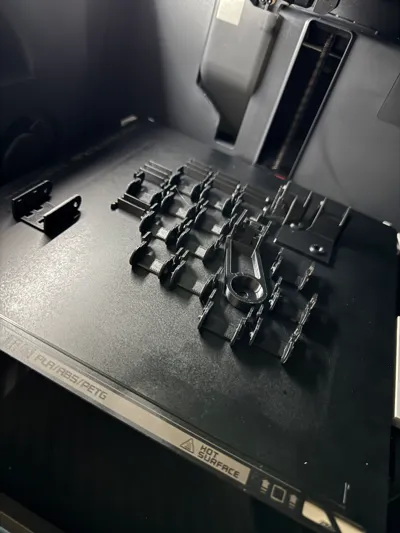
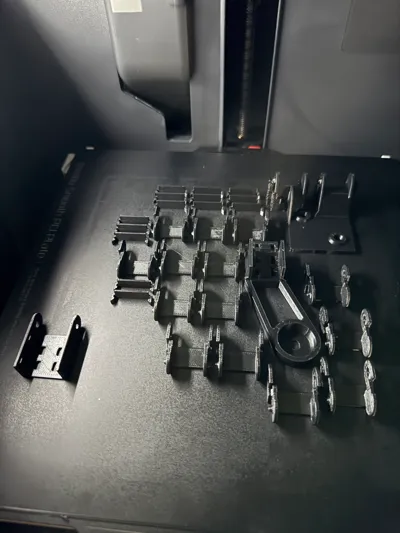
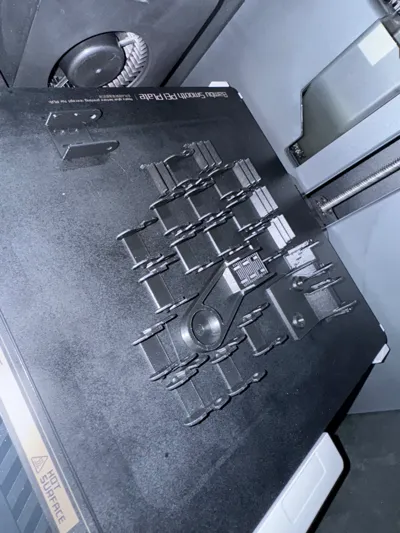
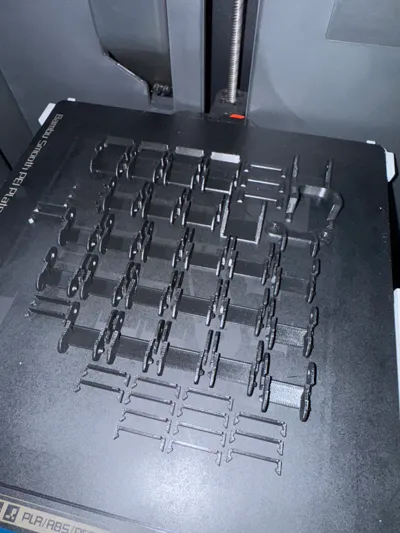
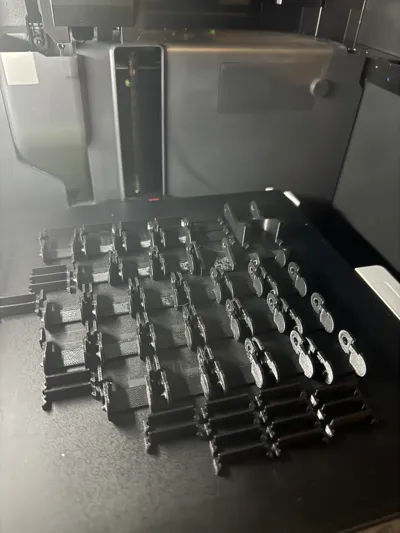
What to print (my configuration):
Rear mount:
- 3v2_rear_chain_mounts.stl
Bed chain:
- 14x each of looser_chain_link.stl and chain_link_cover.stl.
- bed_mount.stl and bed_mount_cover.stl.
Z chain:
- 23x each of looser_chain_link.stl and chain_link_cover.stl.
- chain_link_terminus.stl.
- z_axis_stepper_mount.stl.
- z_gantry_mount.stl and z_gantry_mount_shims.stl.
X chain:
- extruder_chain_mount.stl
- 16x each of looser_slim_chain_link.stl and slim_chain_link_cover.stl.
- hotend_mount.stl.
Single z-chain version
The same as above, except print 25 links for the Z chain instead of 23, and you won't need chain_link_terminus.stl or z_axis_stepper_mount.stl. I used to do it this way, but since my printer is up against a wall behind it, the solution that stops and starts around the z stepper is better for me, as the chain is kept from flopping out the back this way.
Alternative with no bolts needed
The rear mount for the back of the printer has a friction-fit version 3v2_rear_chain_mounts_friction_fit.stl (It sounds like this is too loose for most people, so might need to be buffered with some tape). If you don't have M3 bolts to mount the Z stepper chain mount you can use do the single z-chain version described above.
More Z-range
I realised after posting this that my dual-z setup limits the range of my z-axis, and my cables are configured for this setup. If you want your Z to go all the way, obviously you'll just need to print some more links for the Z chain. This will probably take up some of the slack from the first part of the Z chain, you could probably just move some chain links from the first step into the second step.
License
You shall not share, sub-license, sell, rent, host, transfer, or distribute in any way the digital or 3D printed versions of this object, nor any other derivative work of this object in its digital or physical format (including - but not limited to - remixes of this object, and hosting on other digital platforms). The objects may not be used without permission in any way whatsoever in which you charge money, or collect fees.
Comment & Rating (34)