
Stroller Skis

Print Profile(2)


Description
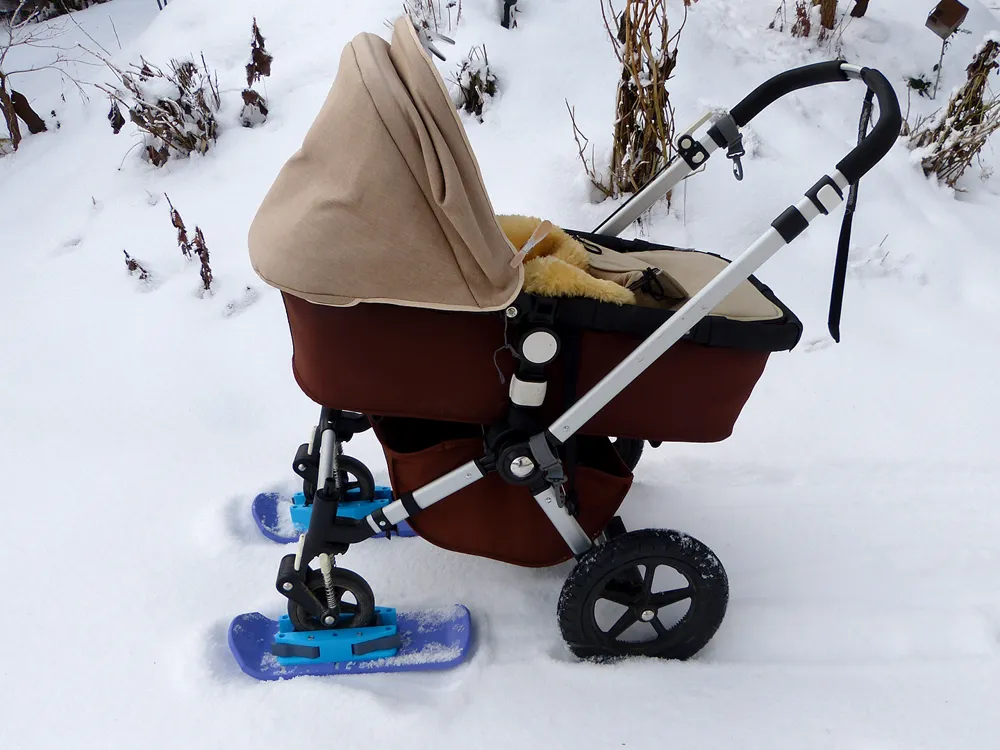
A Practical Solution for Snowy Trails - Glide Through Winter with Ease
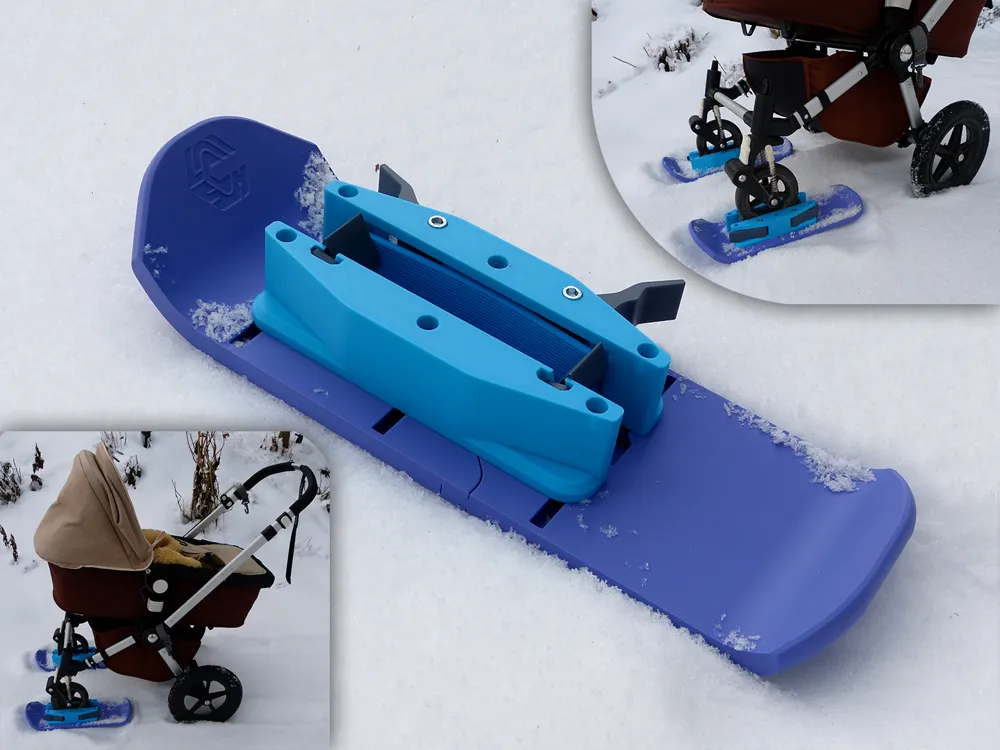
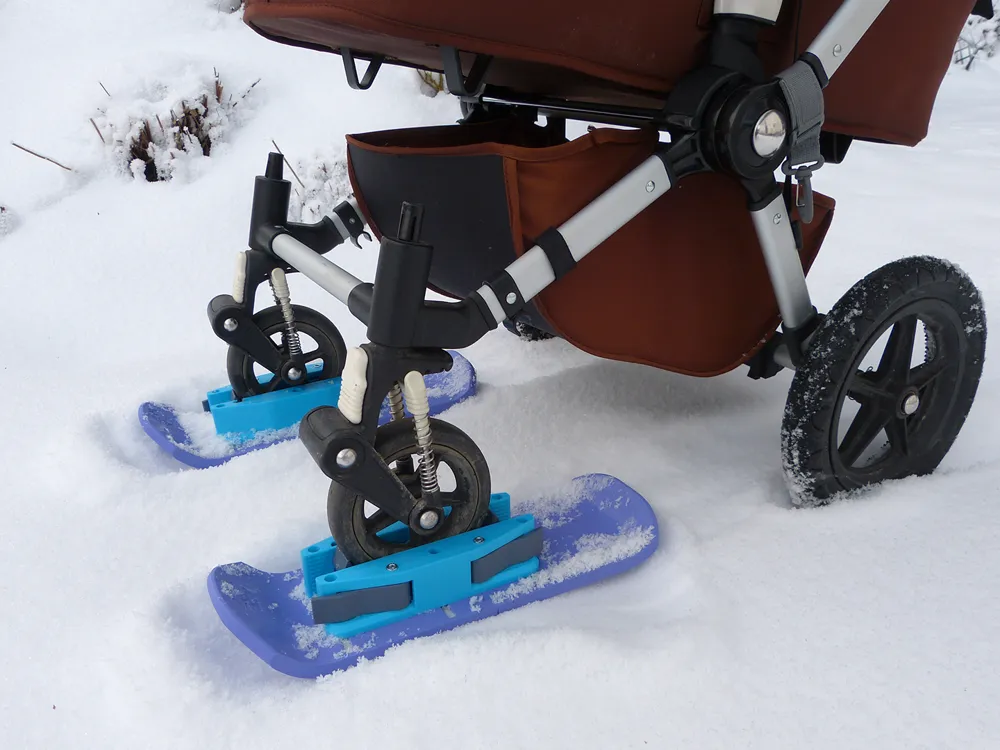
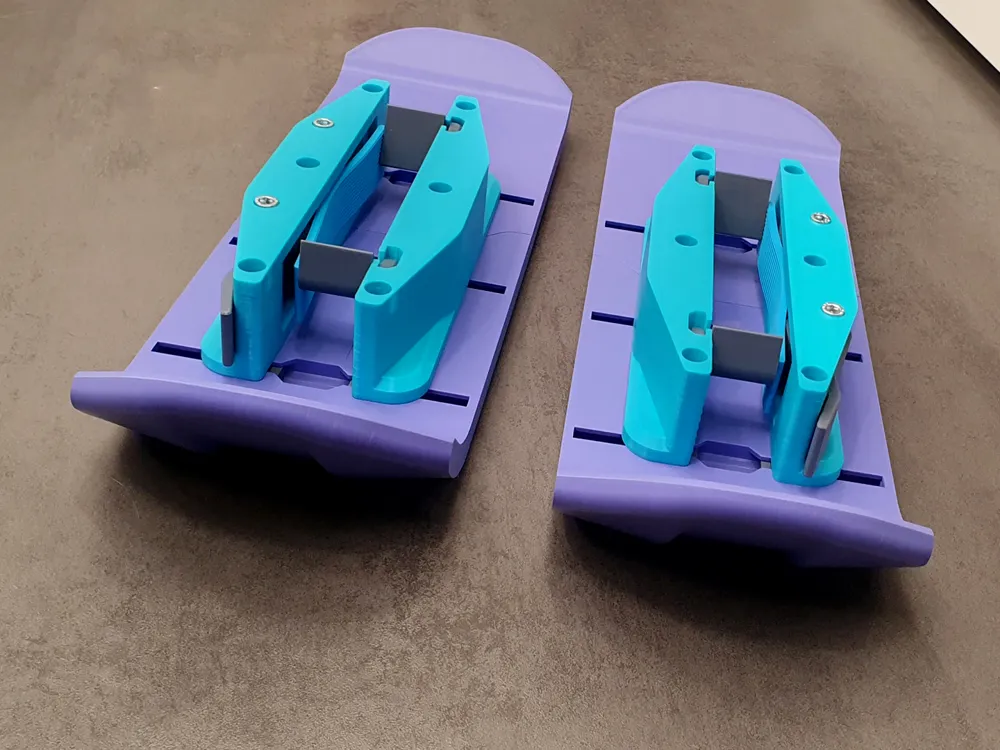
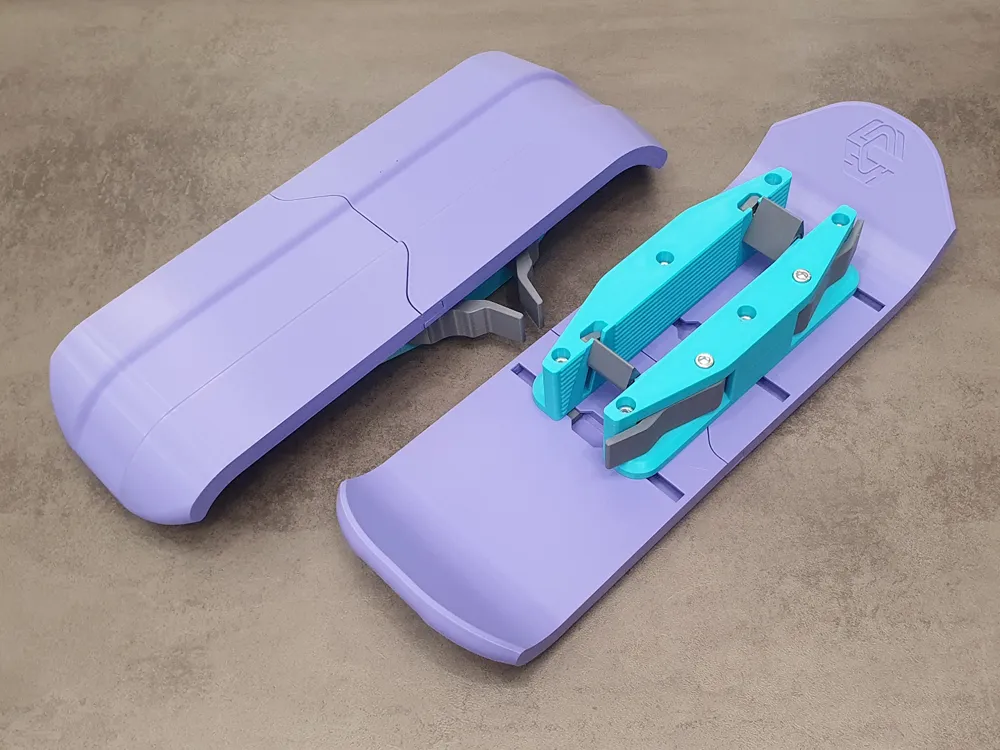
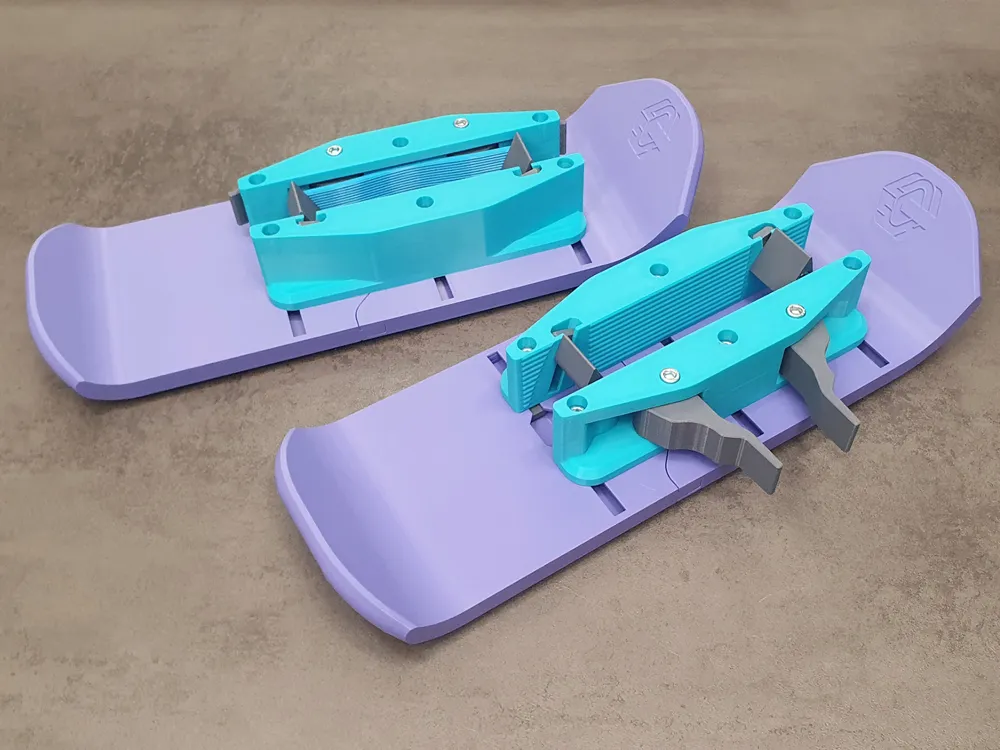
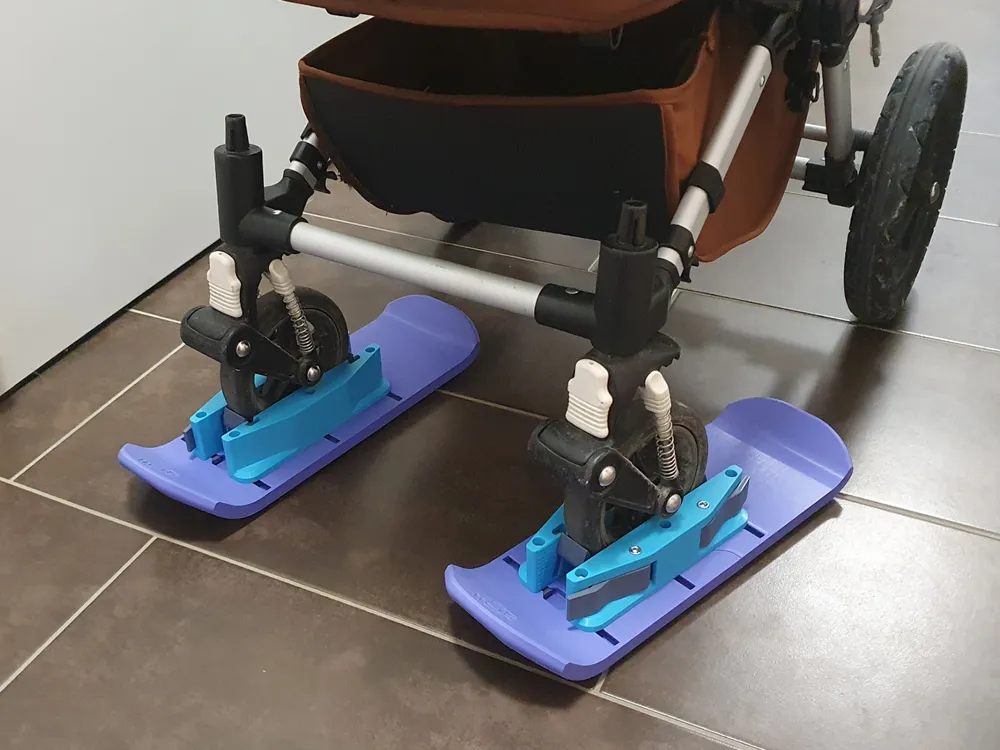
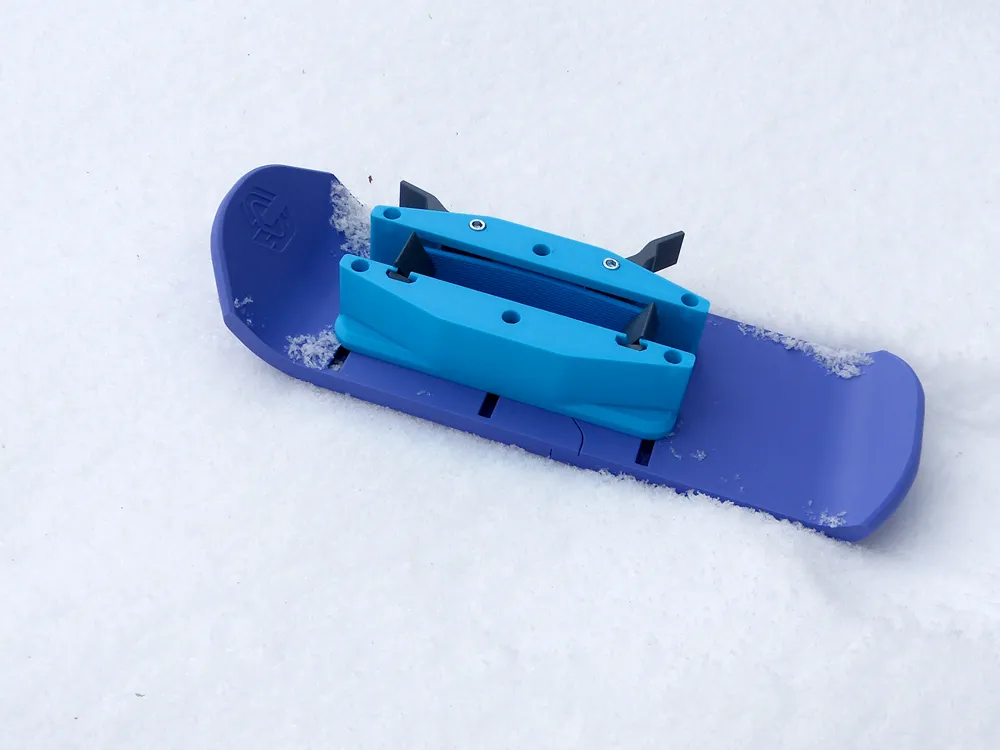
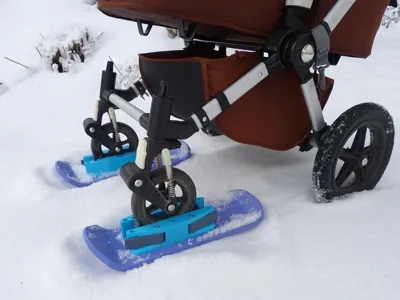
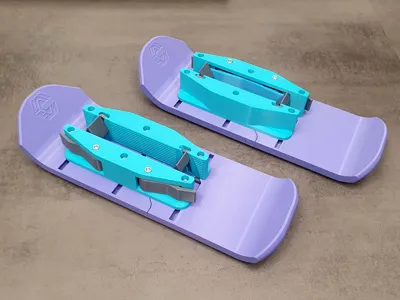
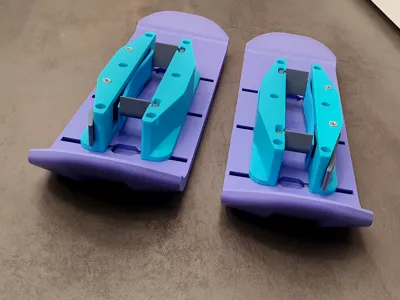
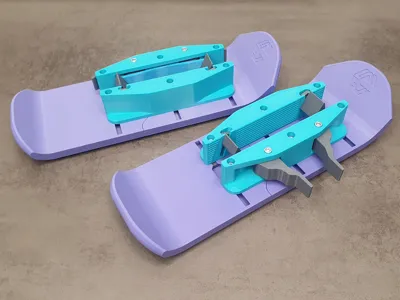
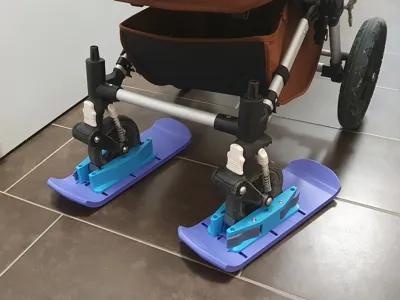
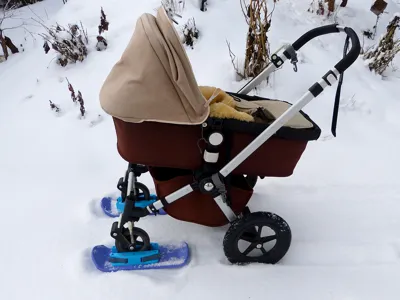
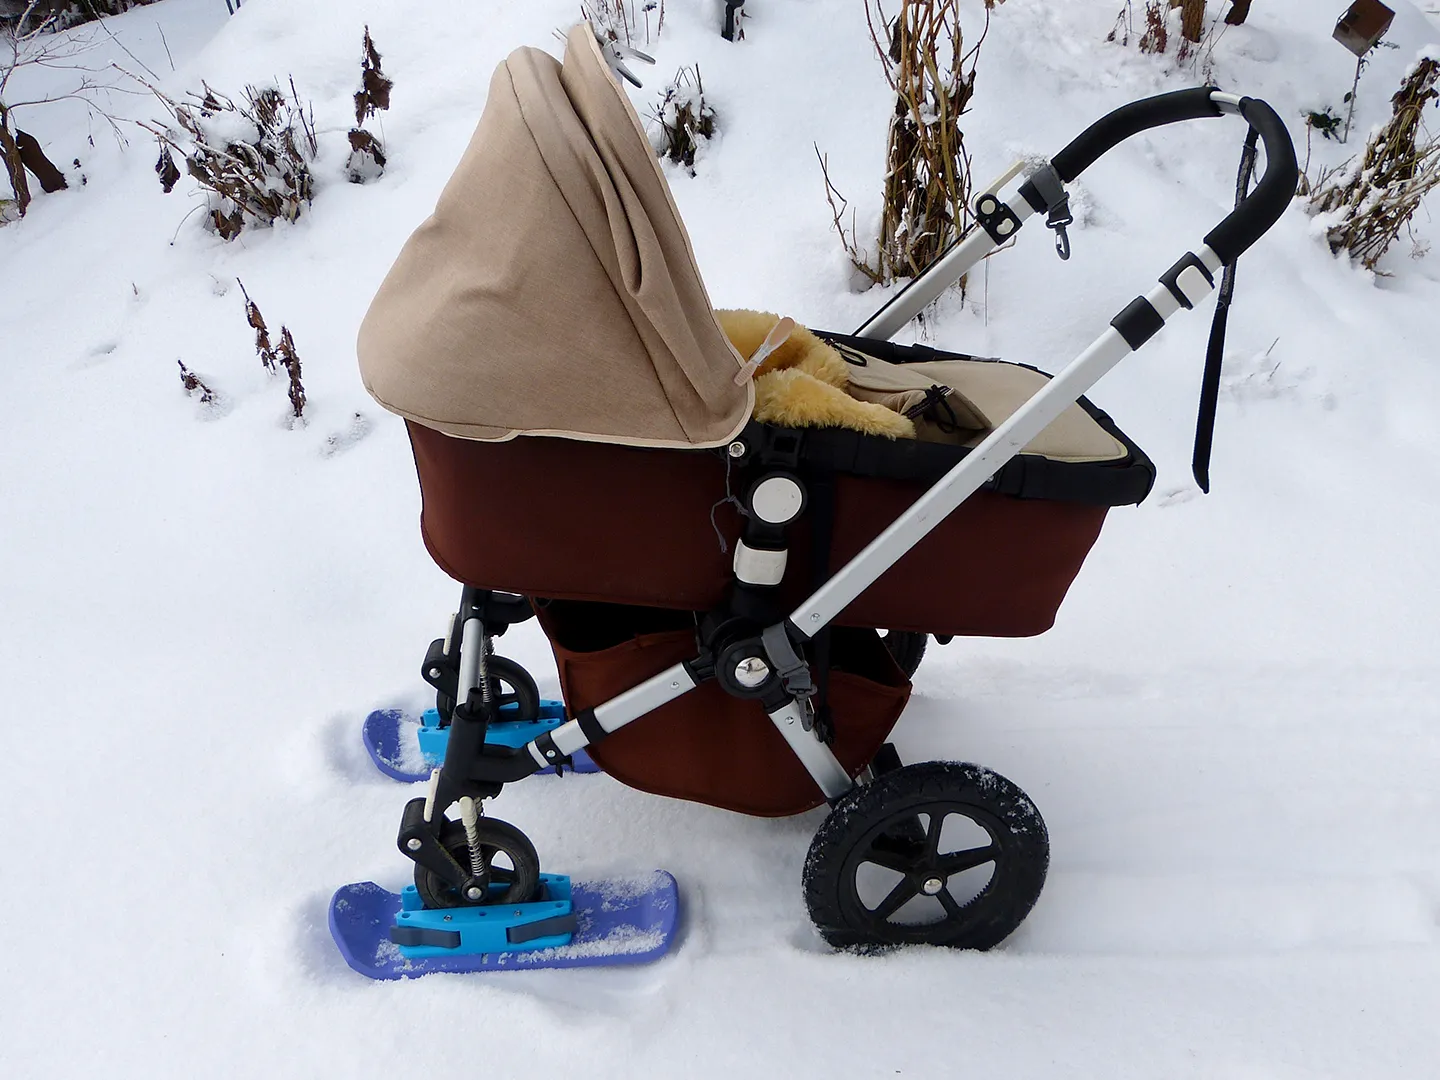

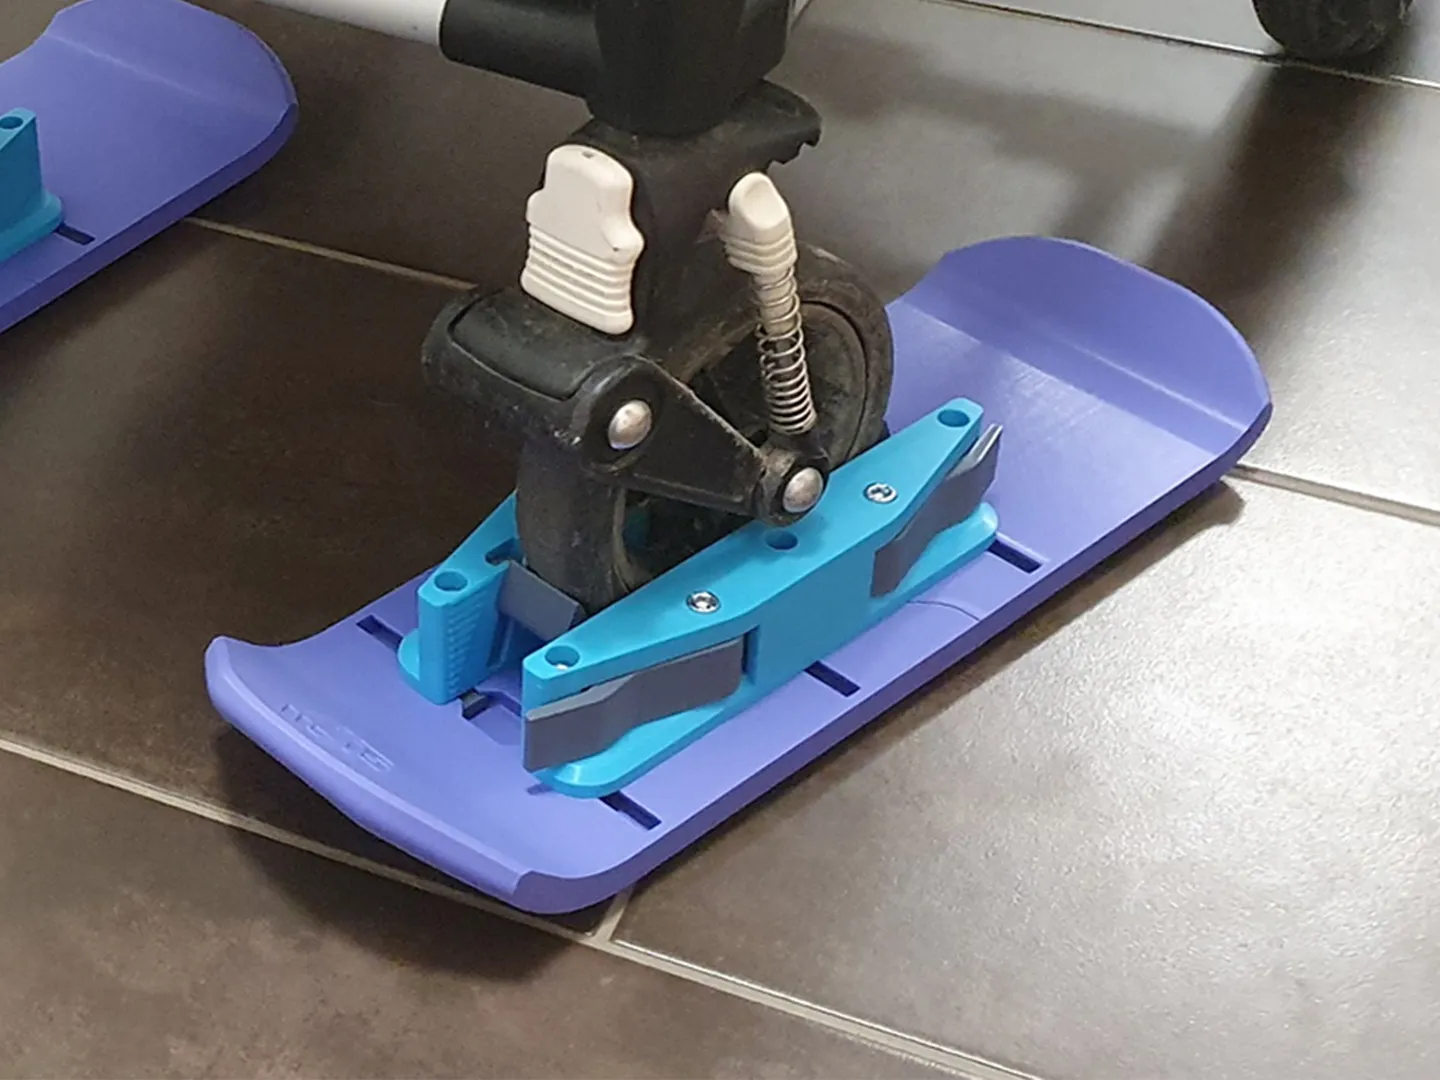
Walking with a stroller through snowy trails often turns into a challenge as the front wheels sink into the snow, making it difficult to move forward. These 3D-printed stroller skis offer a simple and effective solution. Designed to clip securely onto stroller wheels, they distribute weight more evenly across the surface, allowing for smoother movement over snow.
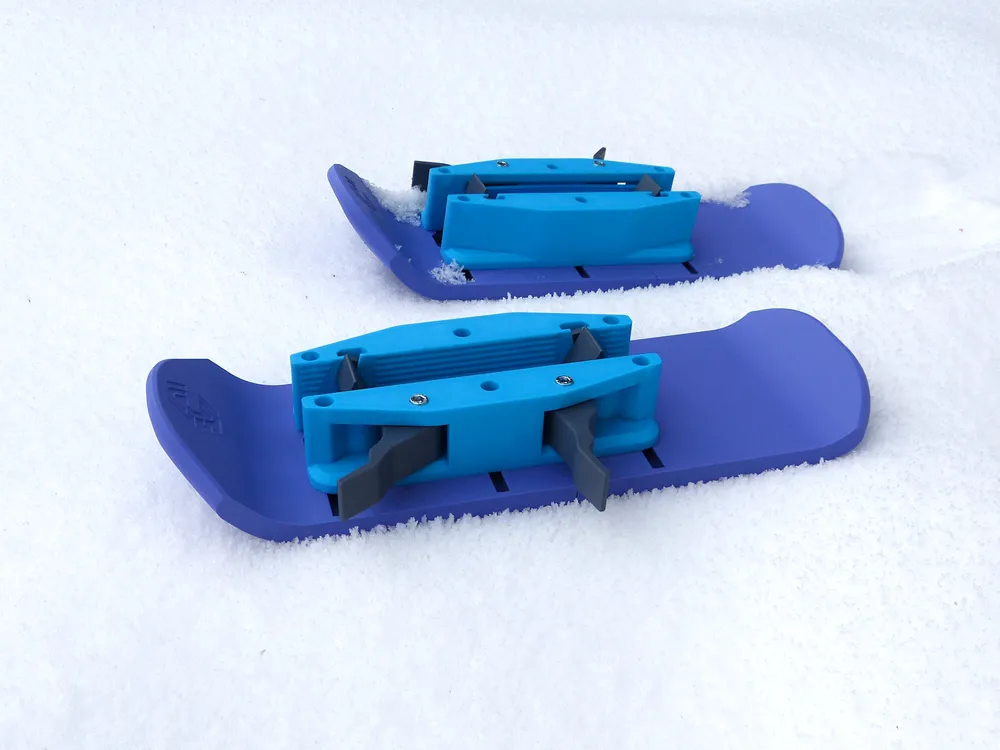
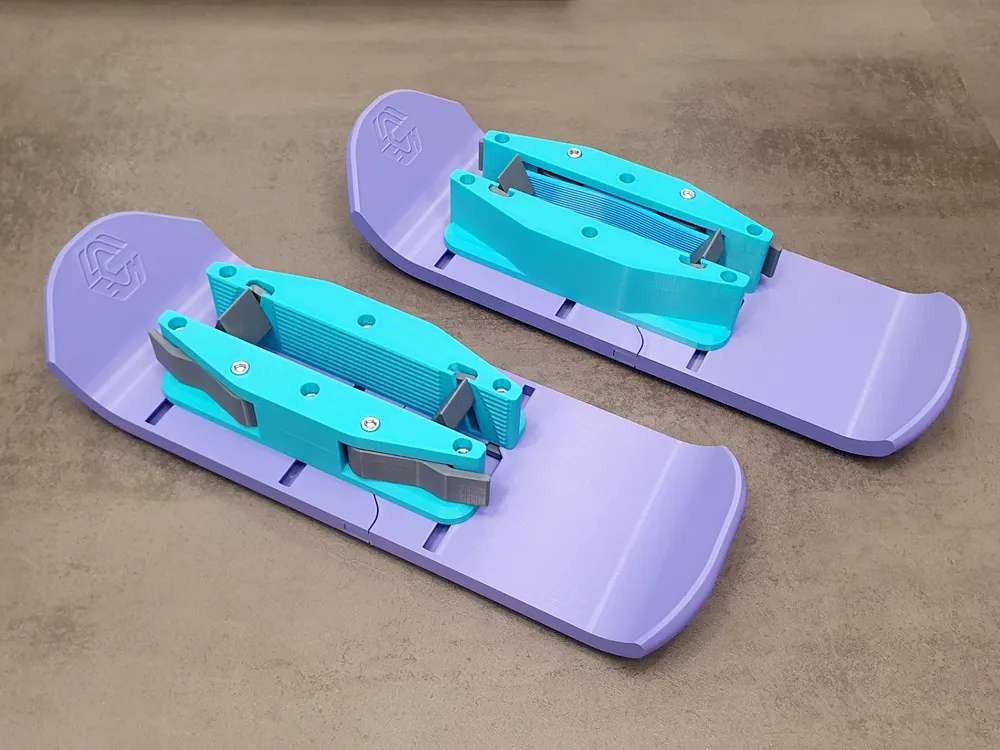
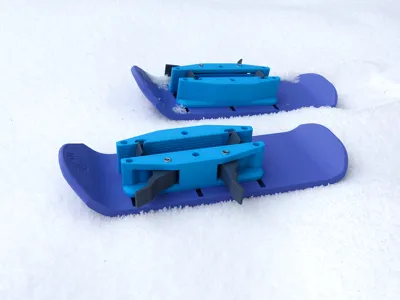
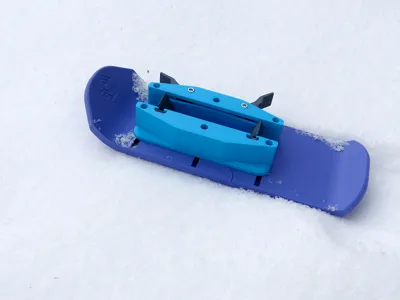
The skis are adjustable to fit wheels with diameters ranging from 150mm to 300mm and thicknesses between 30mm and 75mm. Installation is straightforward—two clips hold them tightly in place, ensuring they stay secure as you move. Whether you're heading out for a winter hike or navigating snowy sidewalks, these stroller skis make cold-weather walks much easier.
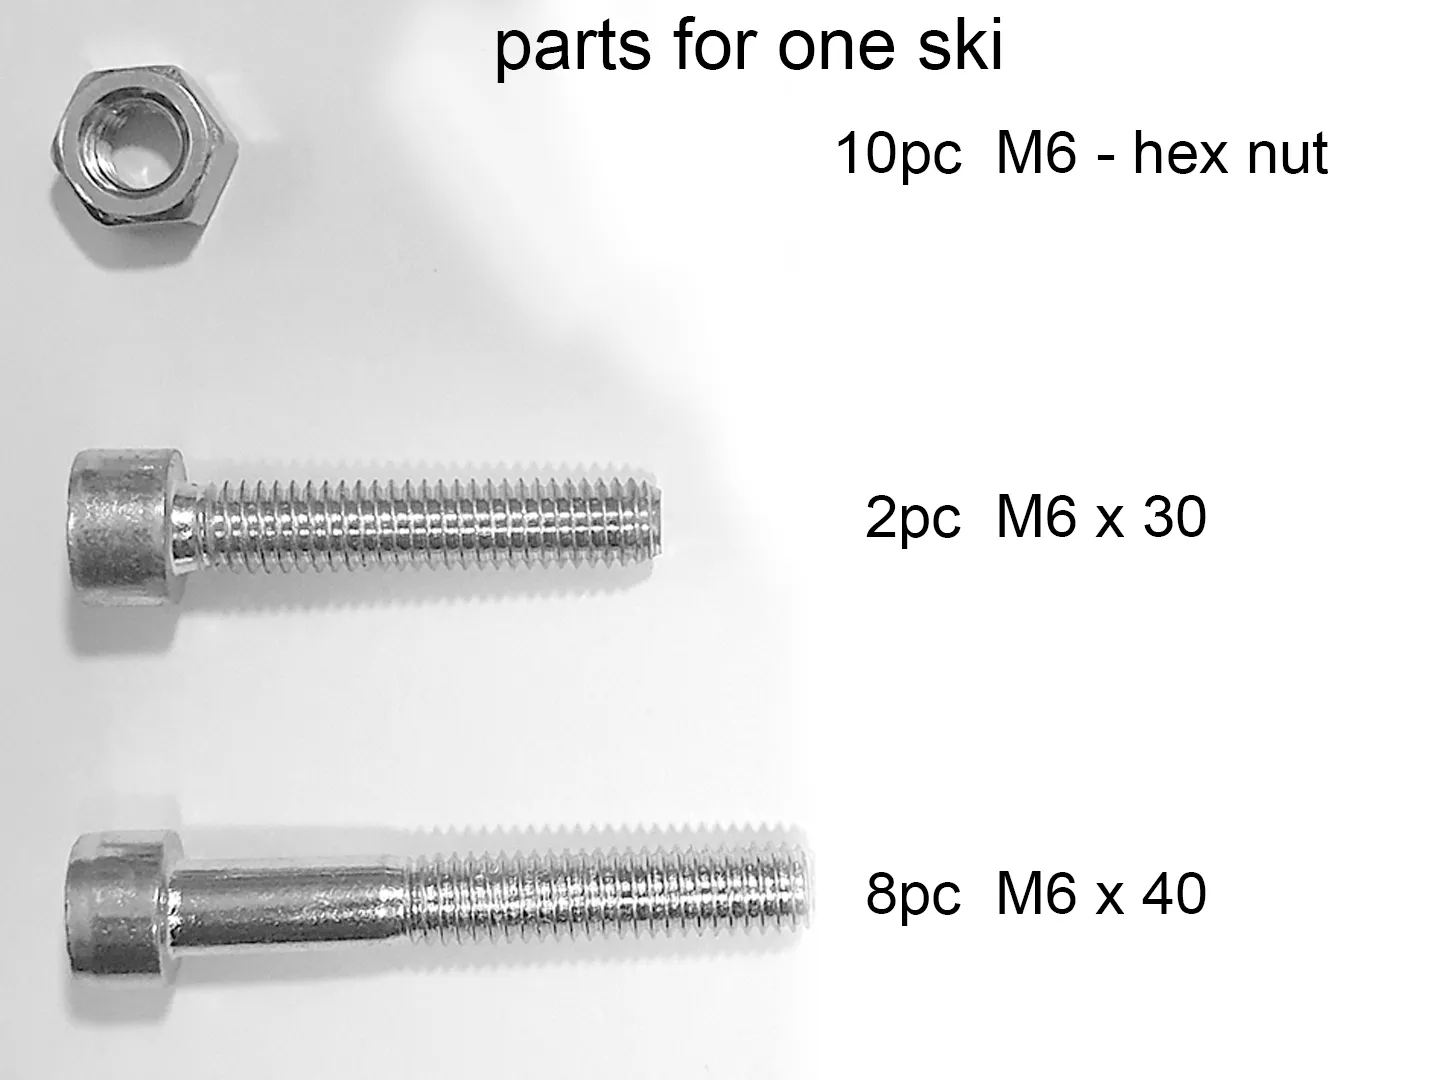

External Hardware:
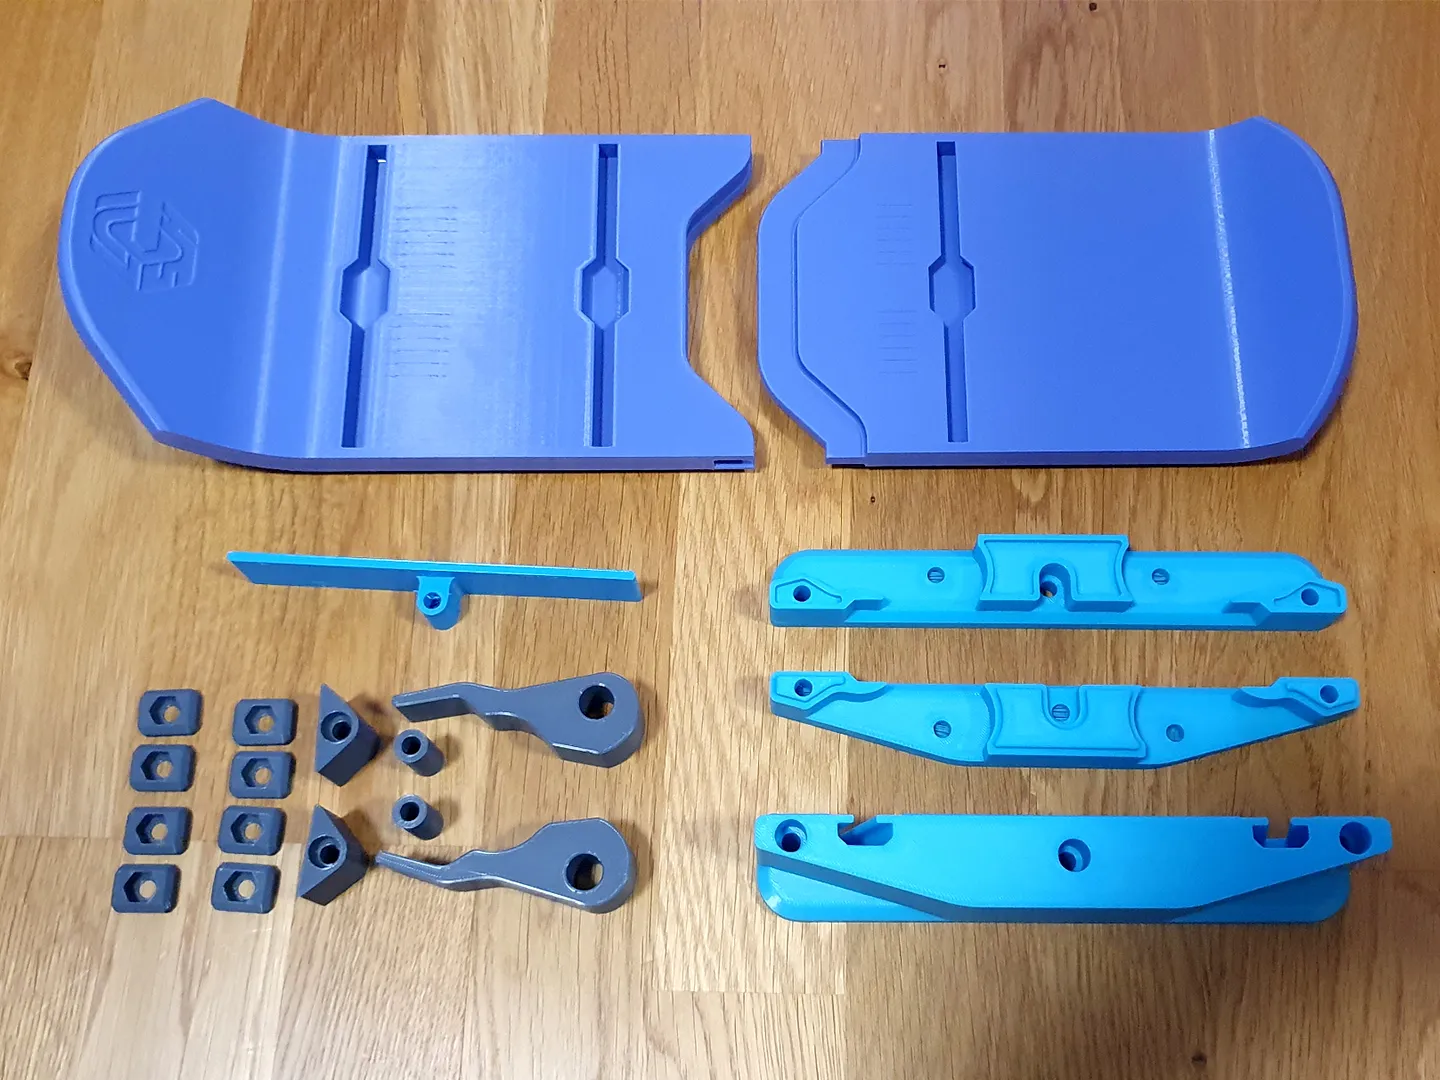
Printing:
All parts print without support. The "TPU_Clamp" has to be printed in a flexible material like TPU.
The Binding blocks have to be printed with 0.2 Layerheight for the sacrificial layers to work properly.
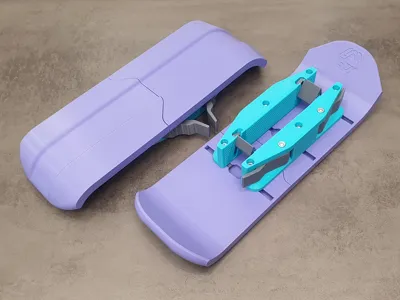
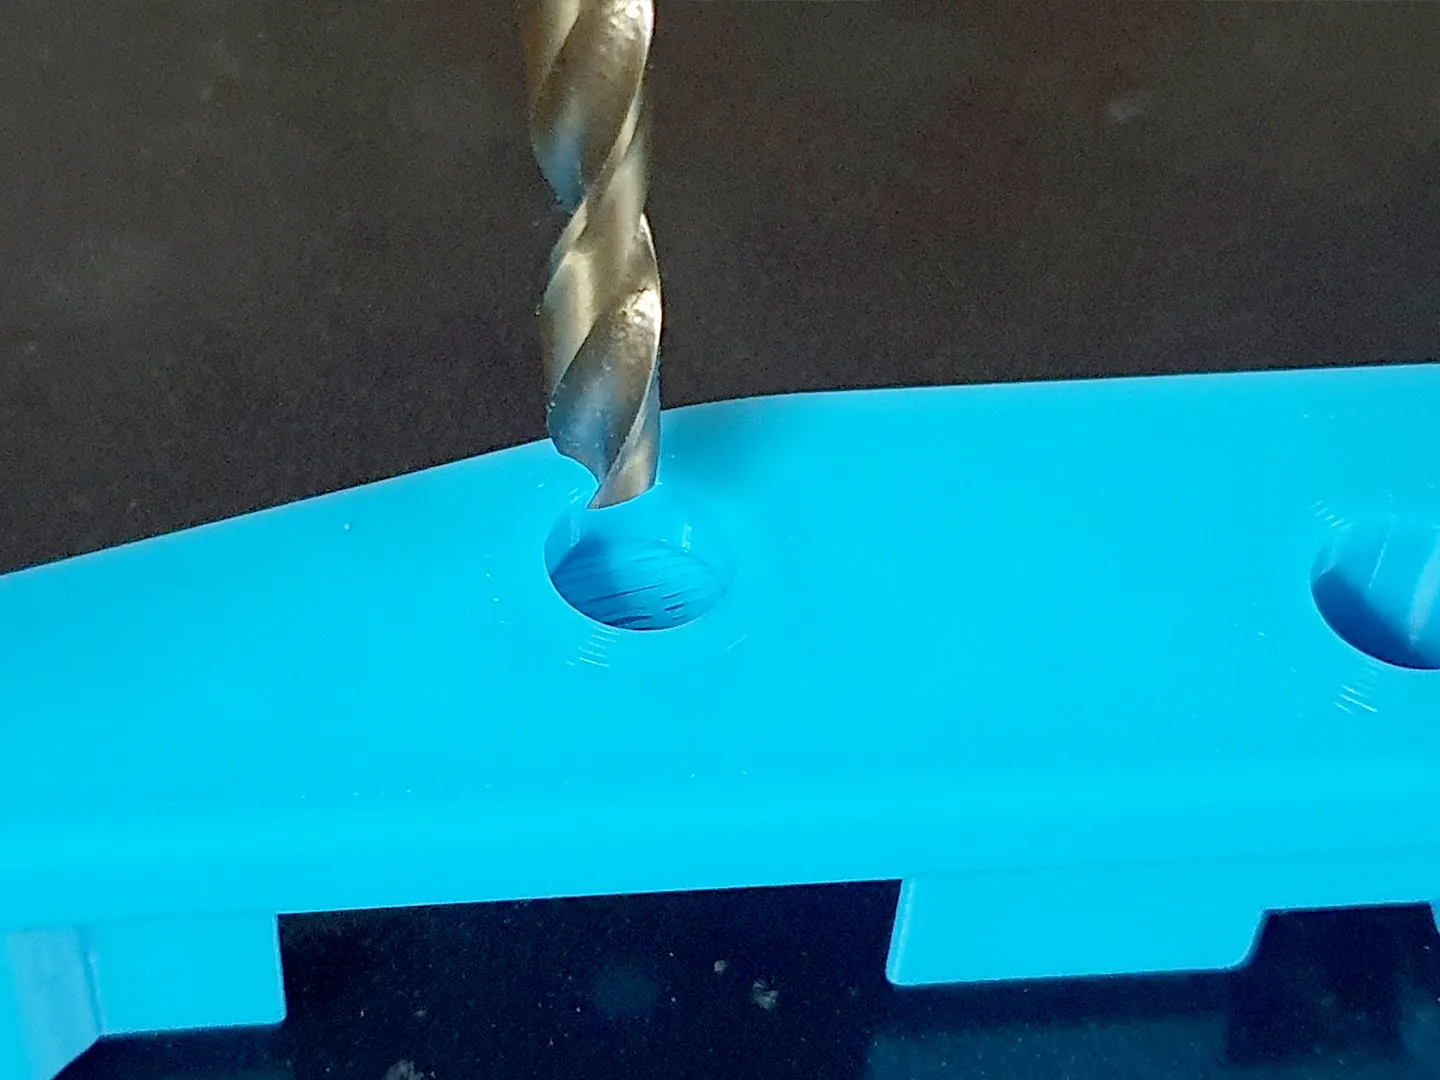
After Printing you have to remove the sacrificial layer on some holes on "Binding_Bottom" and "Binding_Top". You can use a 6mm drill bit or try to push them through with the M6-Screw.
Assembly
Ski and slot nuts:
Binding Block Assembly:

Binding Clamp Assembly
Adjusting to the wheels:
For adjusting the wheelrest, you cantake the hole BindingBlock Assembly and hold it against your wheels on the floor. Try to center the wheel and screw the wheelrests tight.
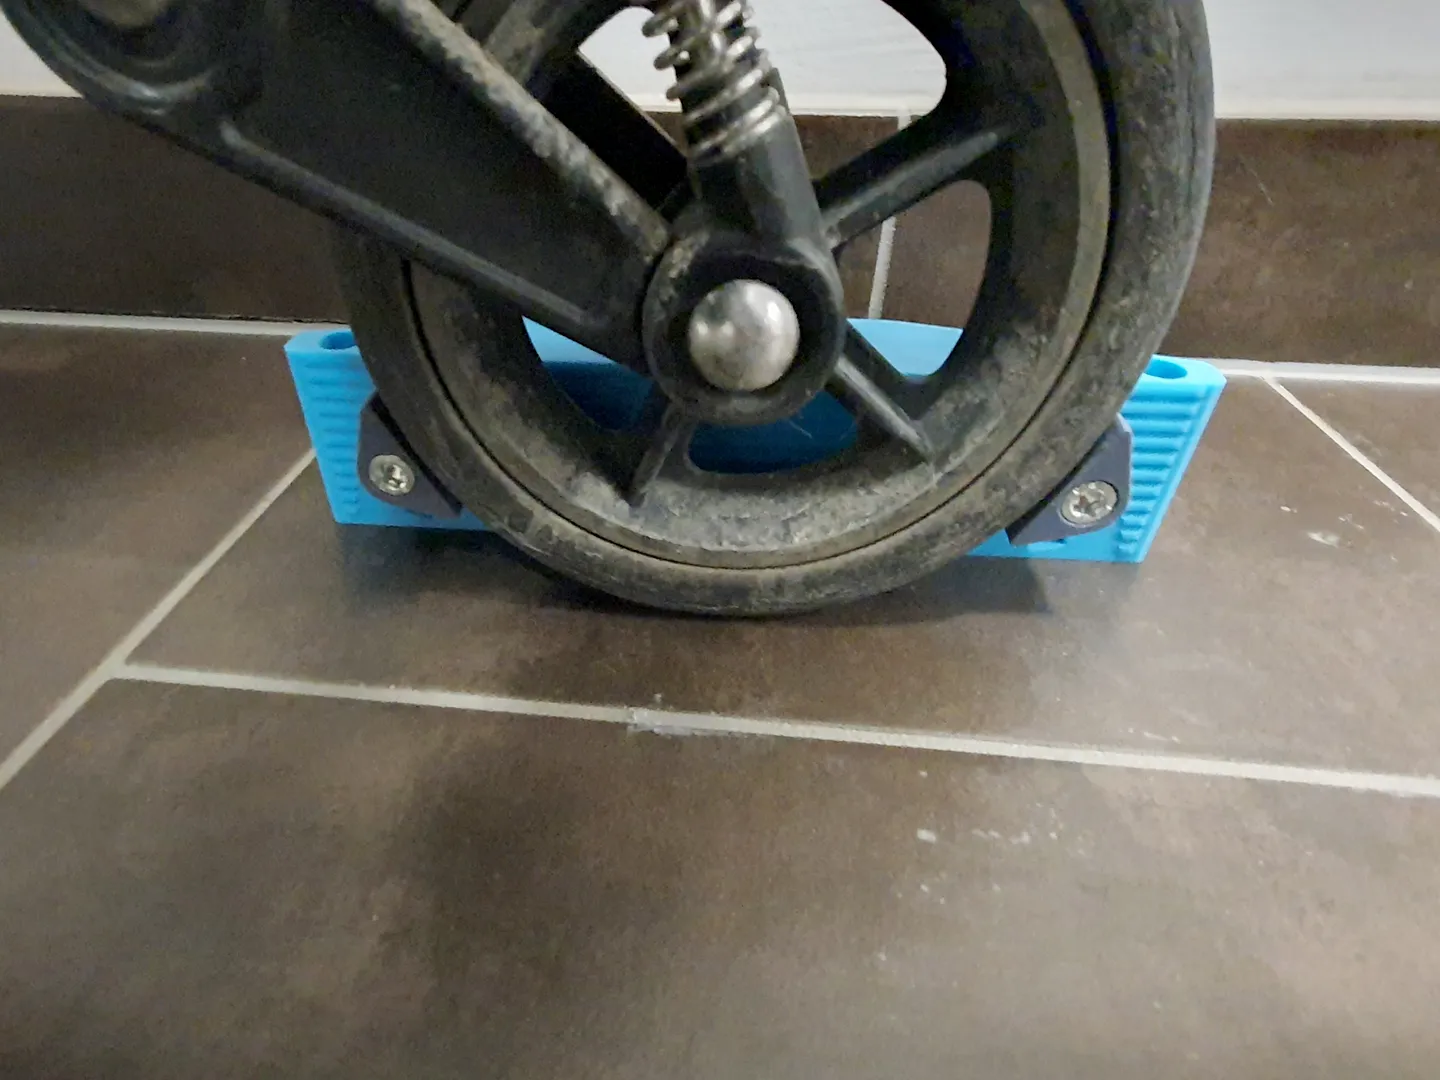
For adjusting to the thickness of the wheel, you can clamp the BindingBlock Assembly tight to the skis by using the guide lines on the skis. The guide lines have Increments of 10mm starting by 20mm (measured in center from side to side). After that place your wheel onto the Skis and push the Binding Clamp assembly with the buckles open against the wheel. If you have a soft wheel, you can push them really close, on hard wheels you should kepp it a loose fit. Lock the Binding Clamp Assembly into place with the scrows. When closing the buckles the Ski should now hold onto the wheel. Make sure the wheel is centered!
License

You shall not share, sub-license, sell, rent, host, transfer, or distribute in any way the digital or 3D printed versions of this object, nor any other derivative work of this object in its digital or physical format (including - but not limited to - remixes of this object, and hosting on other digital platforms). The objects may not be used without permission in any way whatsoever in which you charge money, or collect fees.


Comment & Rating (133)